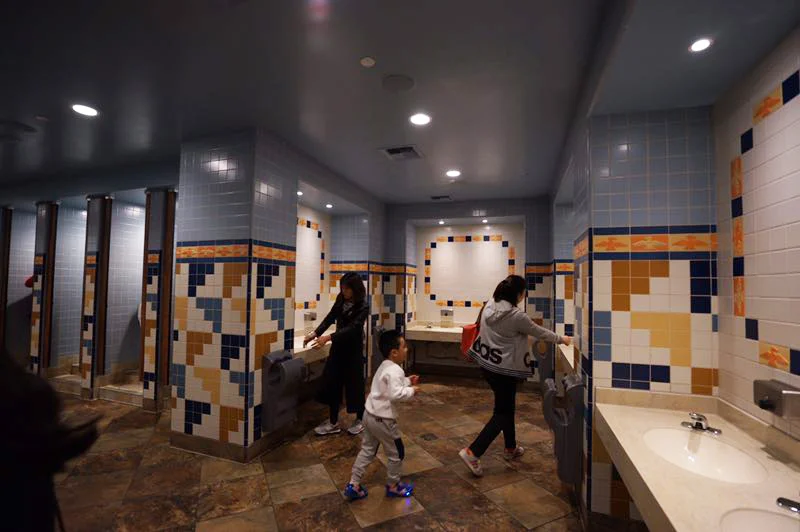
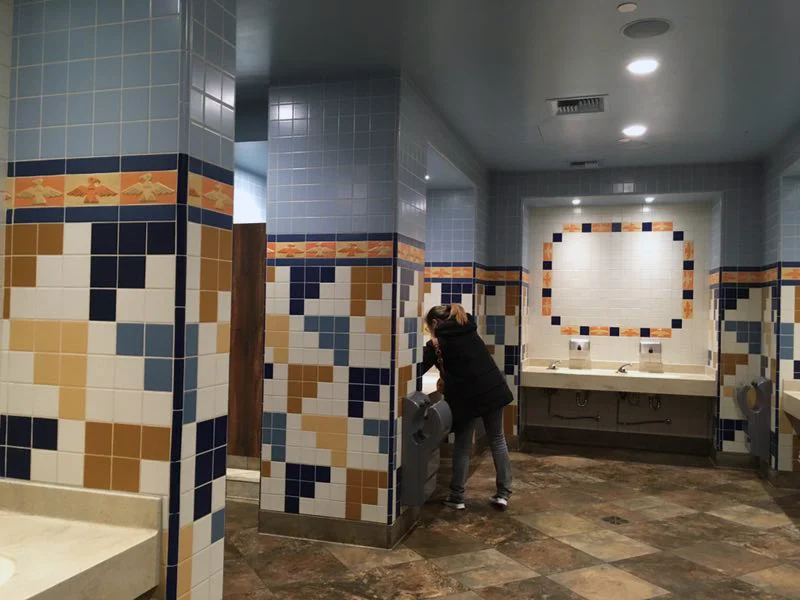
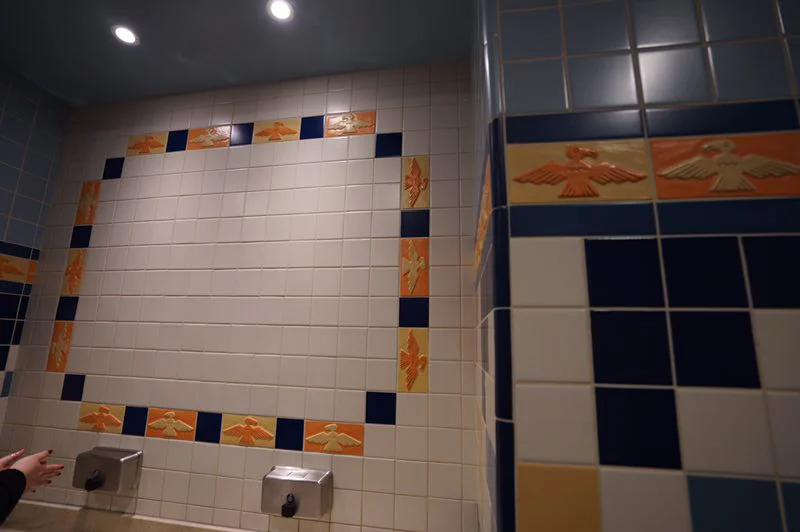
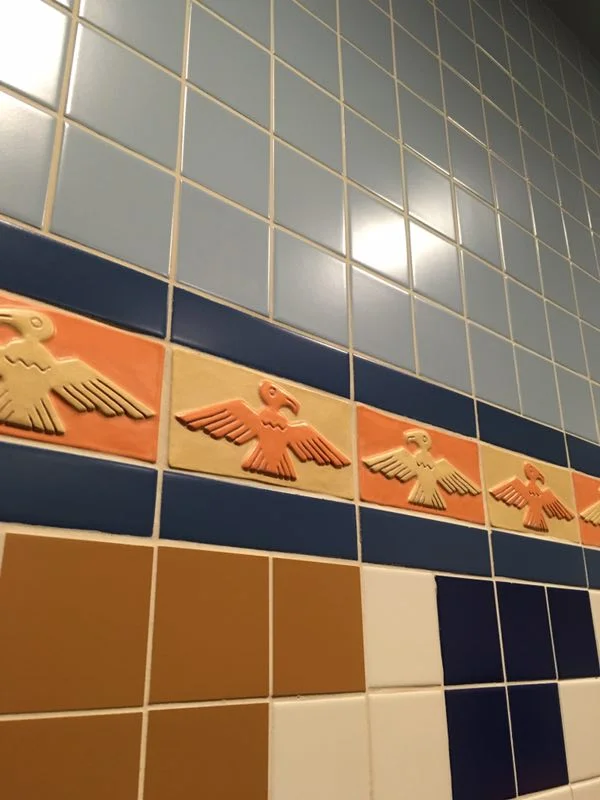
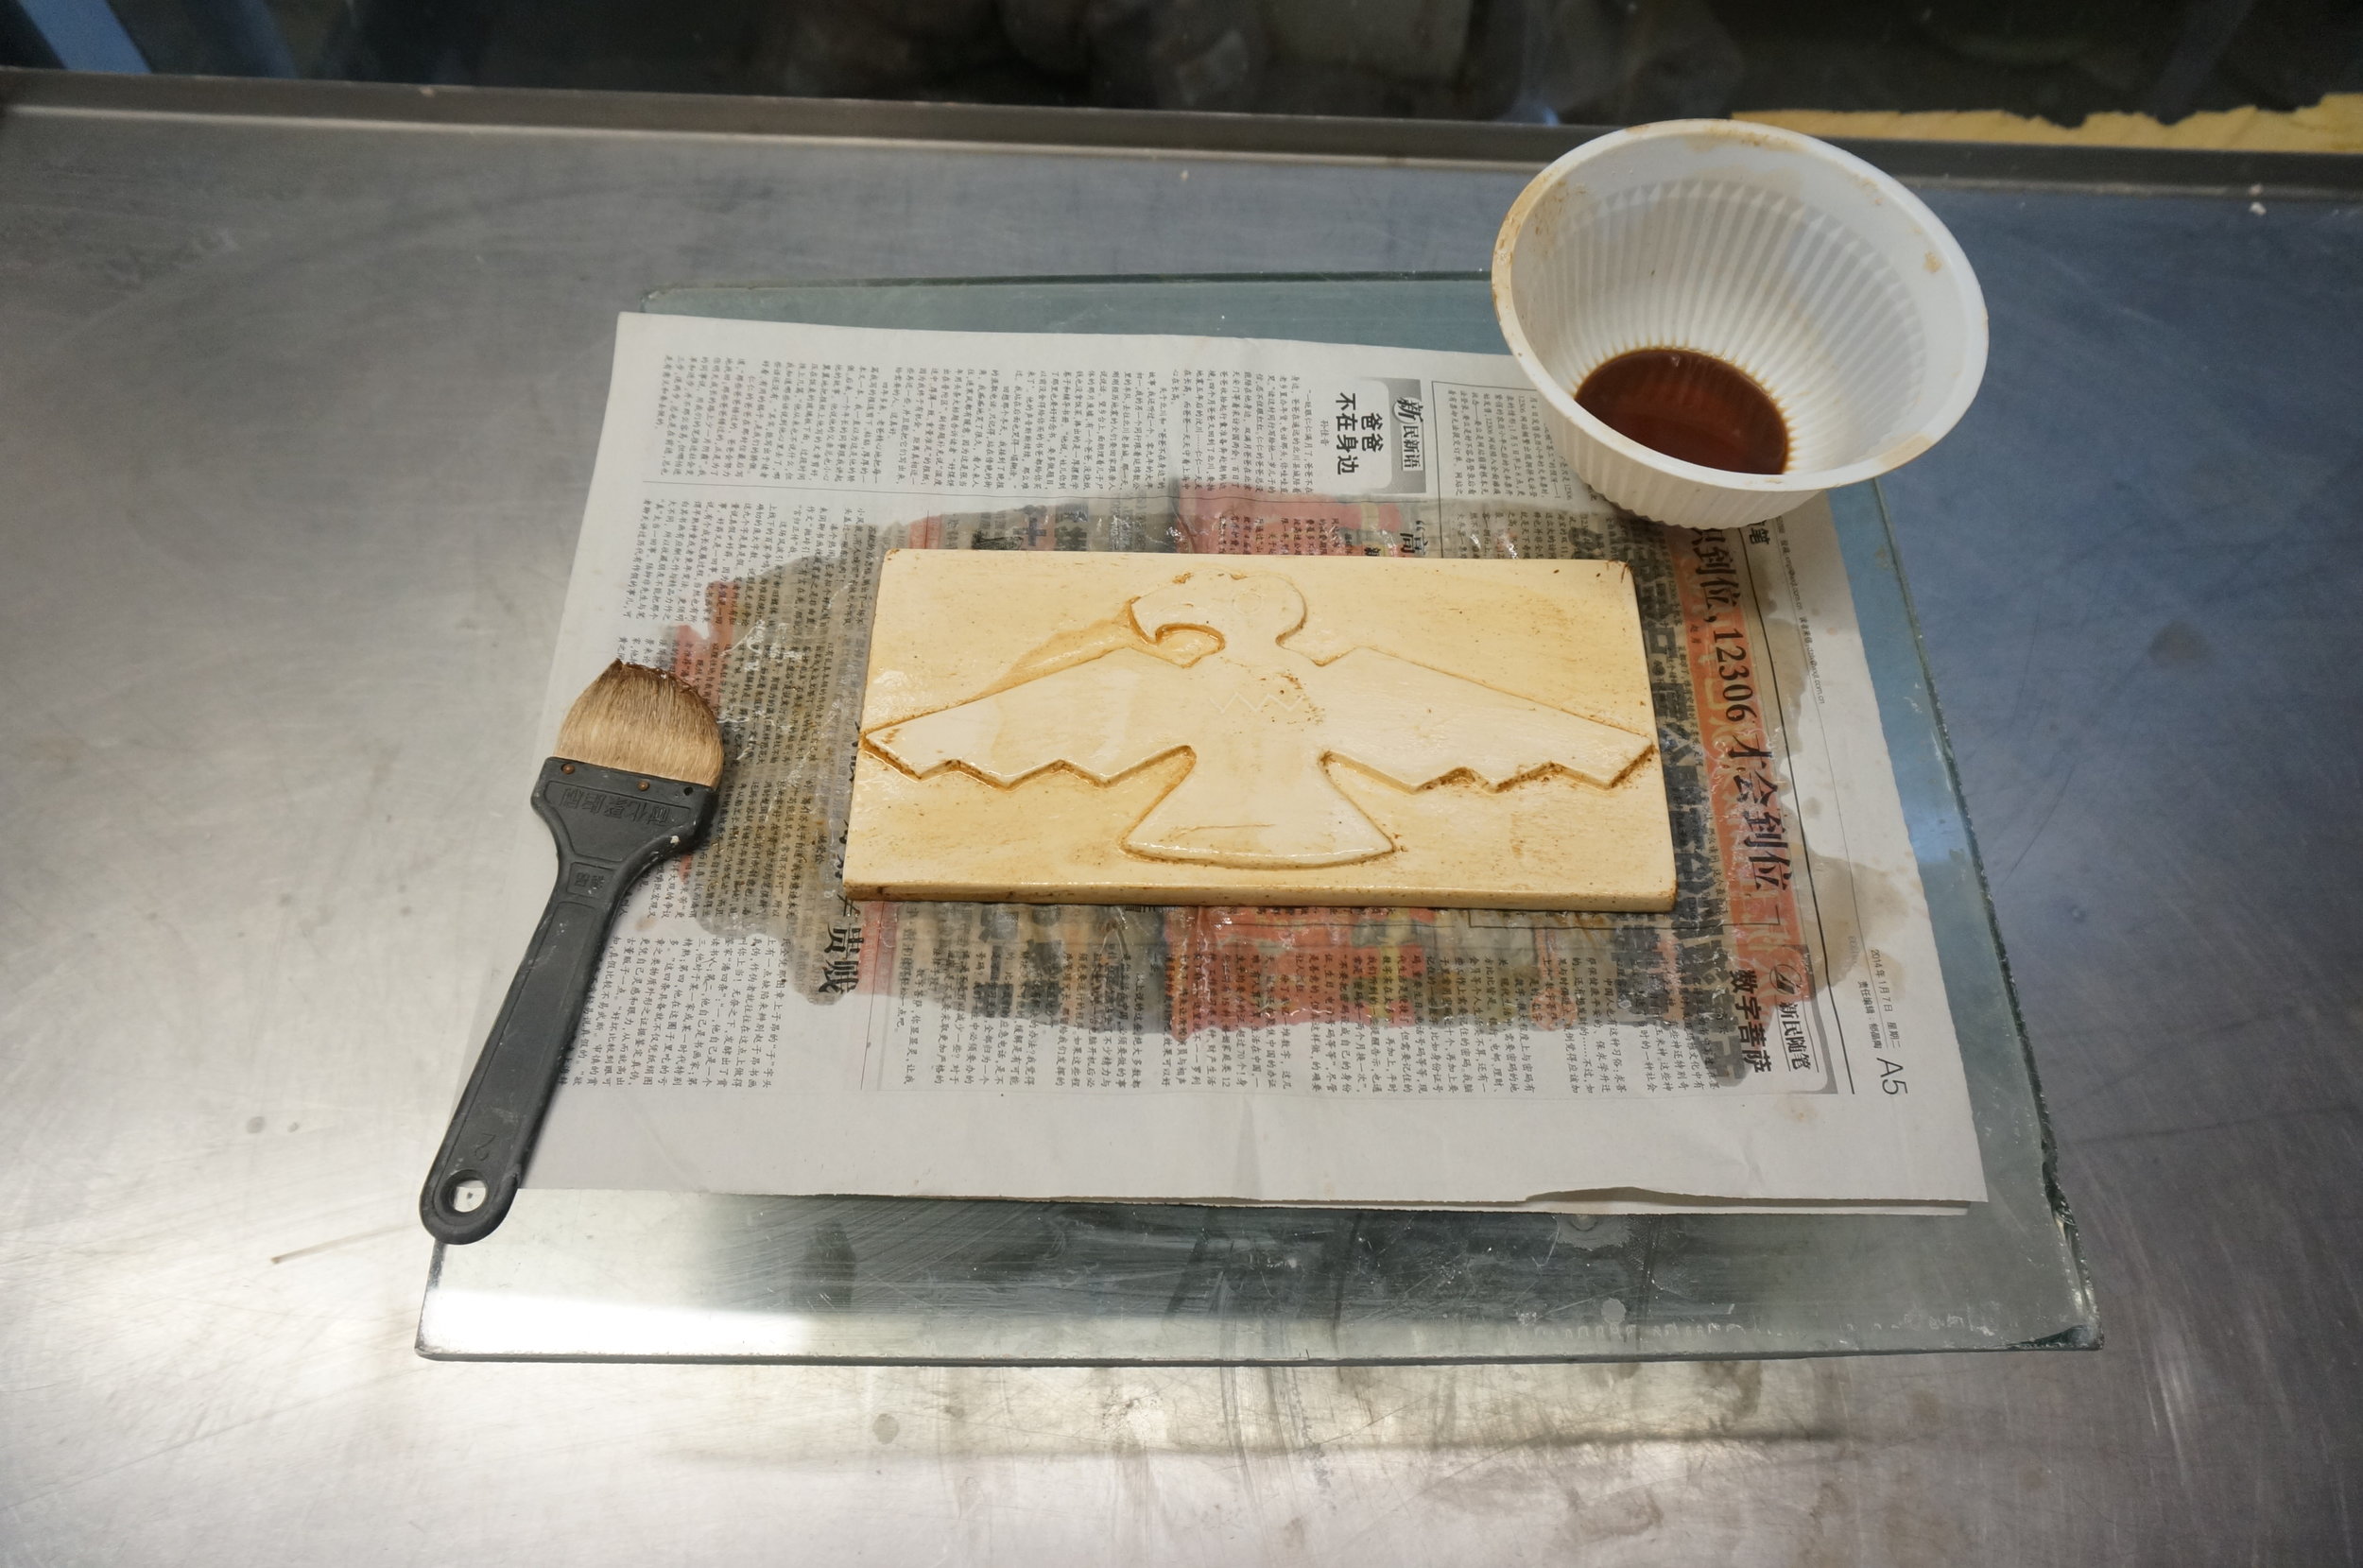
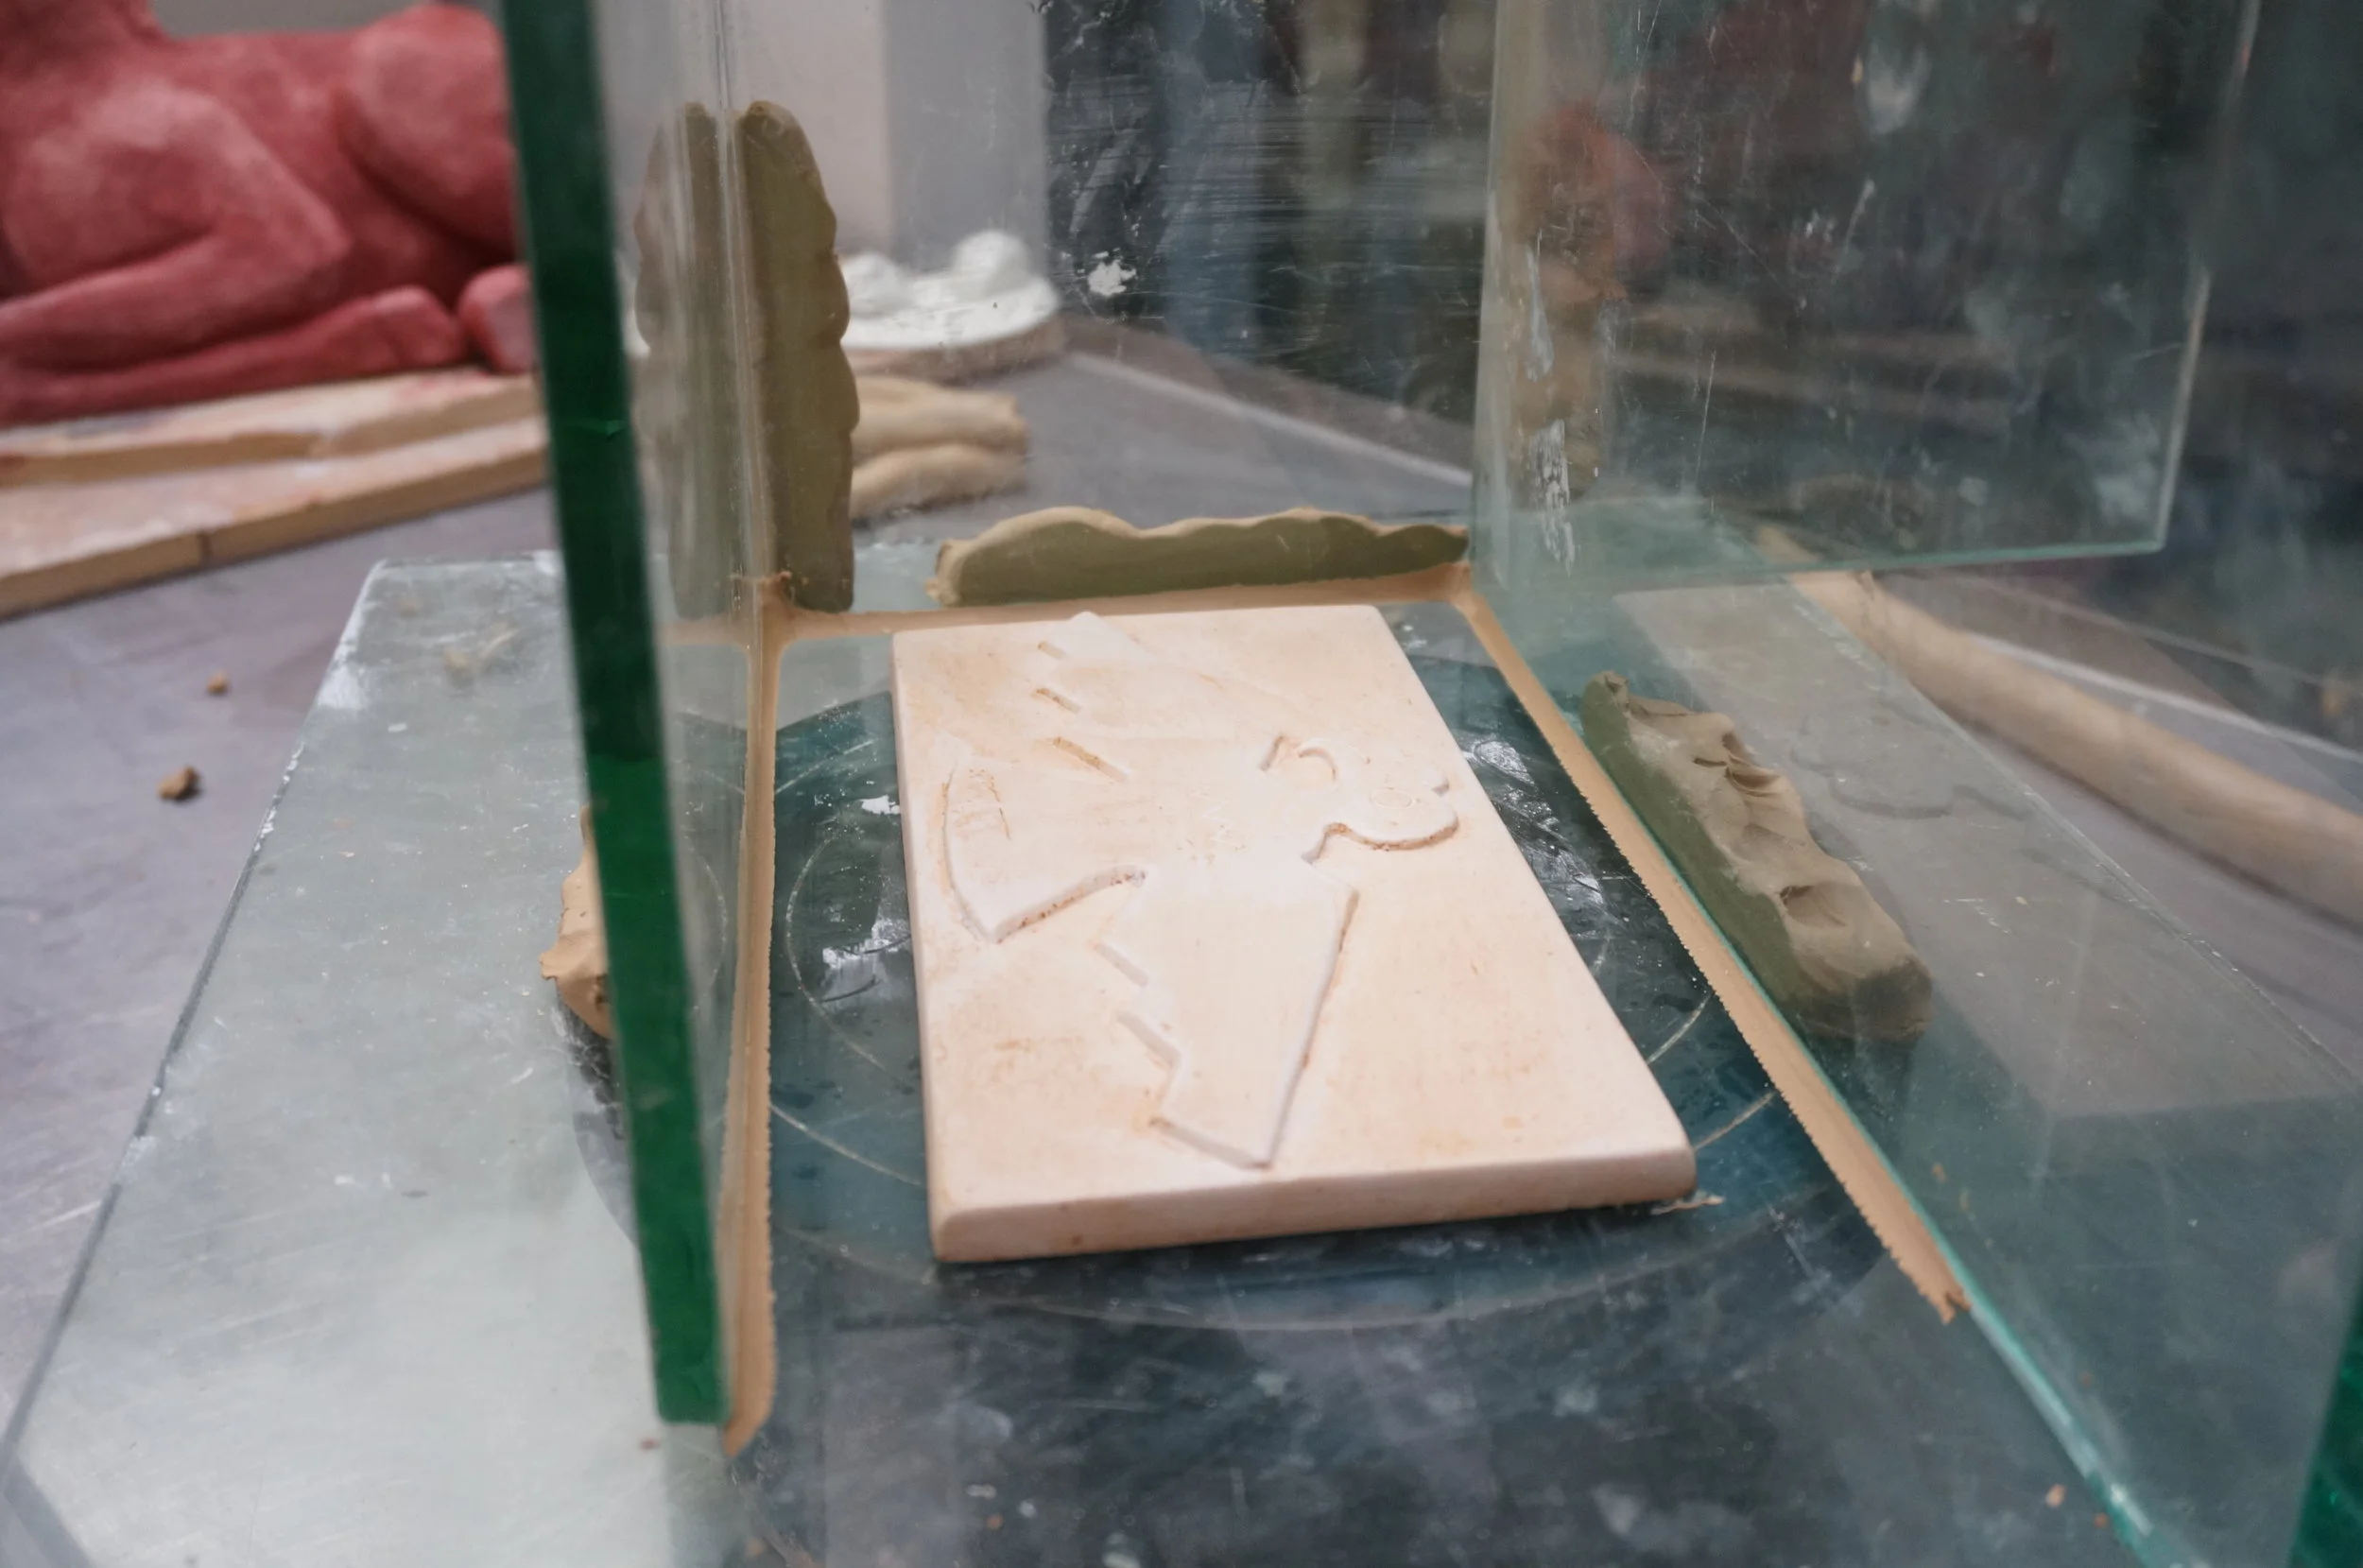
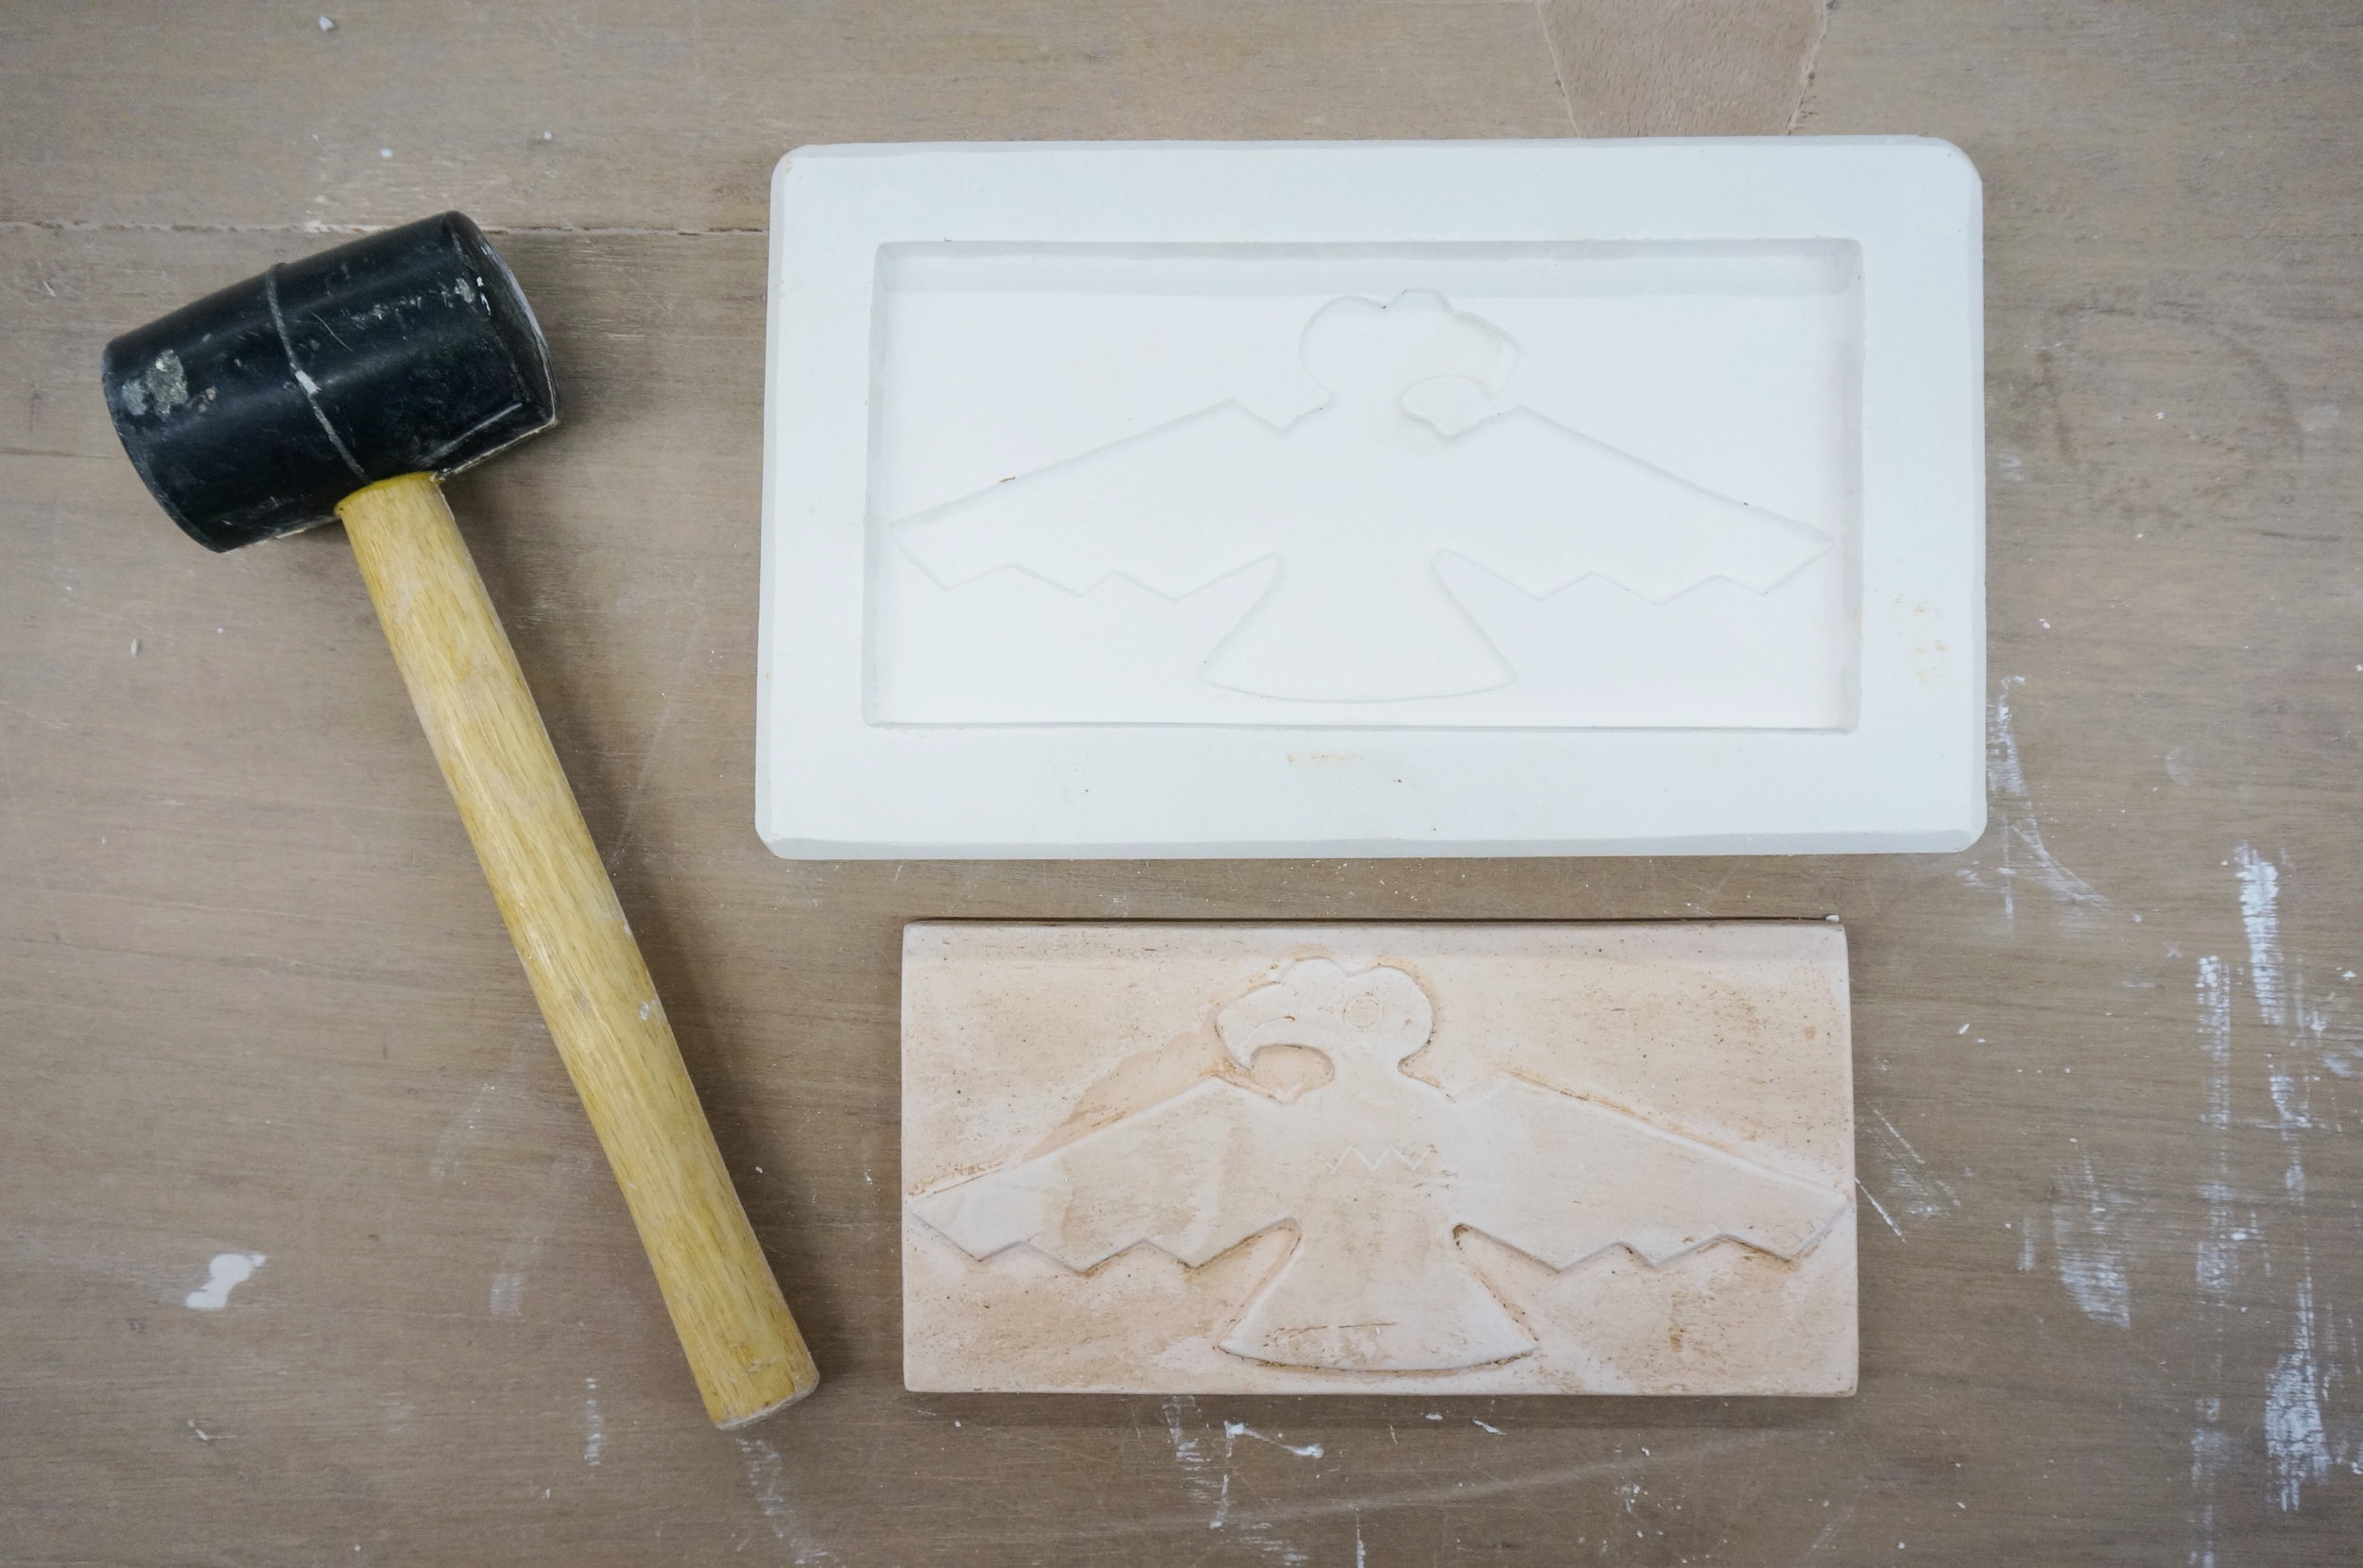
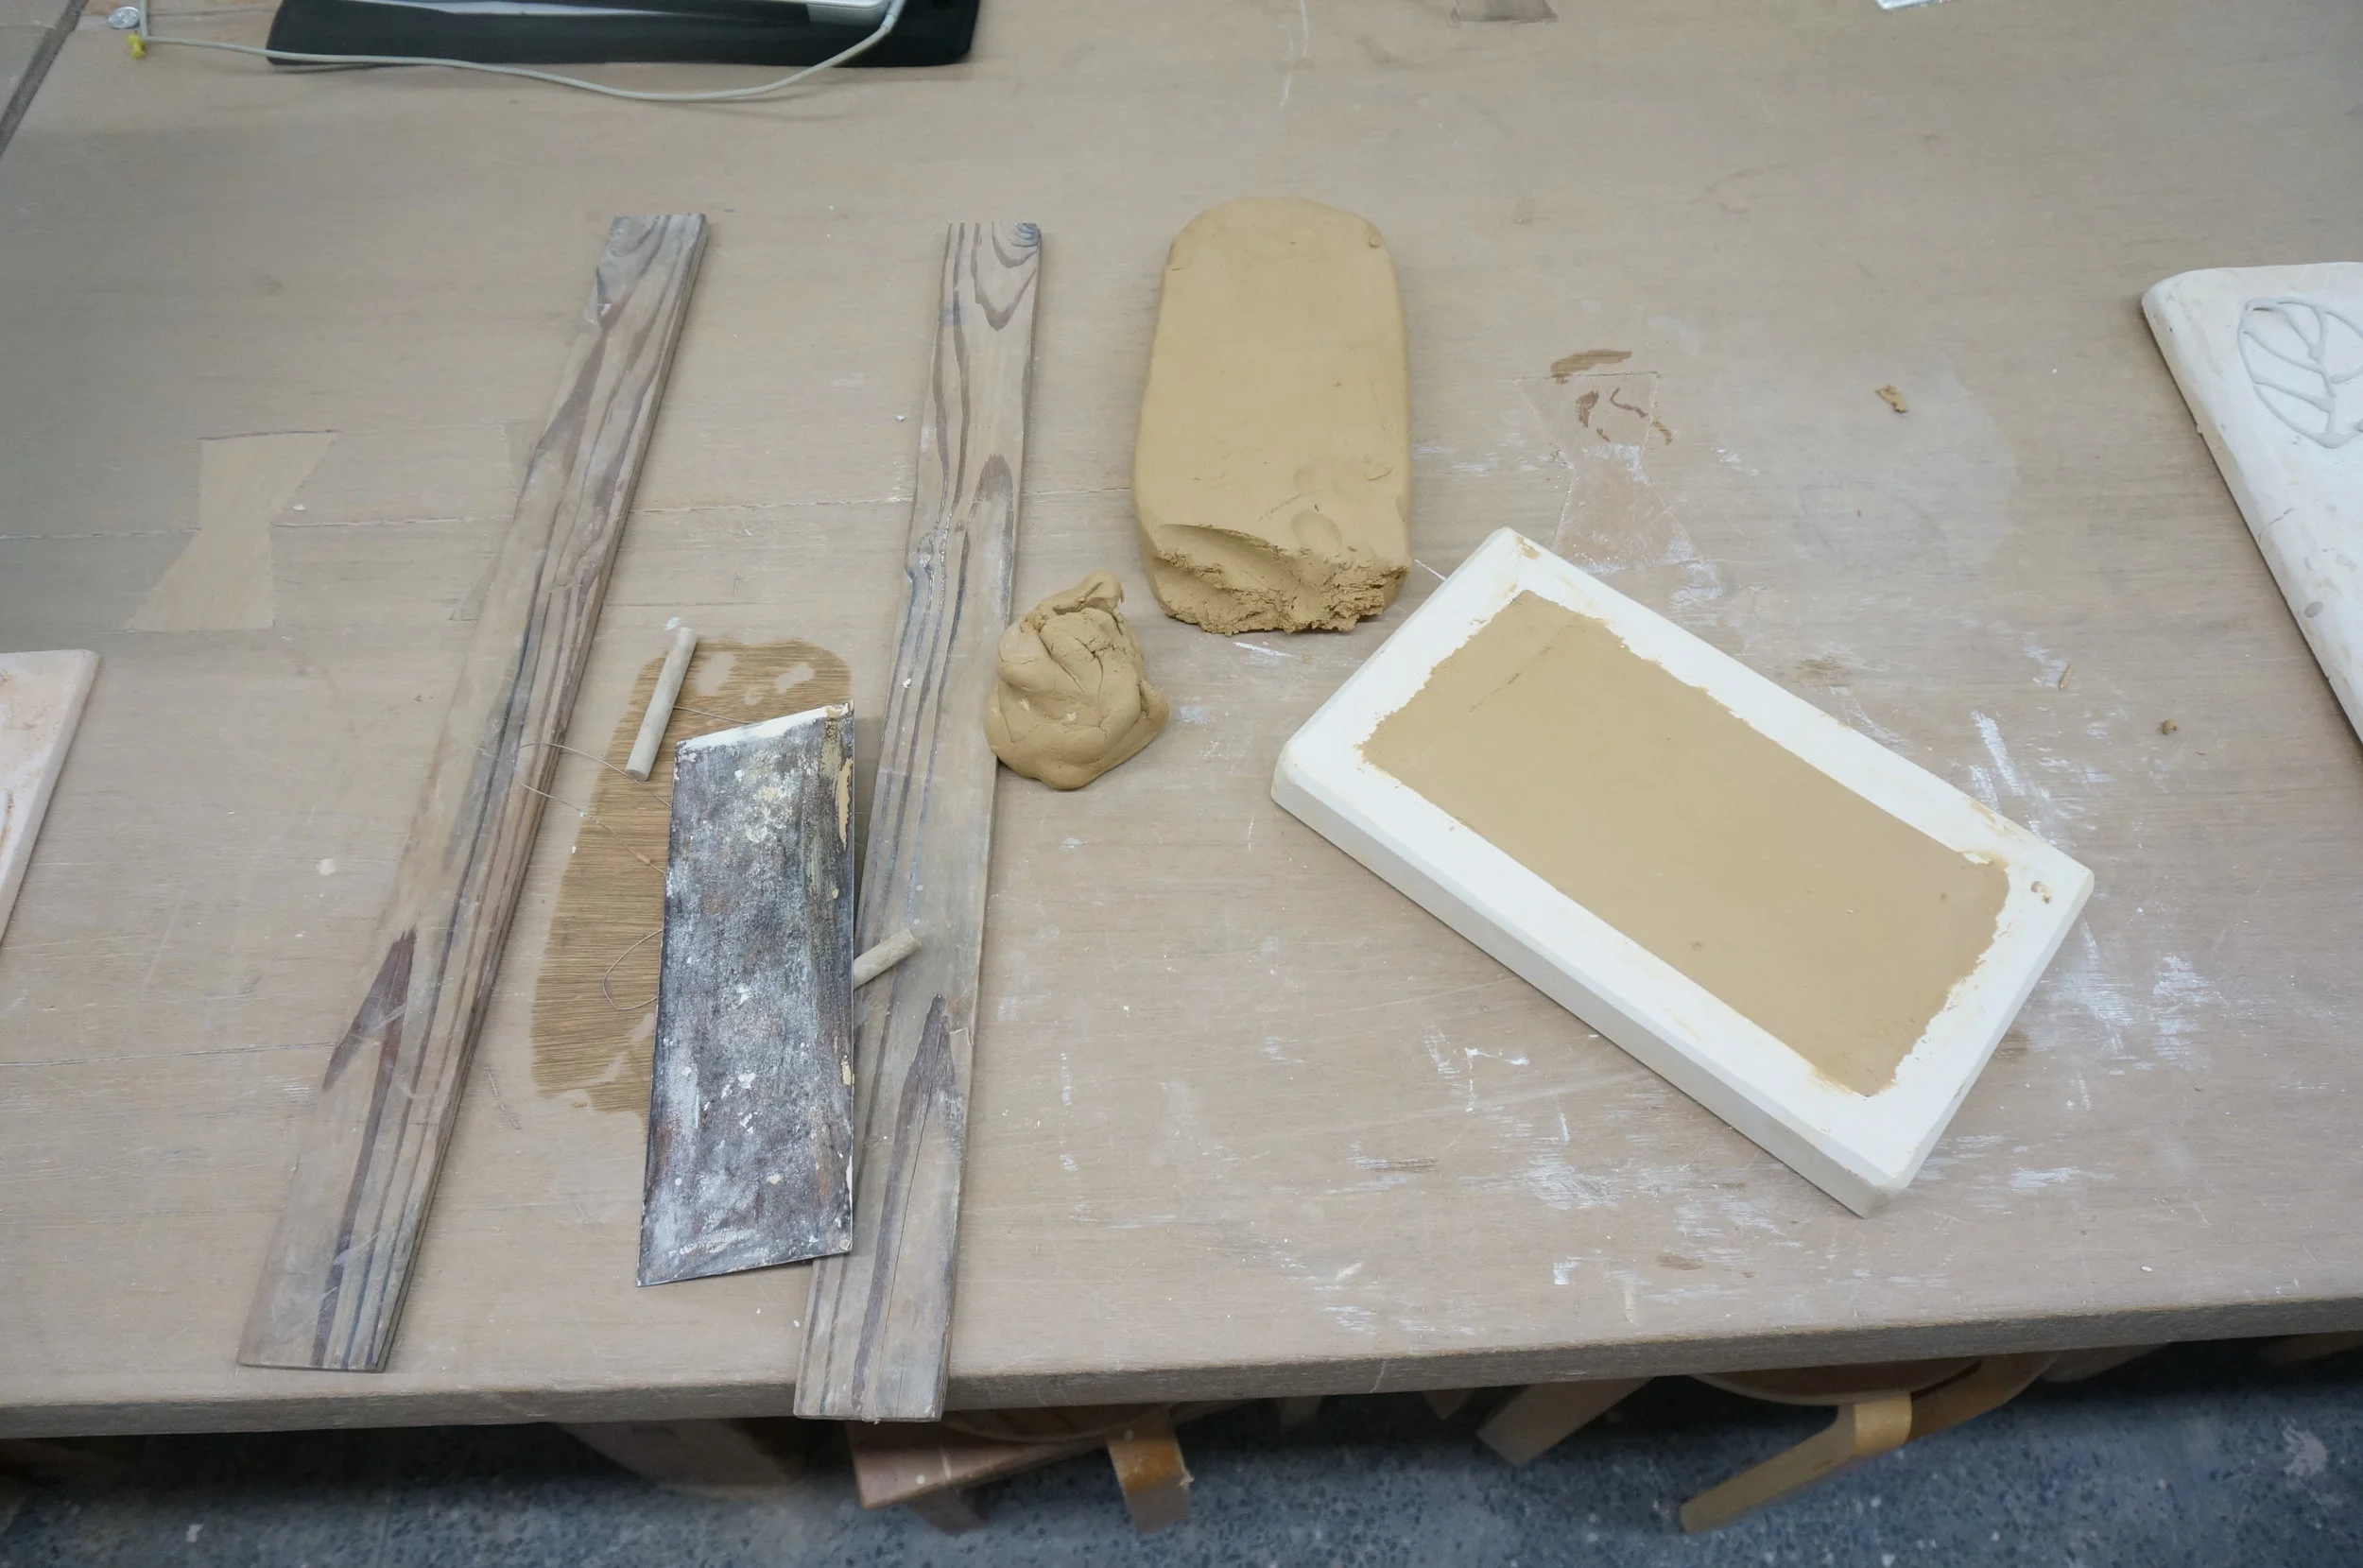
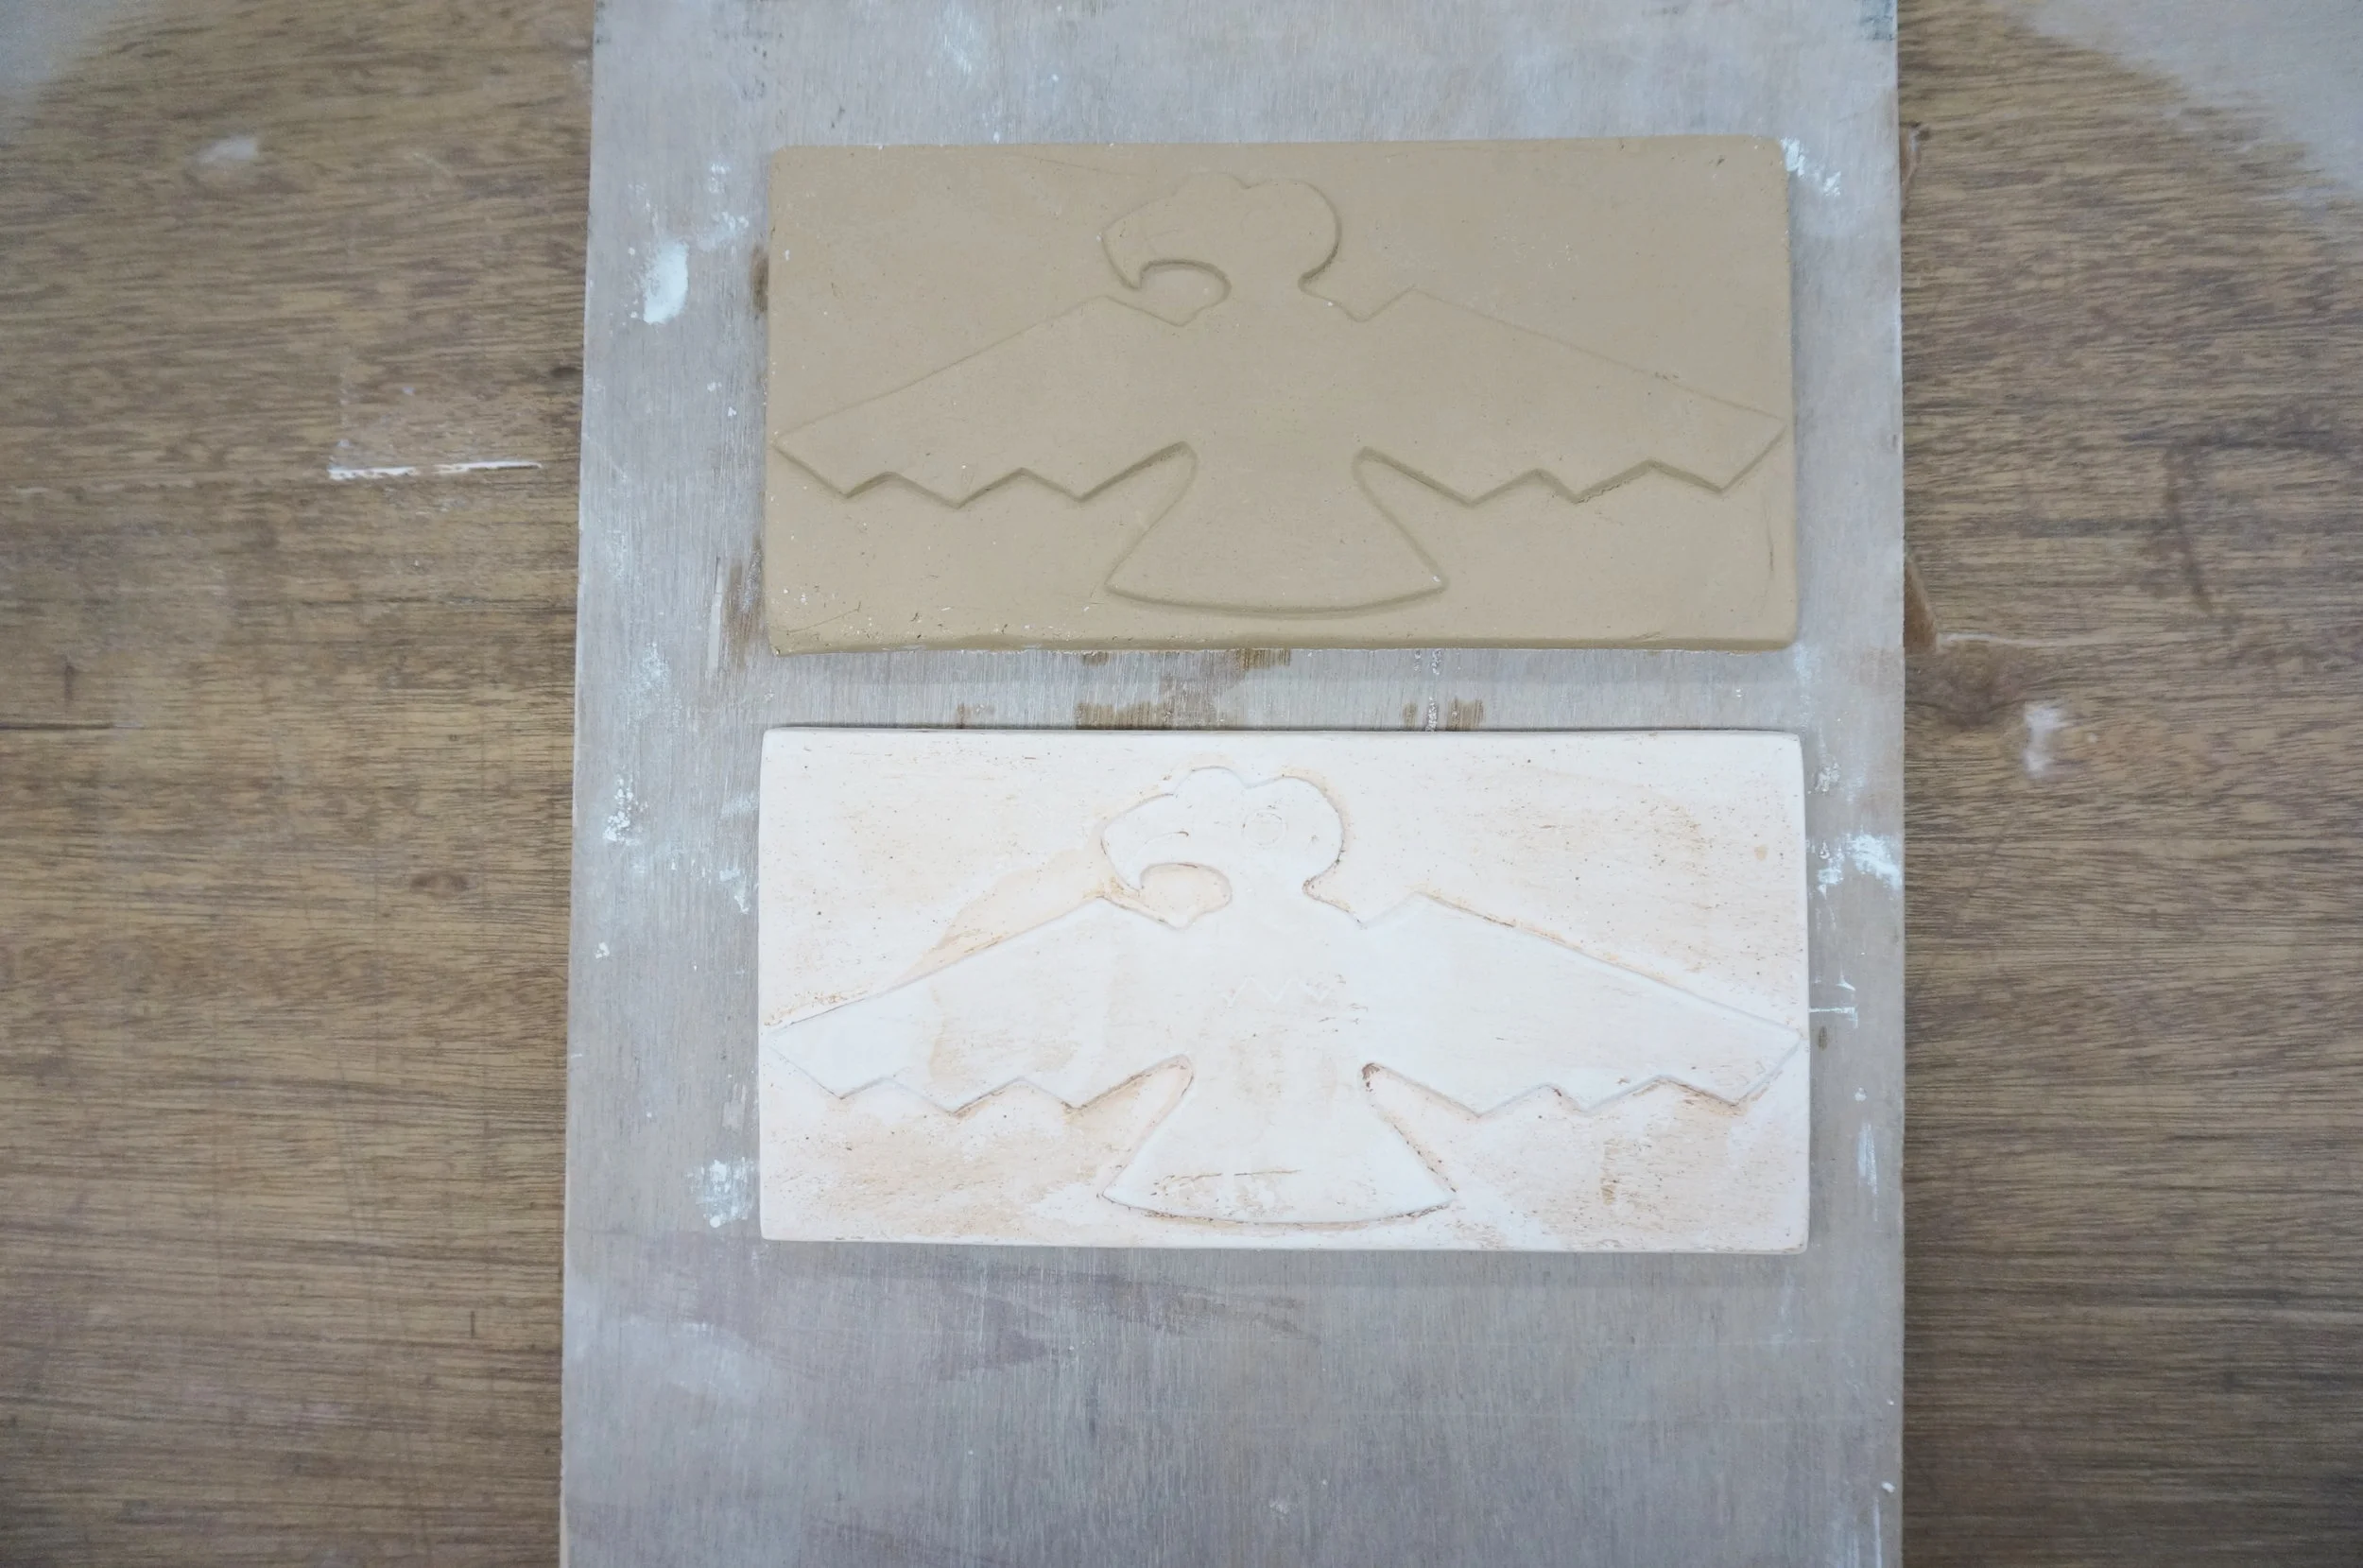
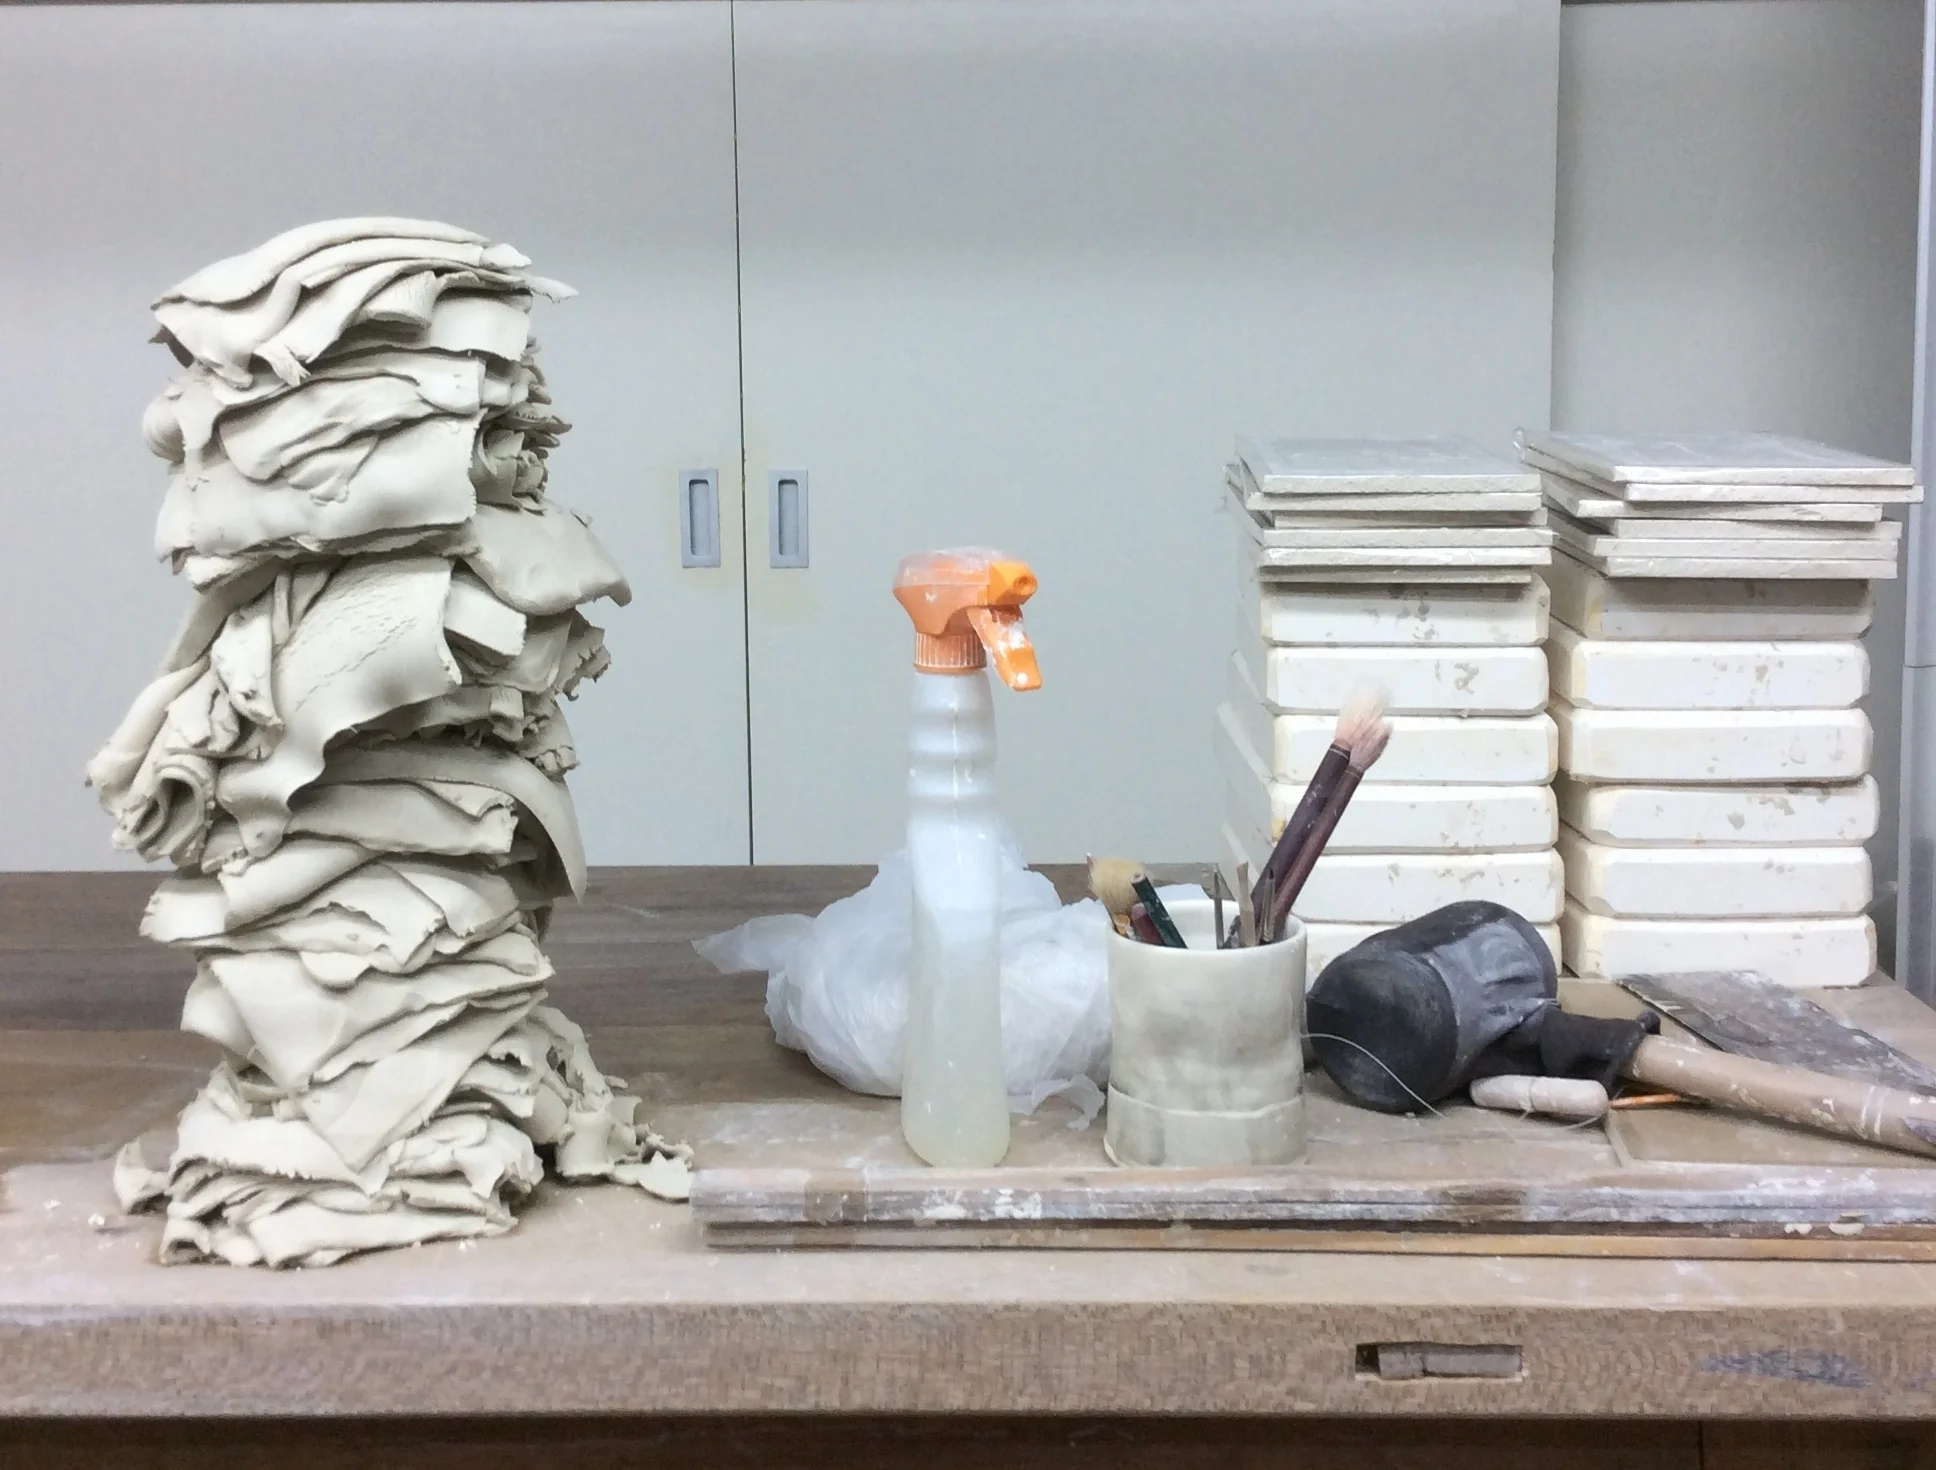
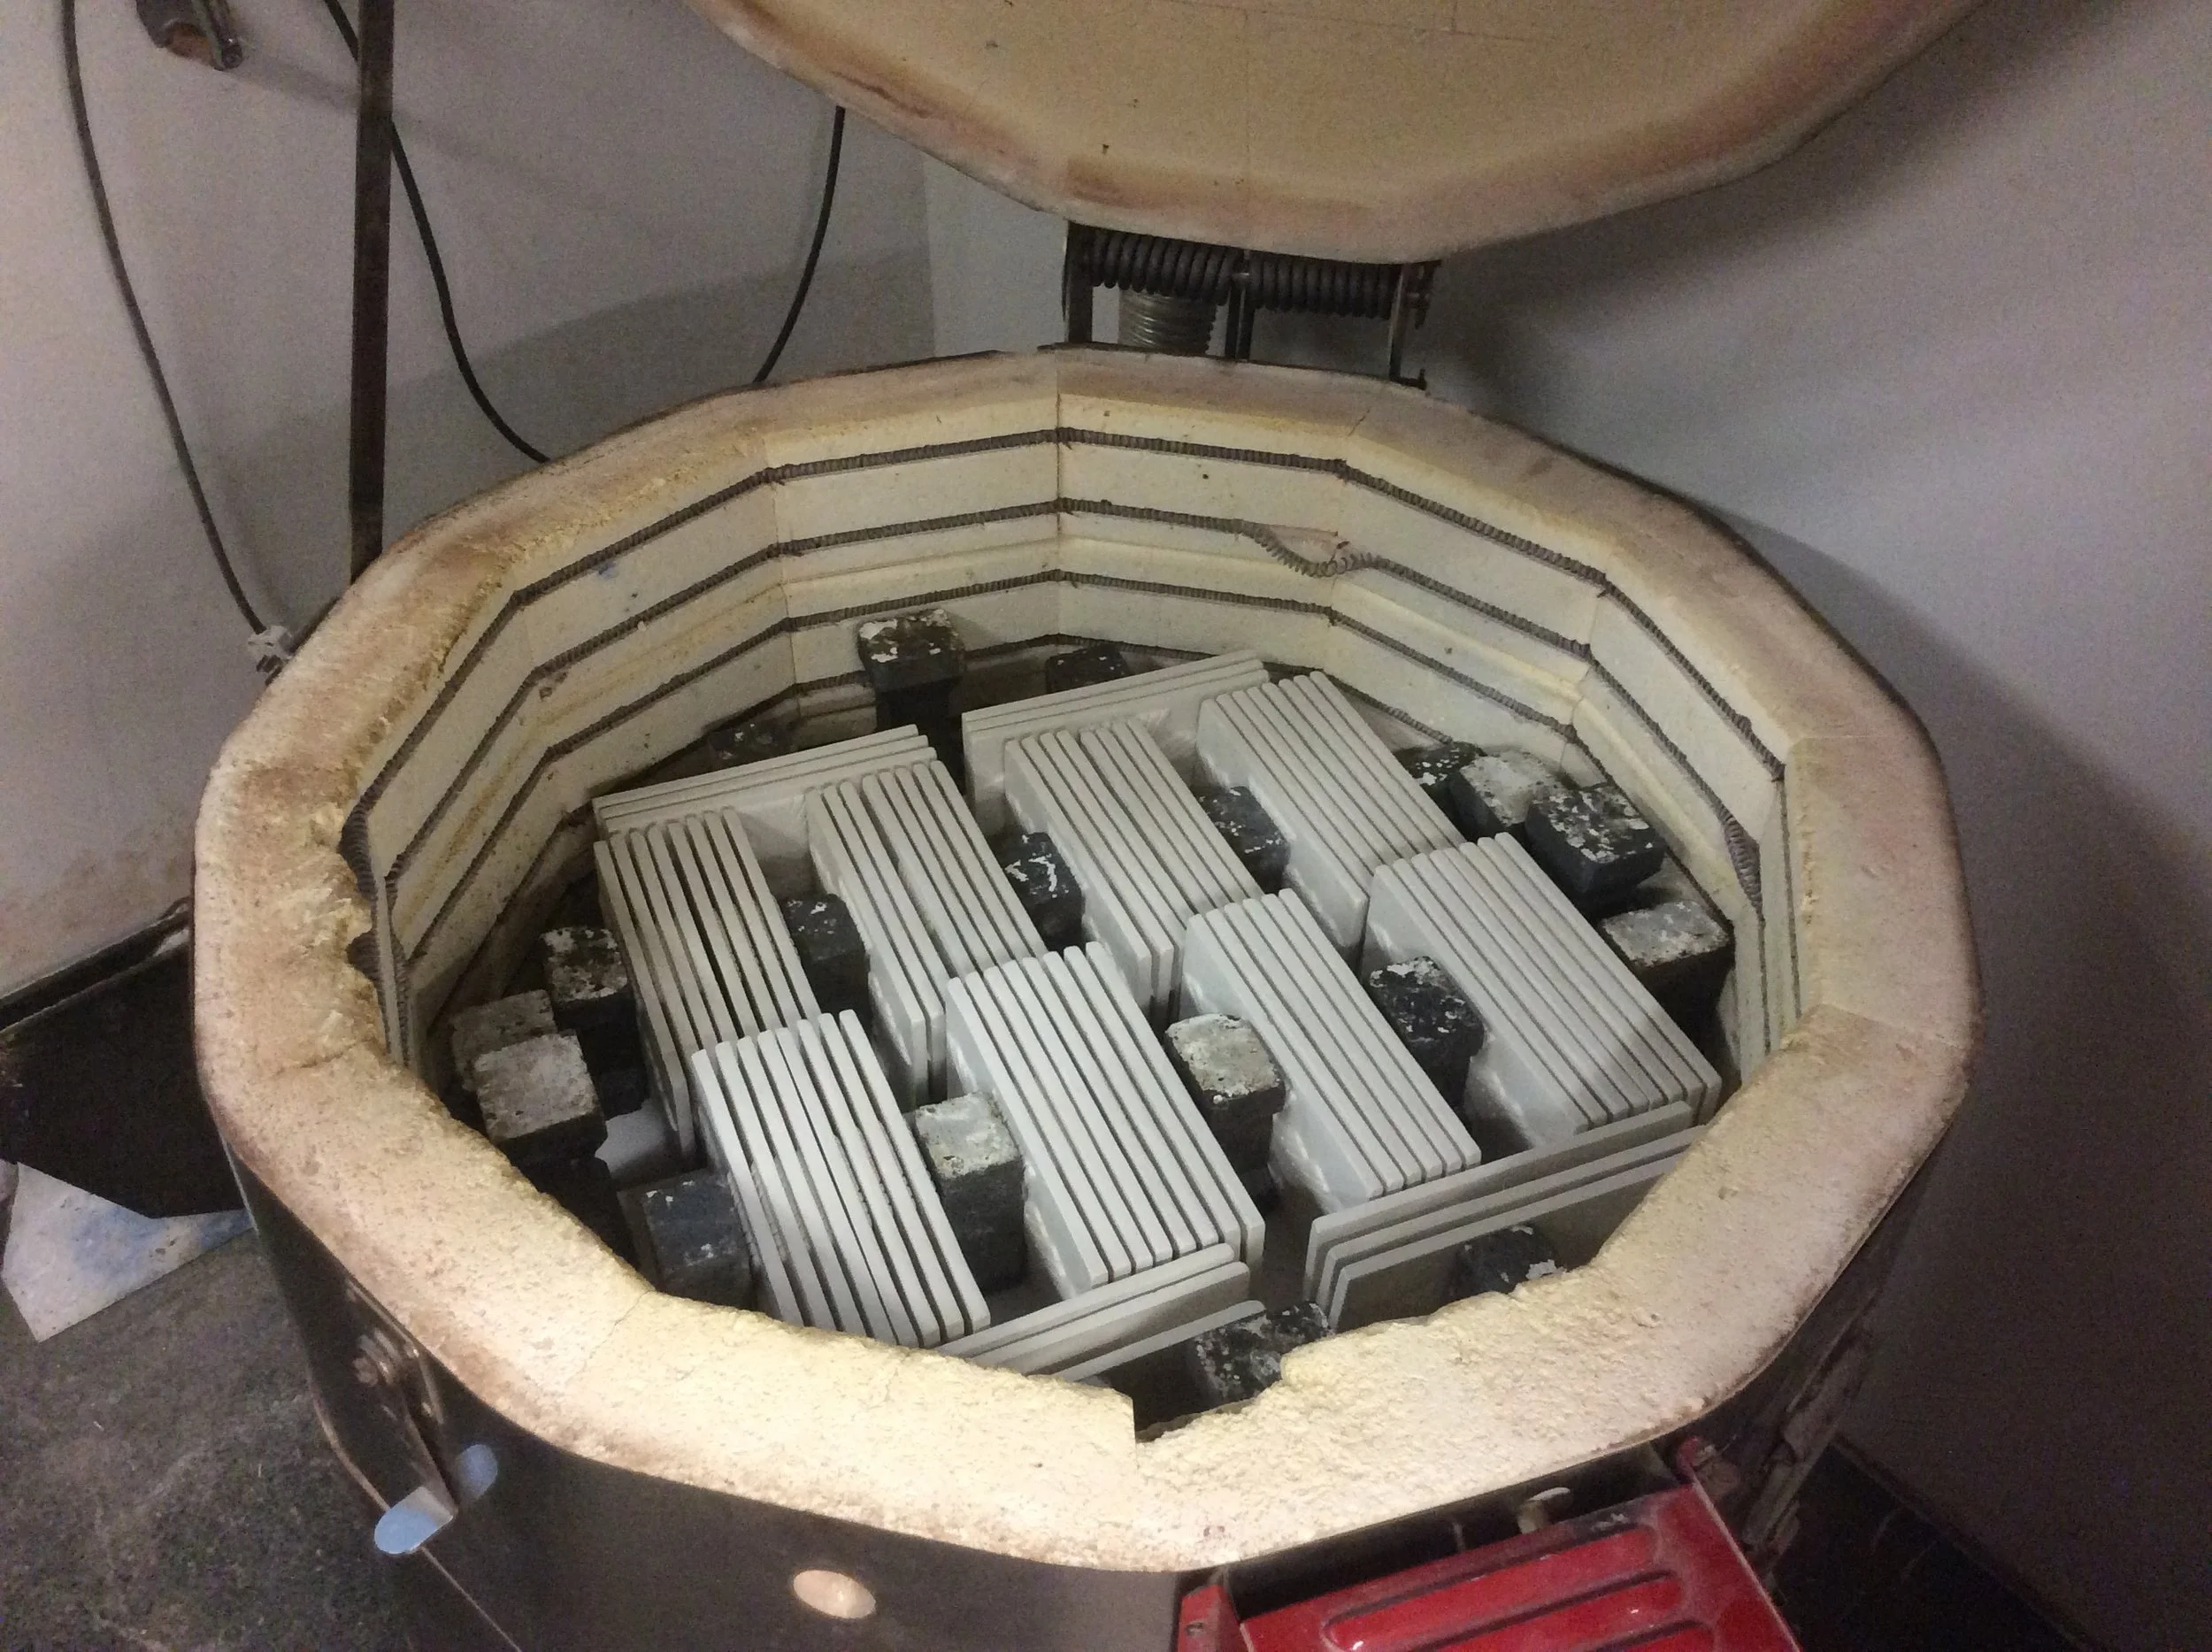
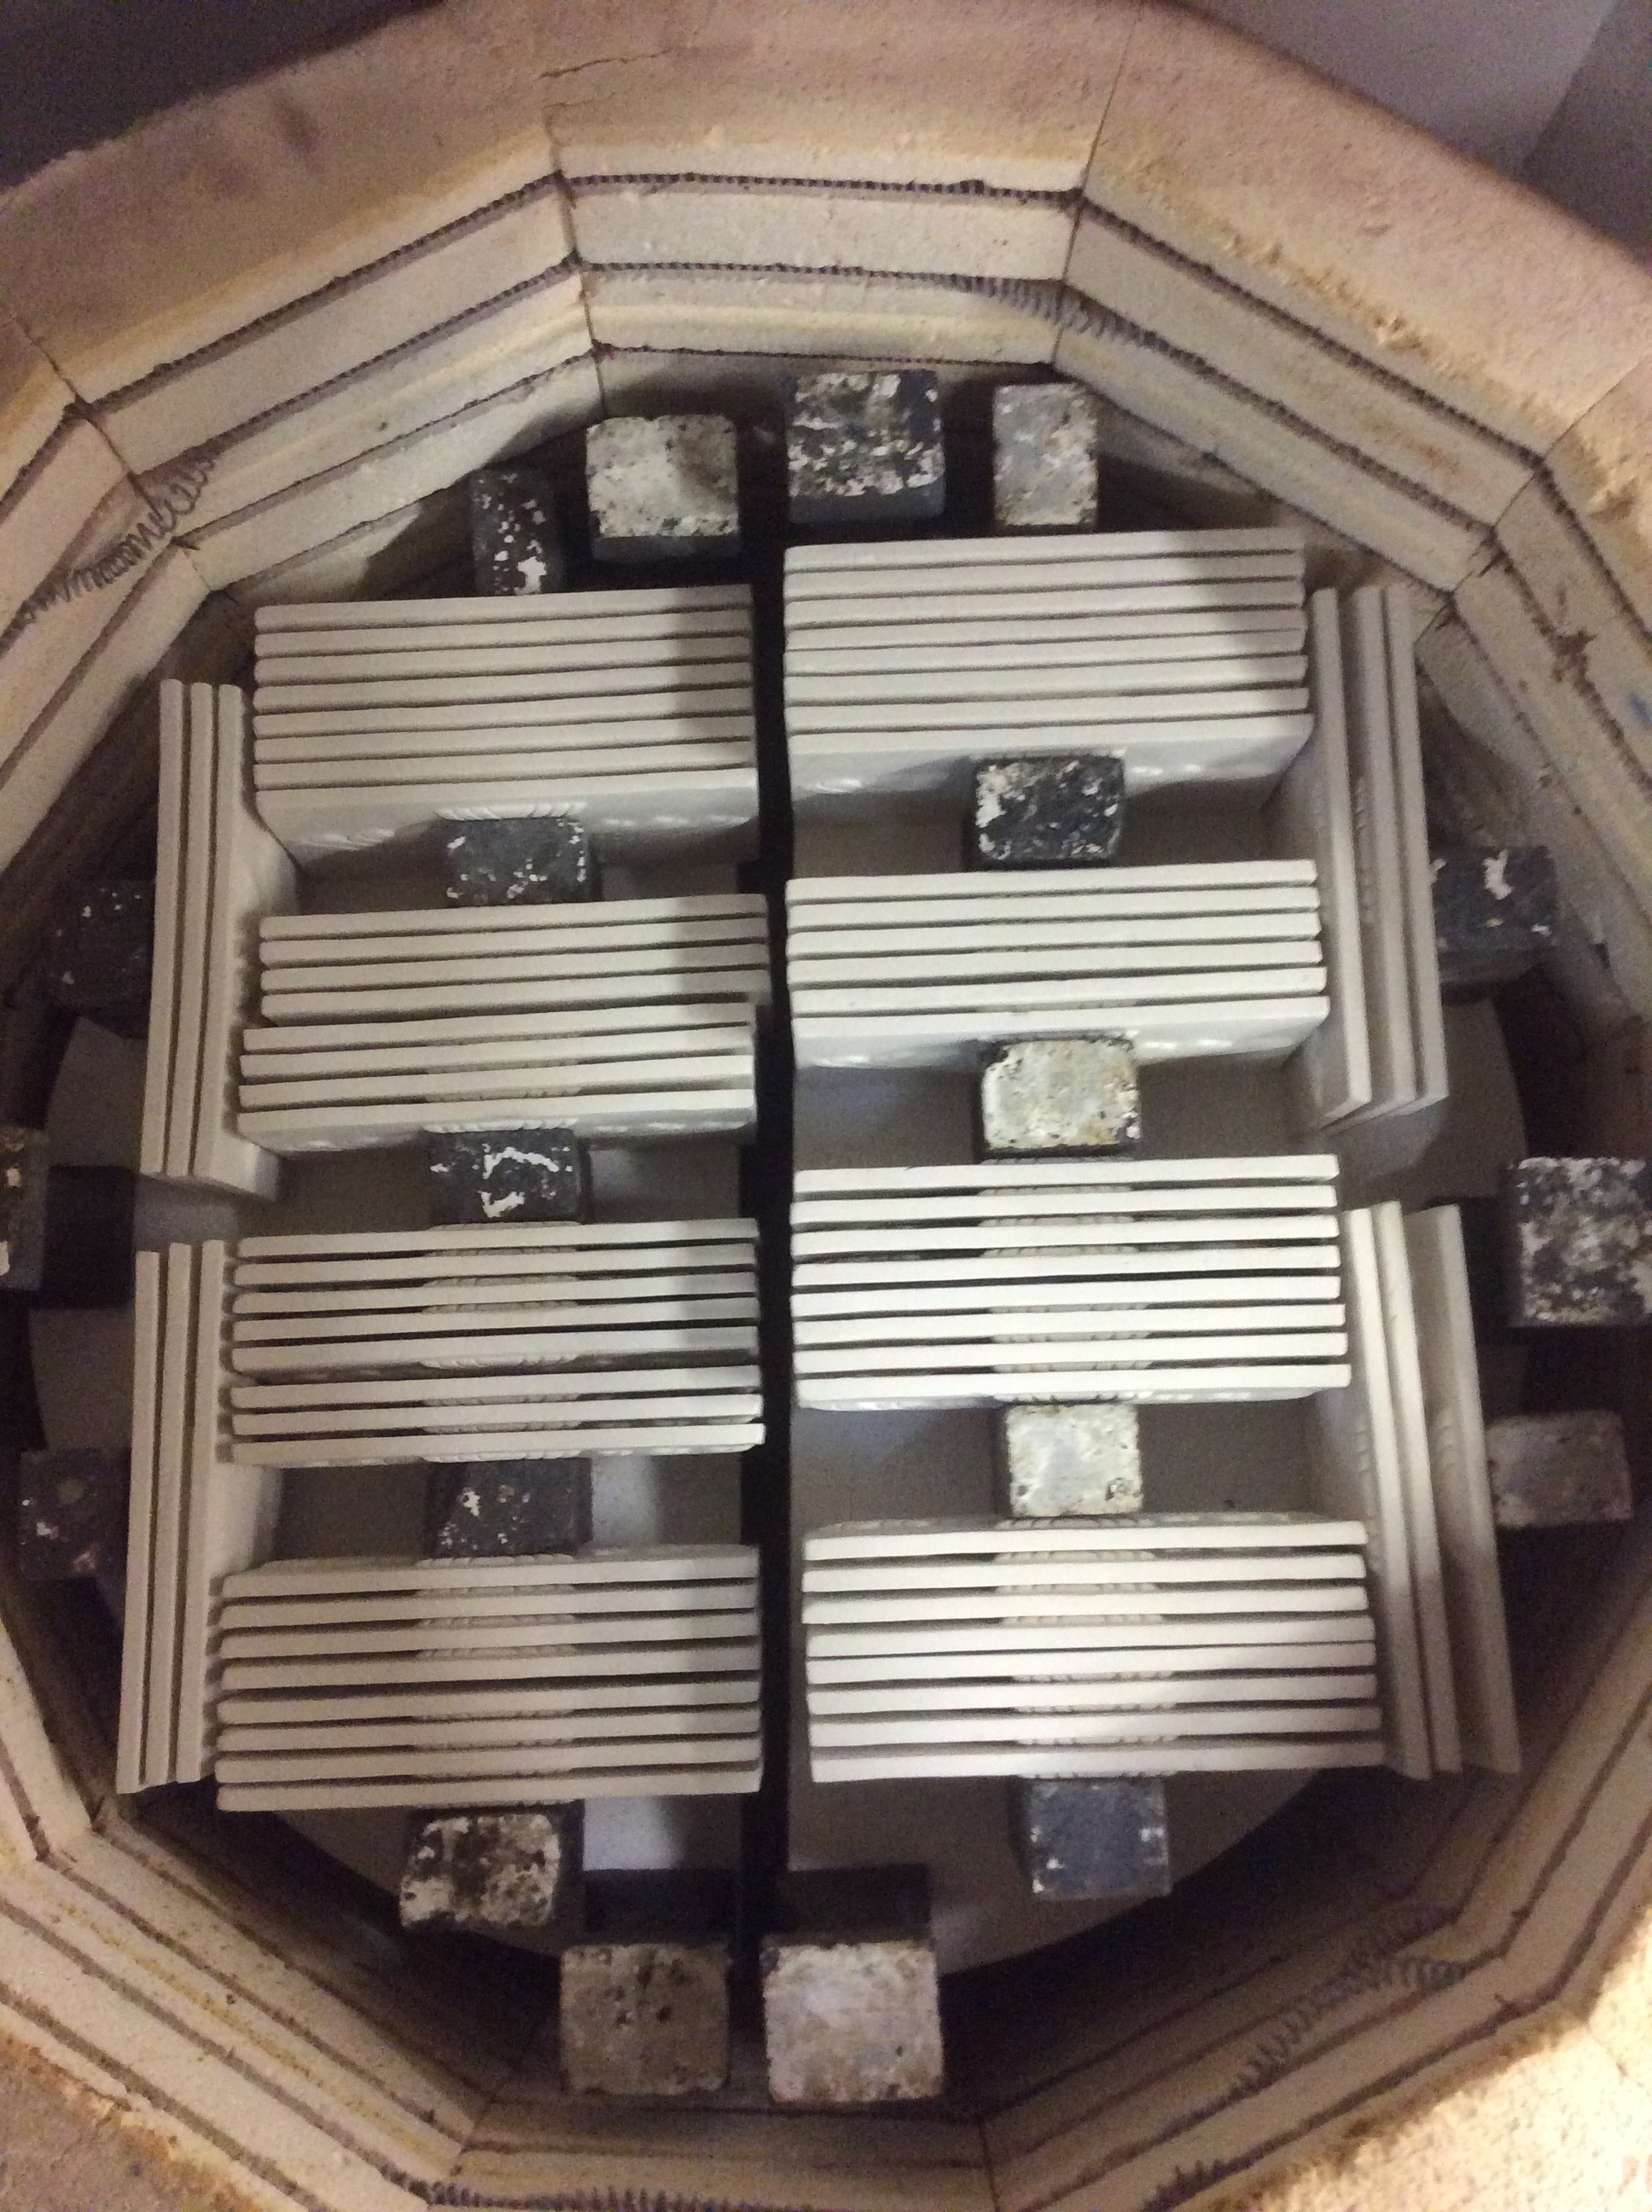
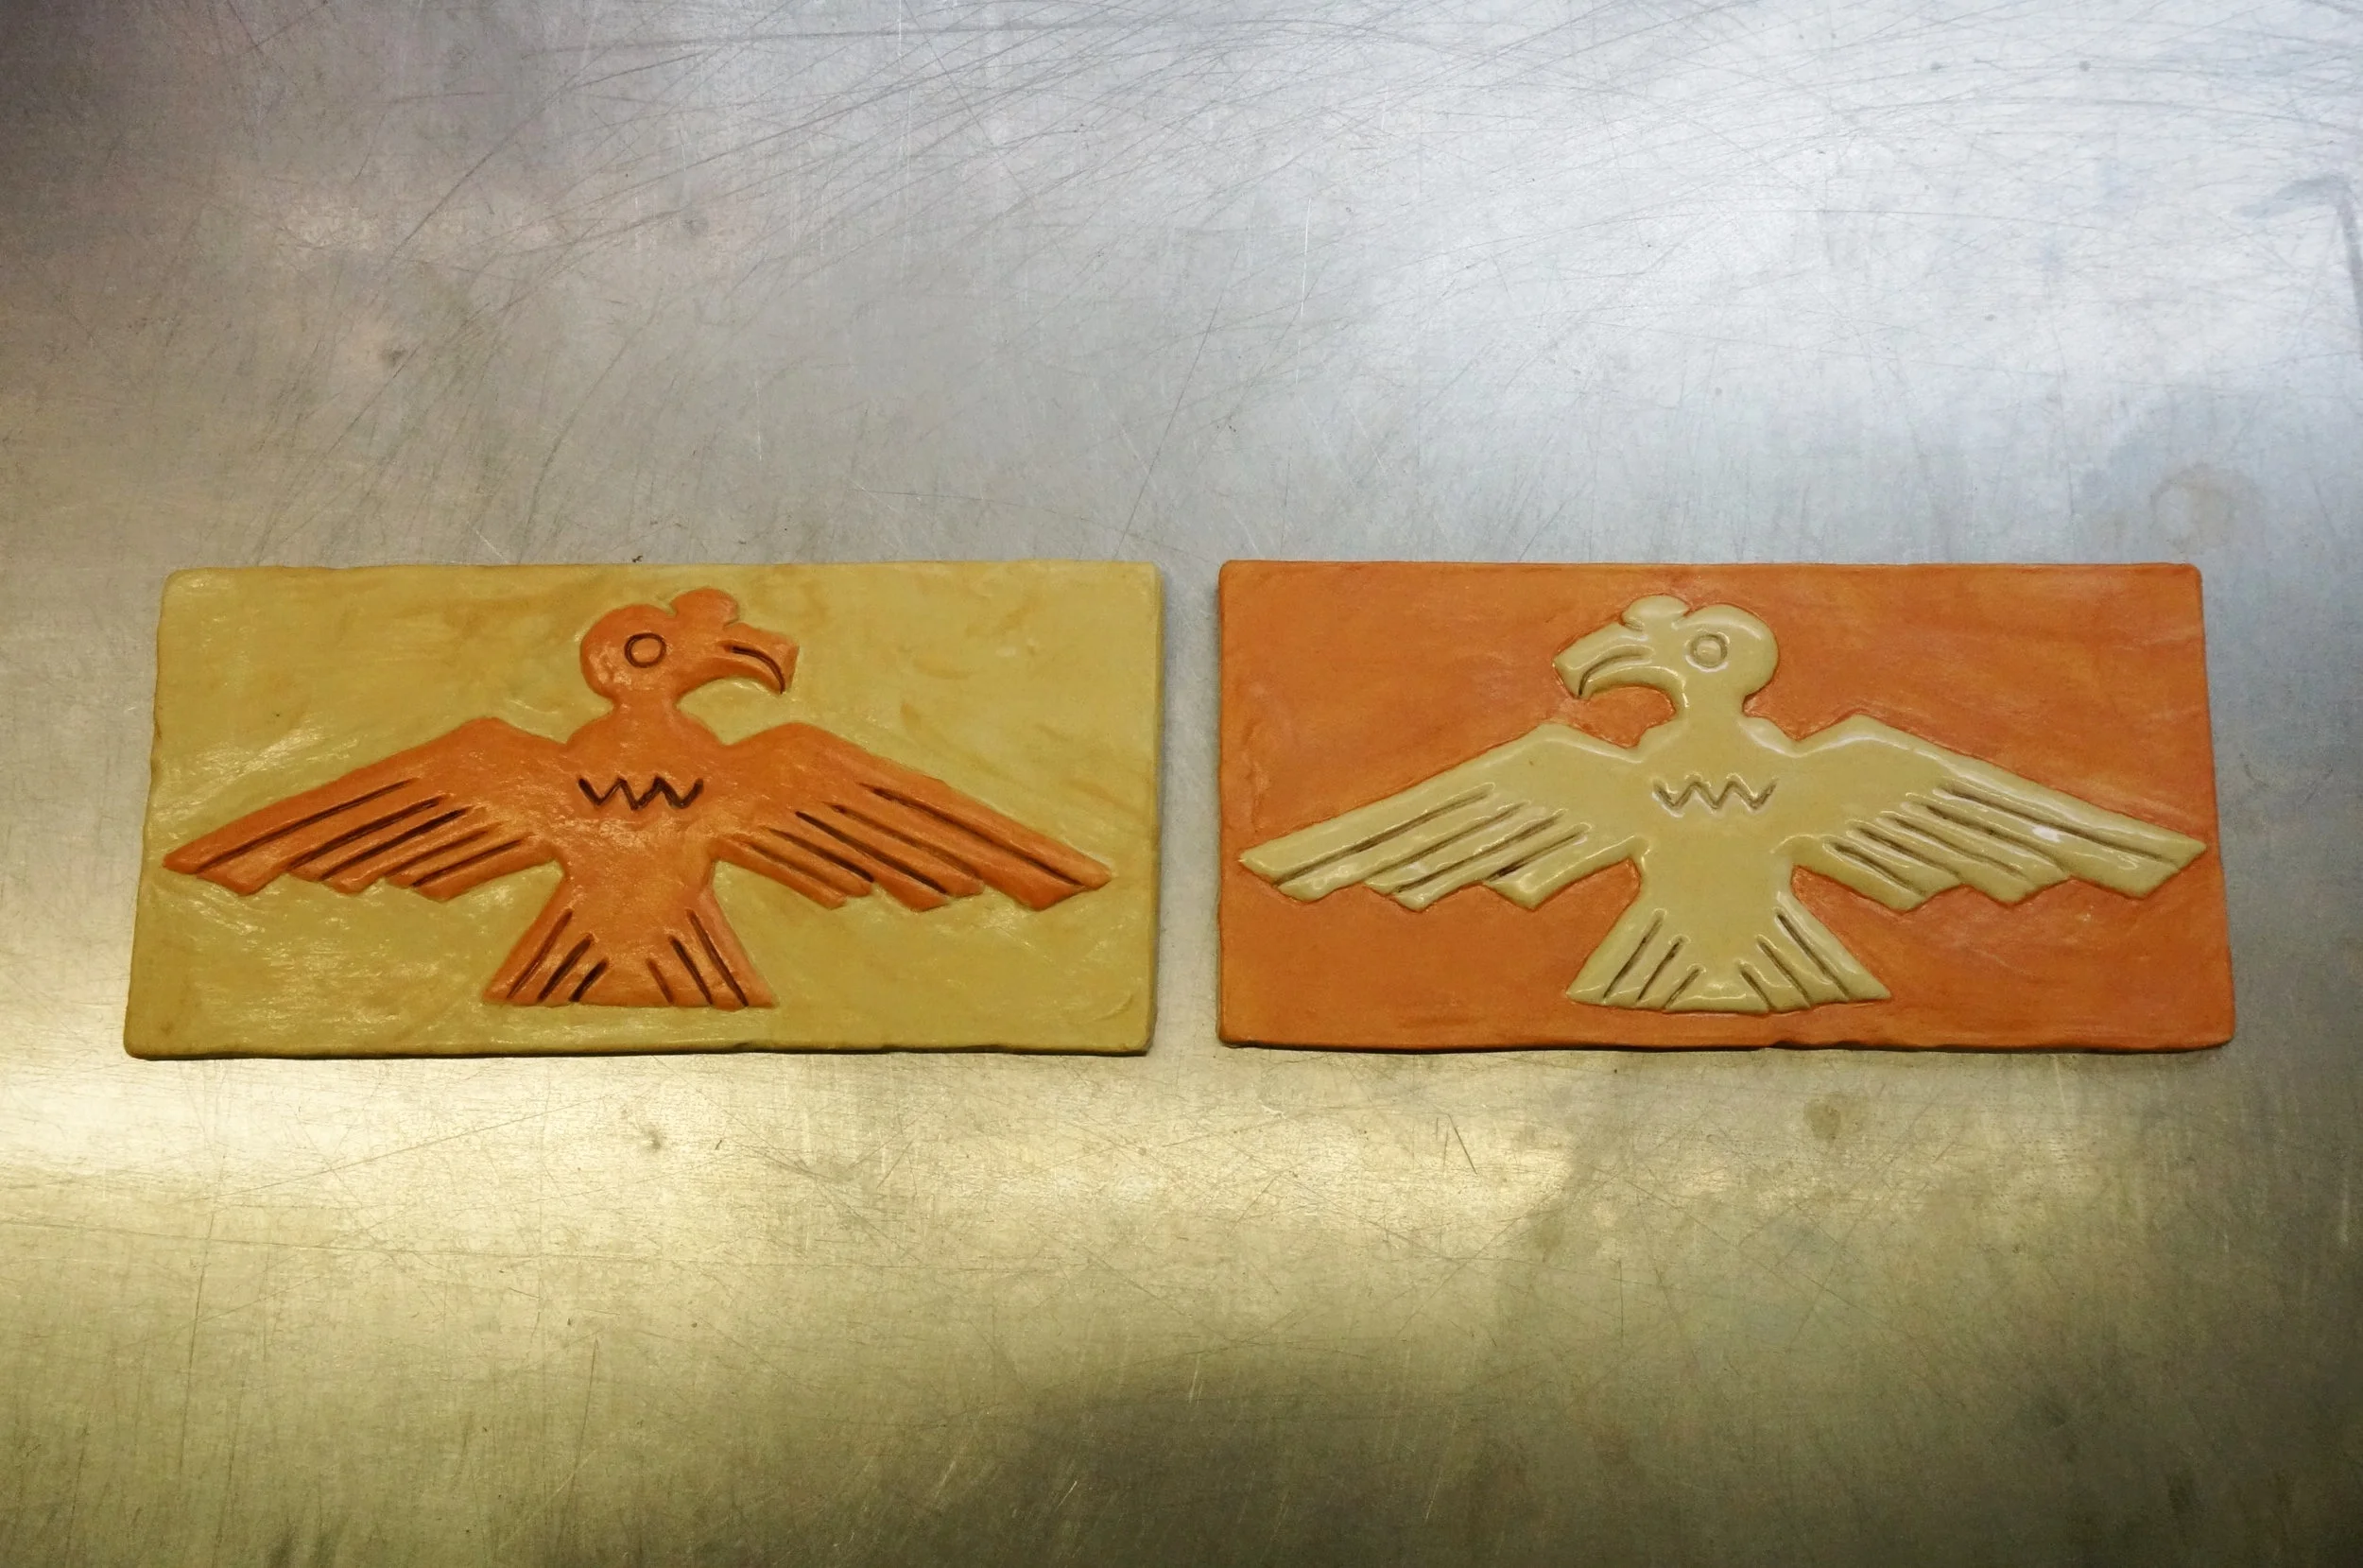
In the Summer of 2014, I was approached by a colleague as to whether I would be interested in a commission to make approximately 650 handmade ceramic accenting bathroom tiles for the new Disney World that recently opened in Shanghai. The entire processes of prototyping and production took over a year and four months and much more time and energy than originally anticipated....as any commission normally does. But, all of the hard work and long hours were forgotten recently when I was surprised by some installation photos sent to me by friend's in Shanghai who happened to stumble into the particular part of the park, "SOAR," where the tiles where placed (hopefully the other bathroom patrons were not creeped out by my friend, YiFei, taking pictures :-)
From my understanding, part of the agreement for Disney to open a theme park in China required them use a majority of domestic Chinese vendors for this production. This basically means that most, if not all of the tiles, carpet, window shades, etc. that Disney had already established to be produced by other factories throughout the world, now had to be re-prototyped, tested and produced by Chinese companies and factories specifically for this park. This is where I come in. While the "falcon" tiles I ended up making had originally been handmade in the USA for other Disney parks, the Chinese contractors hired by Disney had to find a company in China to as closely as possible, remake this same design.
As with any project, there are always things to be learned. In particular with this project we were given a very small size variance threshold of 1mm in length and 0.5 mm in width for each tile. If you have not worked with clay before, this is an extremely small window of variance when hand making anything! Clay shrinks approximately 6-8% during the drying process and another 5-7% during the firing process for a total of 11-15% when finished. Unfortunately, there can be many variables during the process, such as bags of clay having different water contents, warping during the drying, etc., that can make hitting the size requirement very difficult. Because I used a press-mold to make each tile (to try to keep a hand-made look and regularity), I realized that if I make the mold slightly larger than what I need, when the tiles are finished drying, I can use a dye to hand-trim each tile exact to what it should before firing. By doing this, I did add an extra step, but I was also able to have much more control of the sizing.
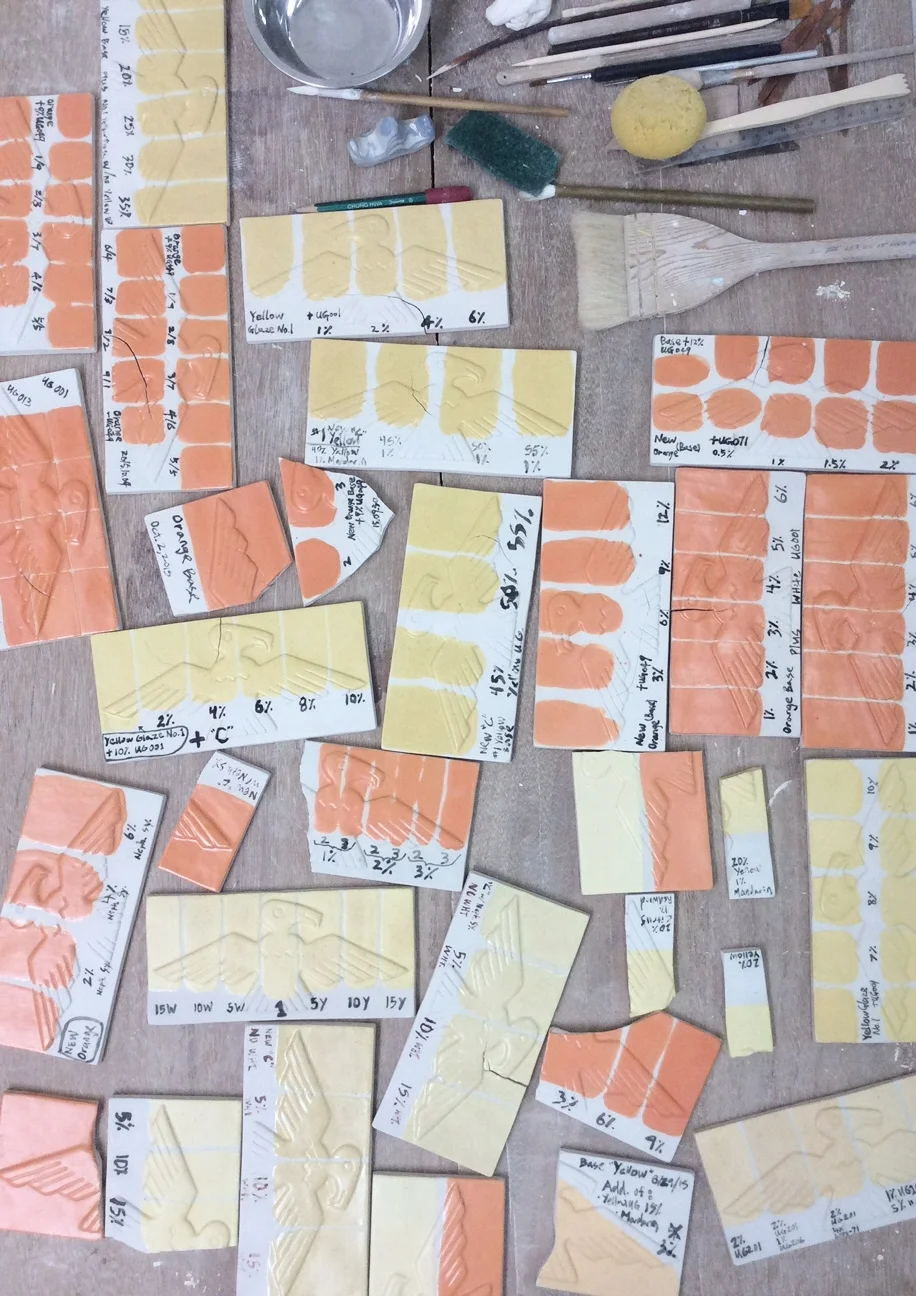
Another part of the project that was particularly difficult was first, making the glazes that matched the pantone colors we were given, and second, remaking each glaze without any discernible difference from the confirmed colors. Most simply put, glazes are made with chemistry. Glazes after being fired are glass on the top of vitrified ceramic. When trying to make a particular glaze, there are inherent concerns and variables like, clay color, firing temperature, glaze application, glaze opacity, etc., all that can make matching or pinpointing certain characteristics very difficult. Fortunately, we learned a lot during this process and were successful in our methods.
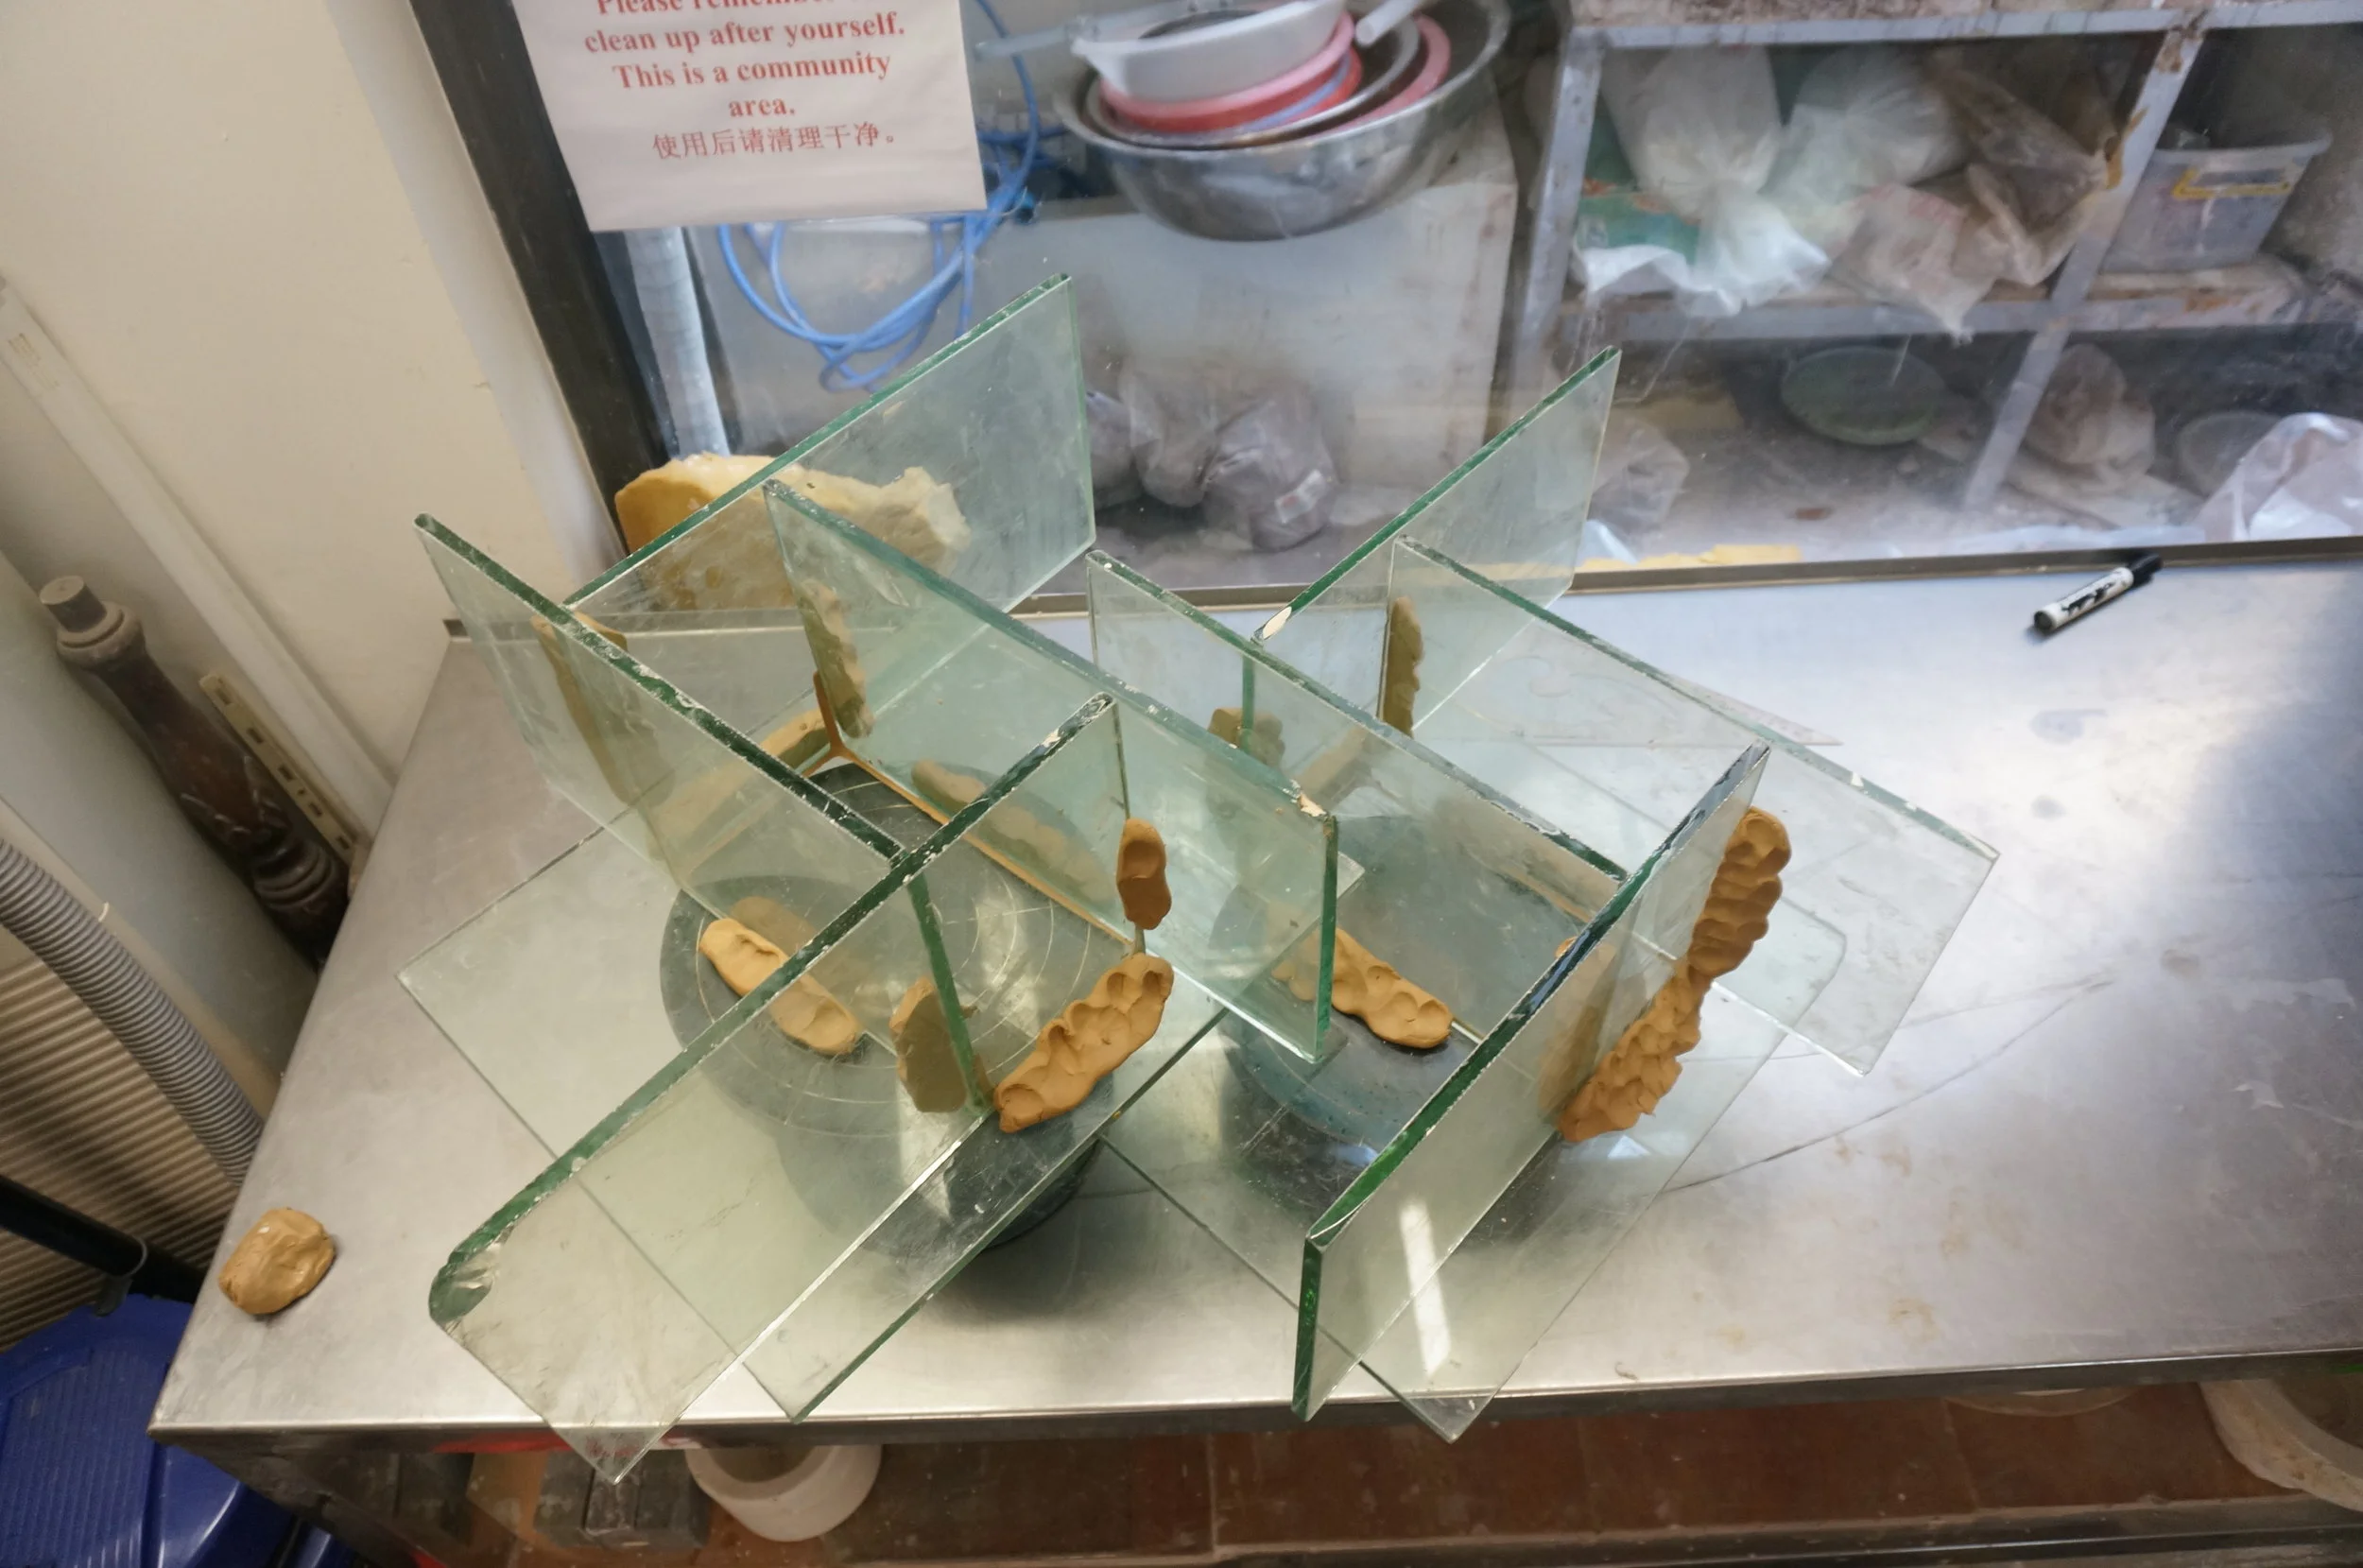
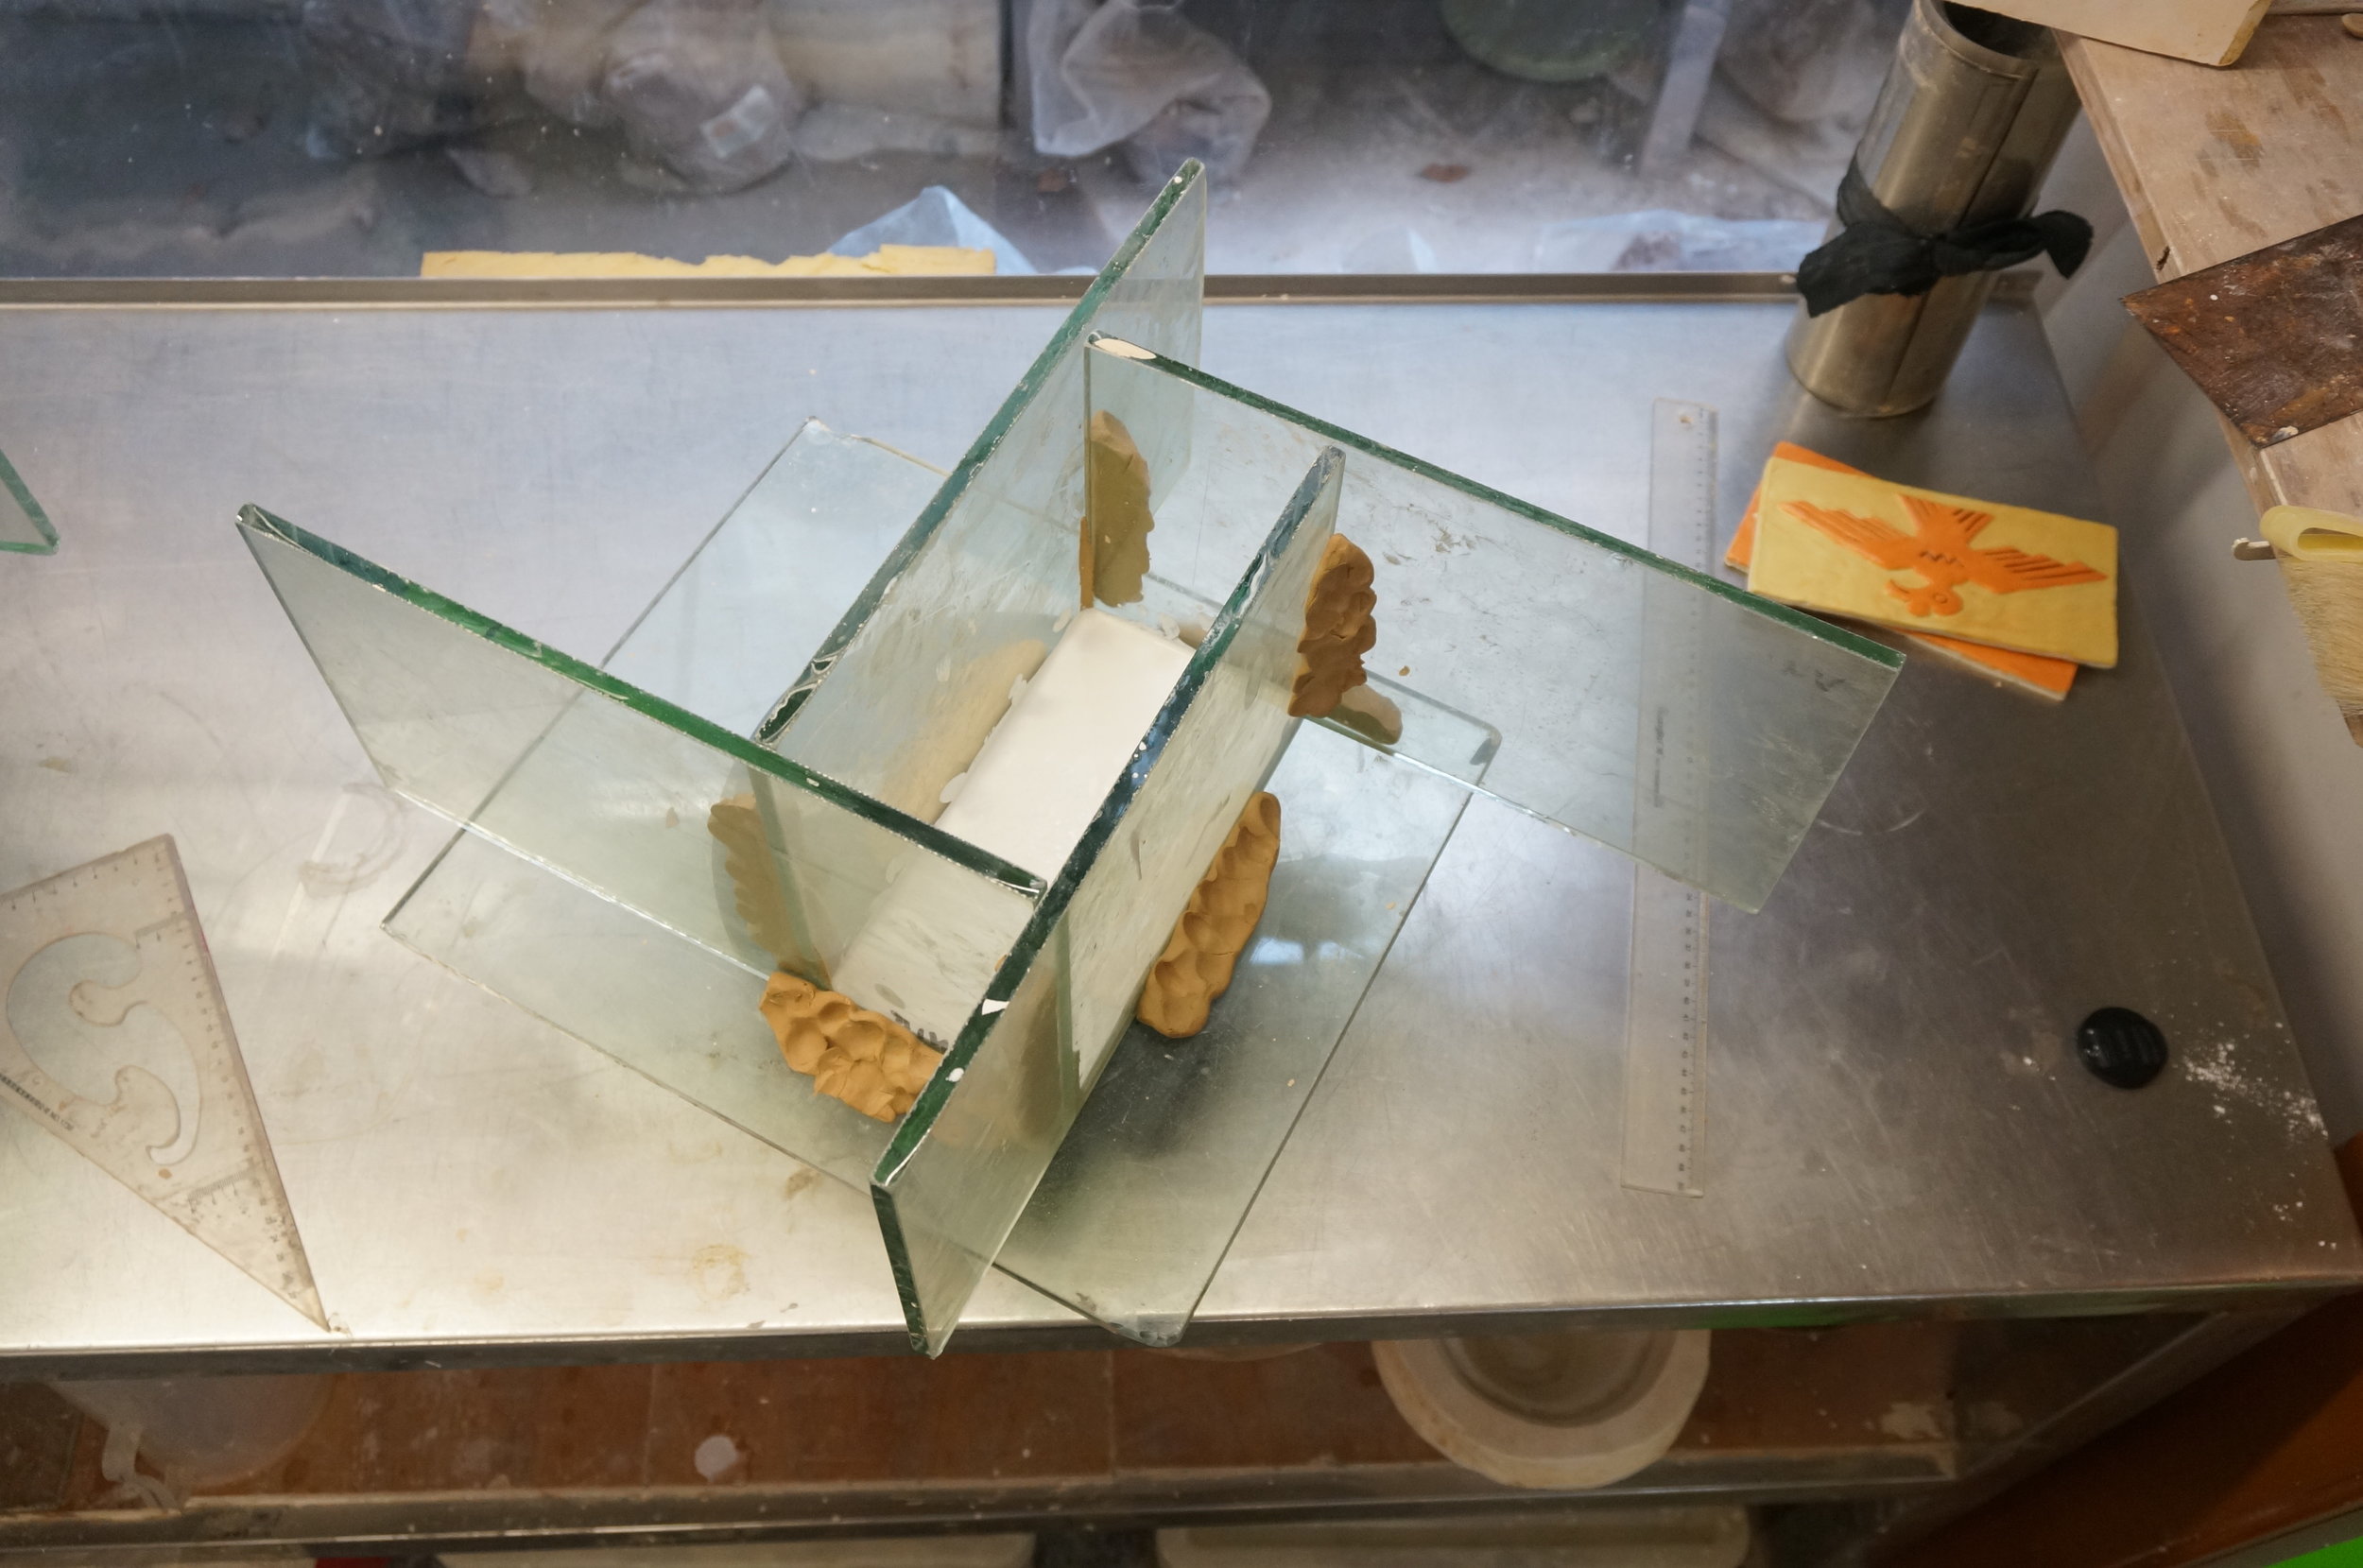
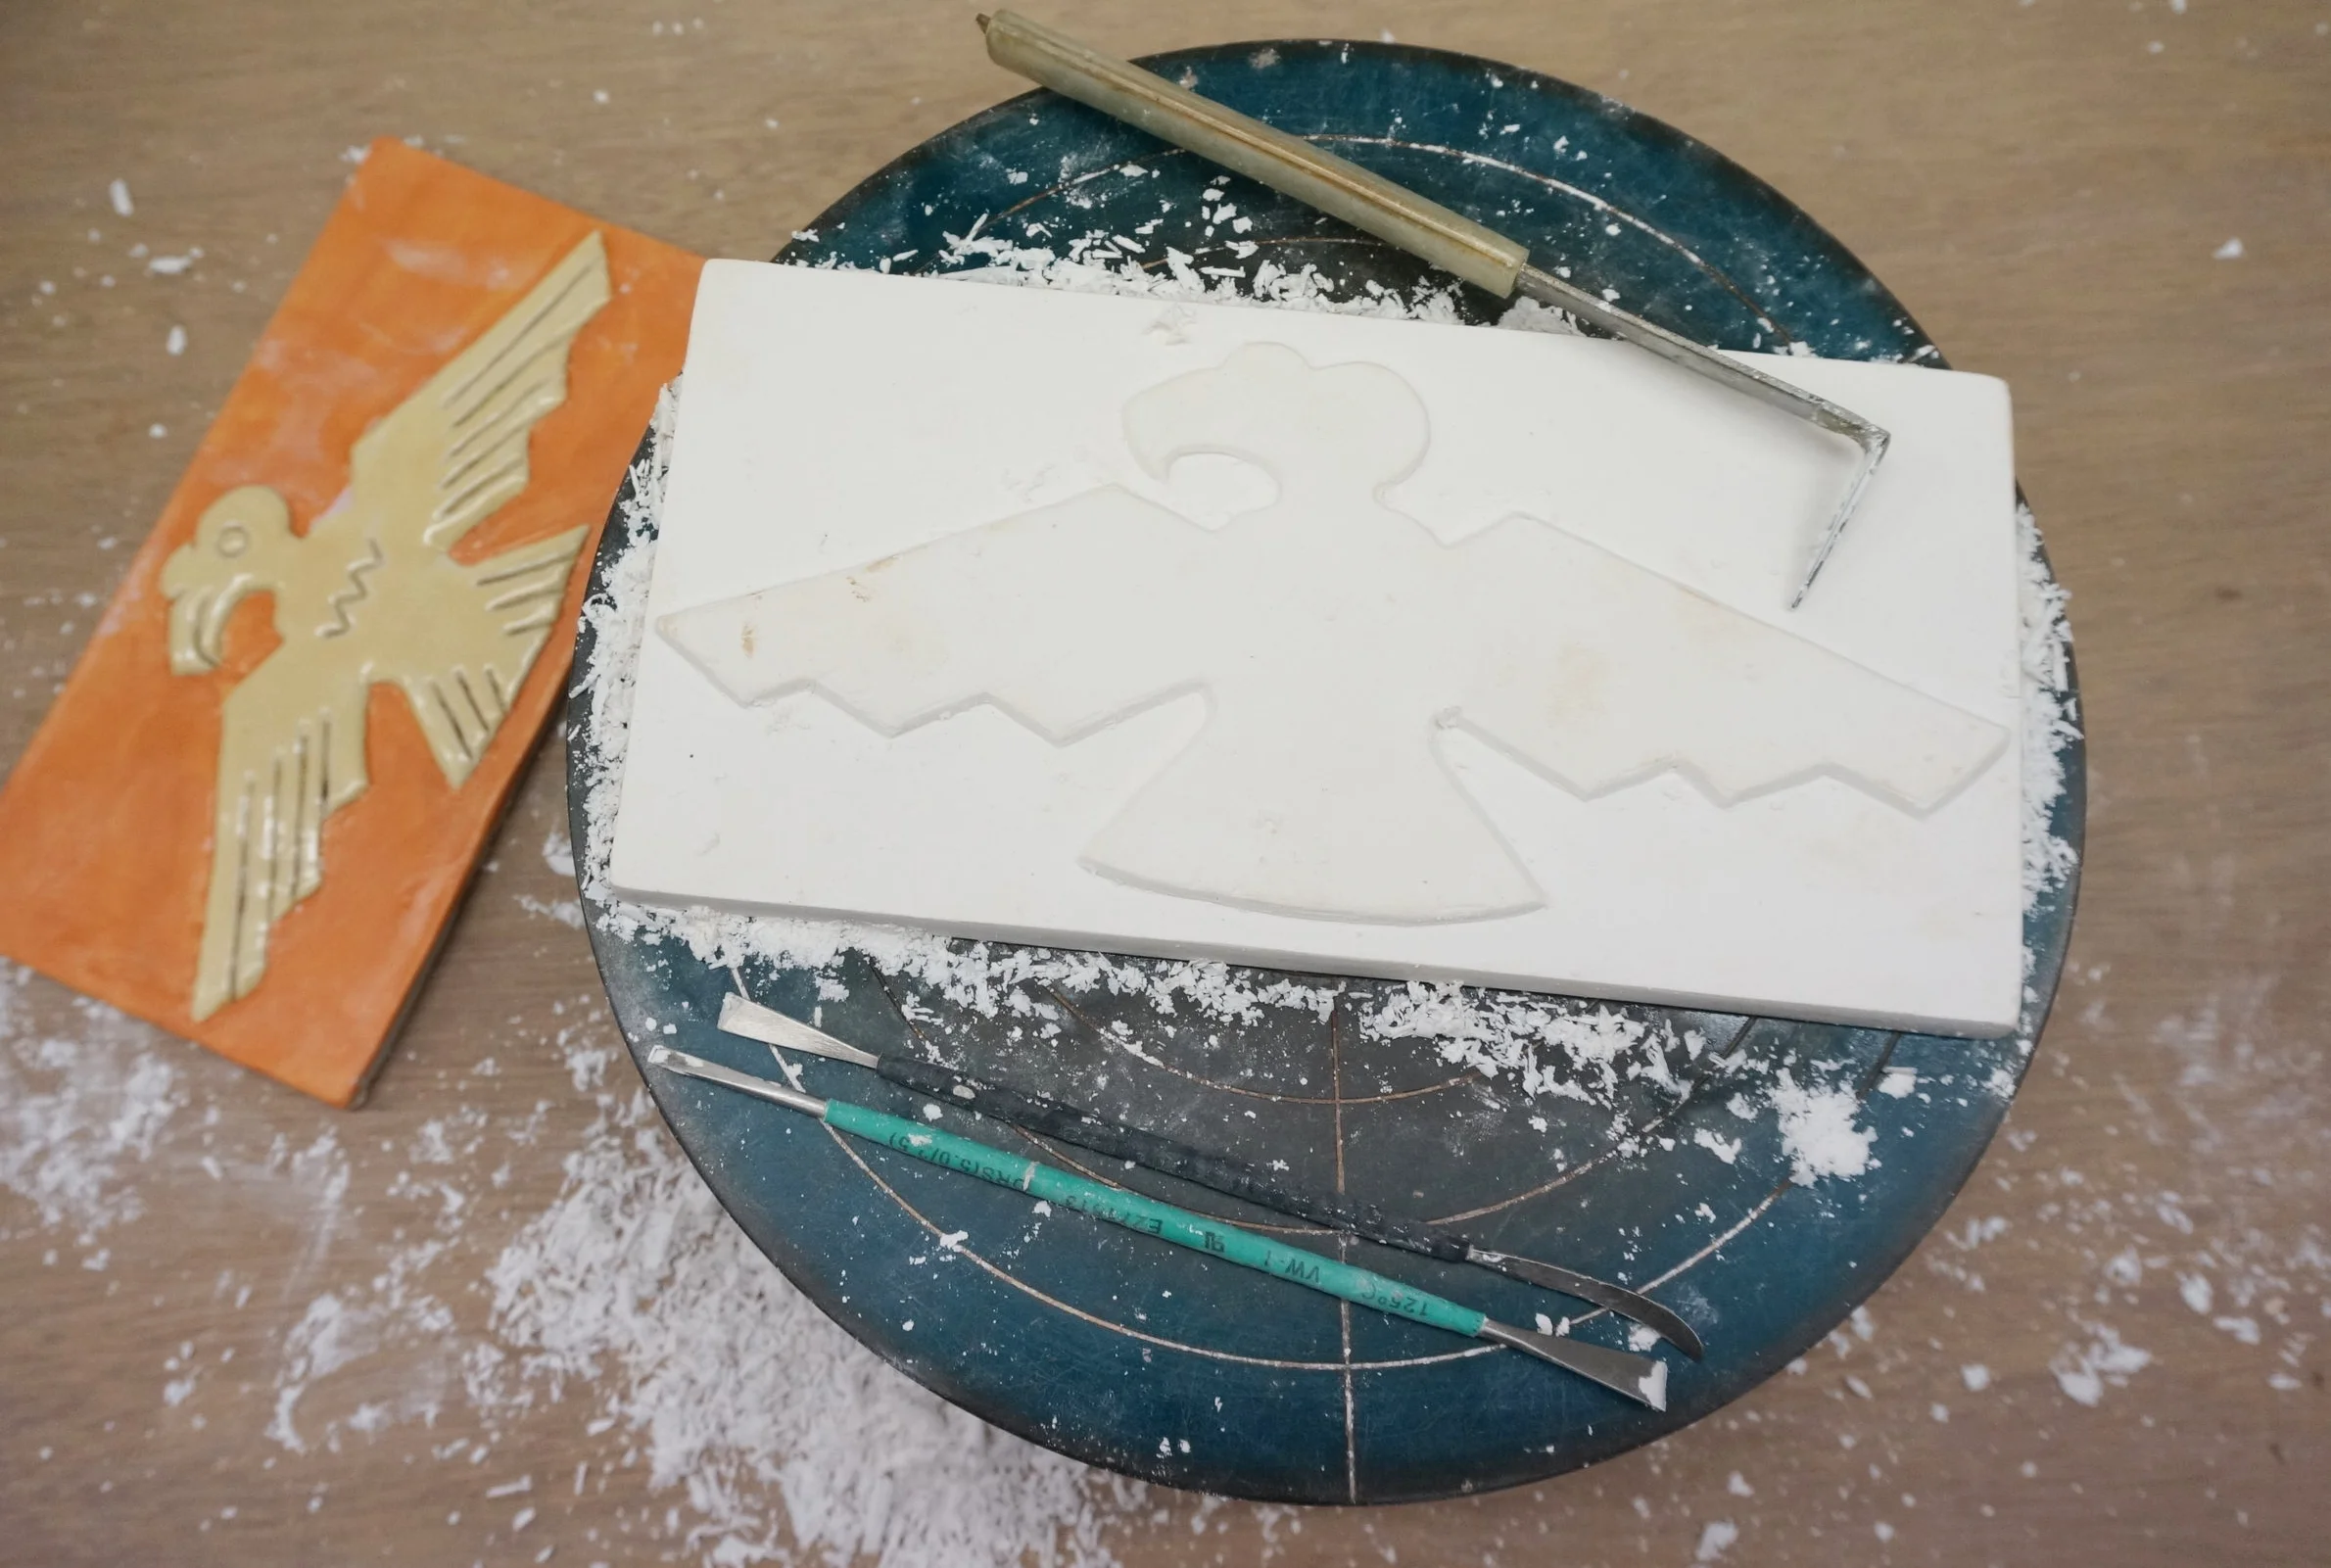
Below are images of the making process. Unfortunately, there are many parts of this commission that I do not have pictures of, including photos of my amazing friend and assistant, Yin PeiPei, who hand glazed all of the tiles. Without him, I do not think I would have been able to complete this project.
