Currently, I am an Instructional Technician in charge of the Walker Hall sculpture facilities at The Sam Fox School of Design & Visual Arts at Washington University in St. Louis. In this student facing position that functions as much as an instructor as it does a technician, I am responsible for the more than 3,000 square feet of student shops and maker spaces in Walker Hall which includes: a metals fabrication shop; wood shop; ceramic studio; and foundry. My job requires me to have a deep understanding and practice of material safety, an active teaching pedagogy and practice, in-depth knowledge of institution standards and protocols, and proficiency in both traditional and new technologies / studio processes. Job responsibilities include but are not limited to: supporting 5-7 classes per semester across the shops under my per-view; creating Standard Operating Procedures (SOPs) for equipment; filming and editing instructional videos for equipment; creating and maintaining Safety Data Sheet database; organizing, purchasing, and maintaining equipment; and the maintenance of both a materials and operational budget.
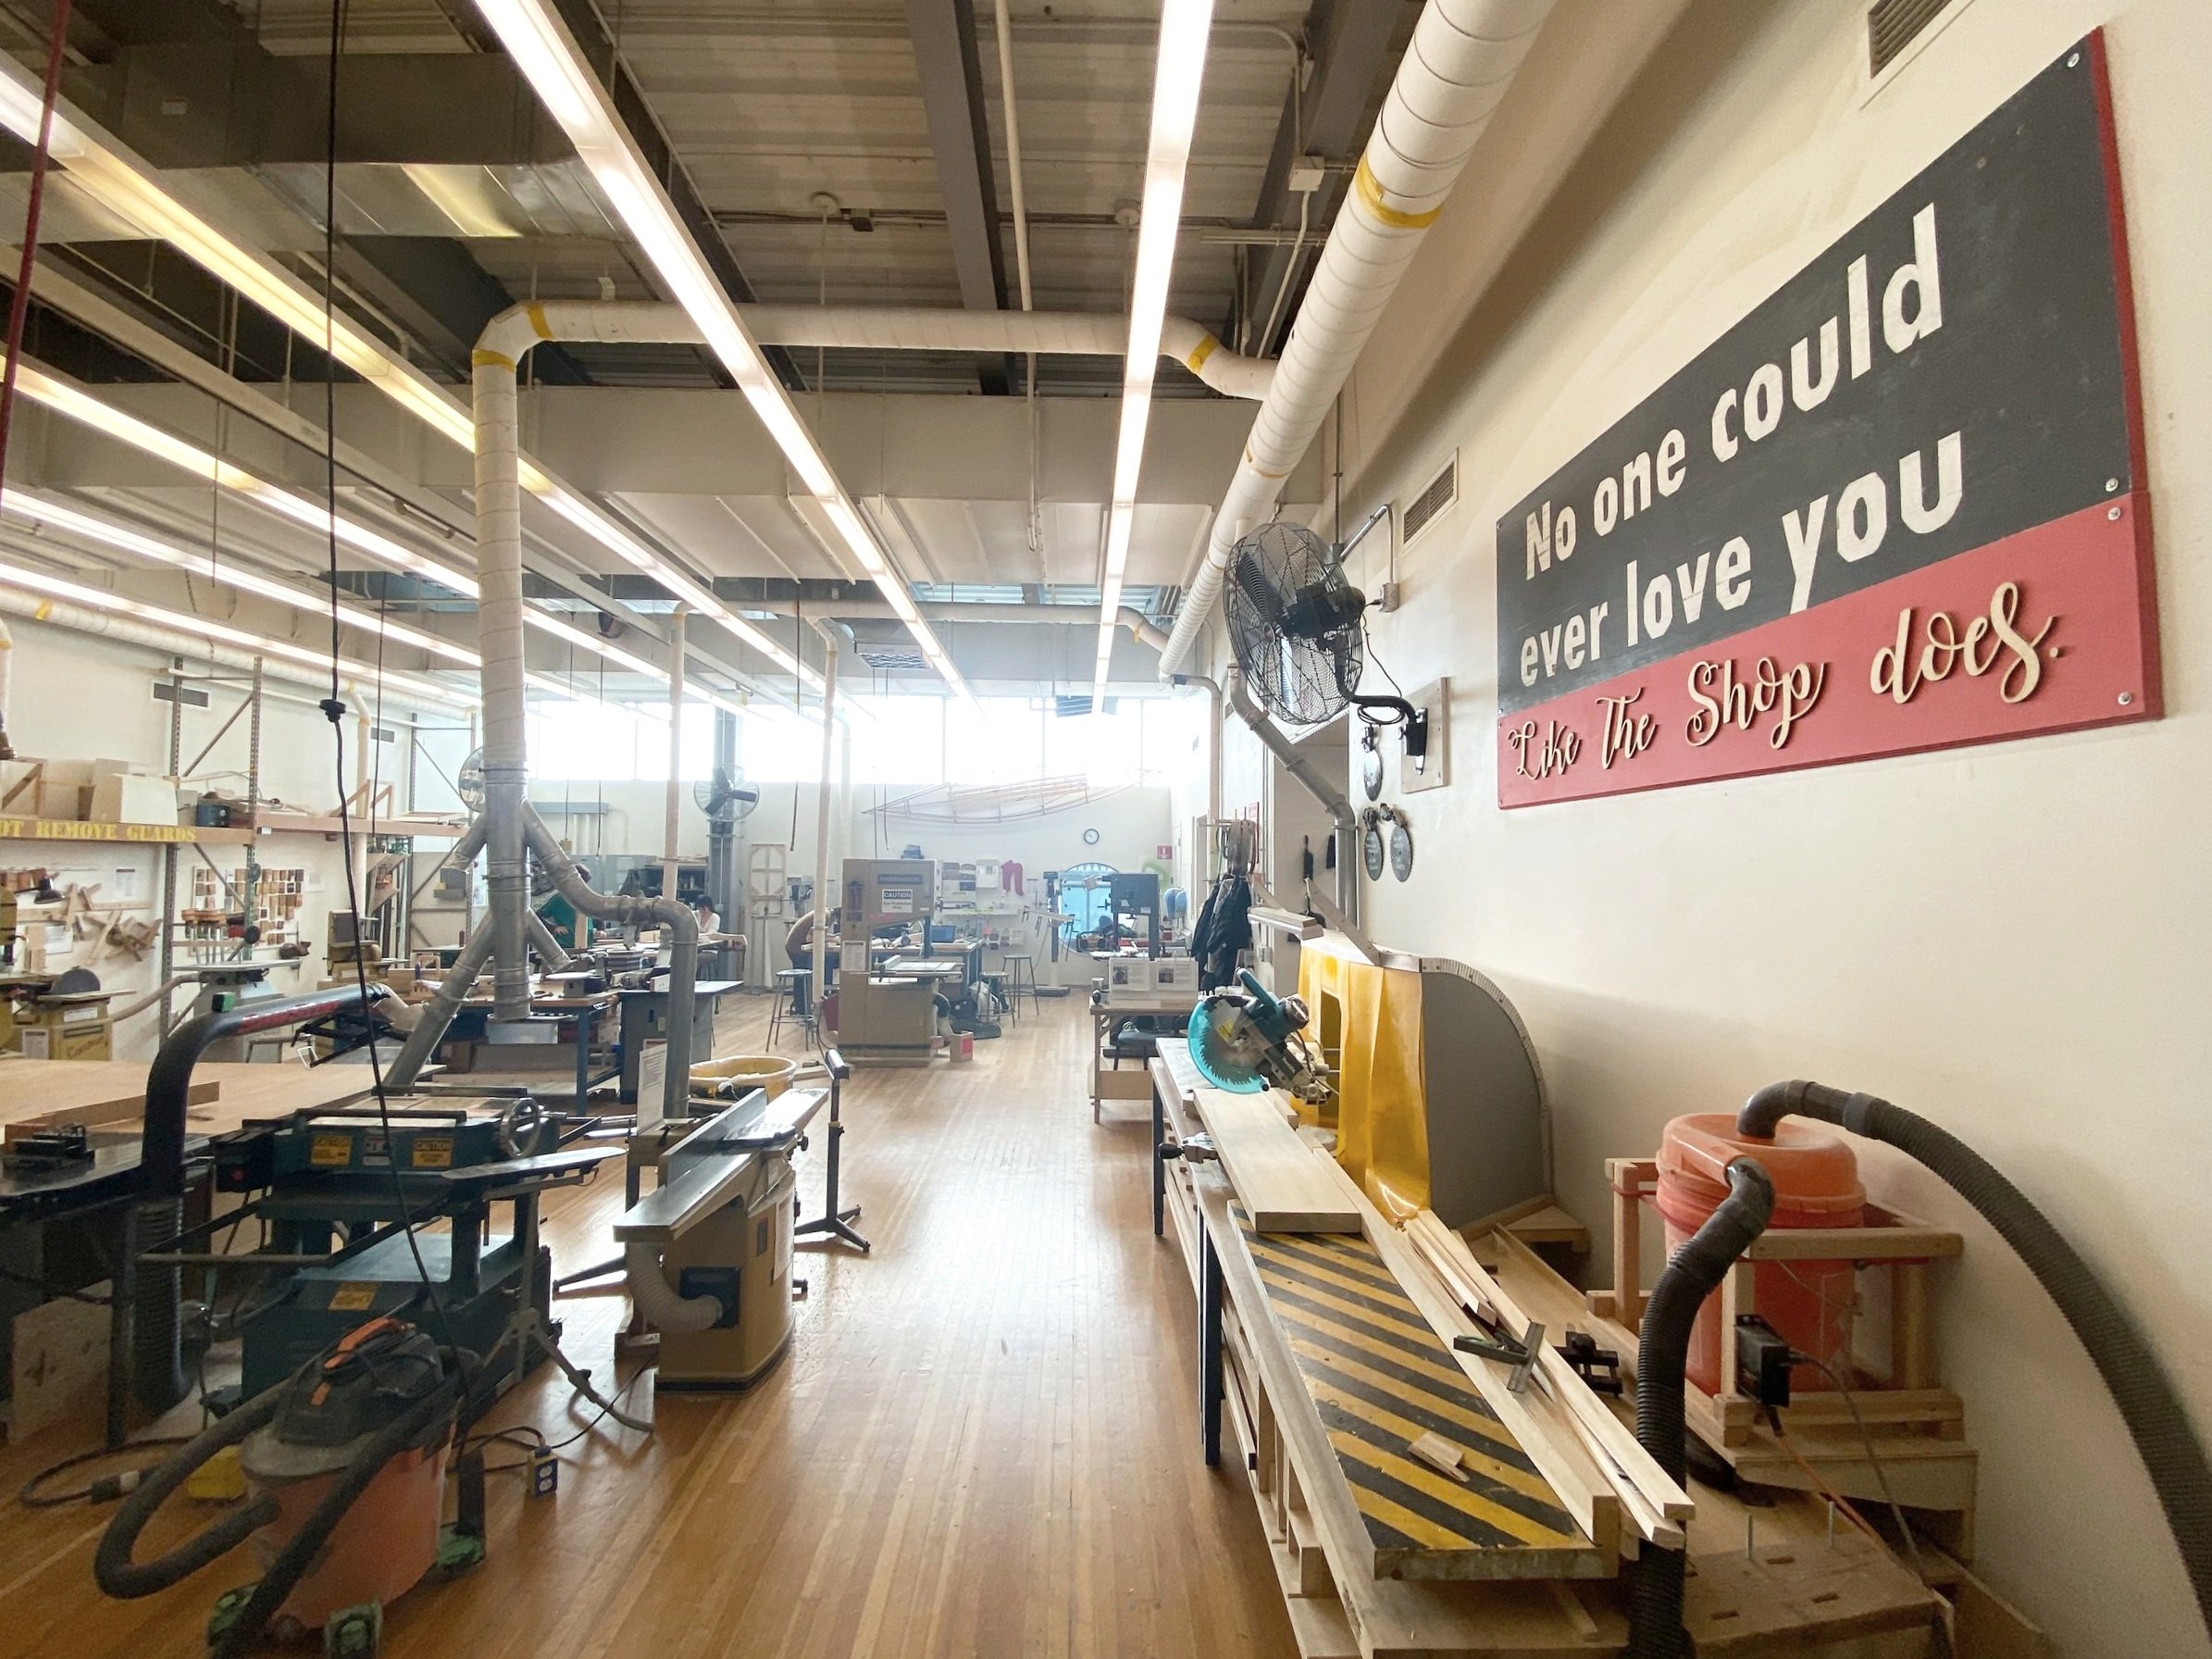
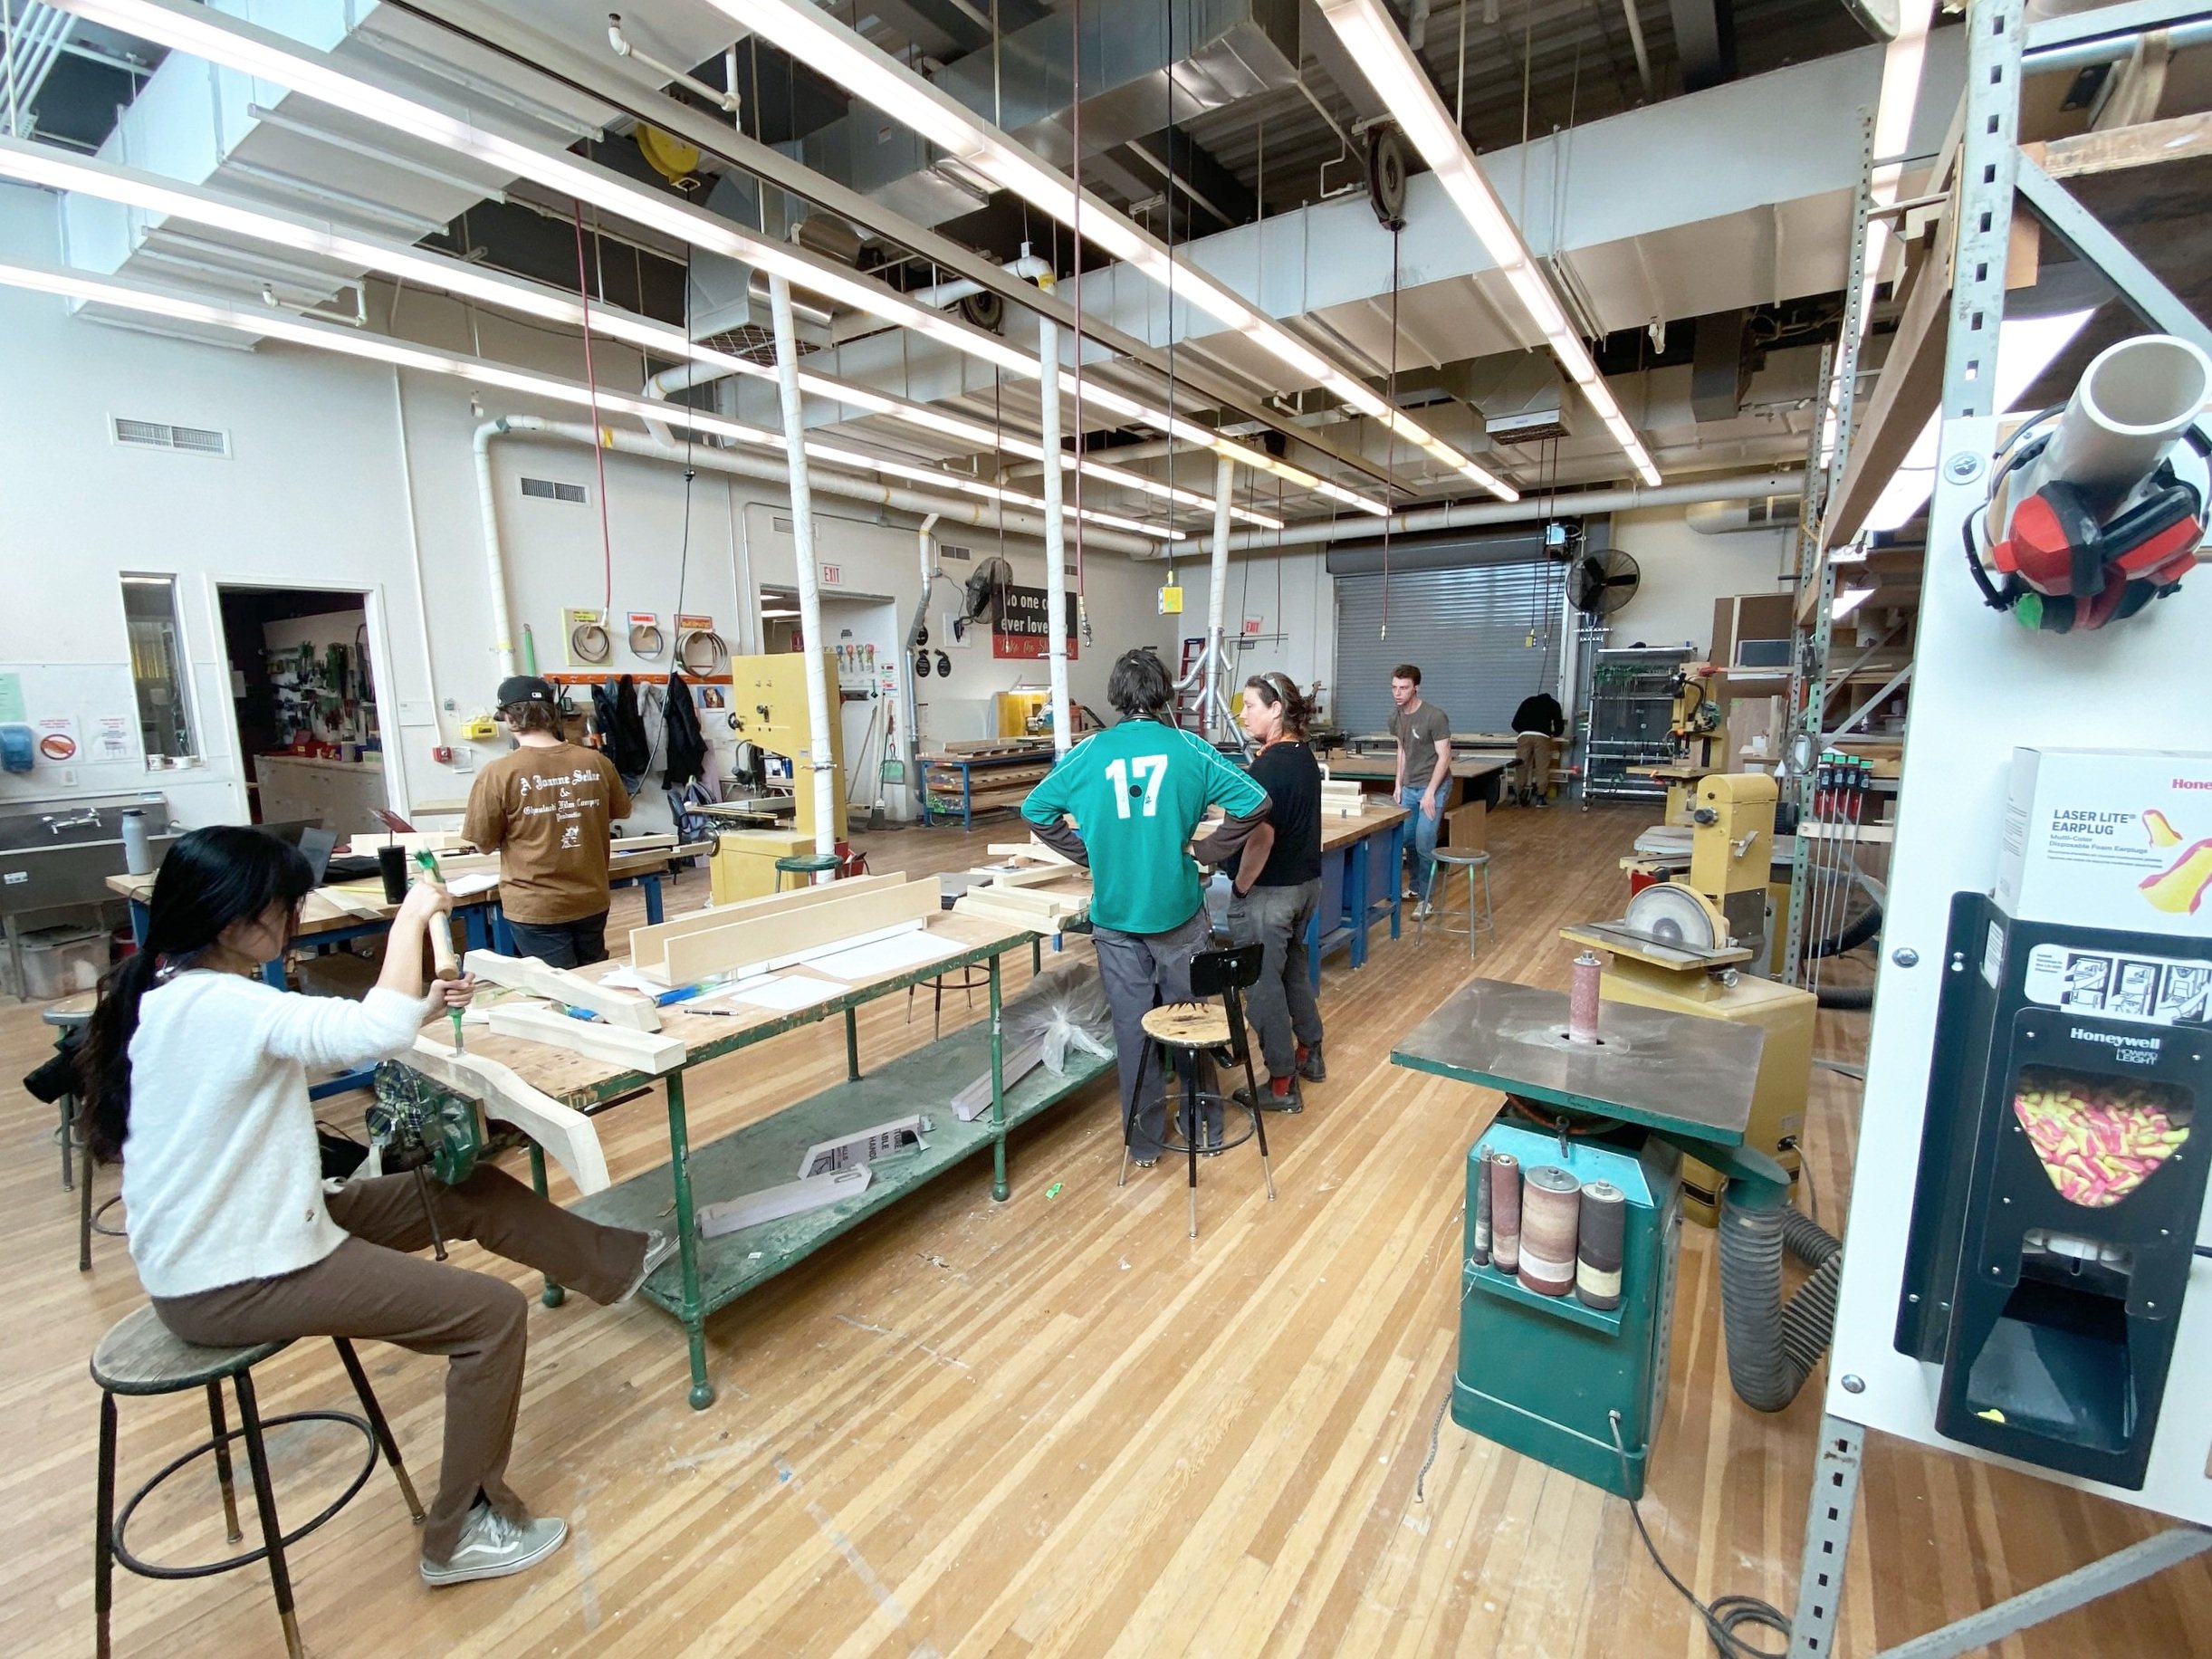
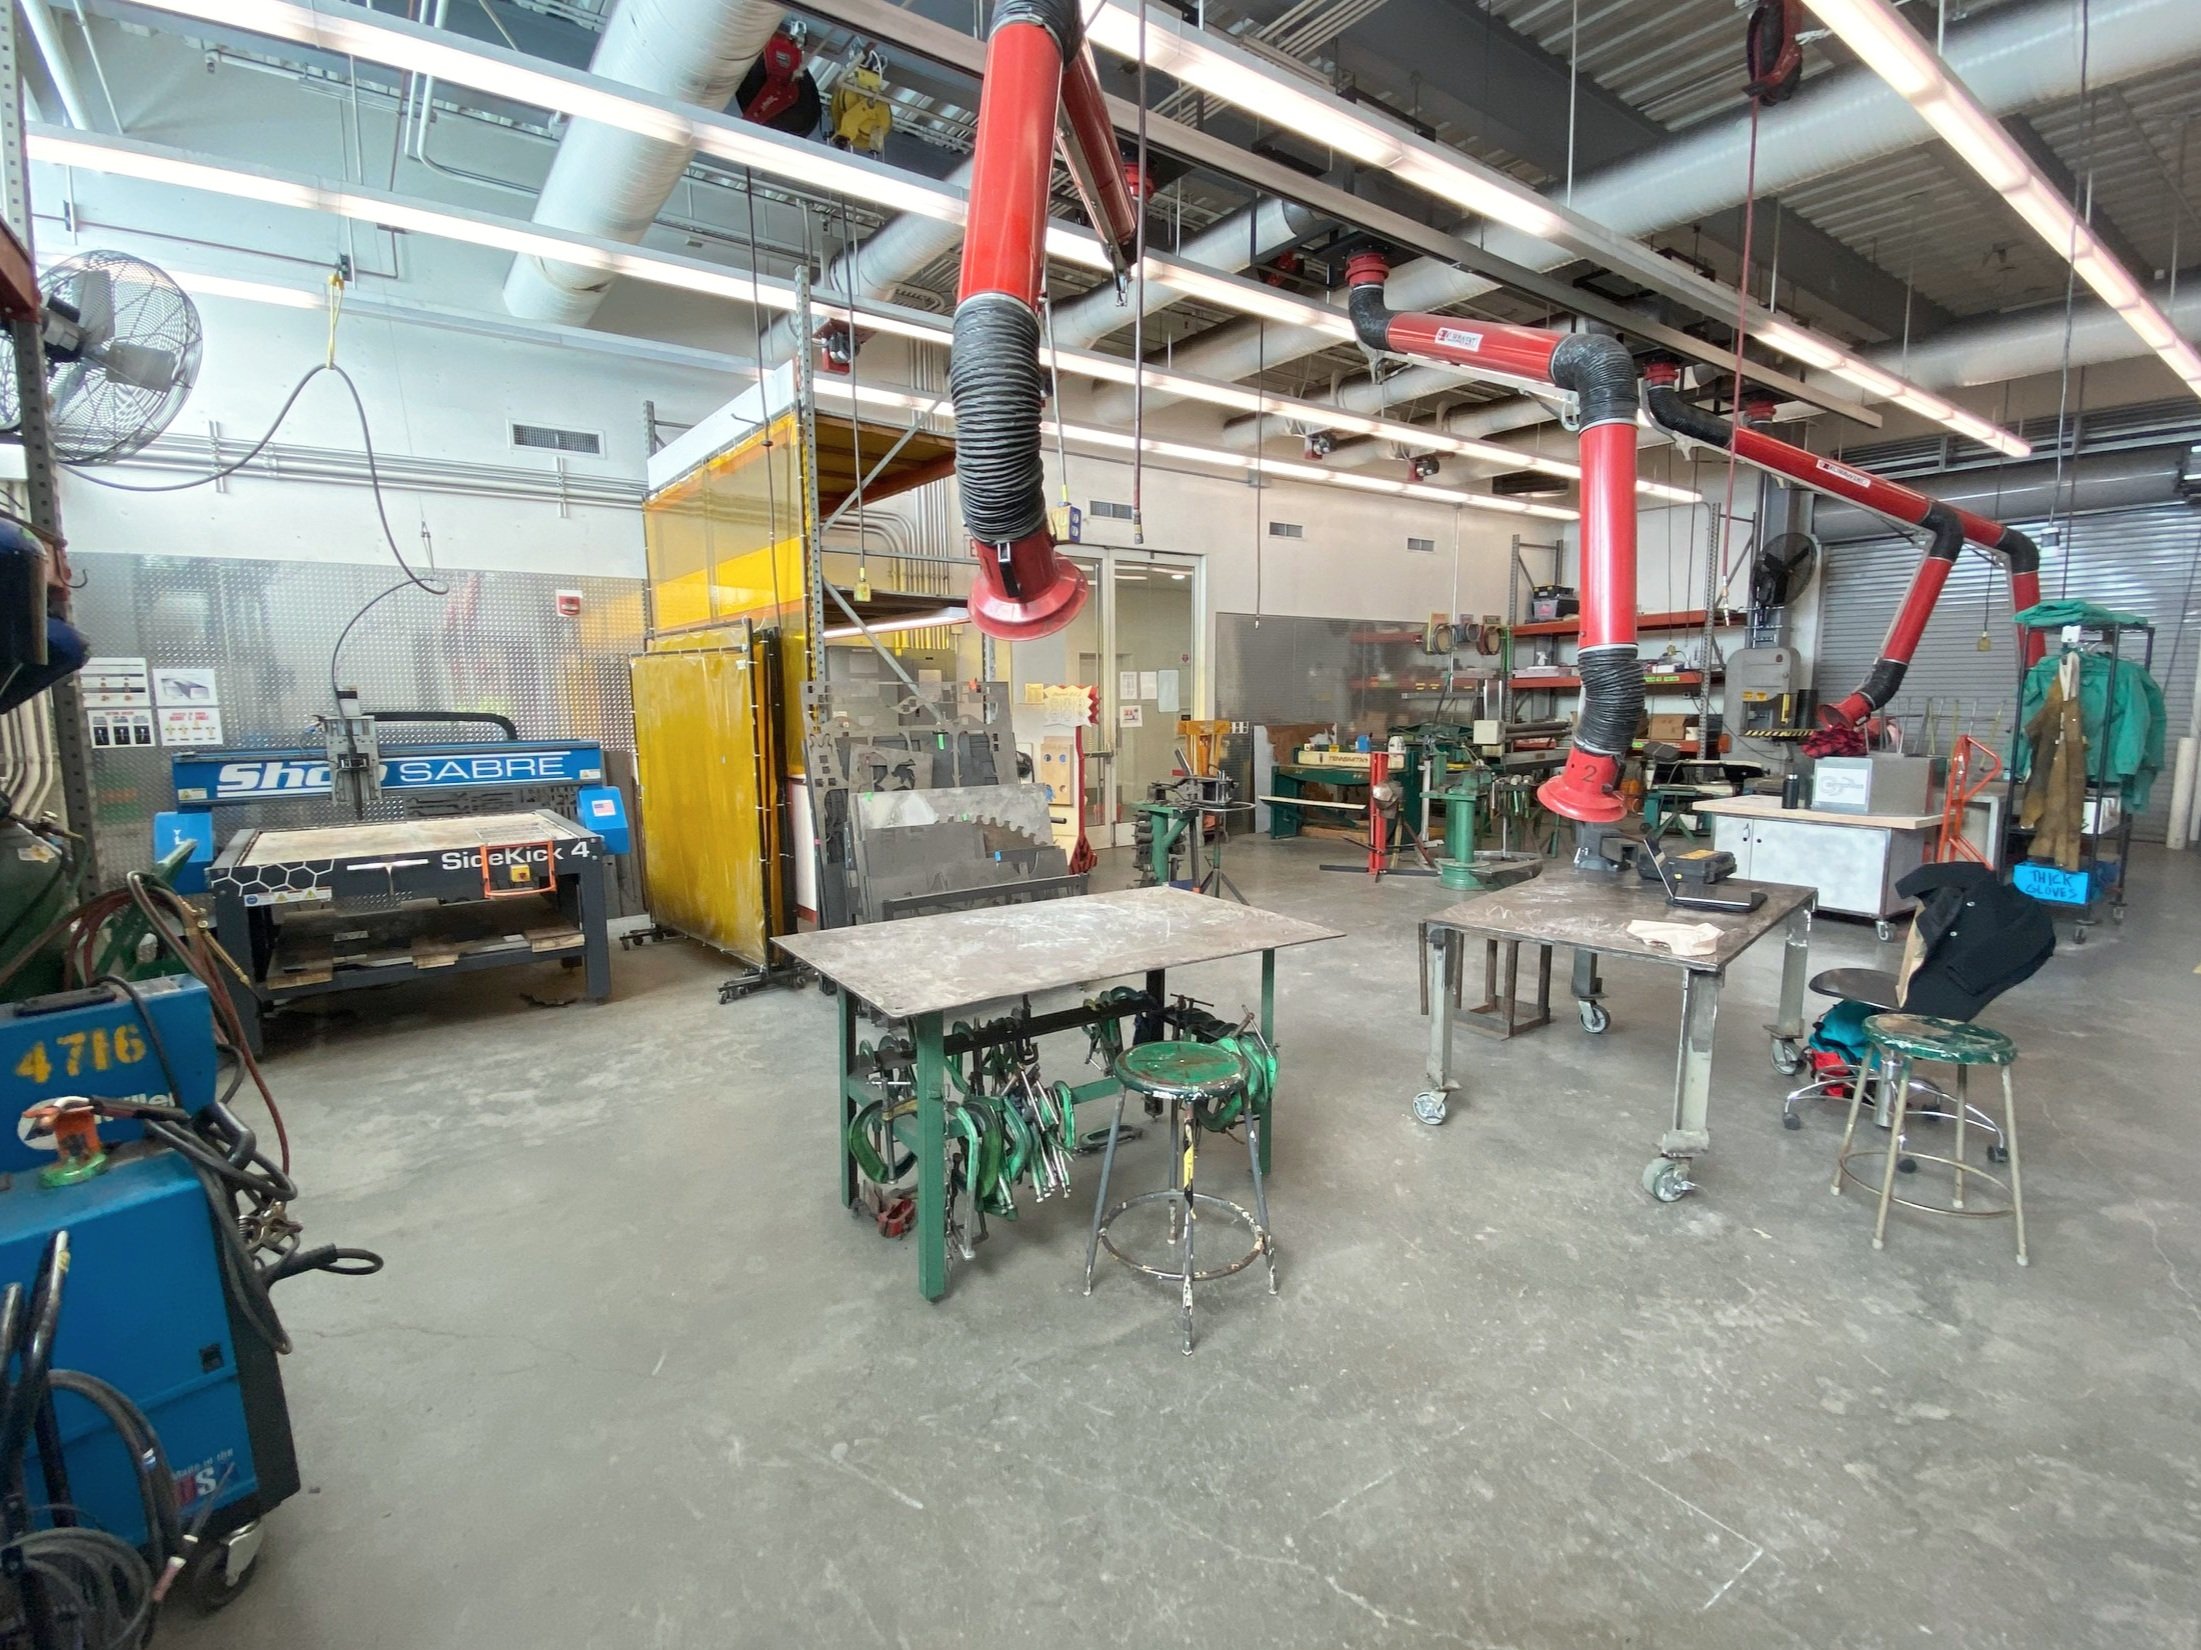
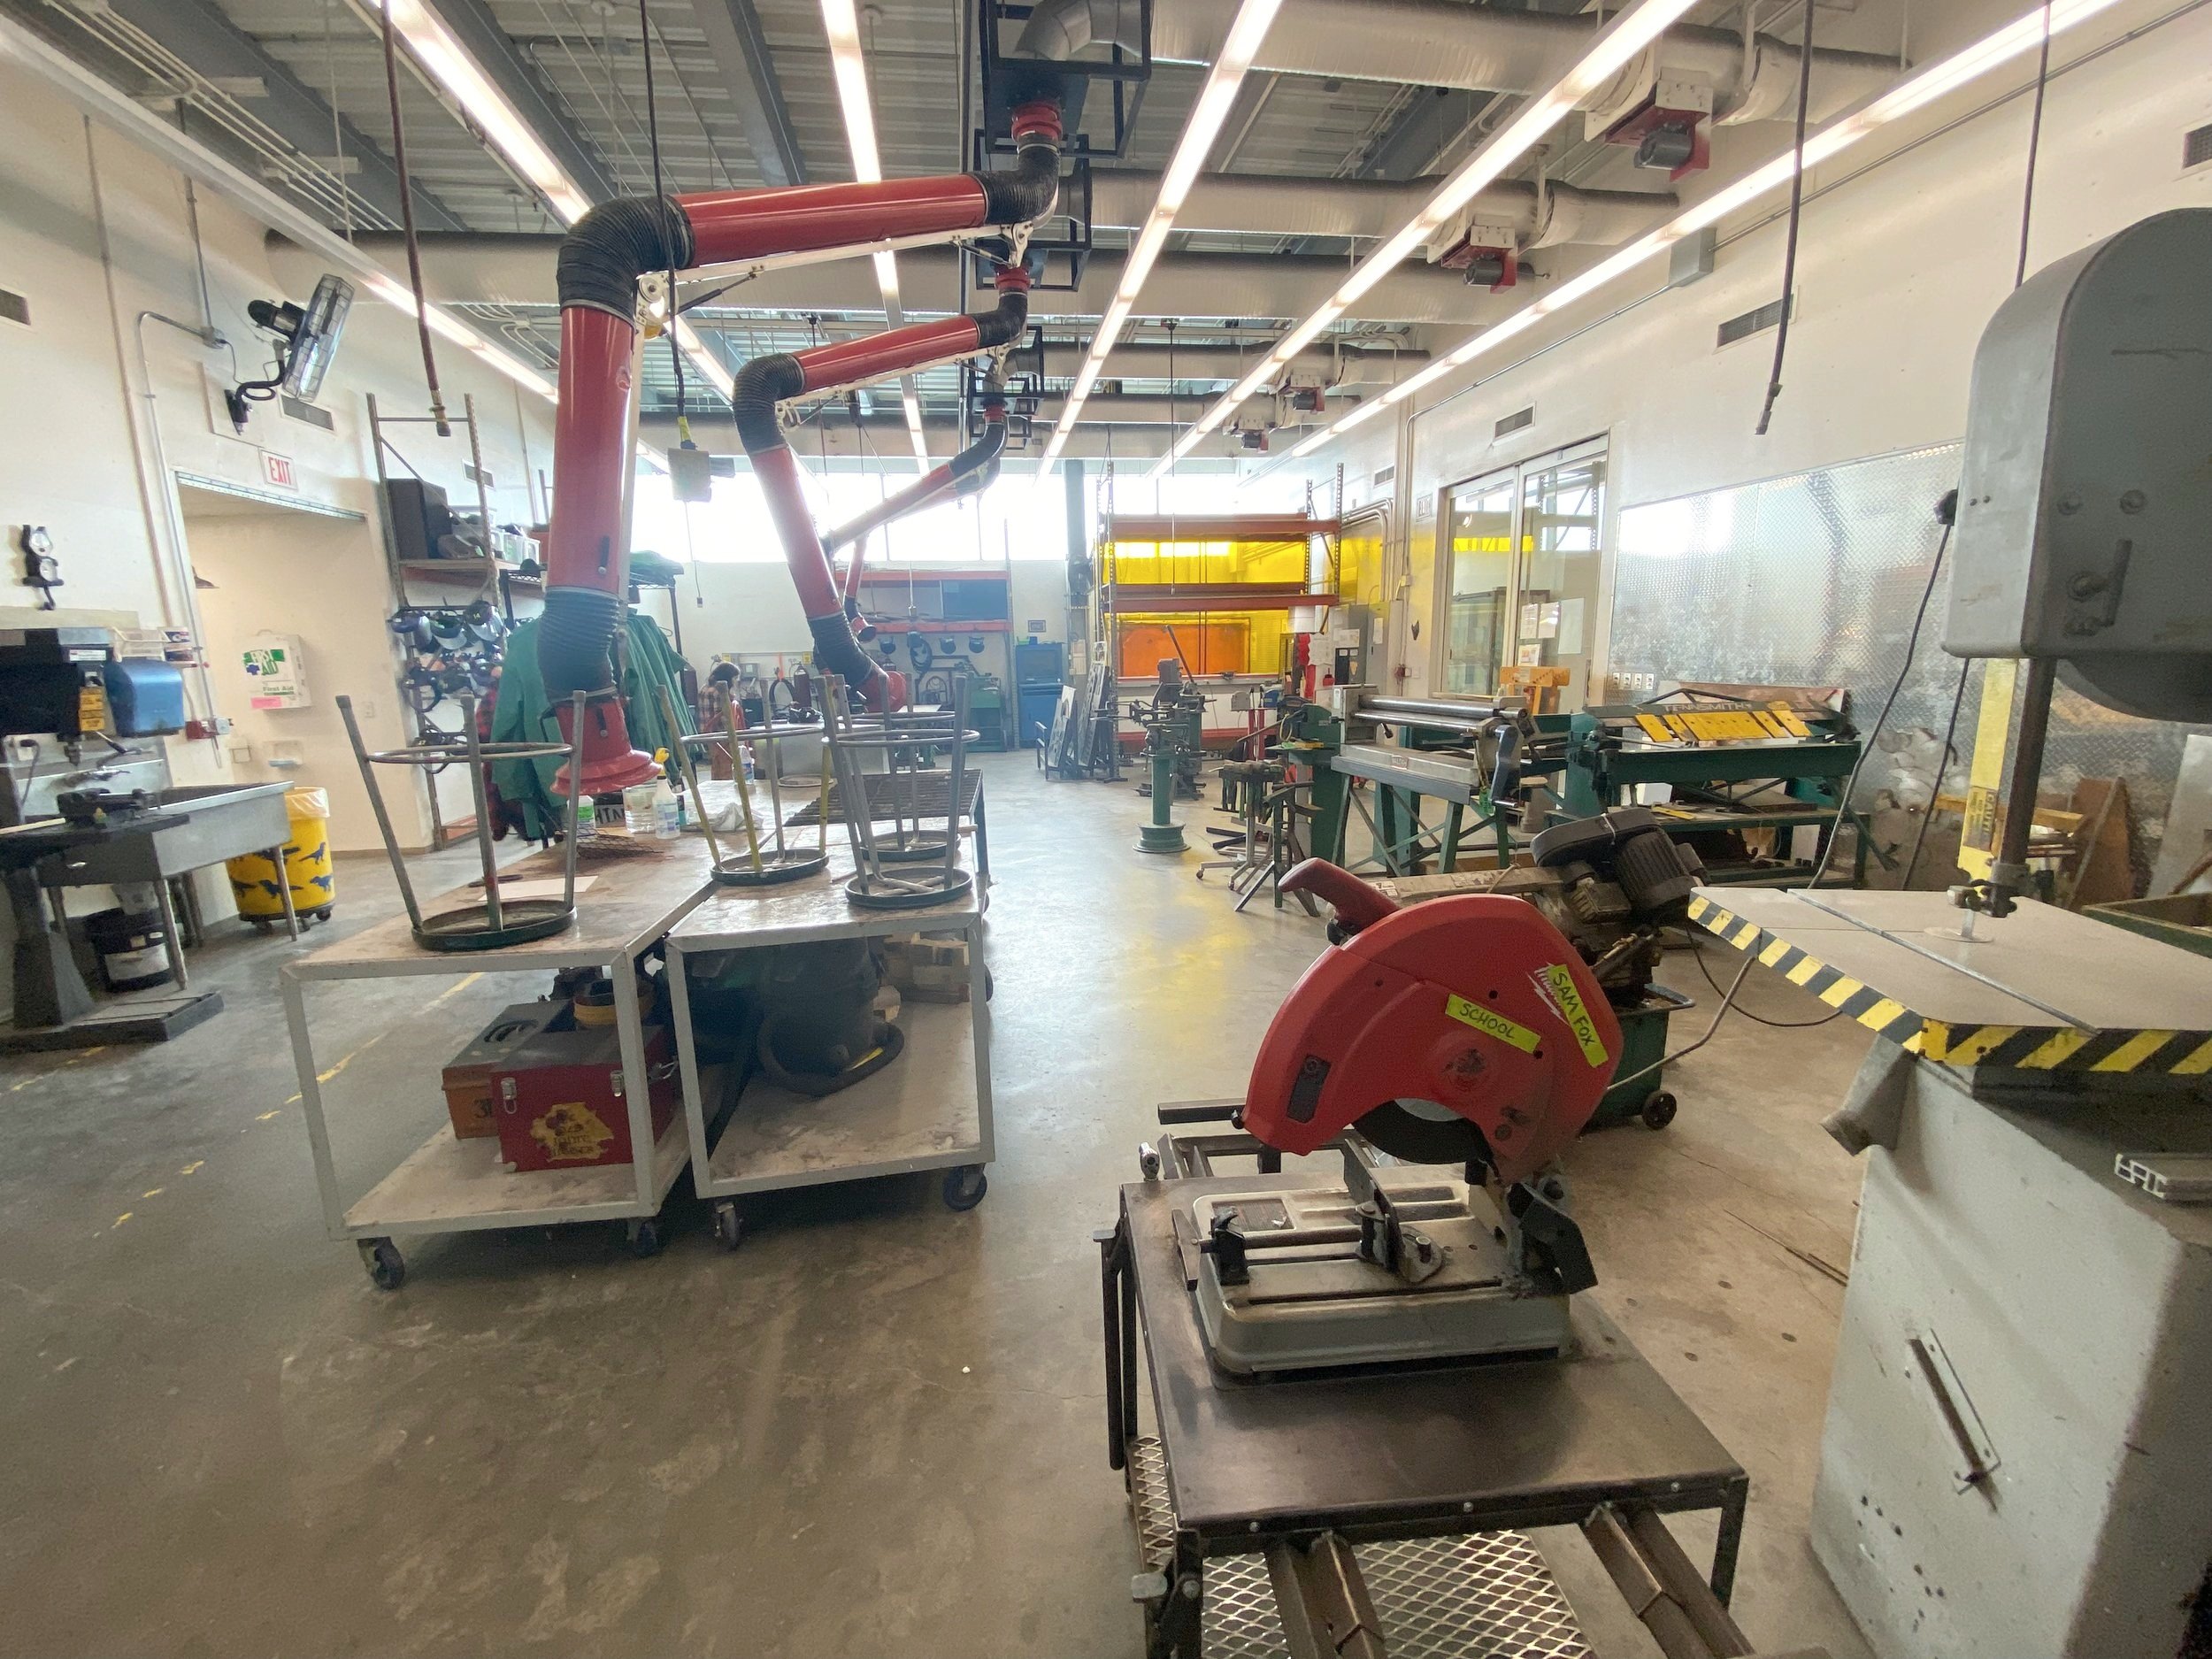
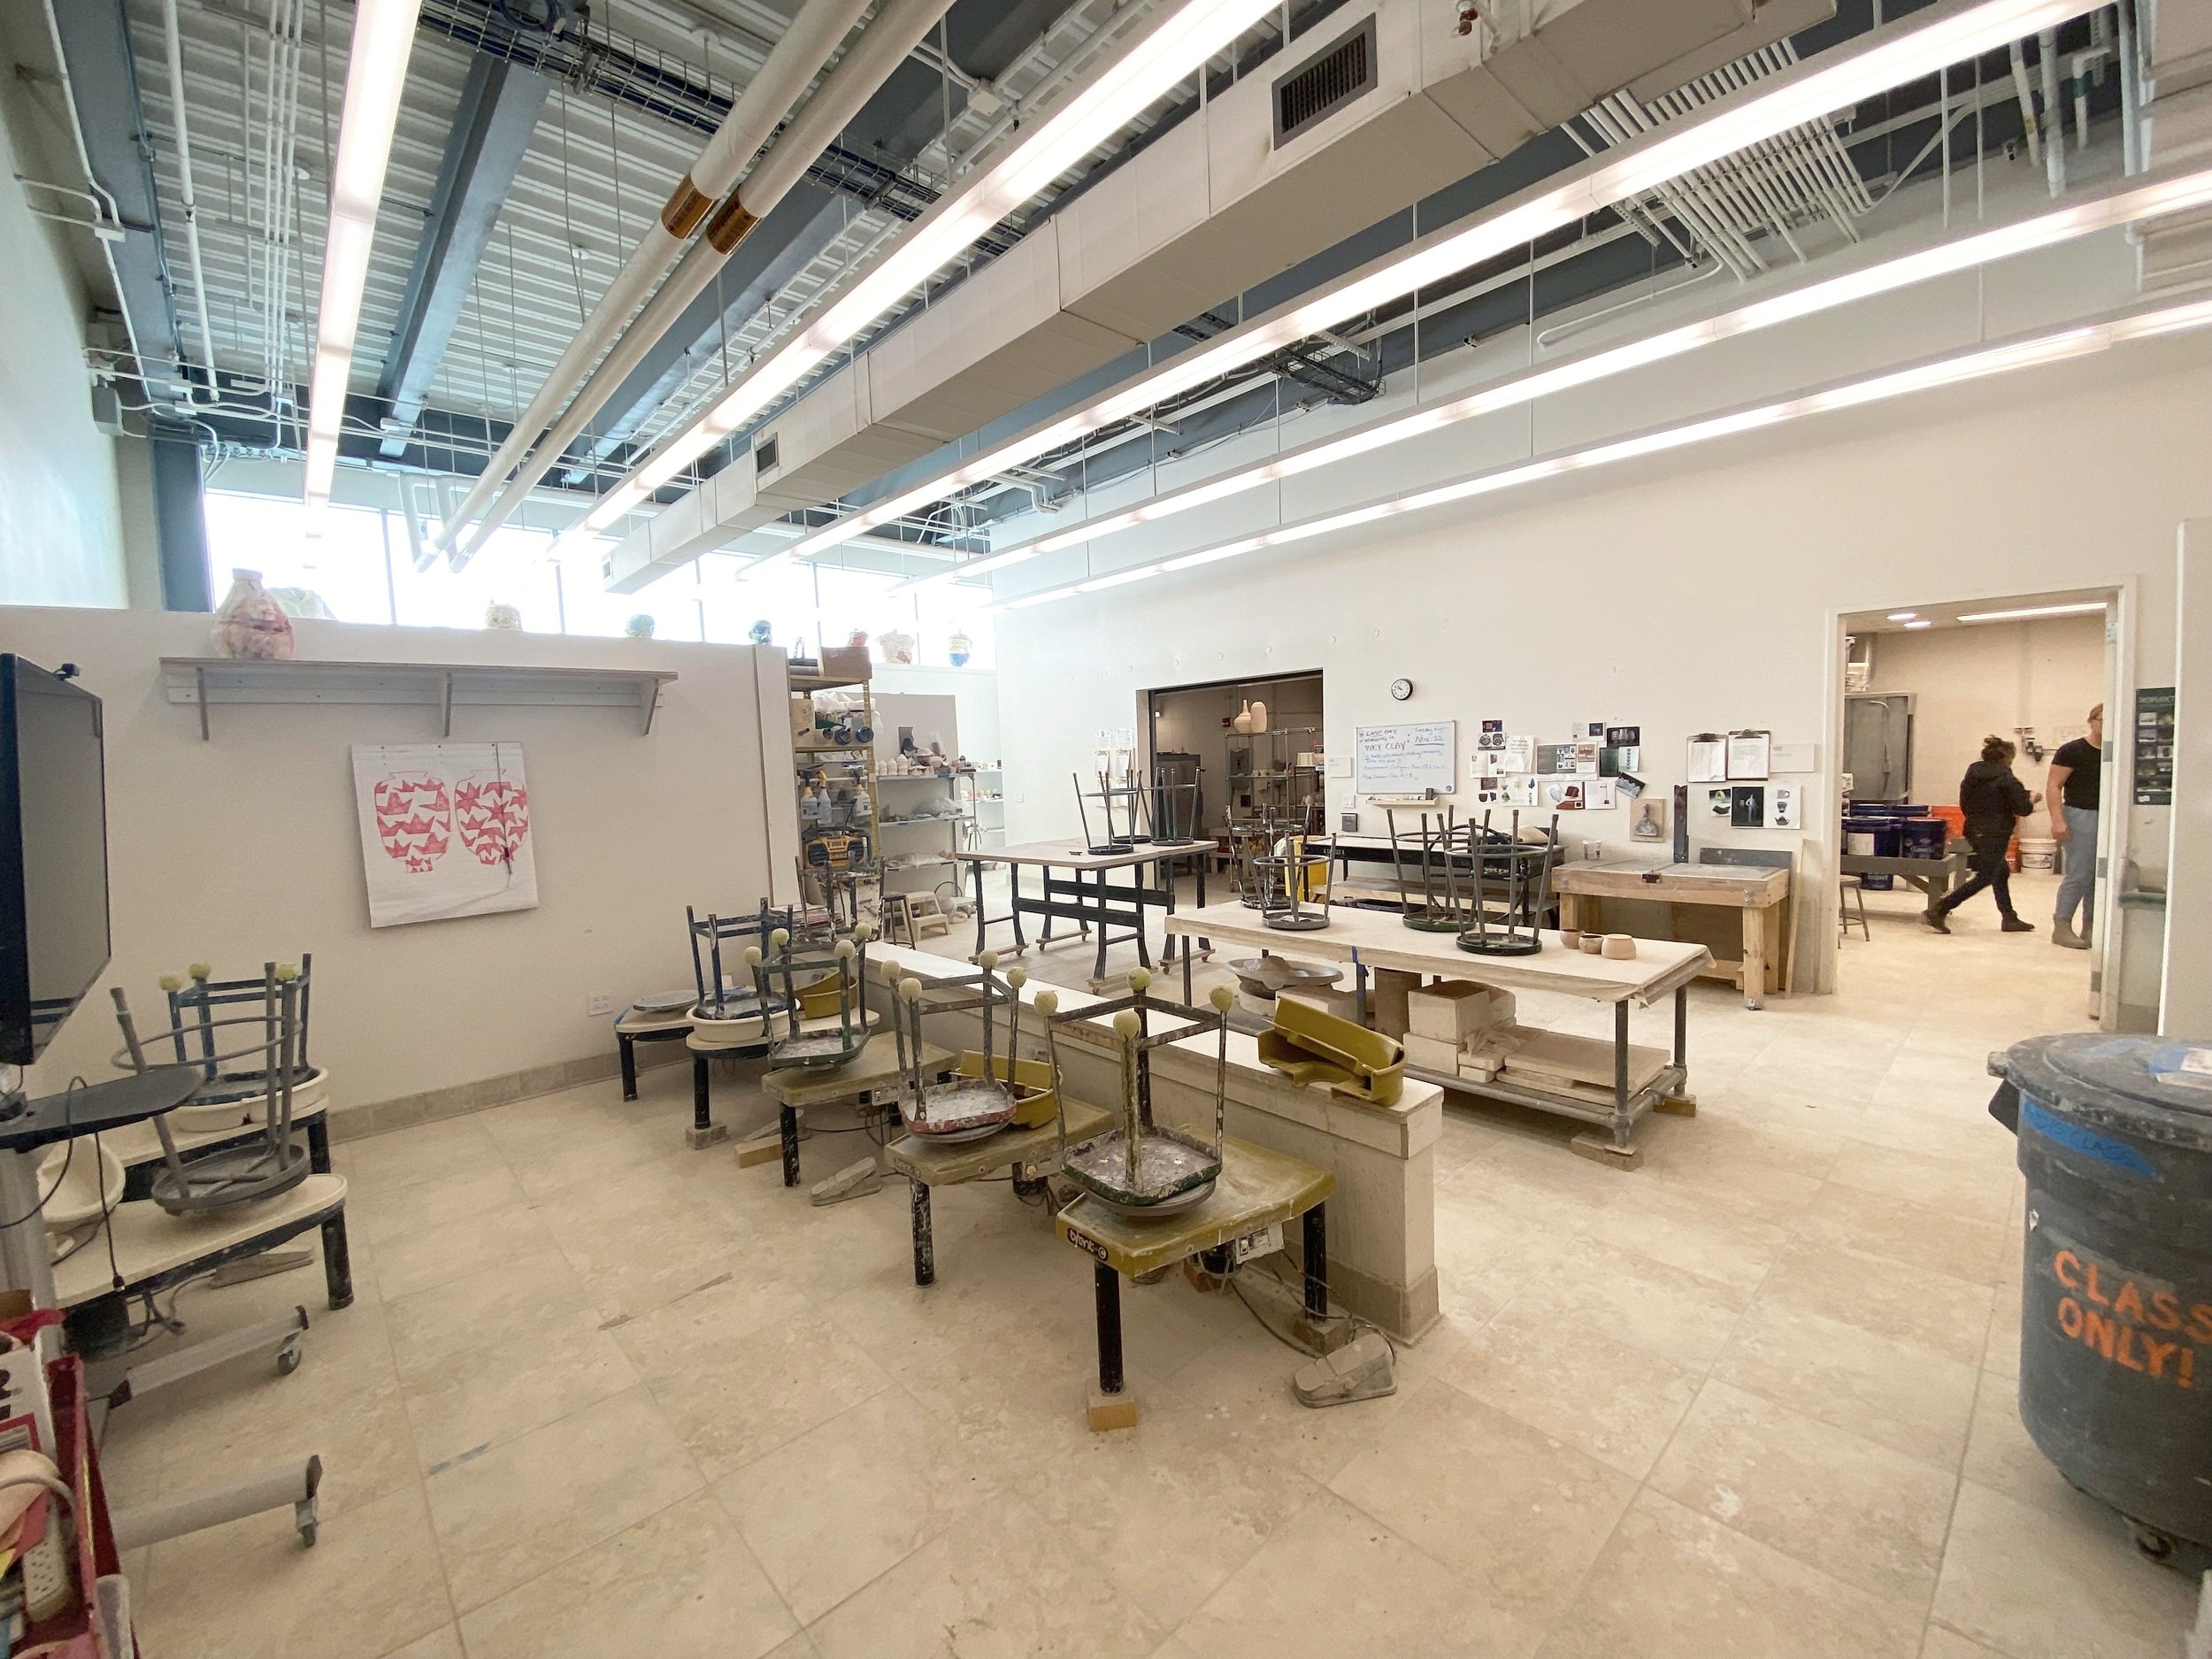
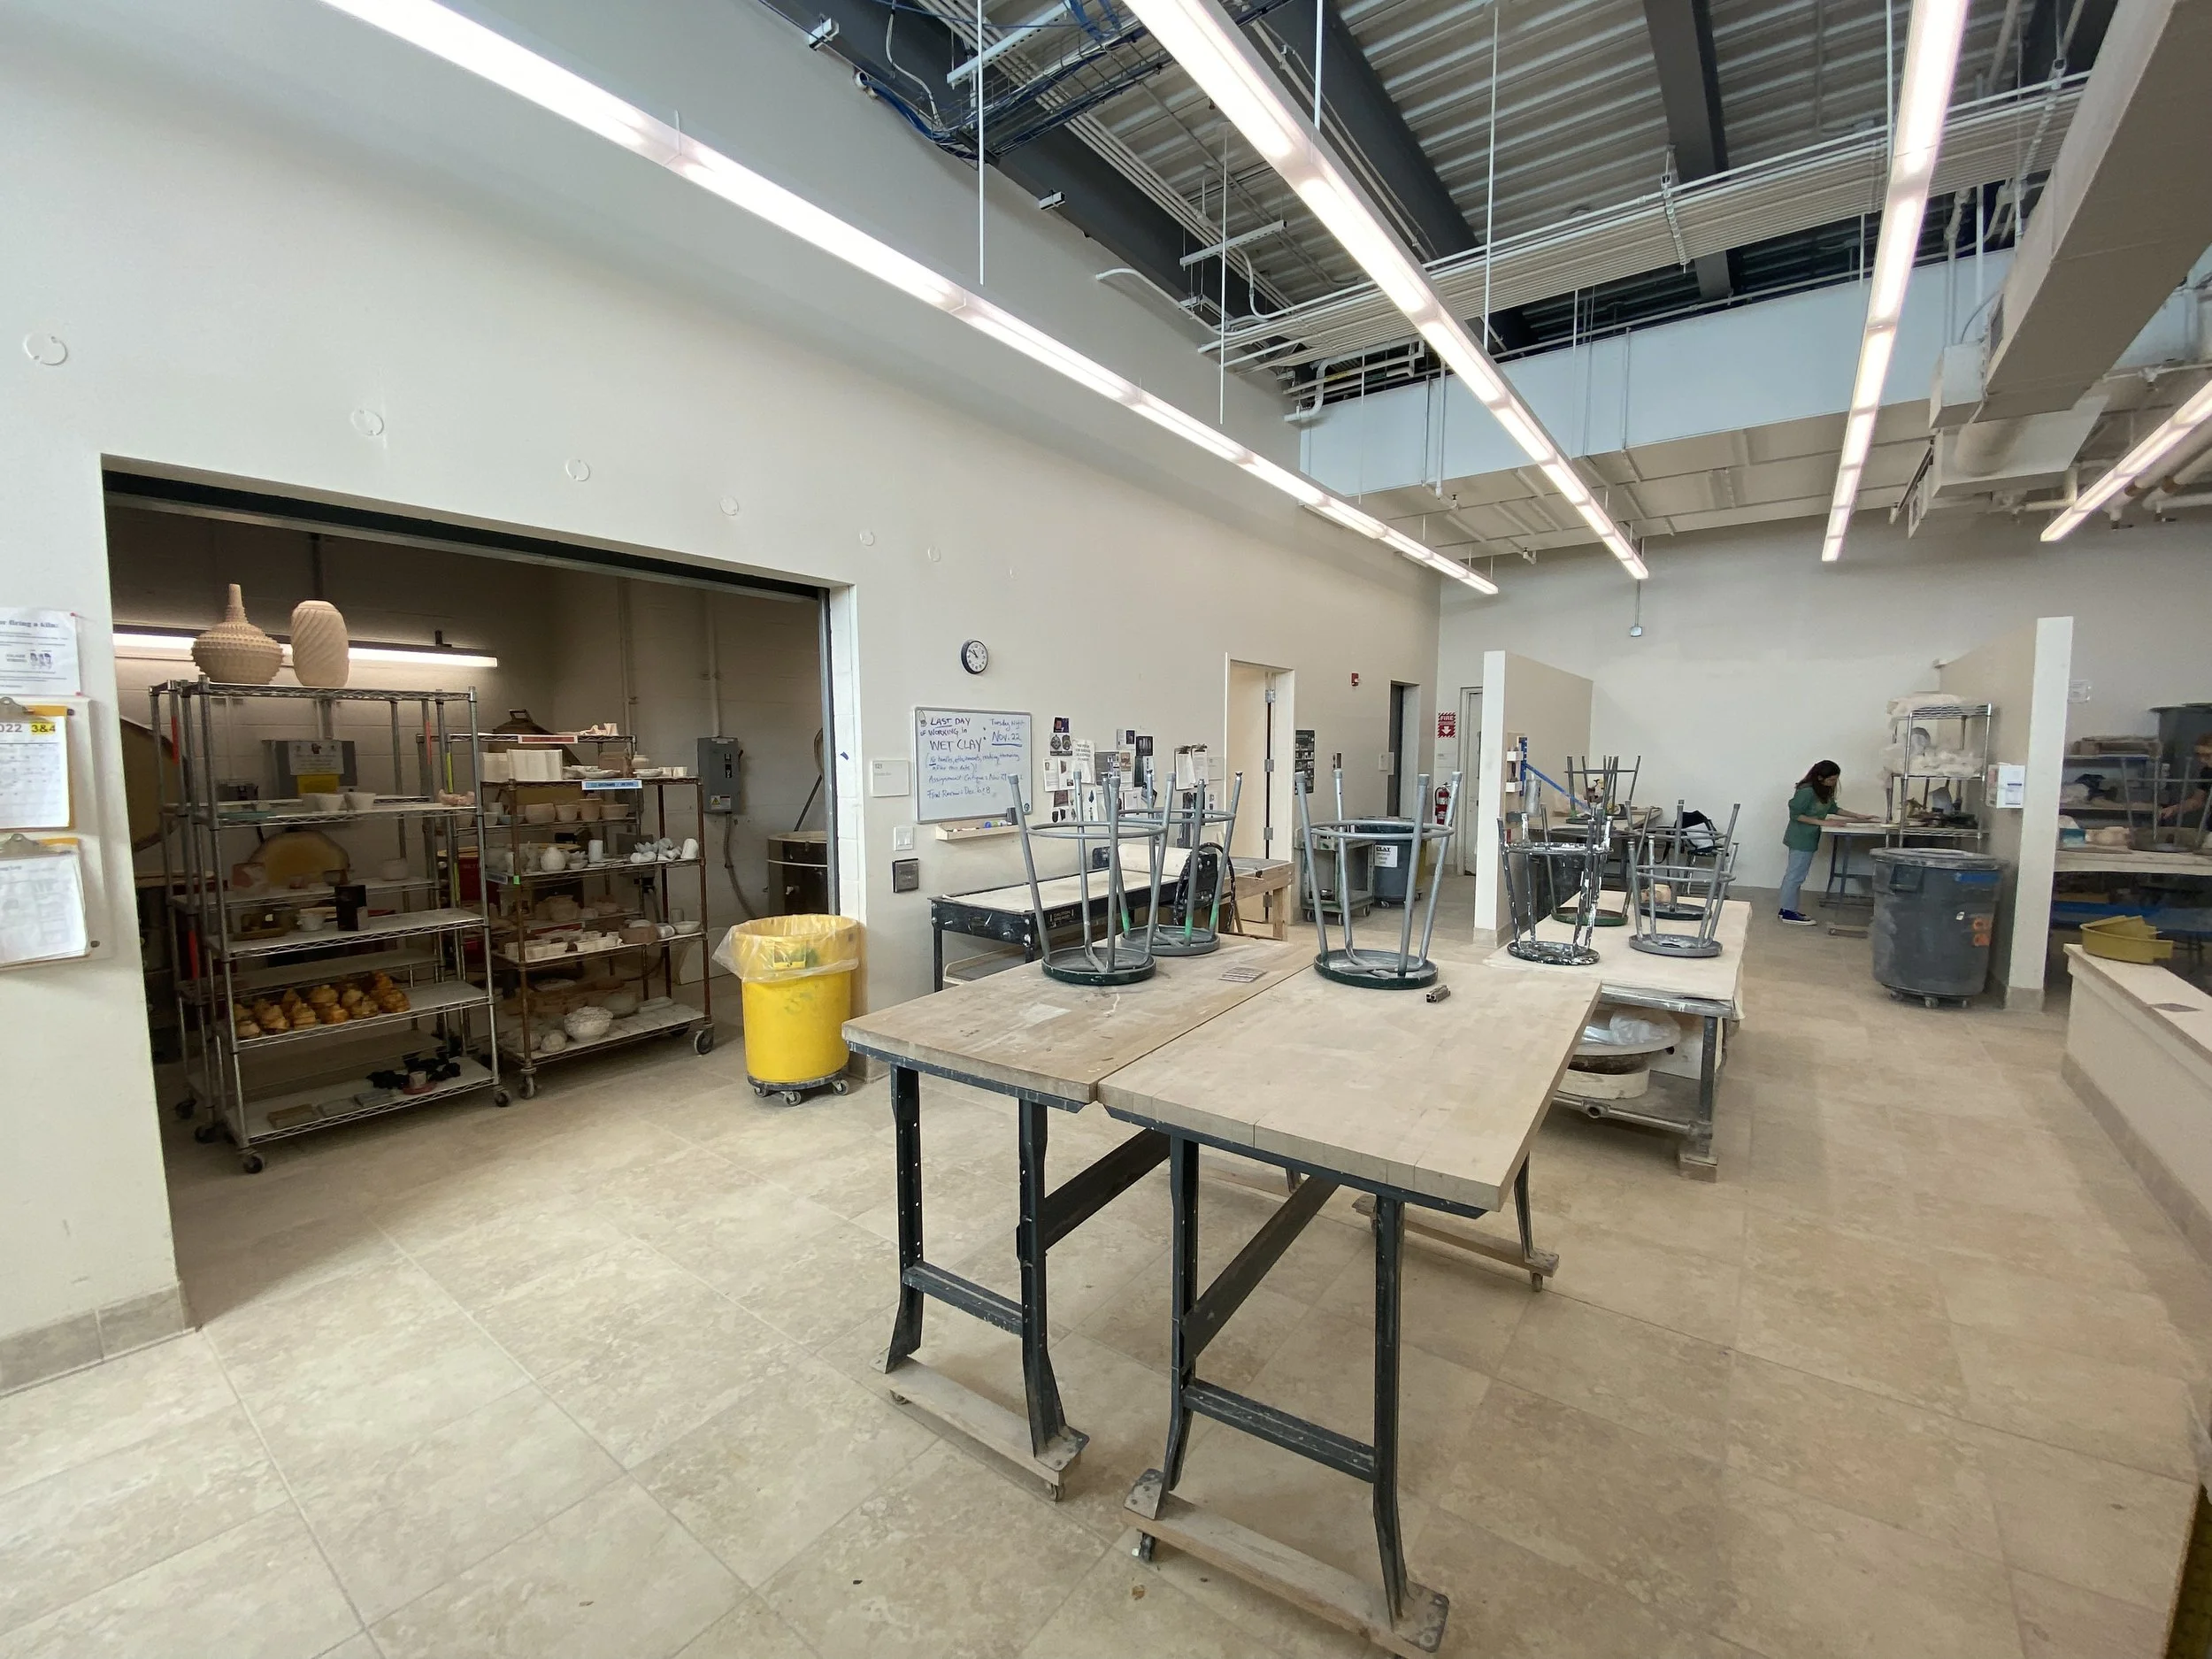
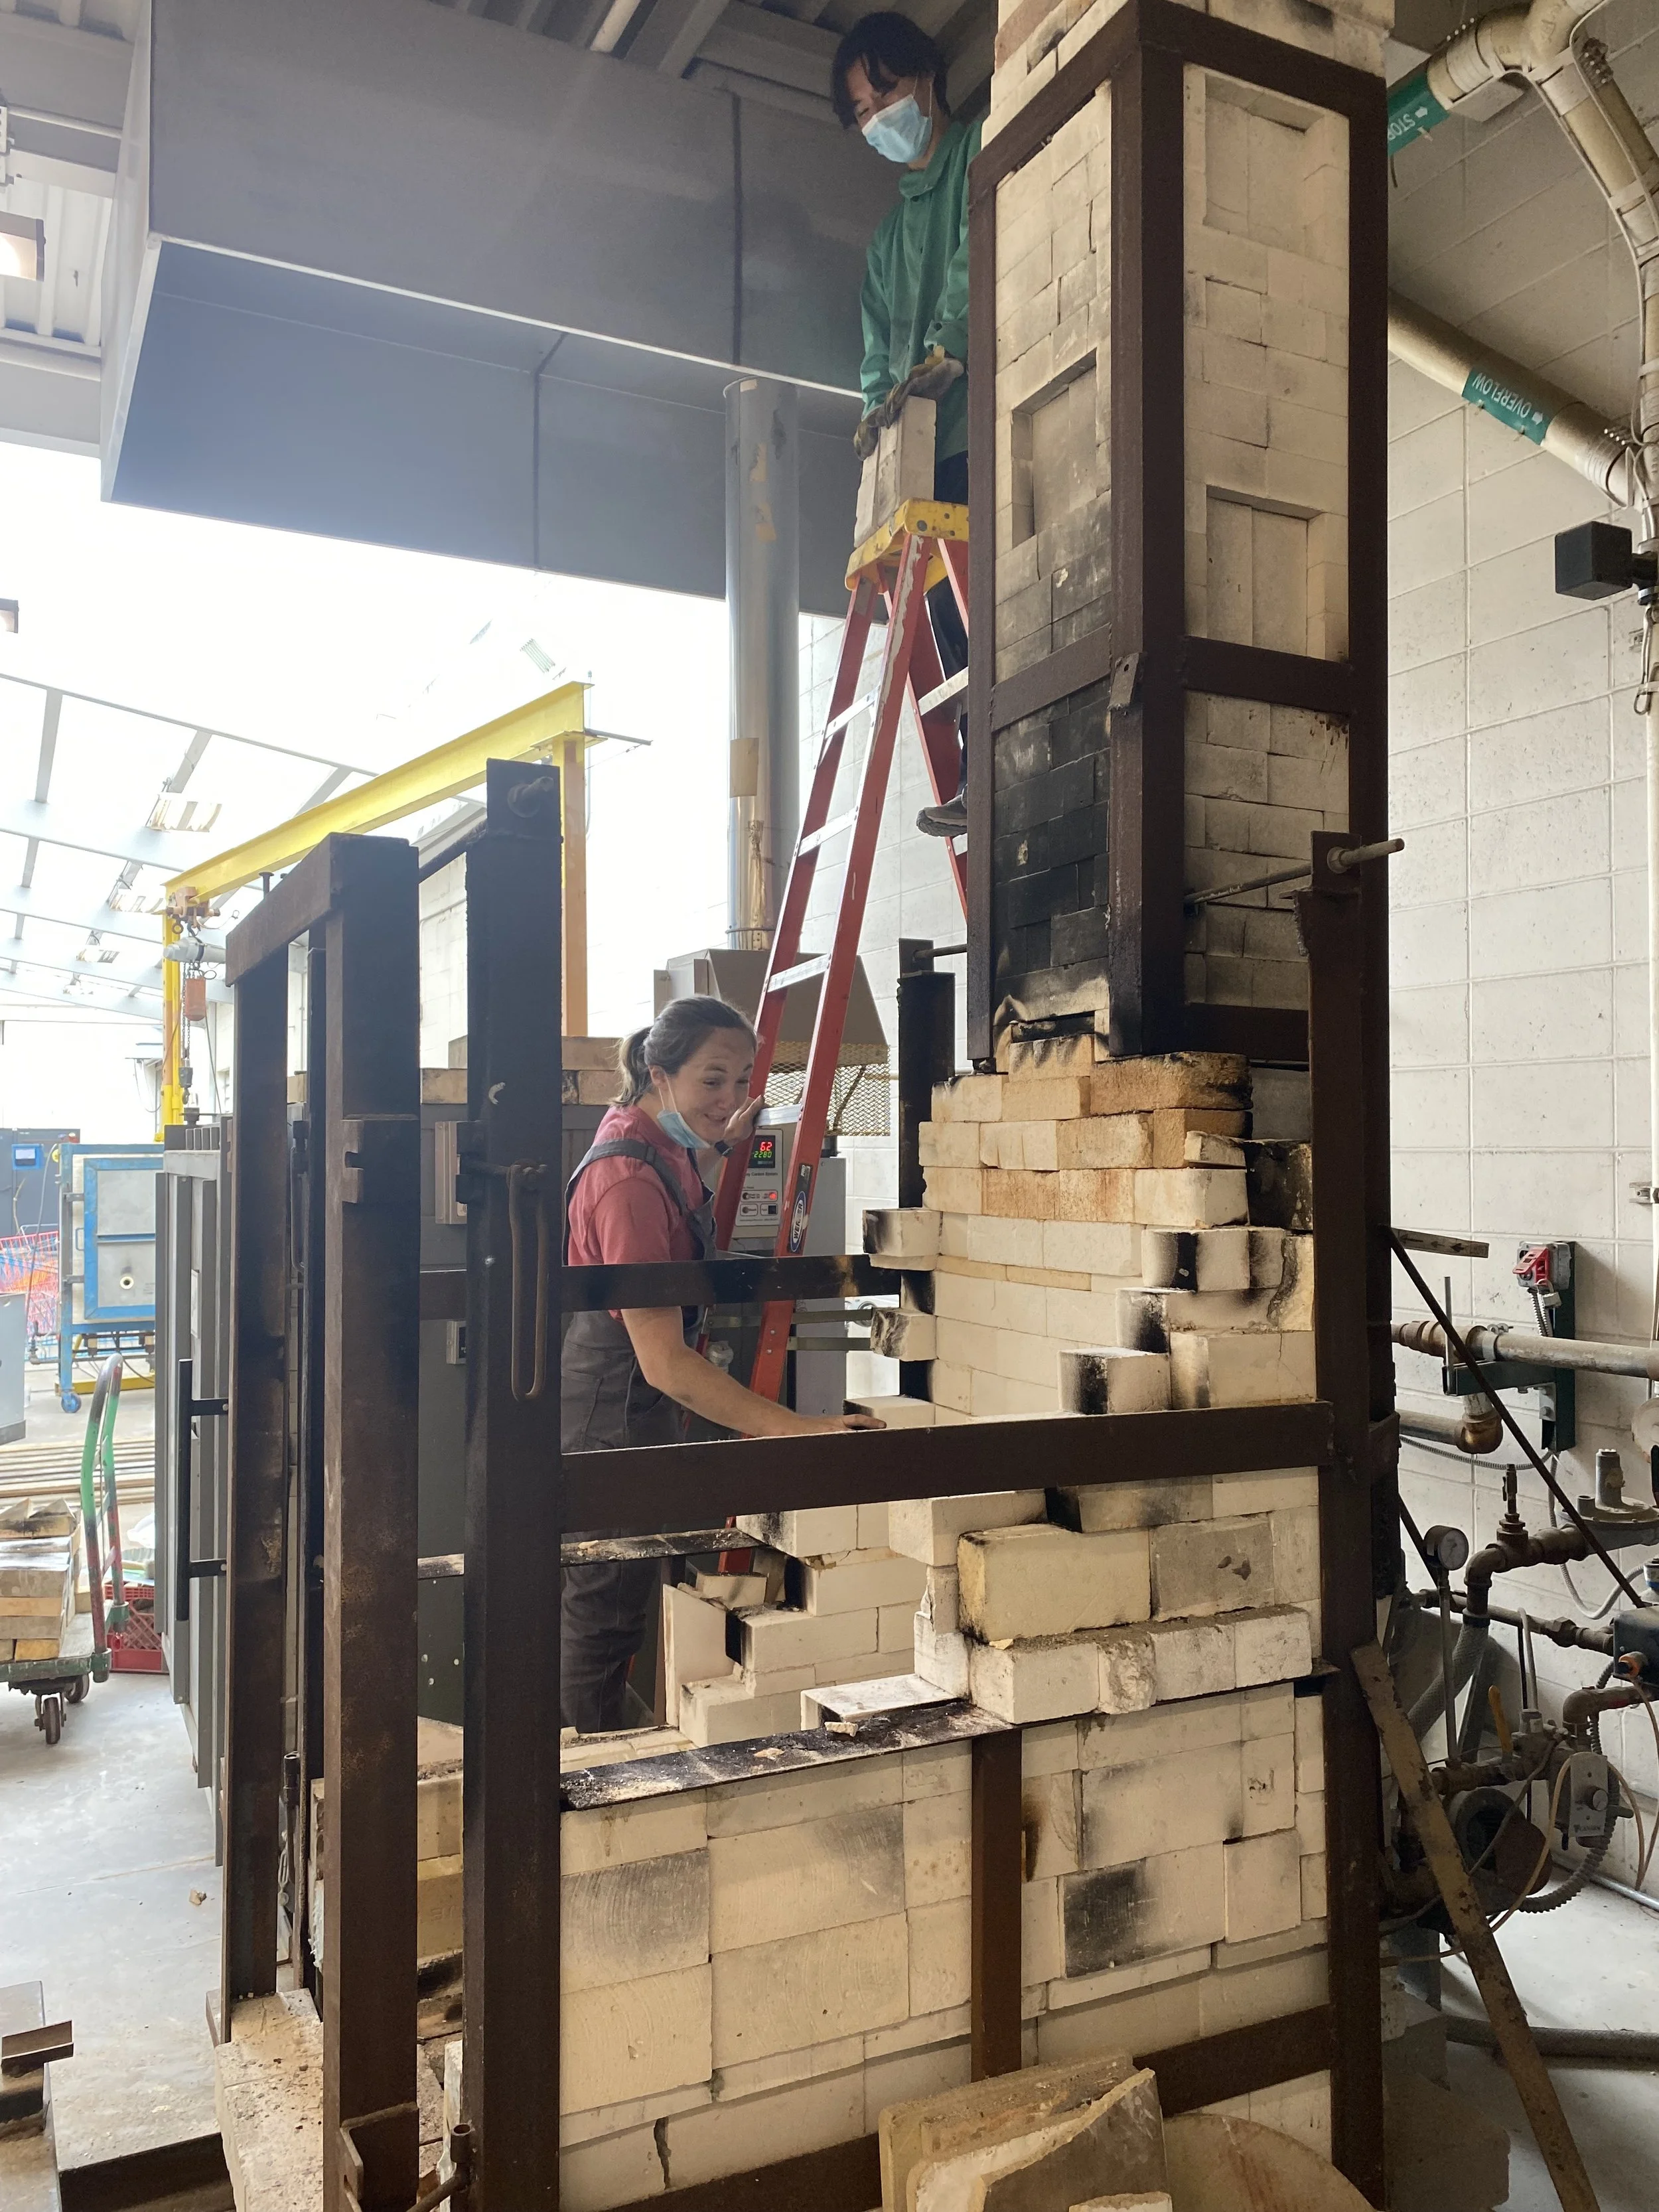
For this post, I want to share some of the builds, projects and additions to our facilities that I have had fun designing and fabricating over the past few years. Below are some pics of the shops to give a general understanding of the space.
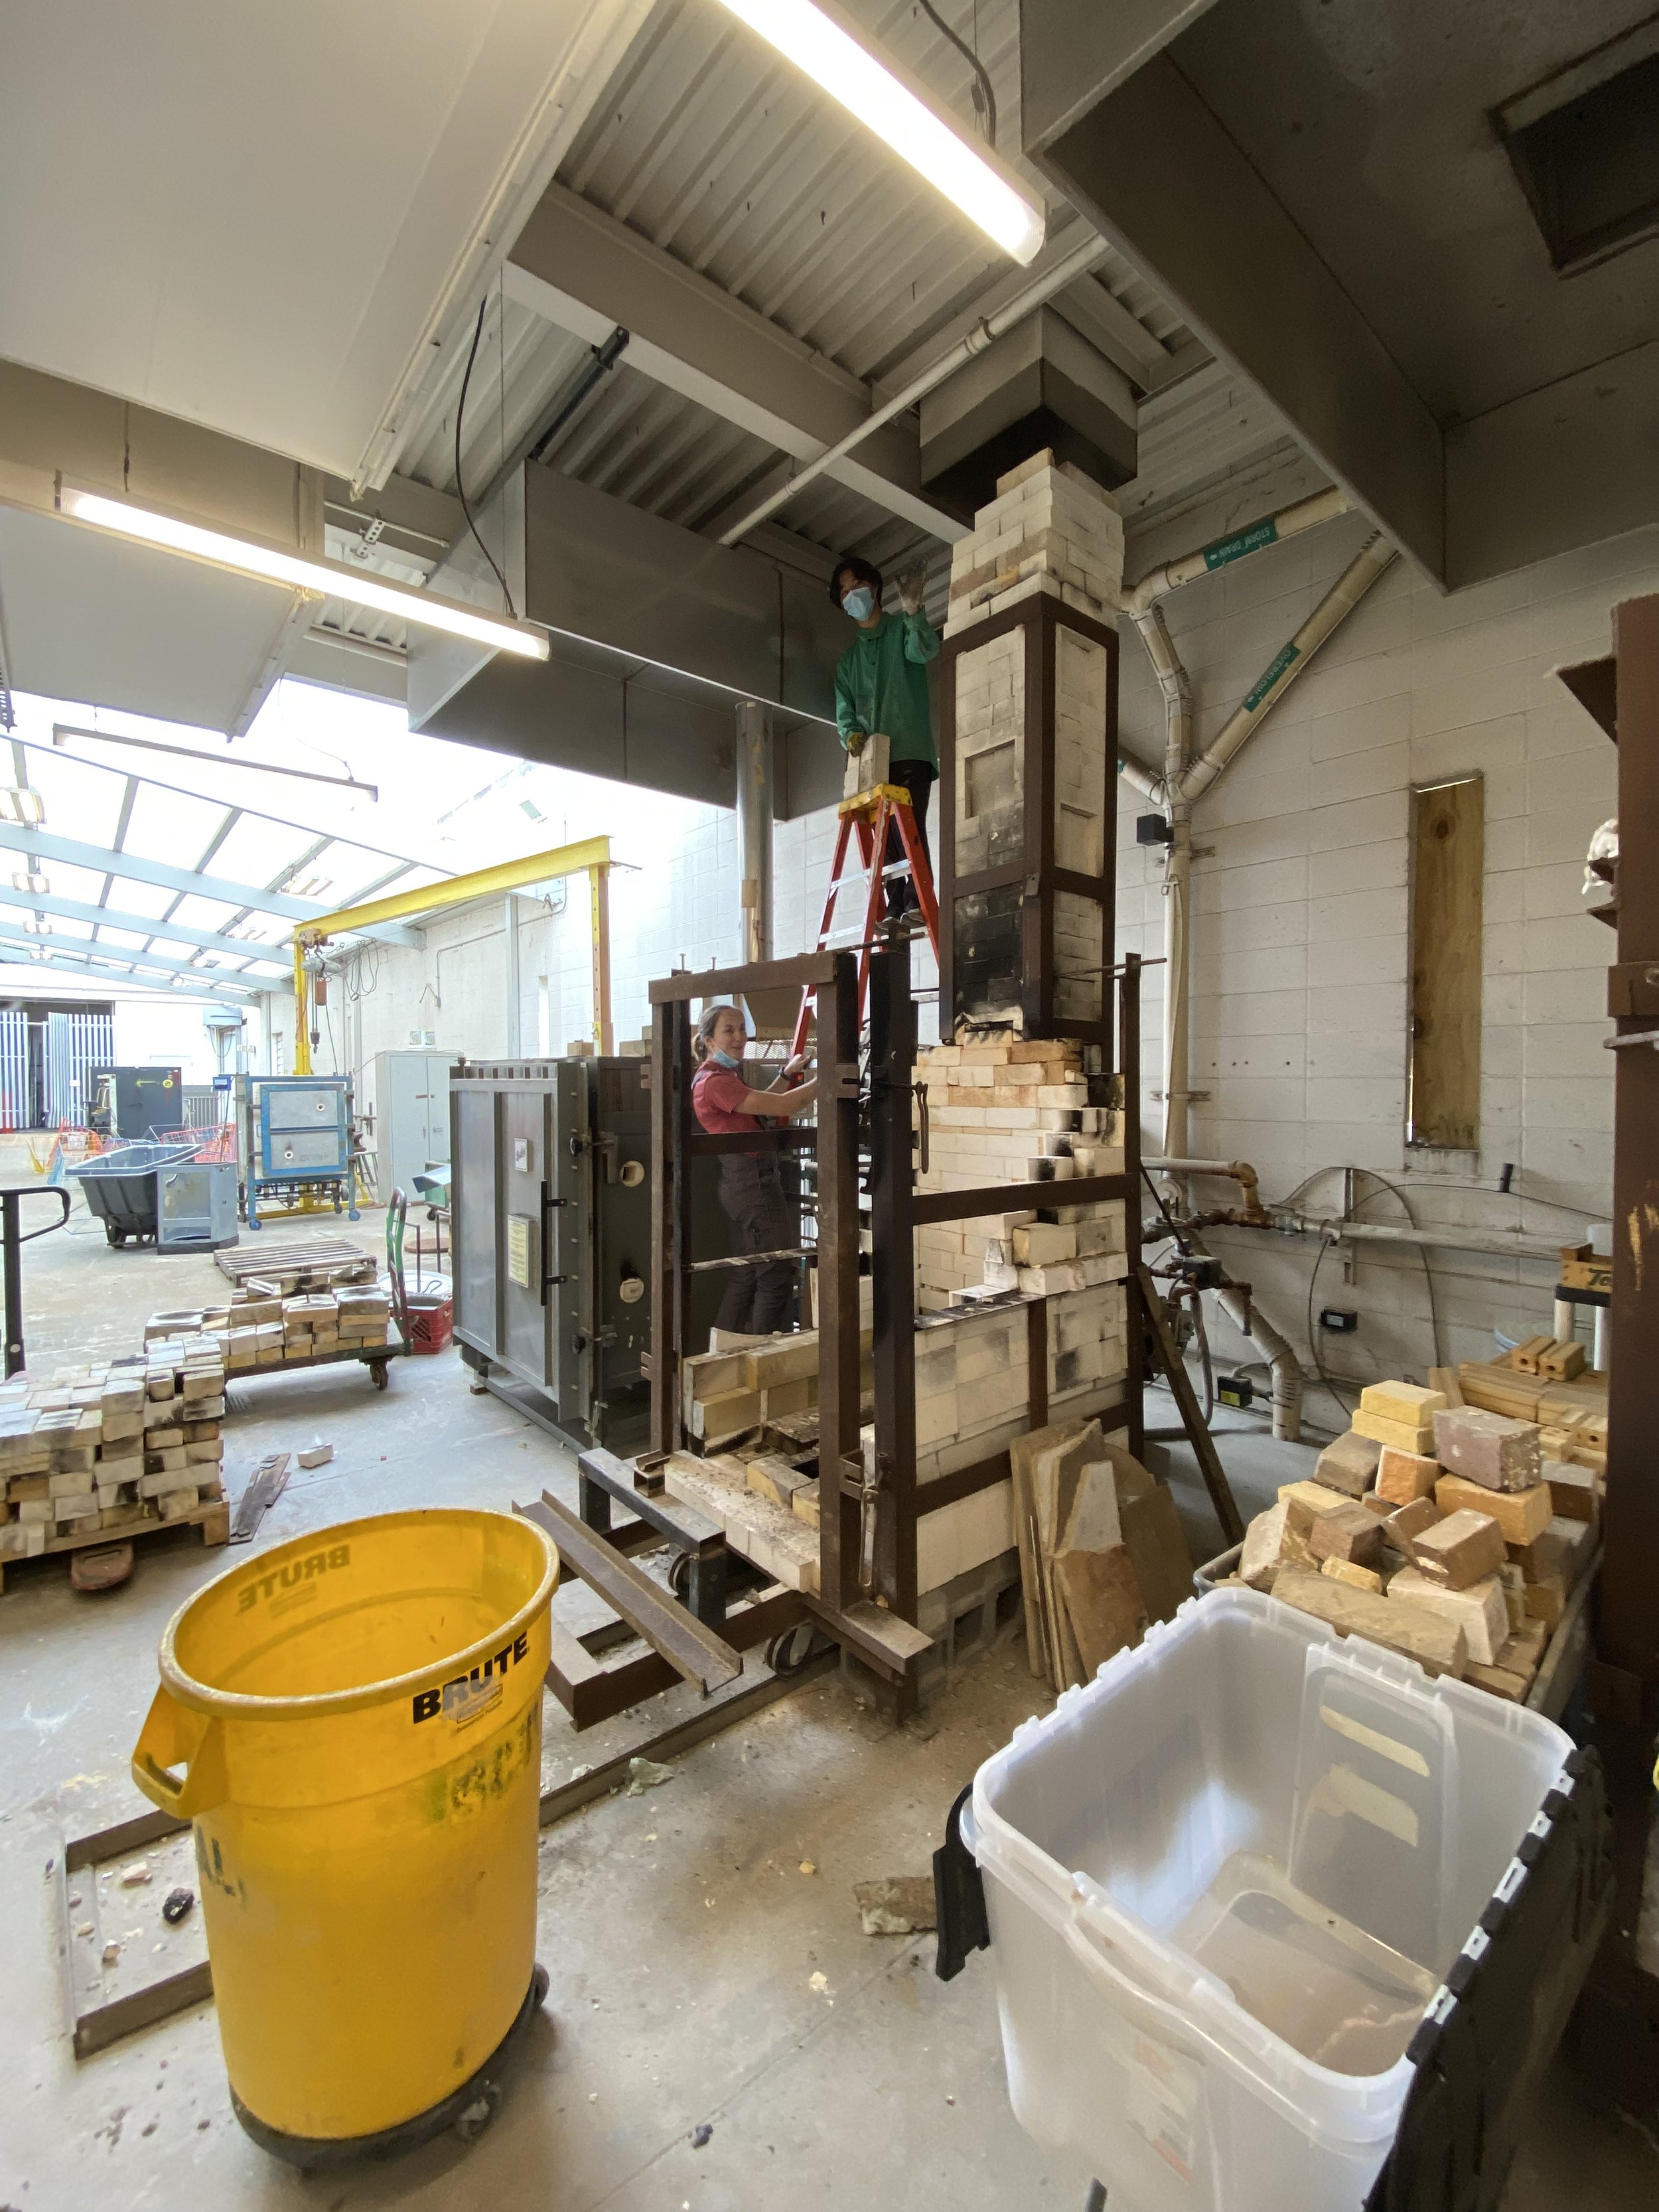
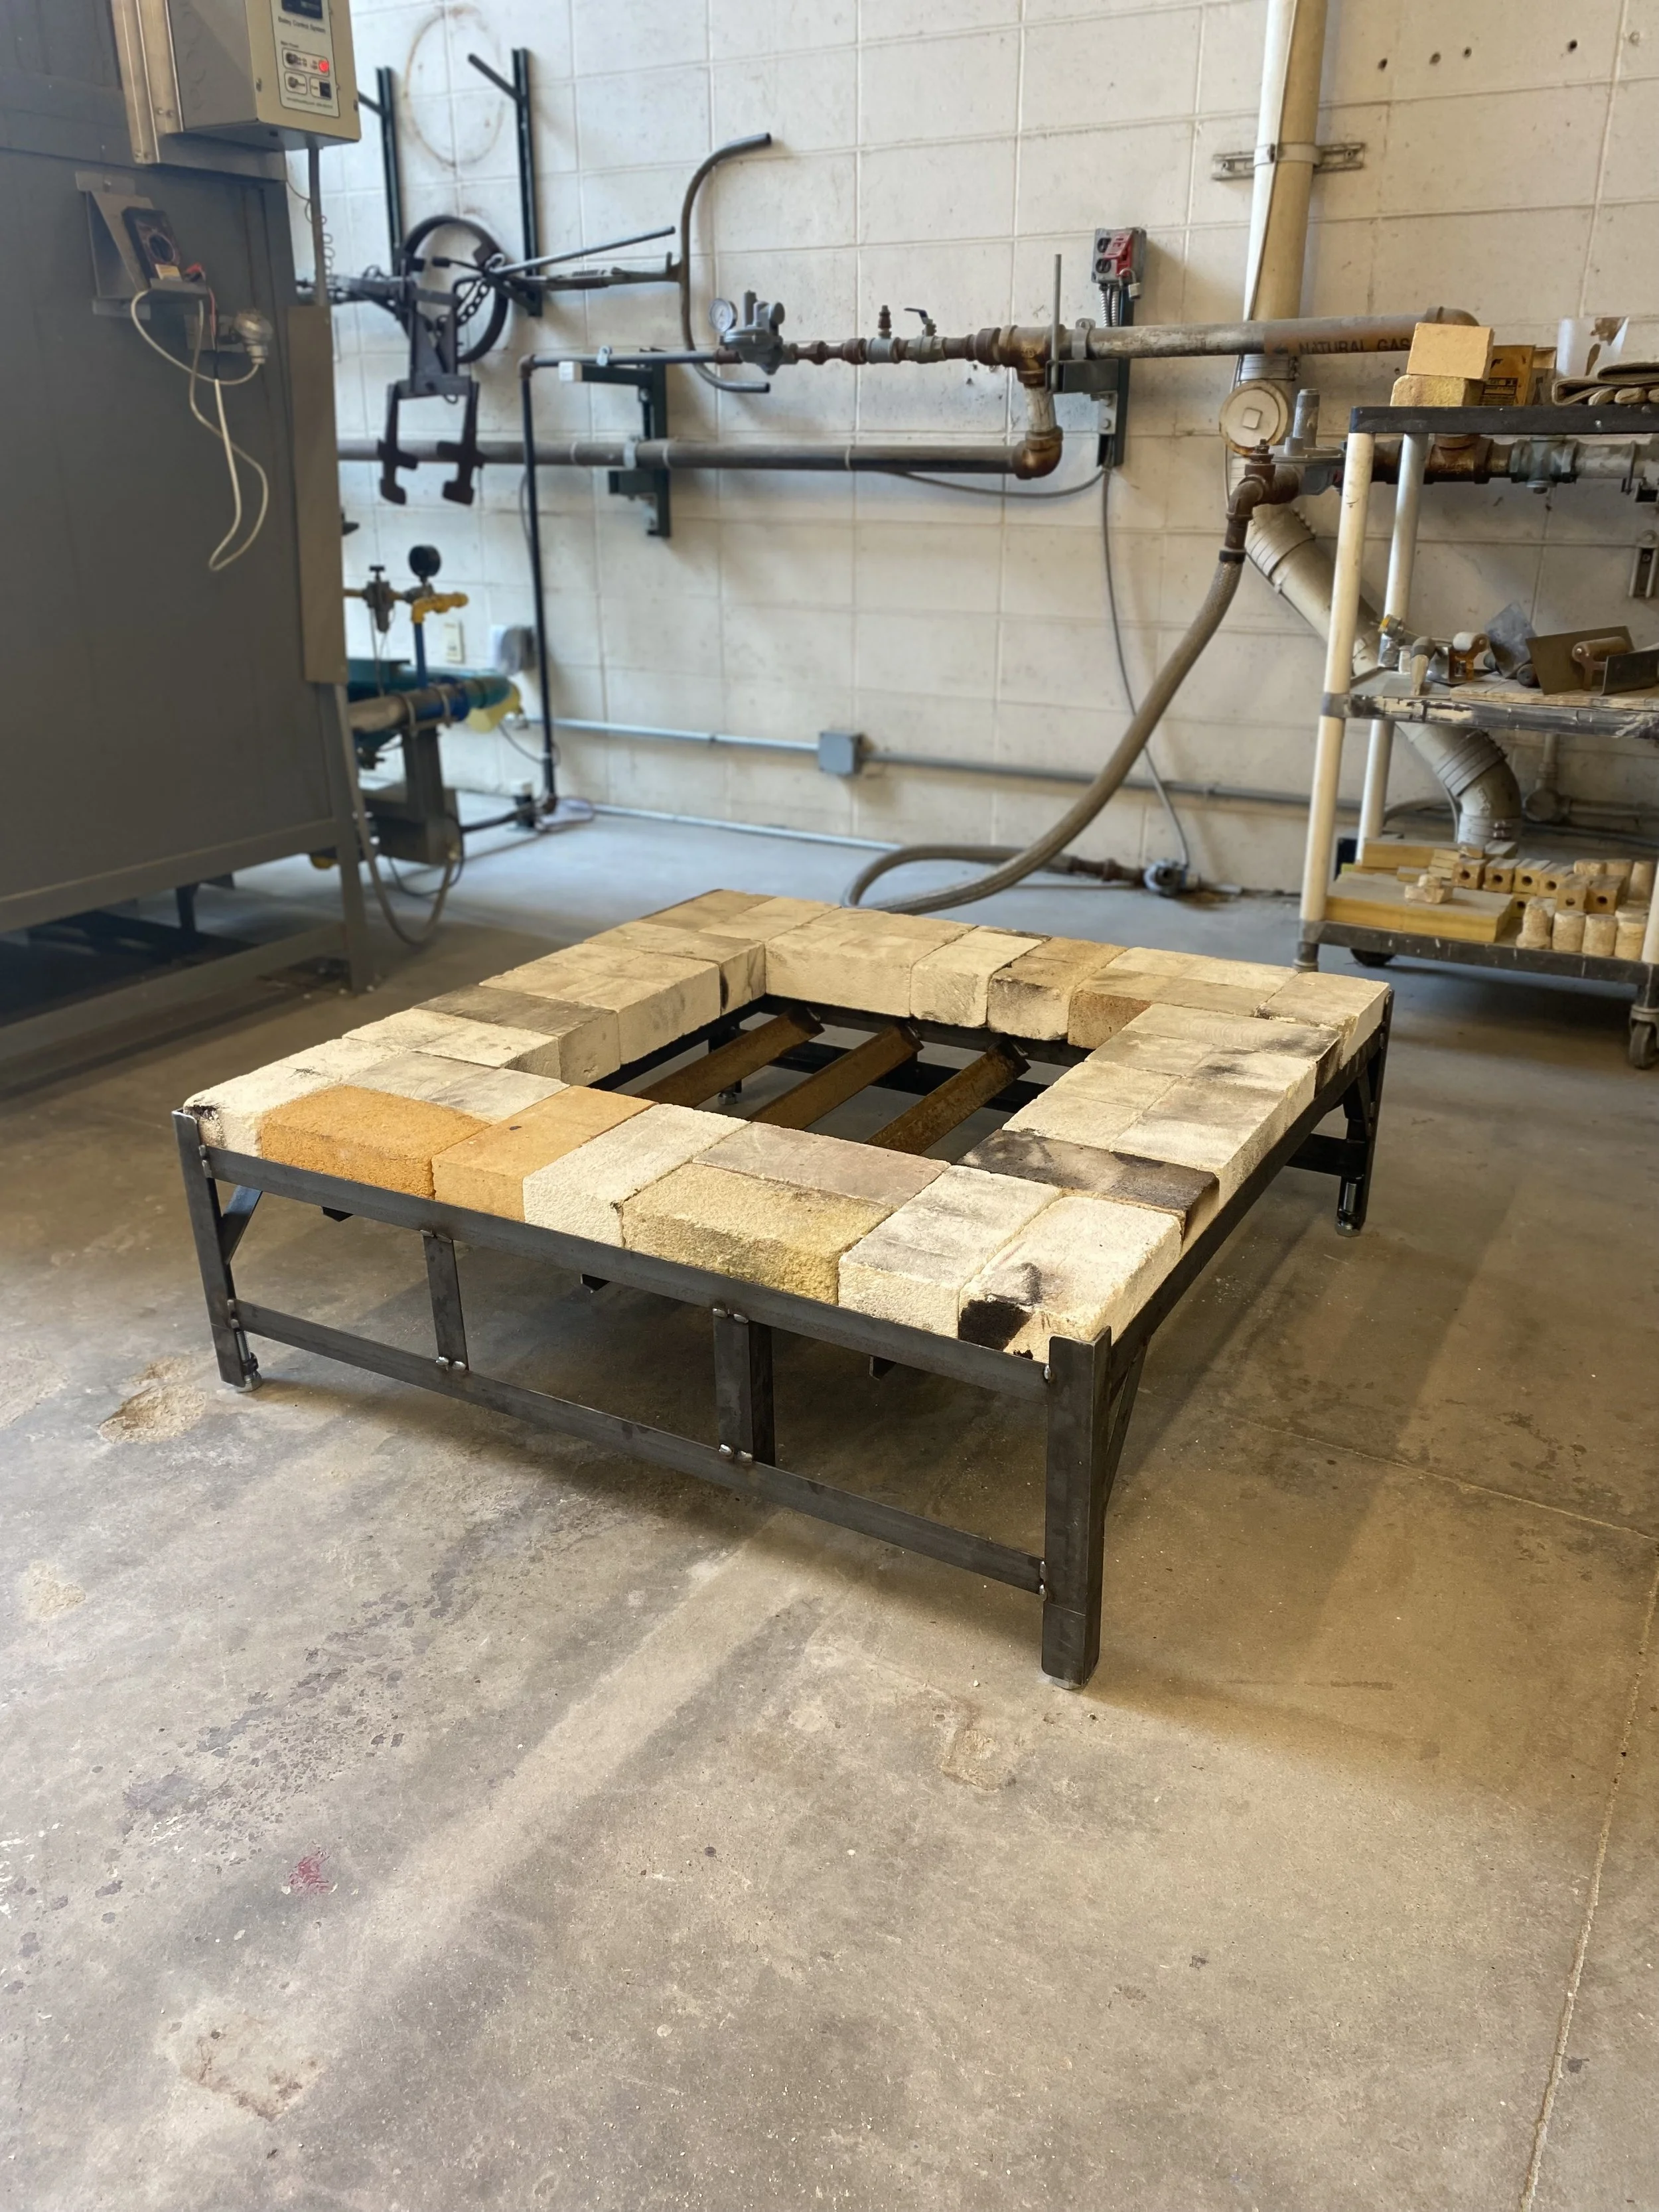
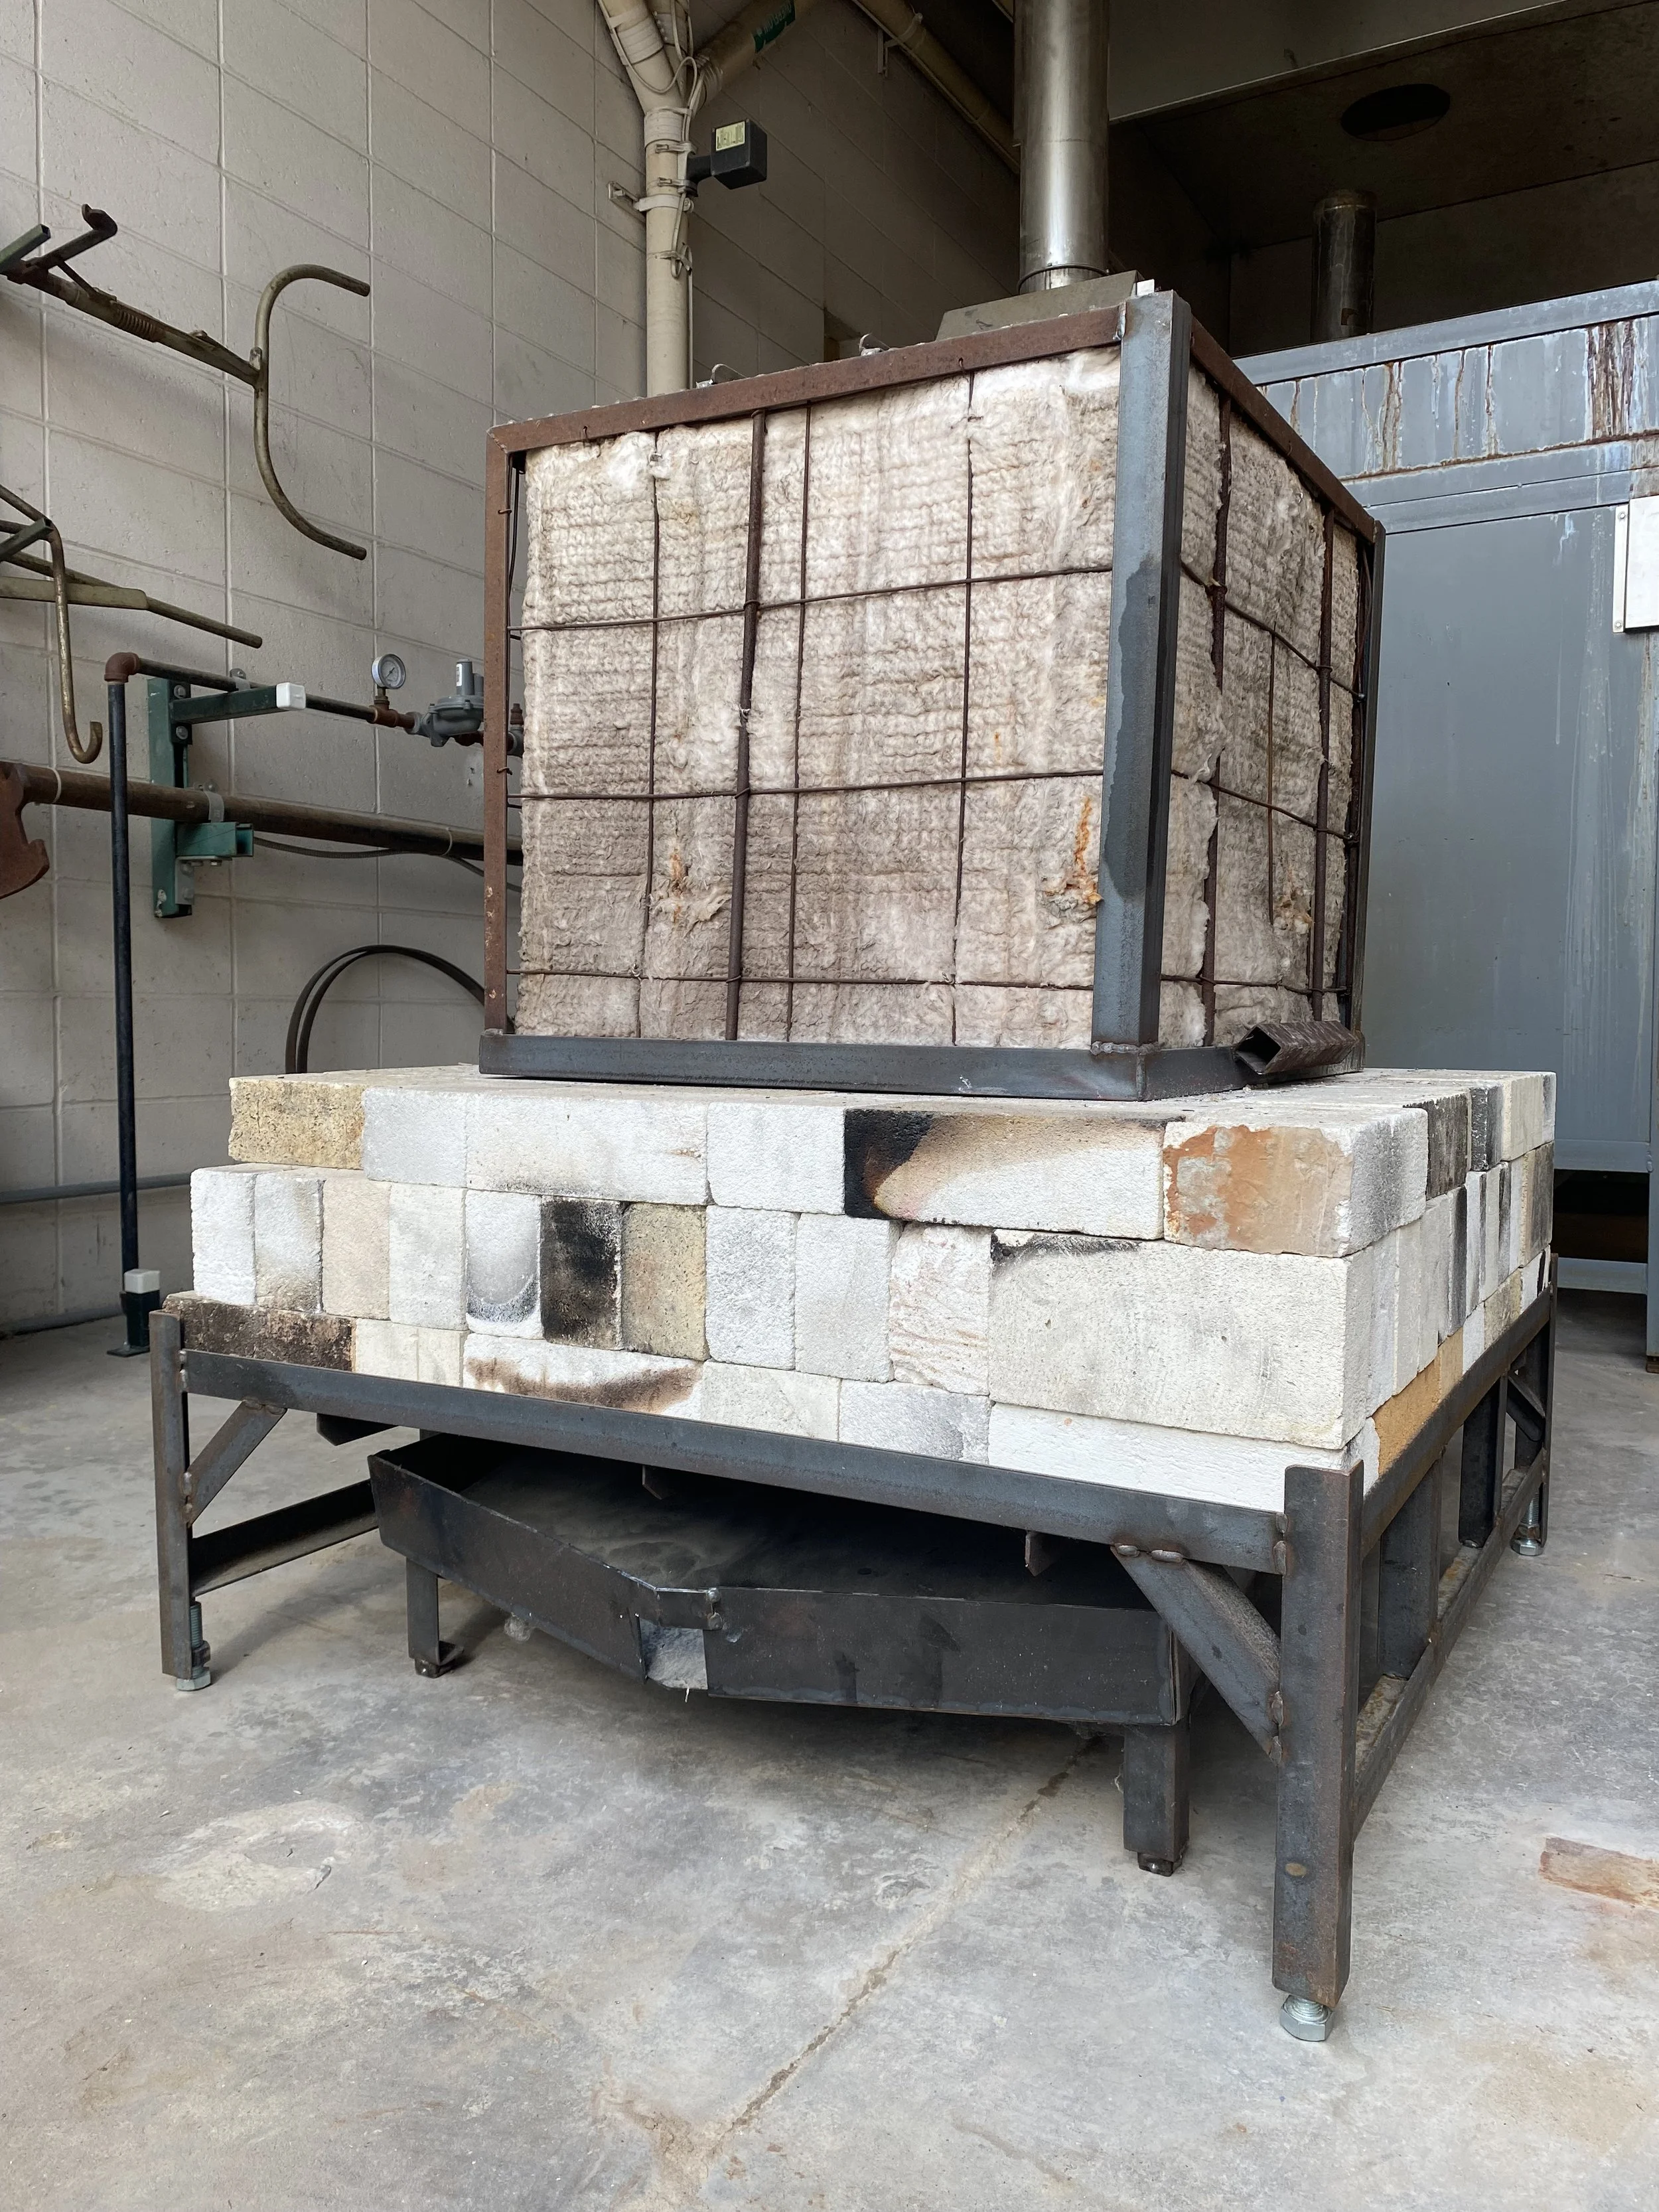
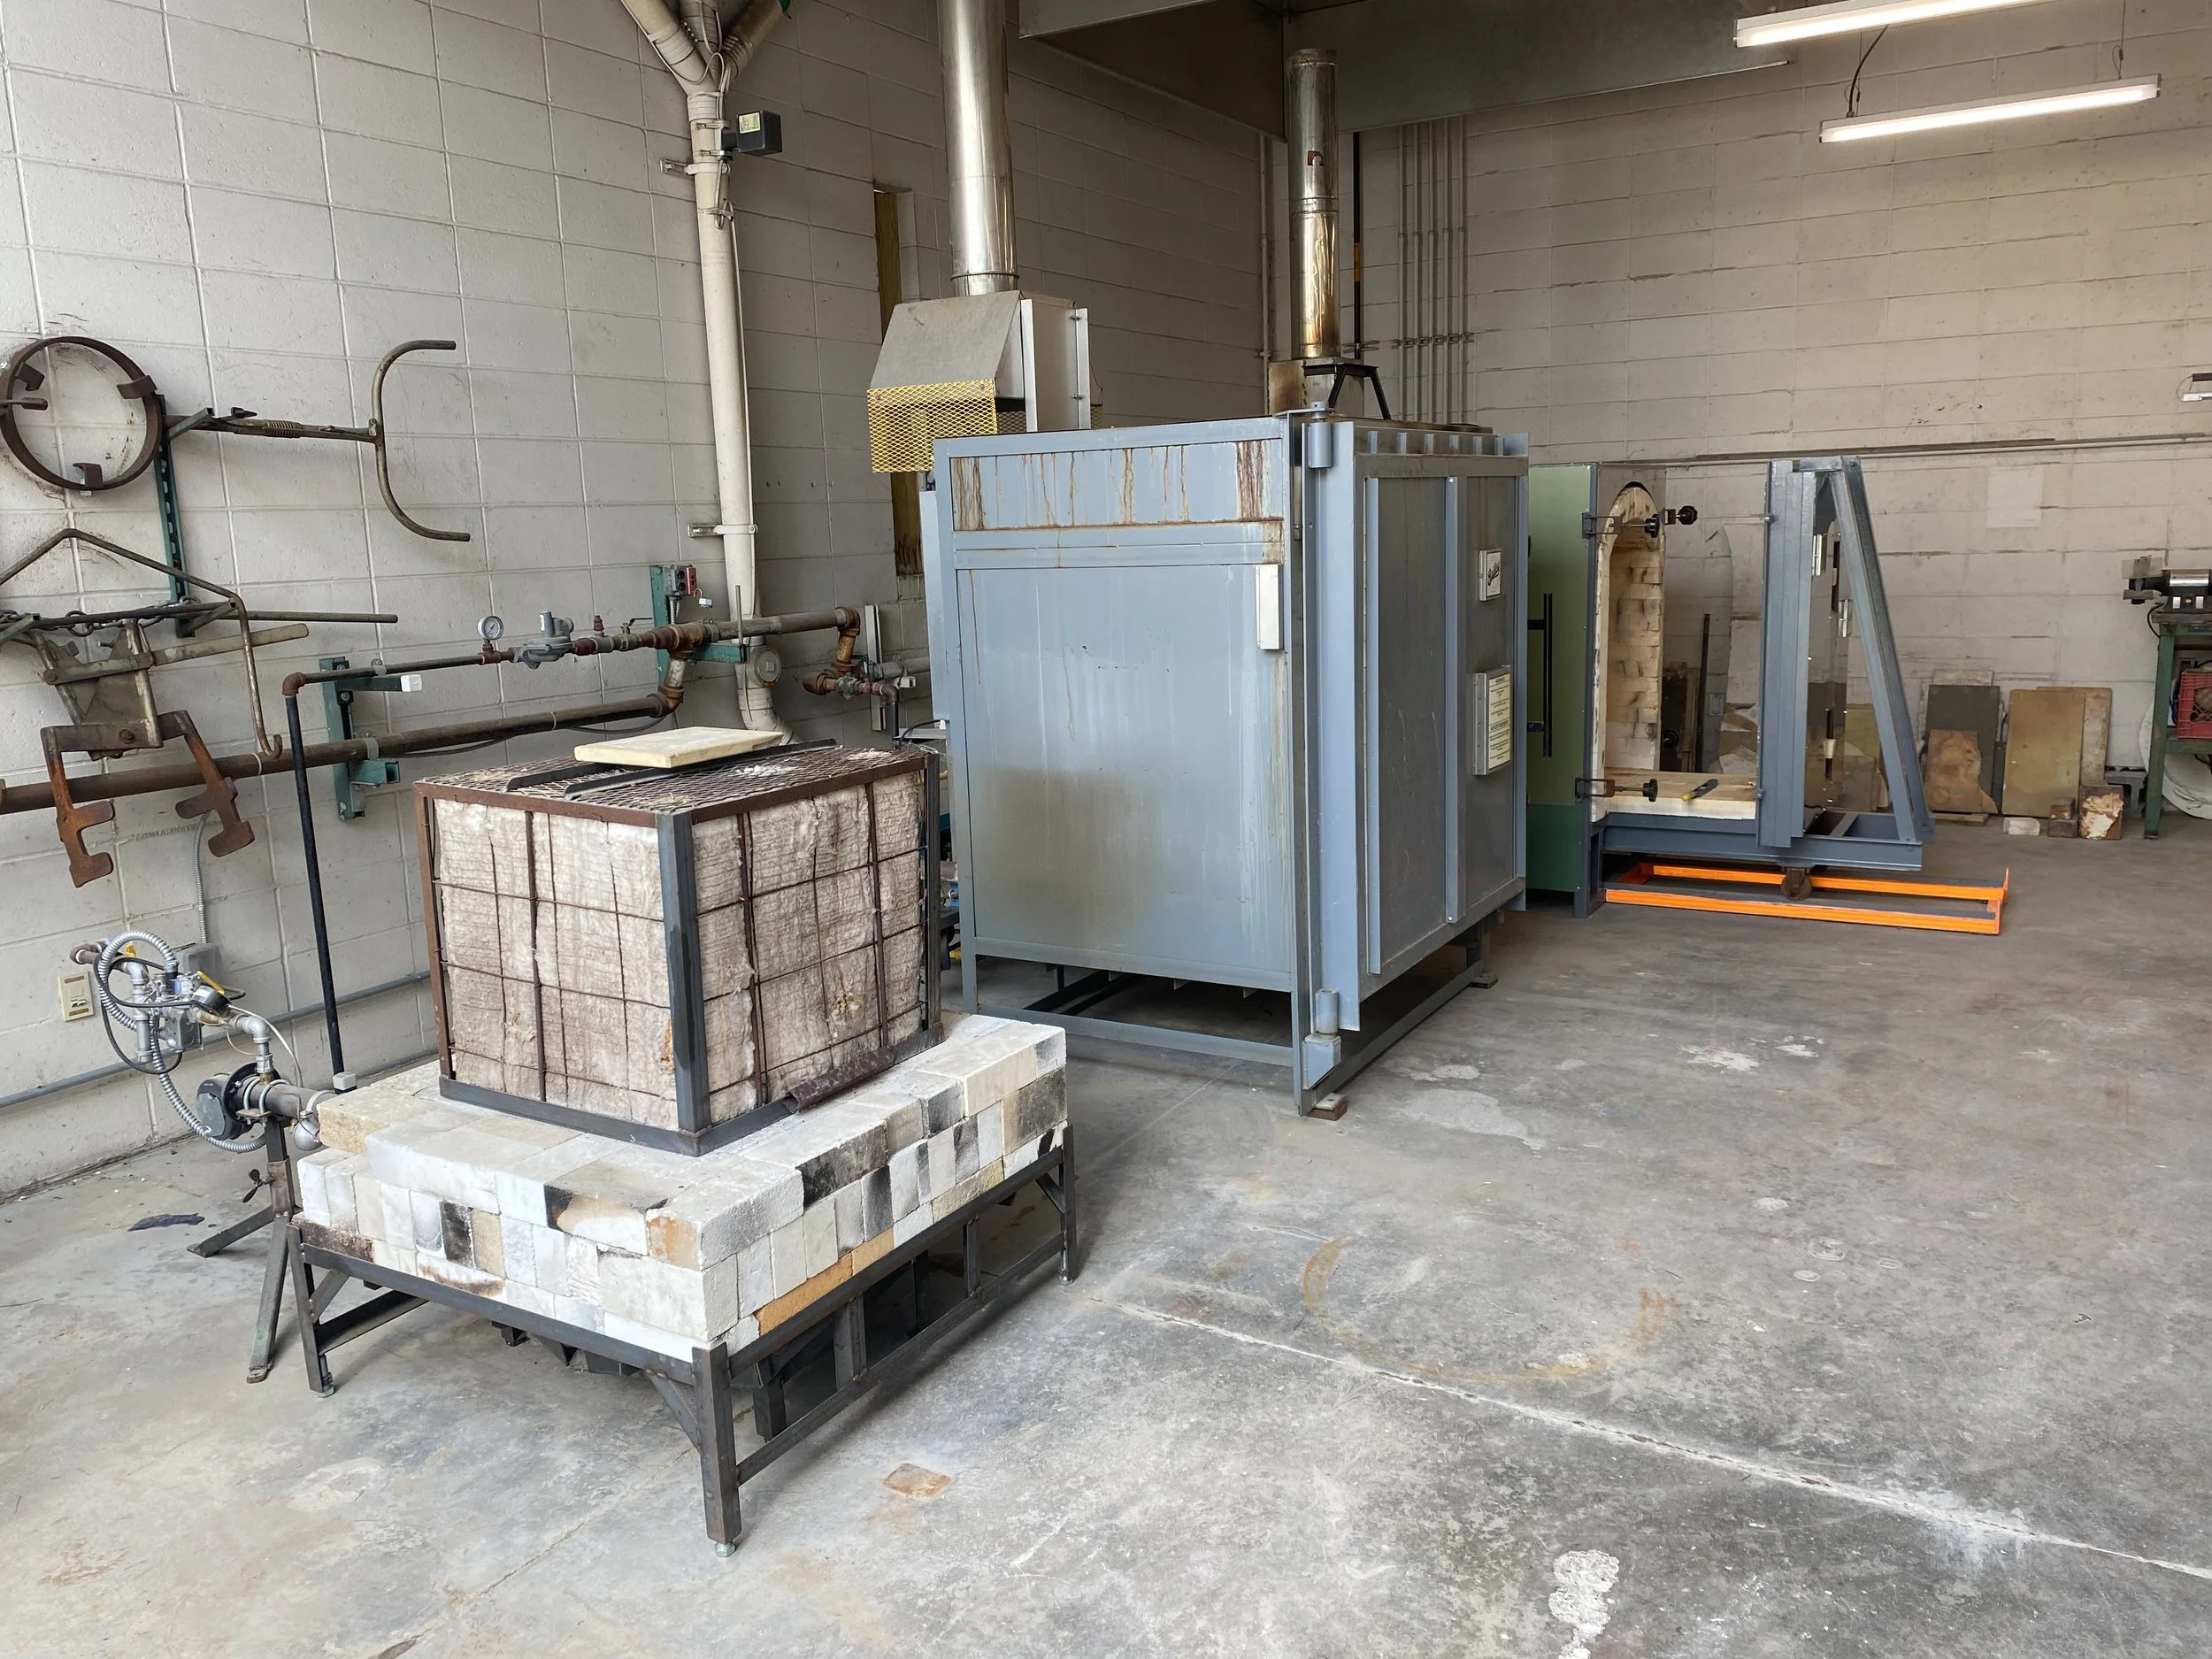
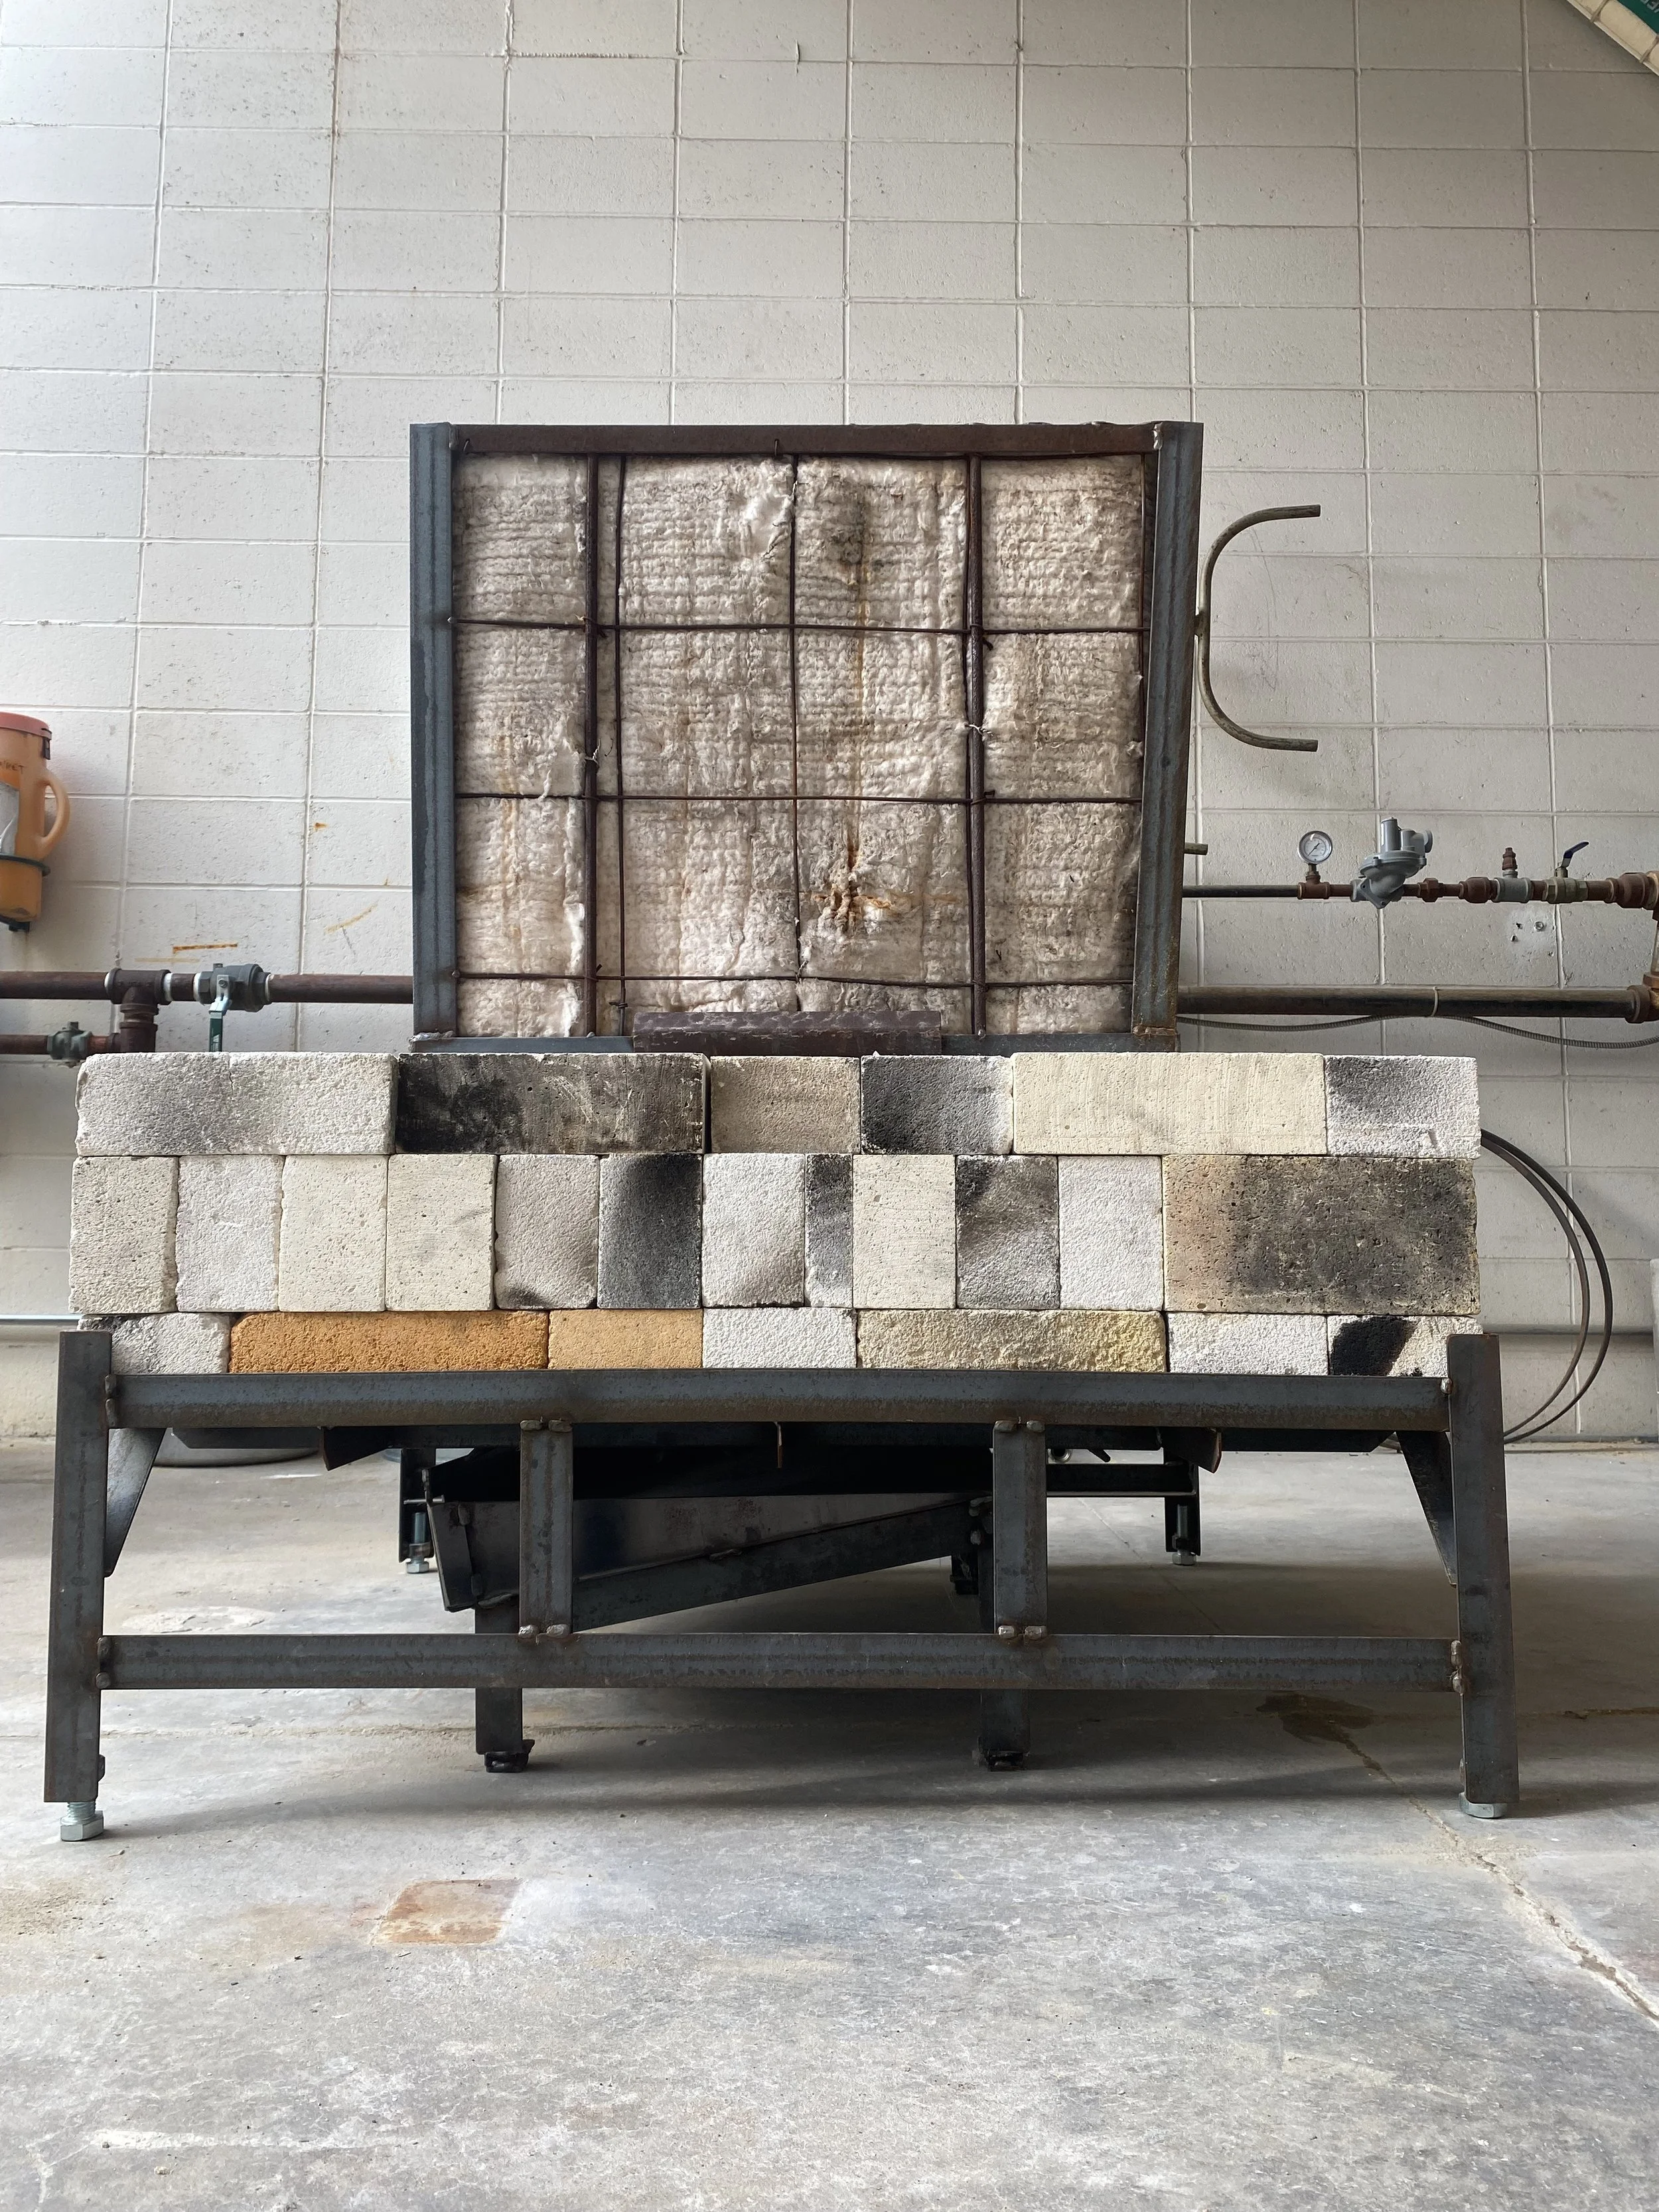
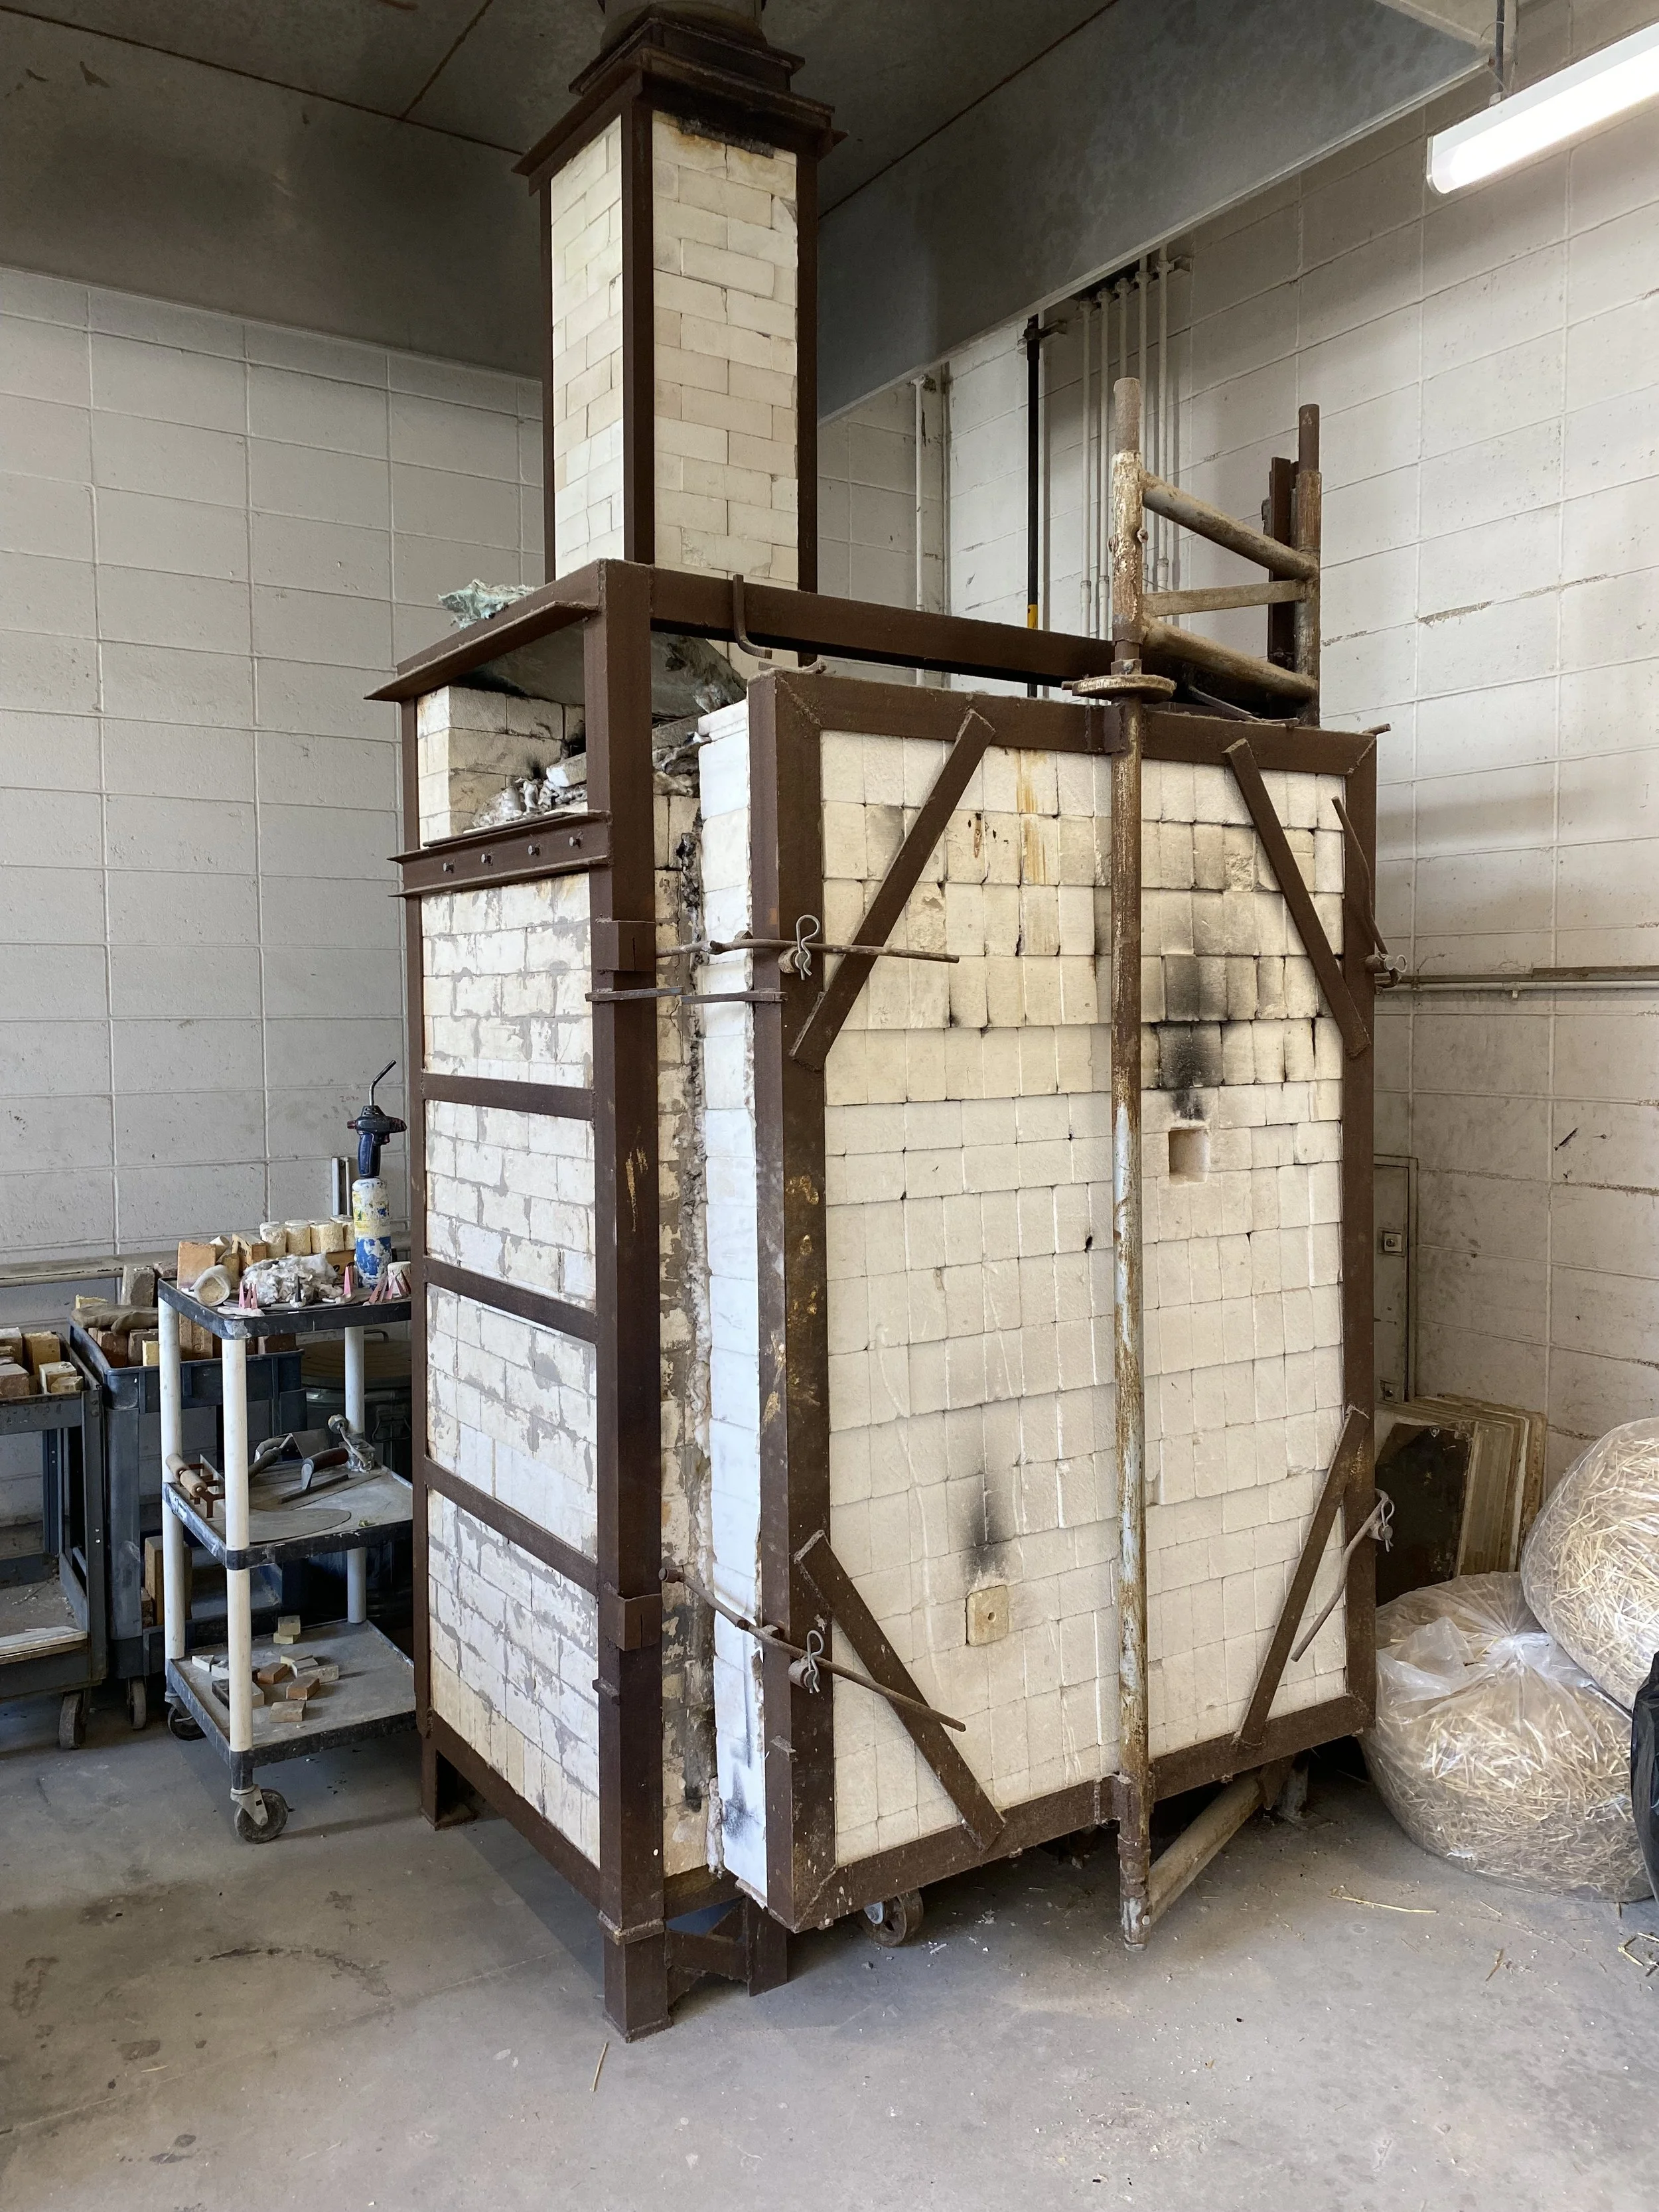
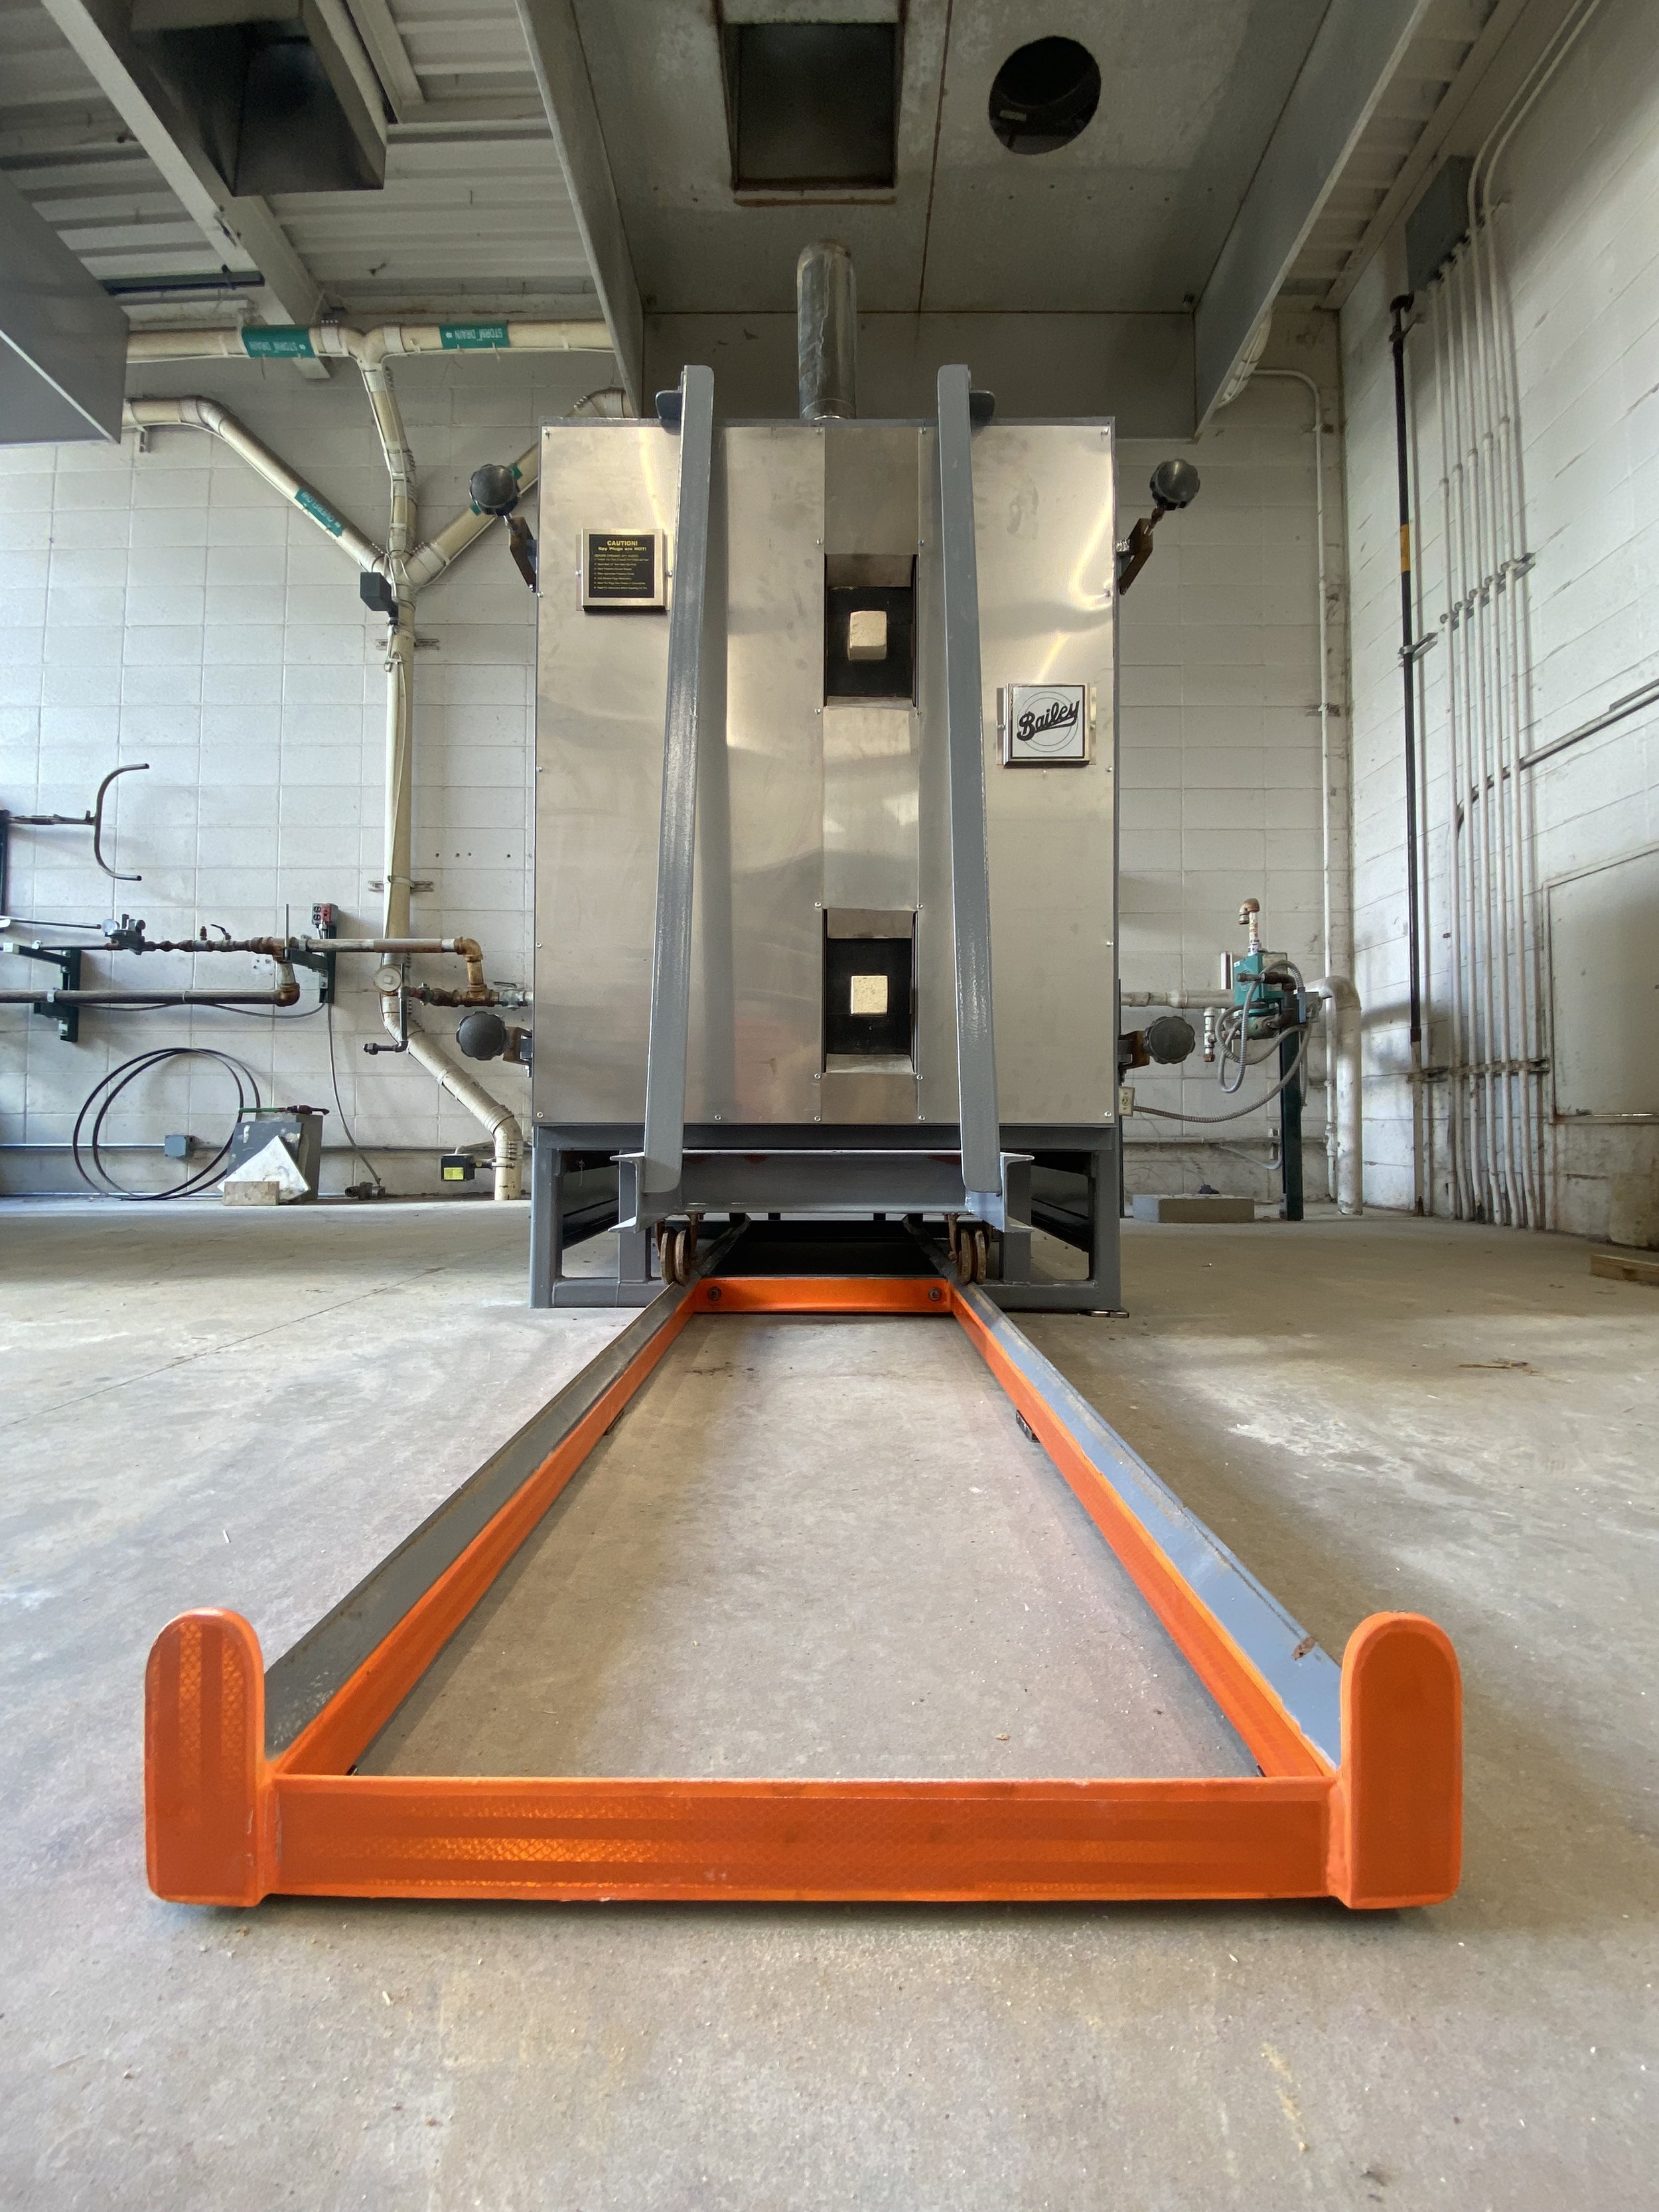
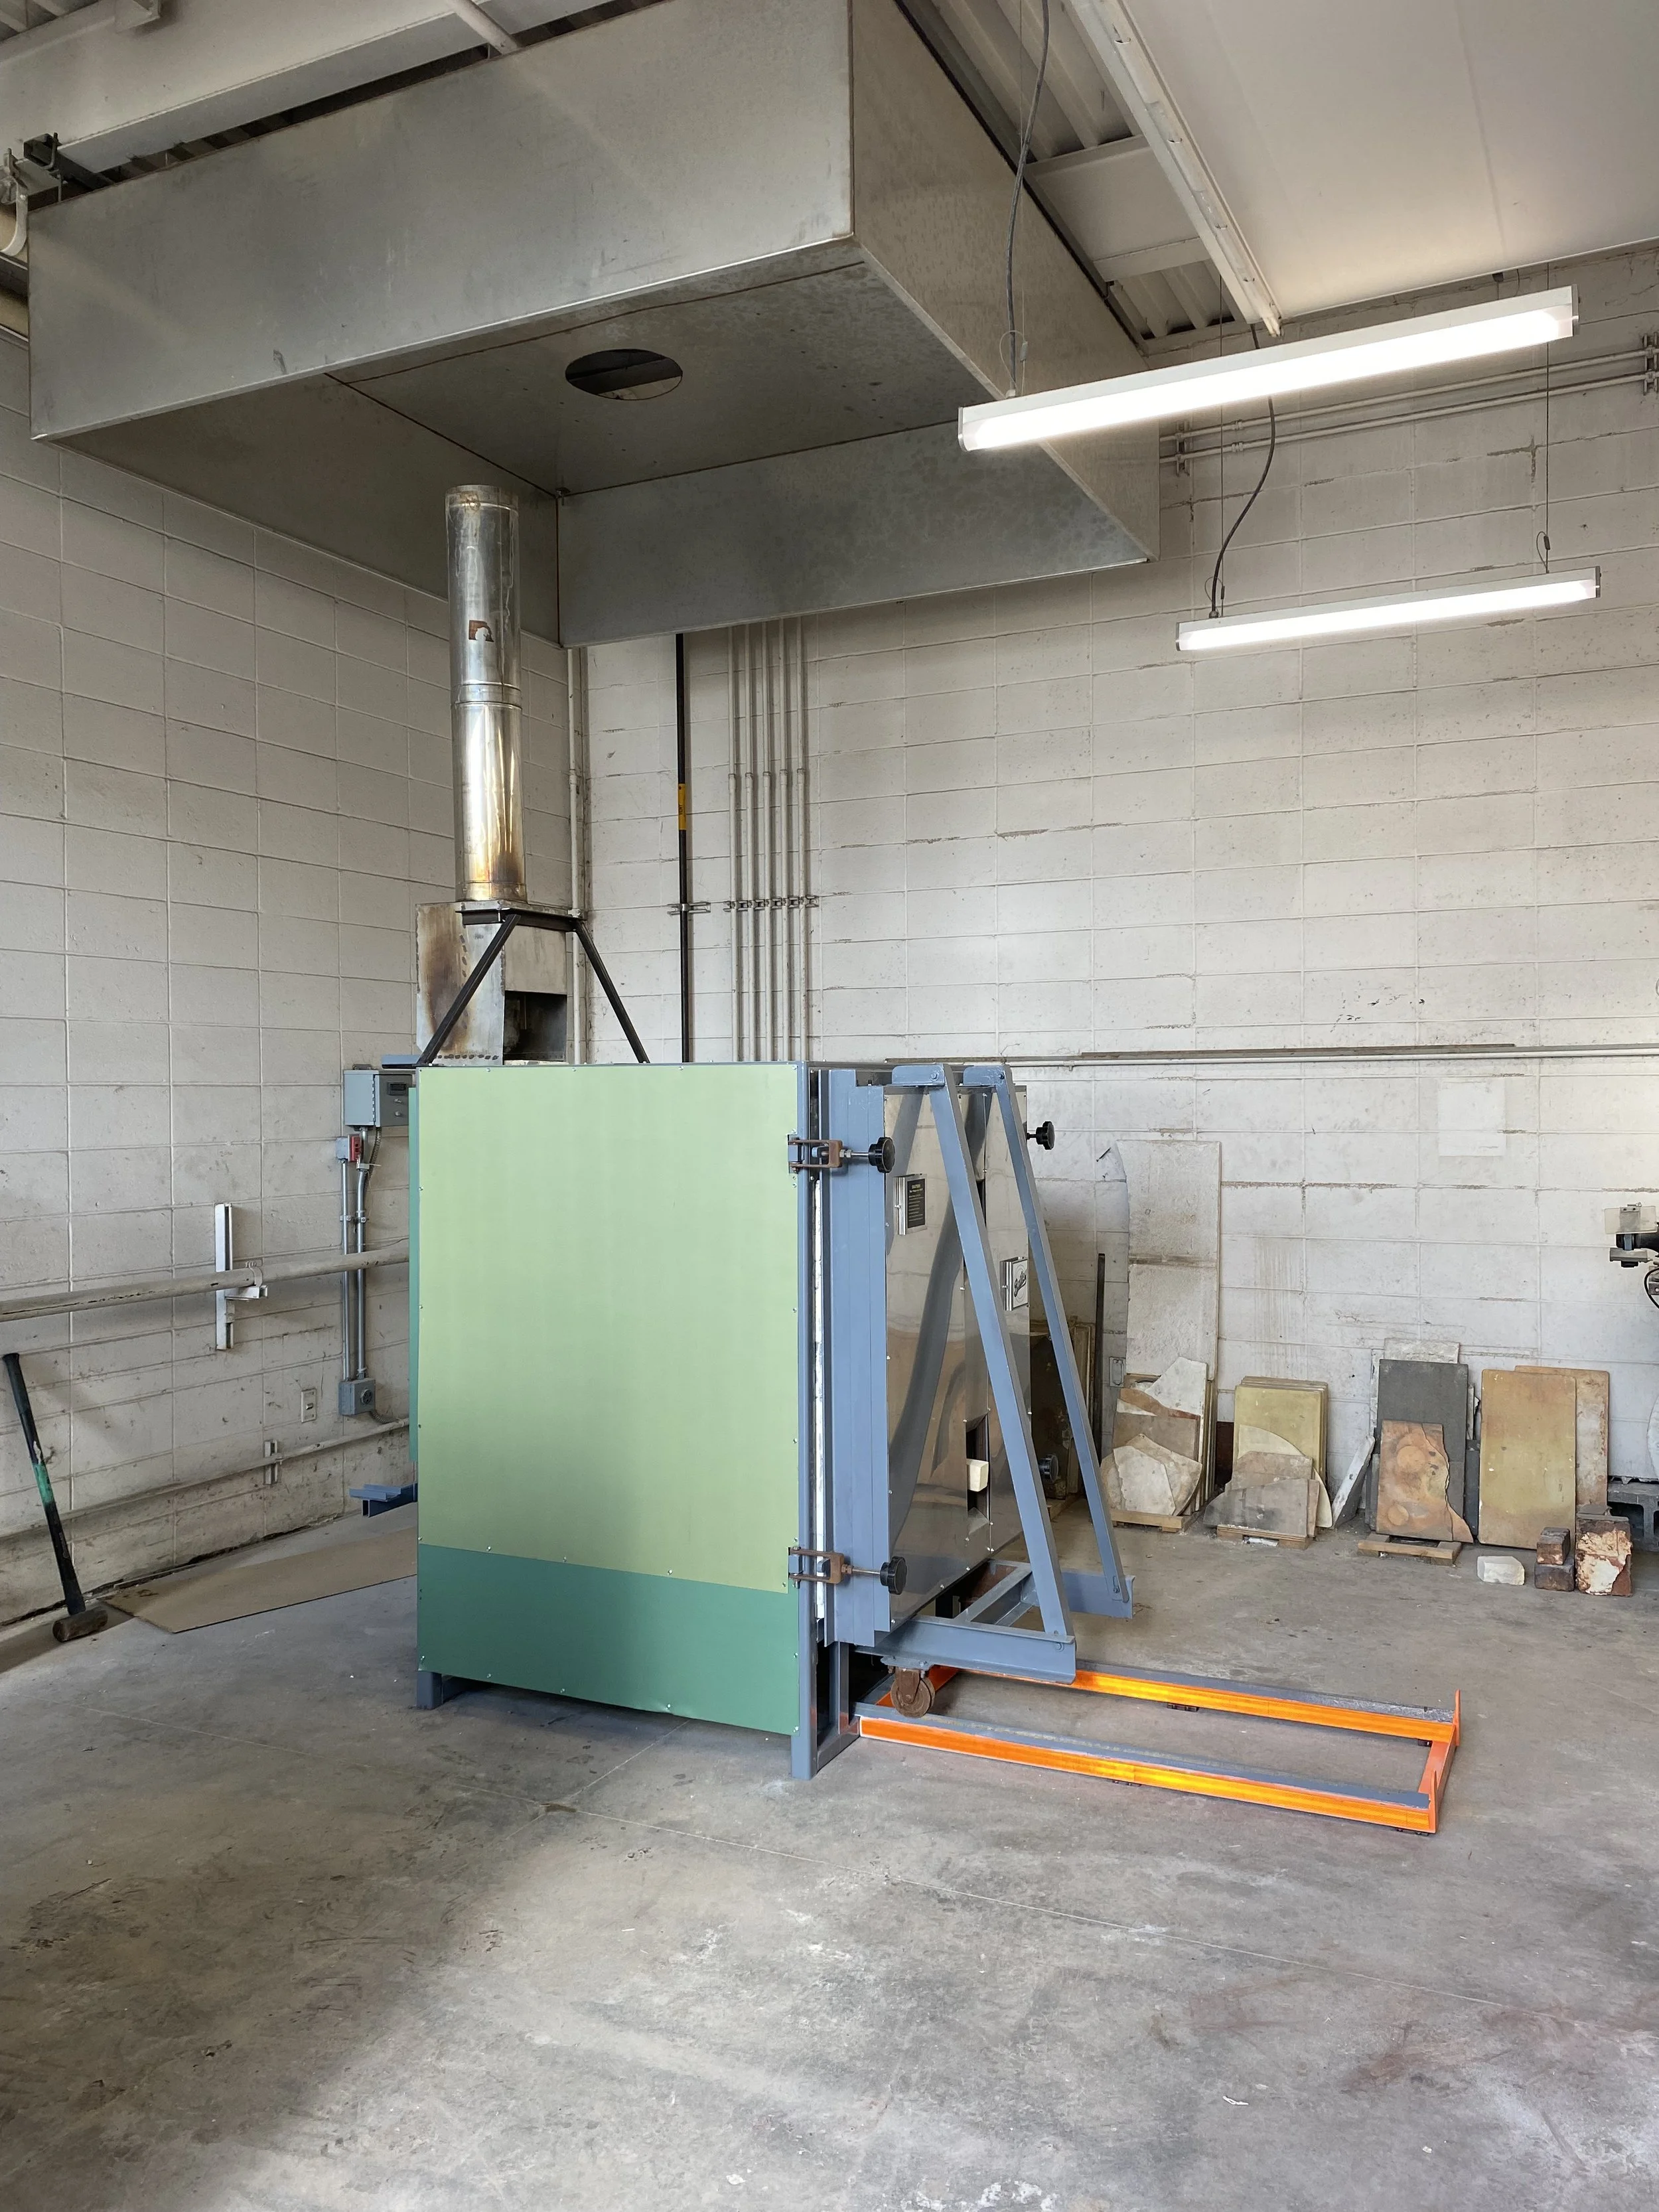
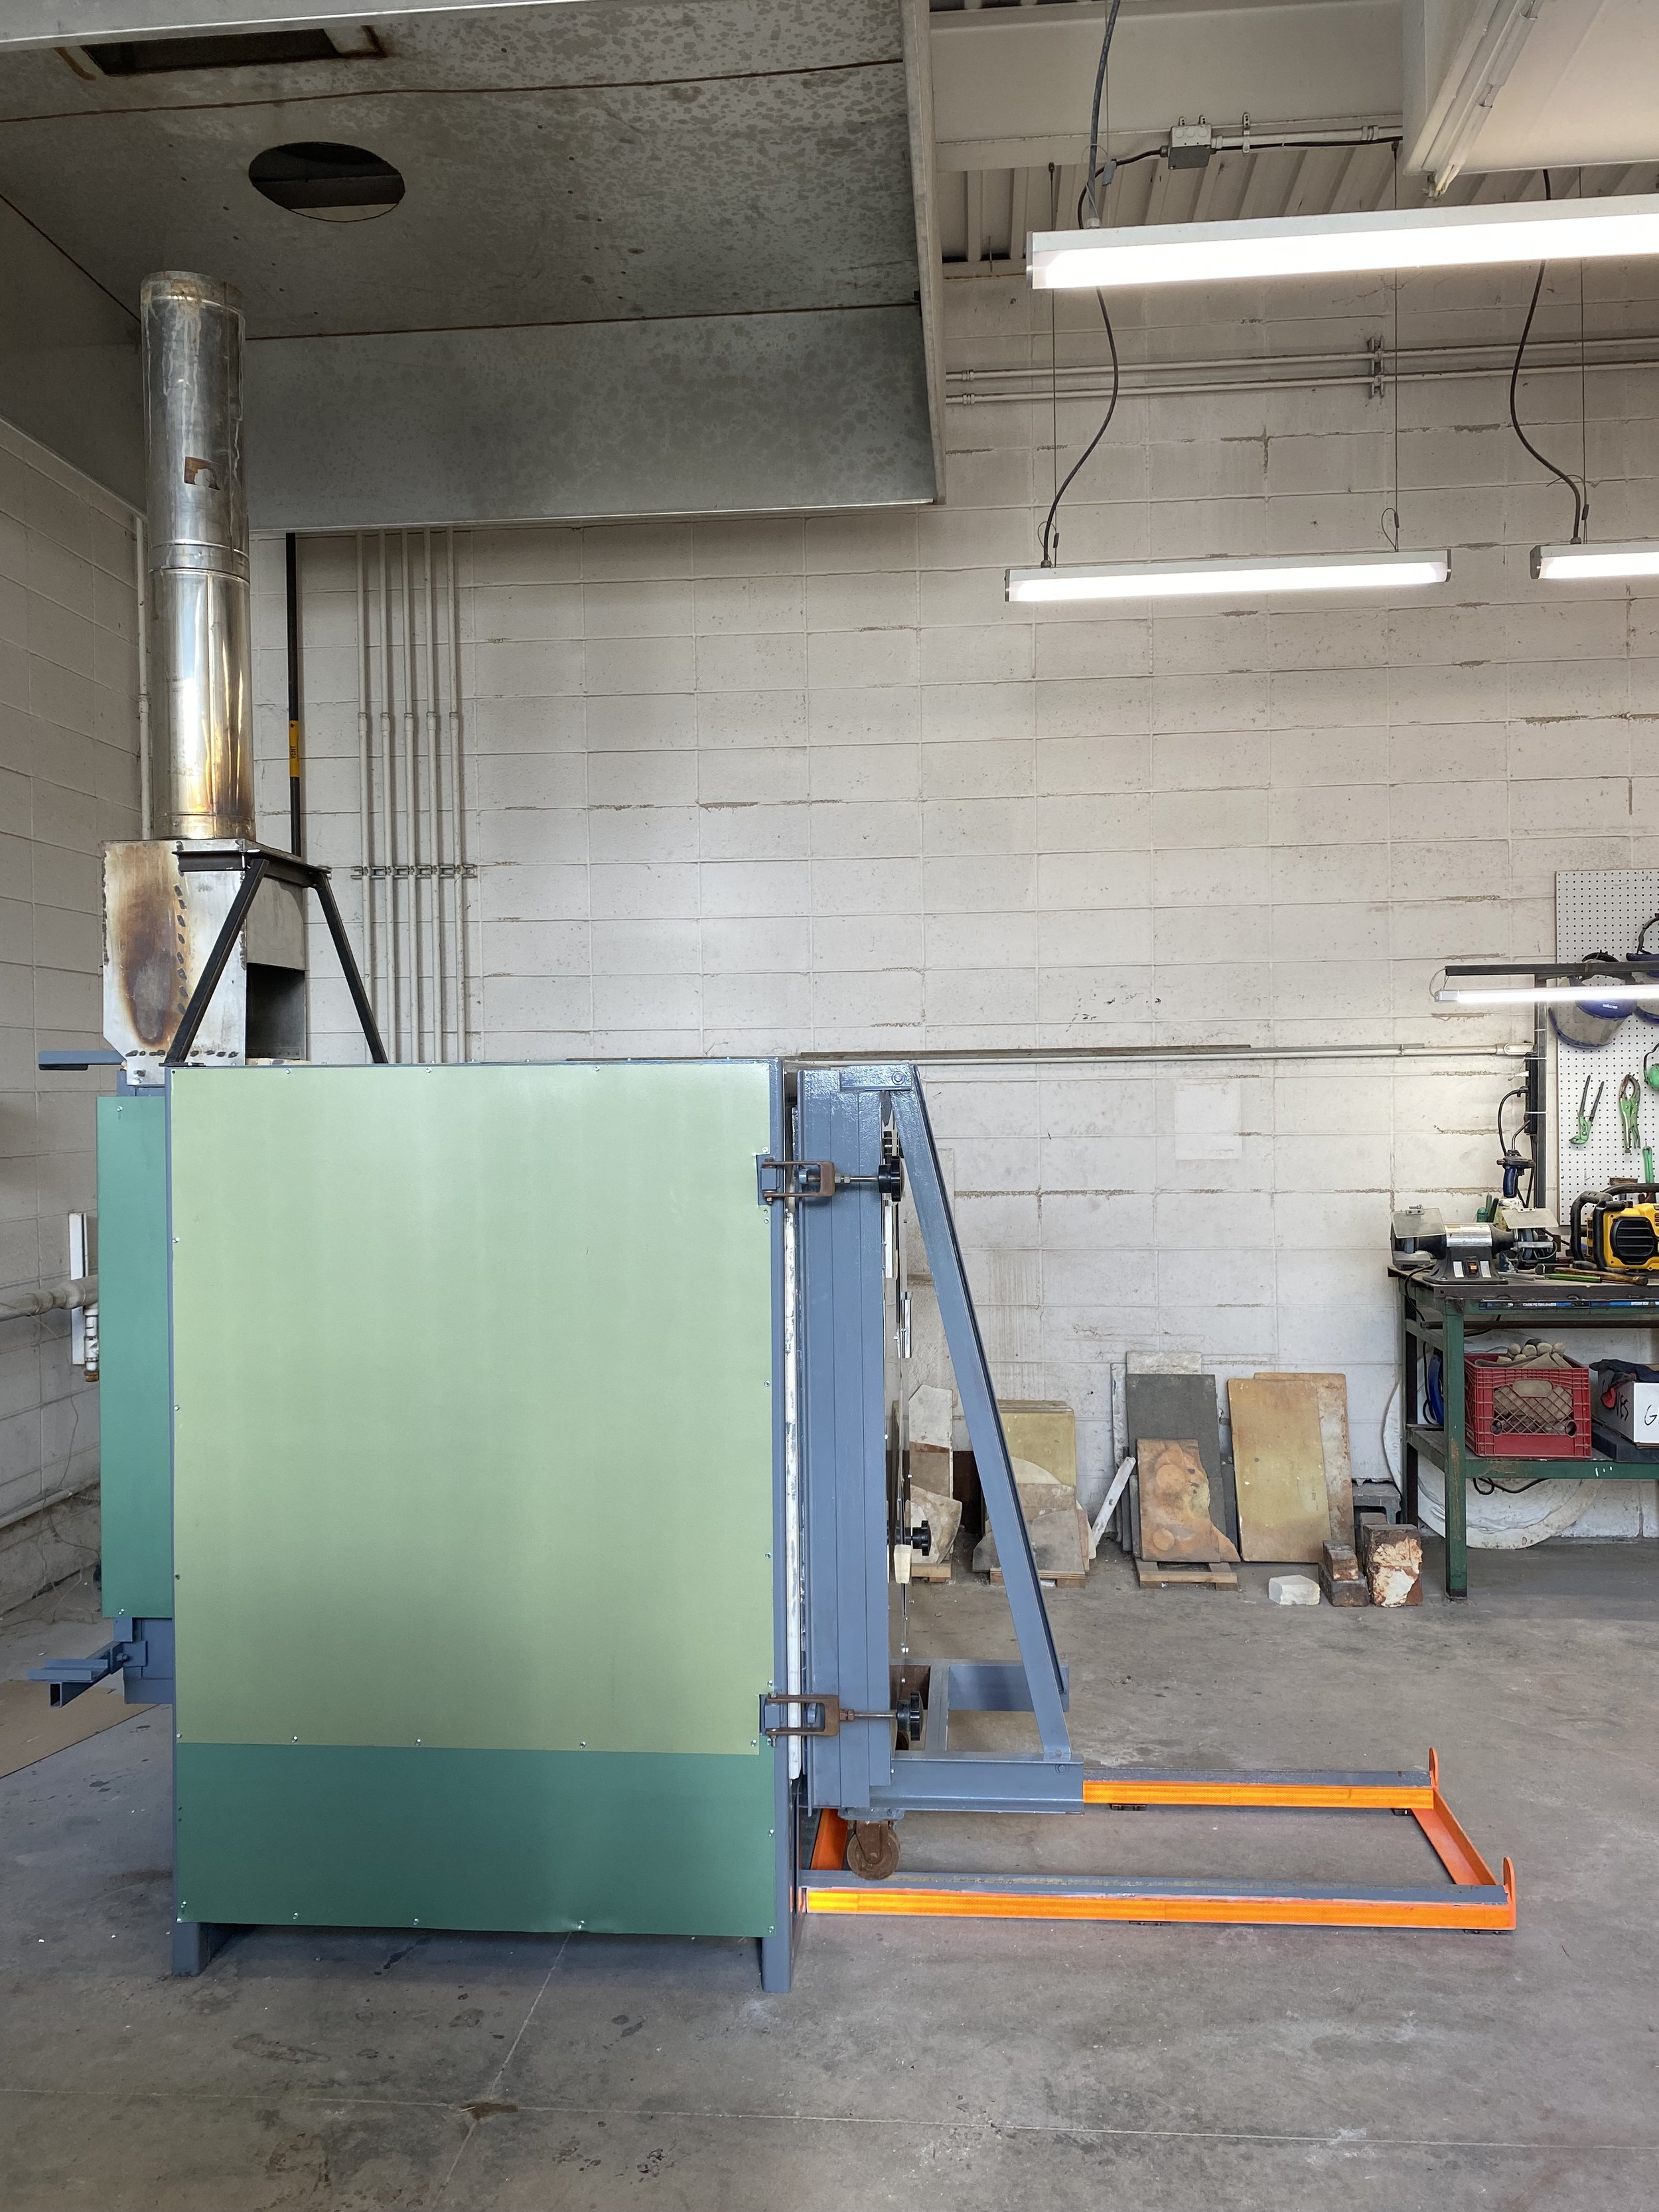
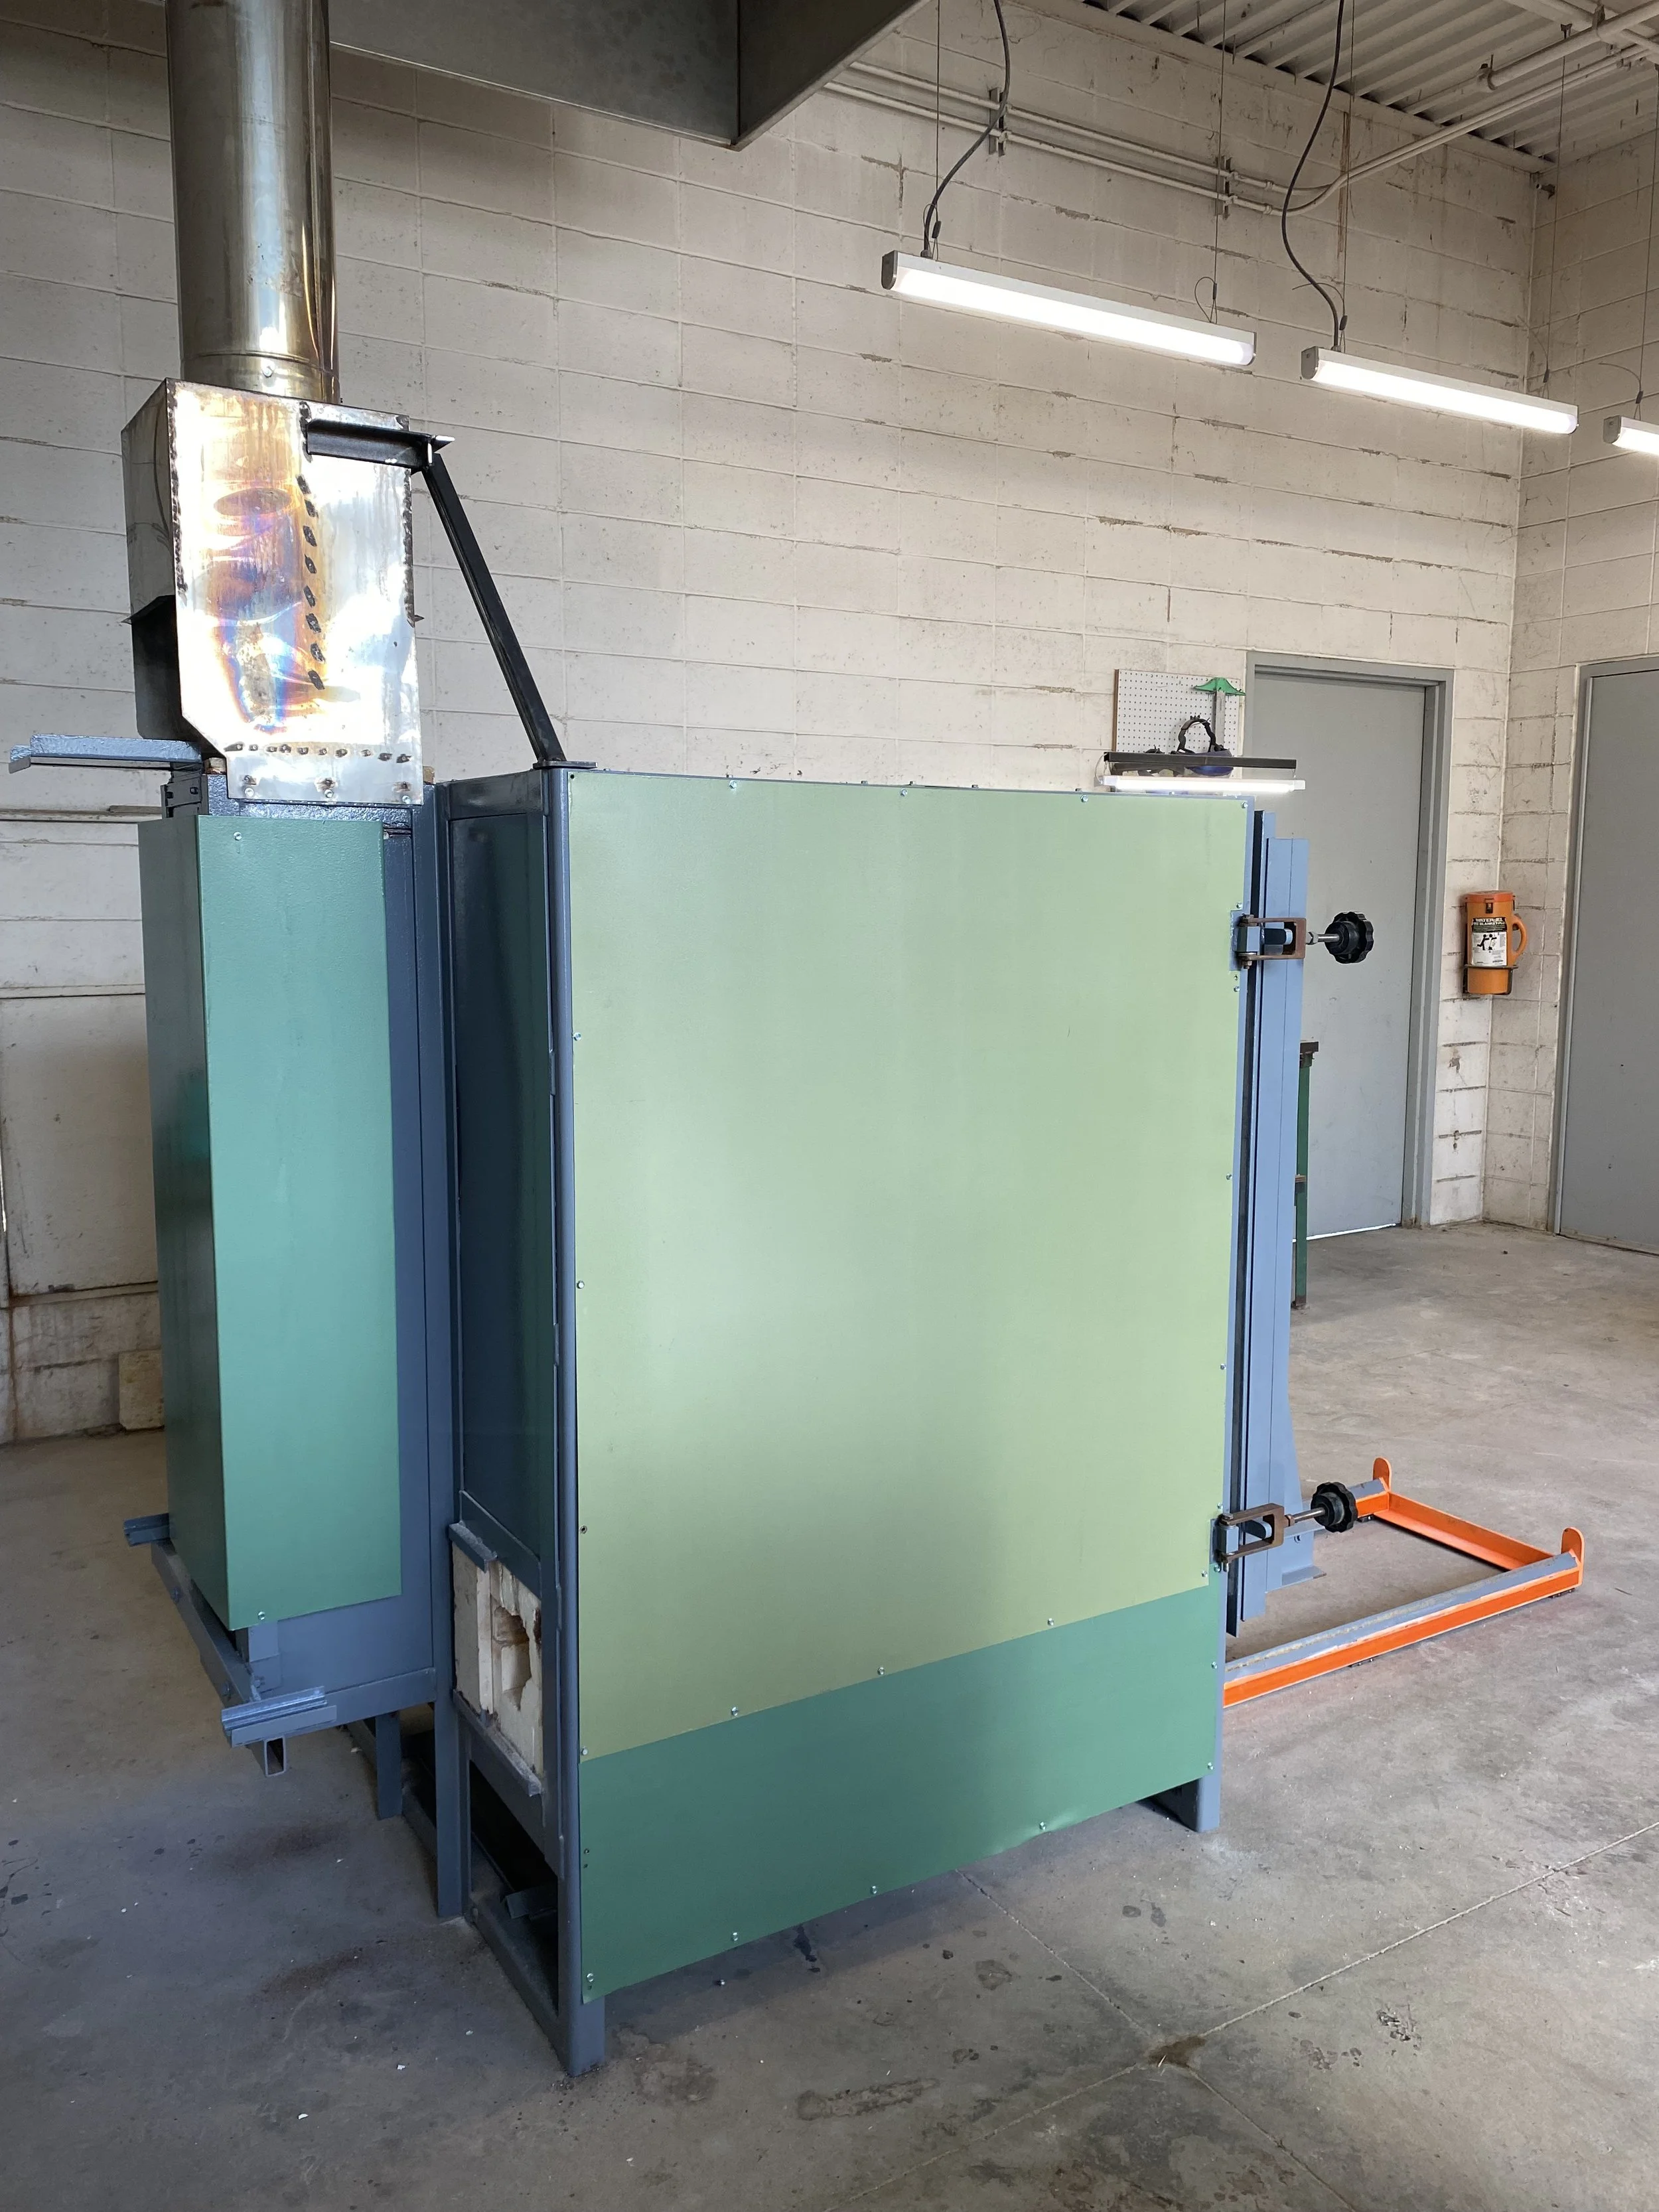
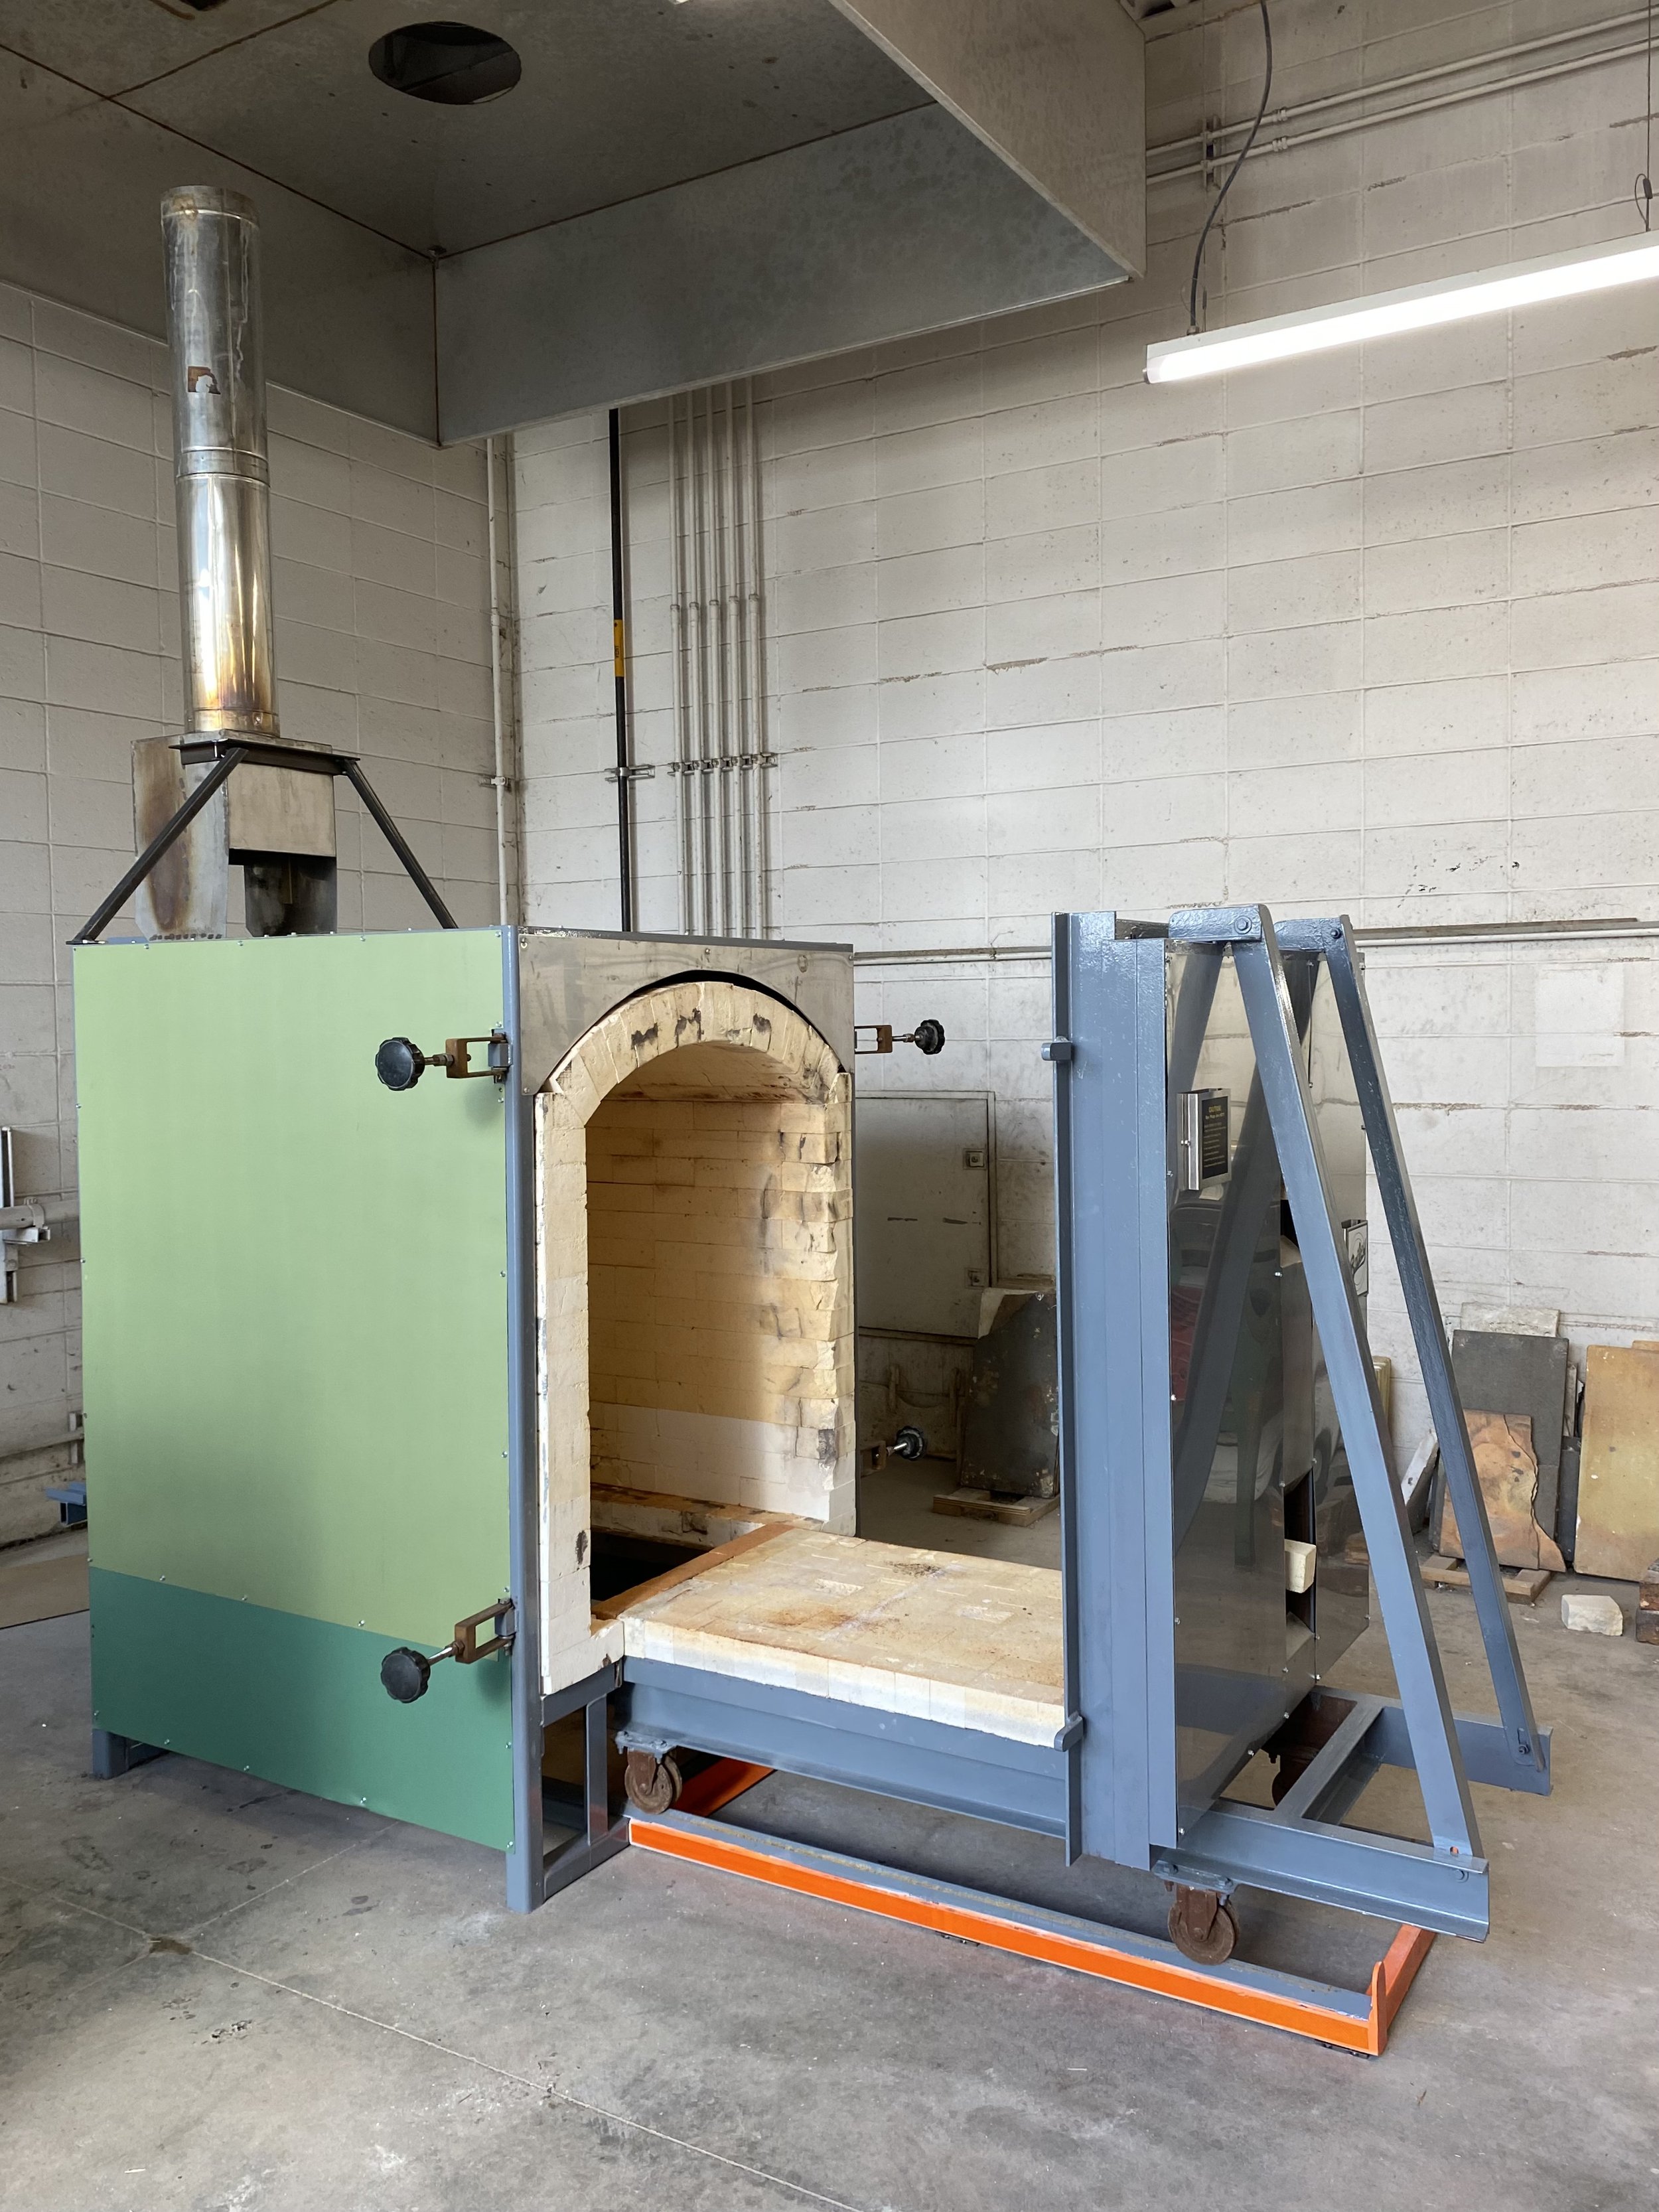
HYBRID KILN - Raku & Foundry Burn-out Kiln
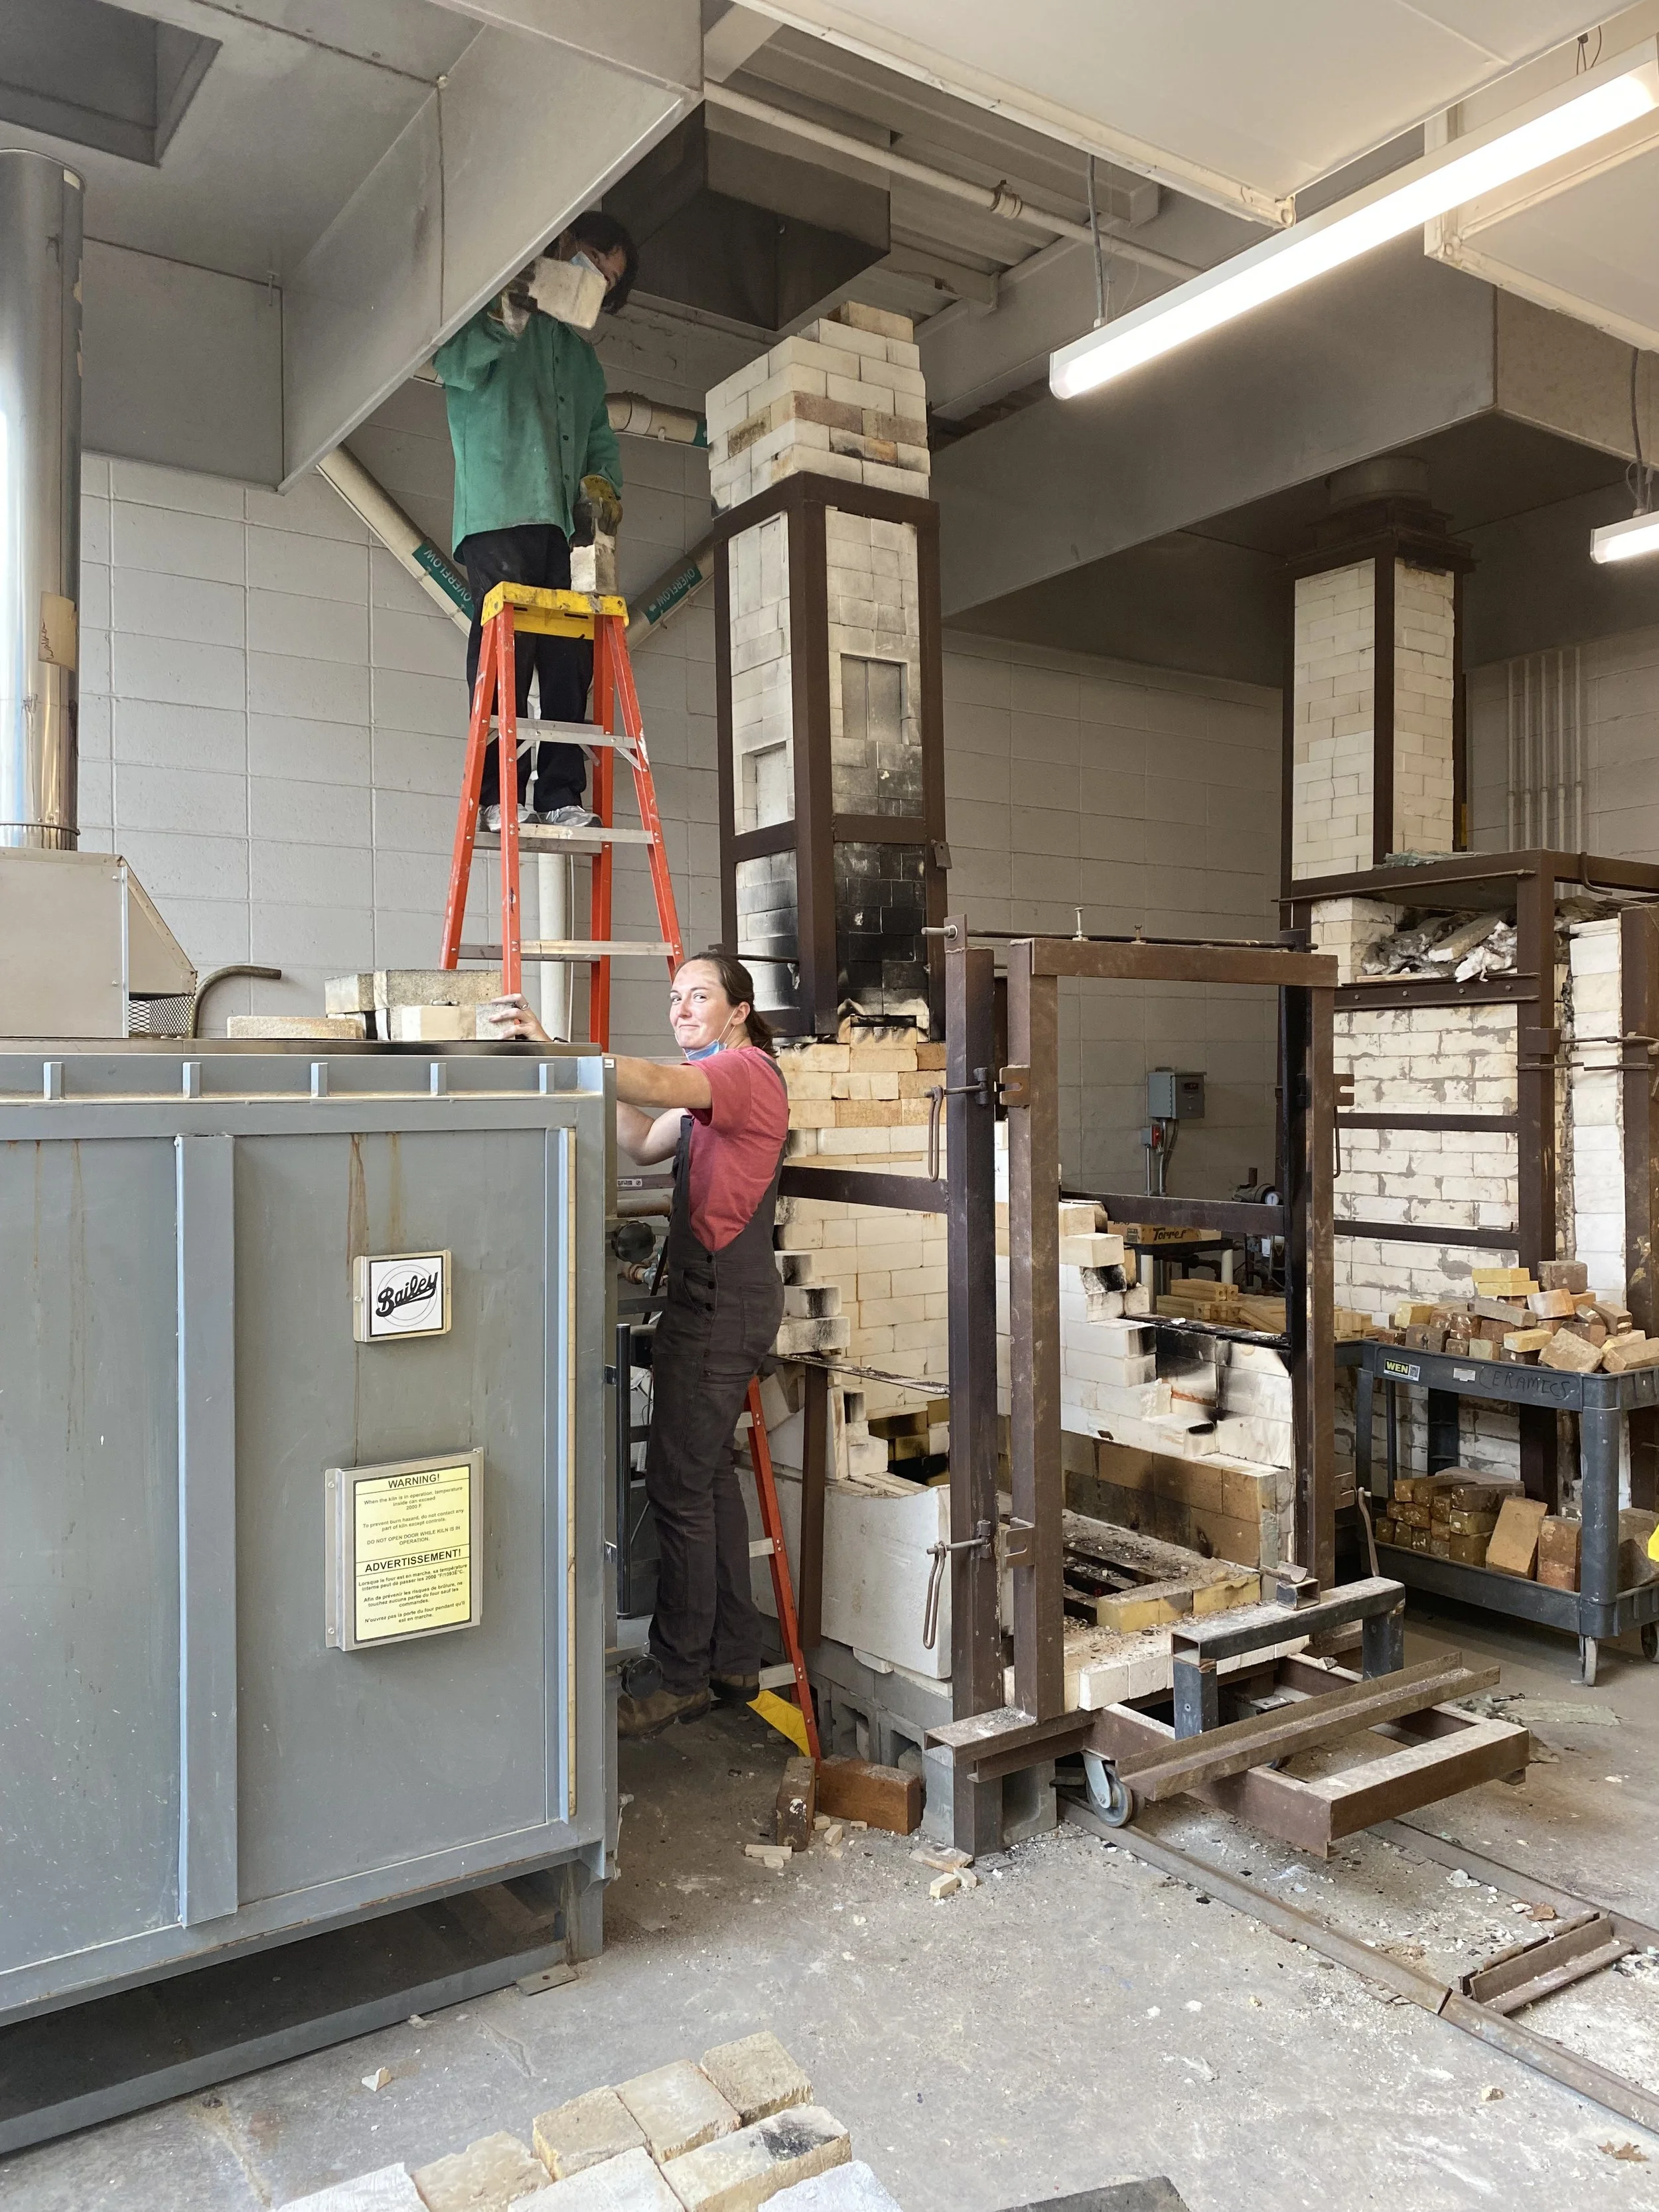
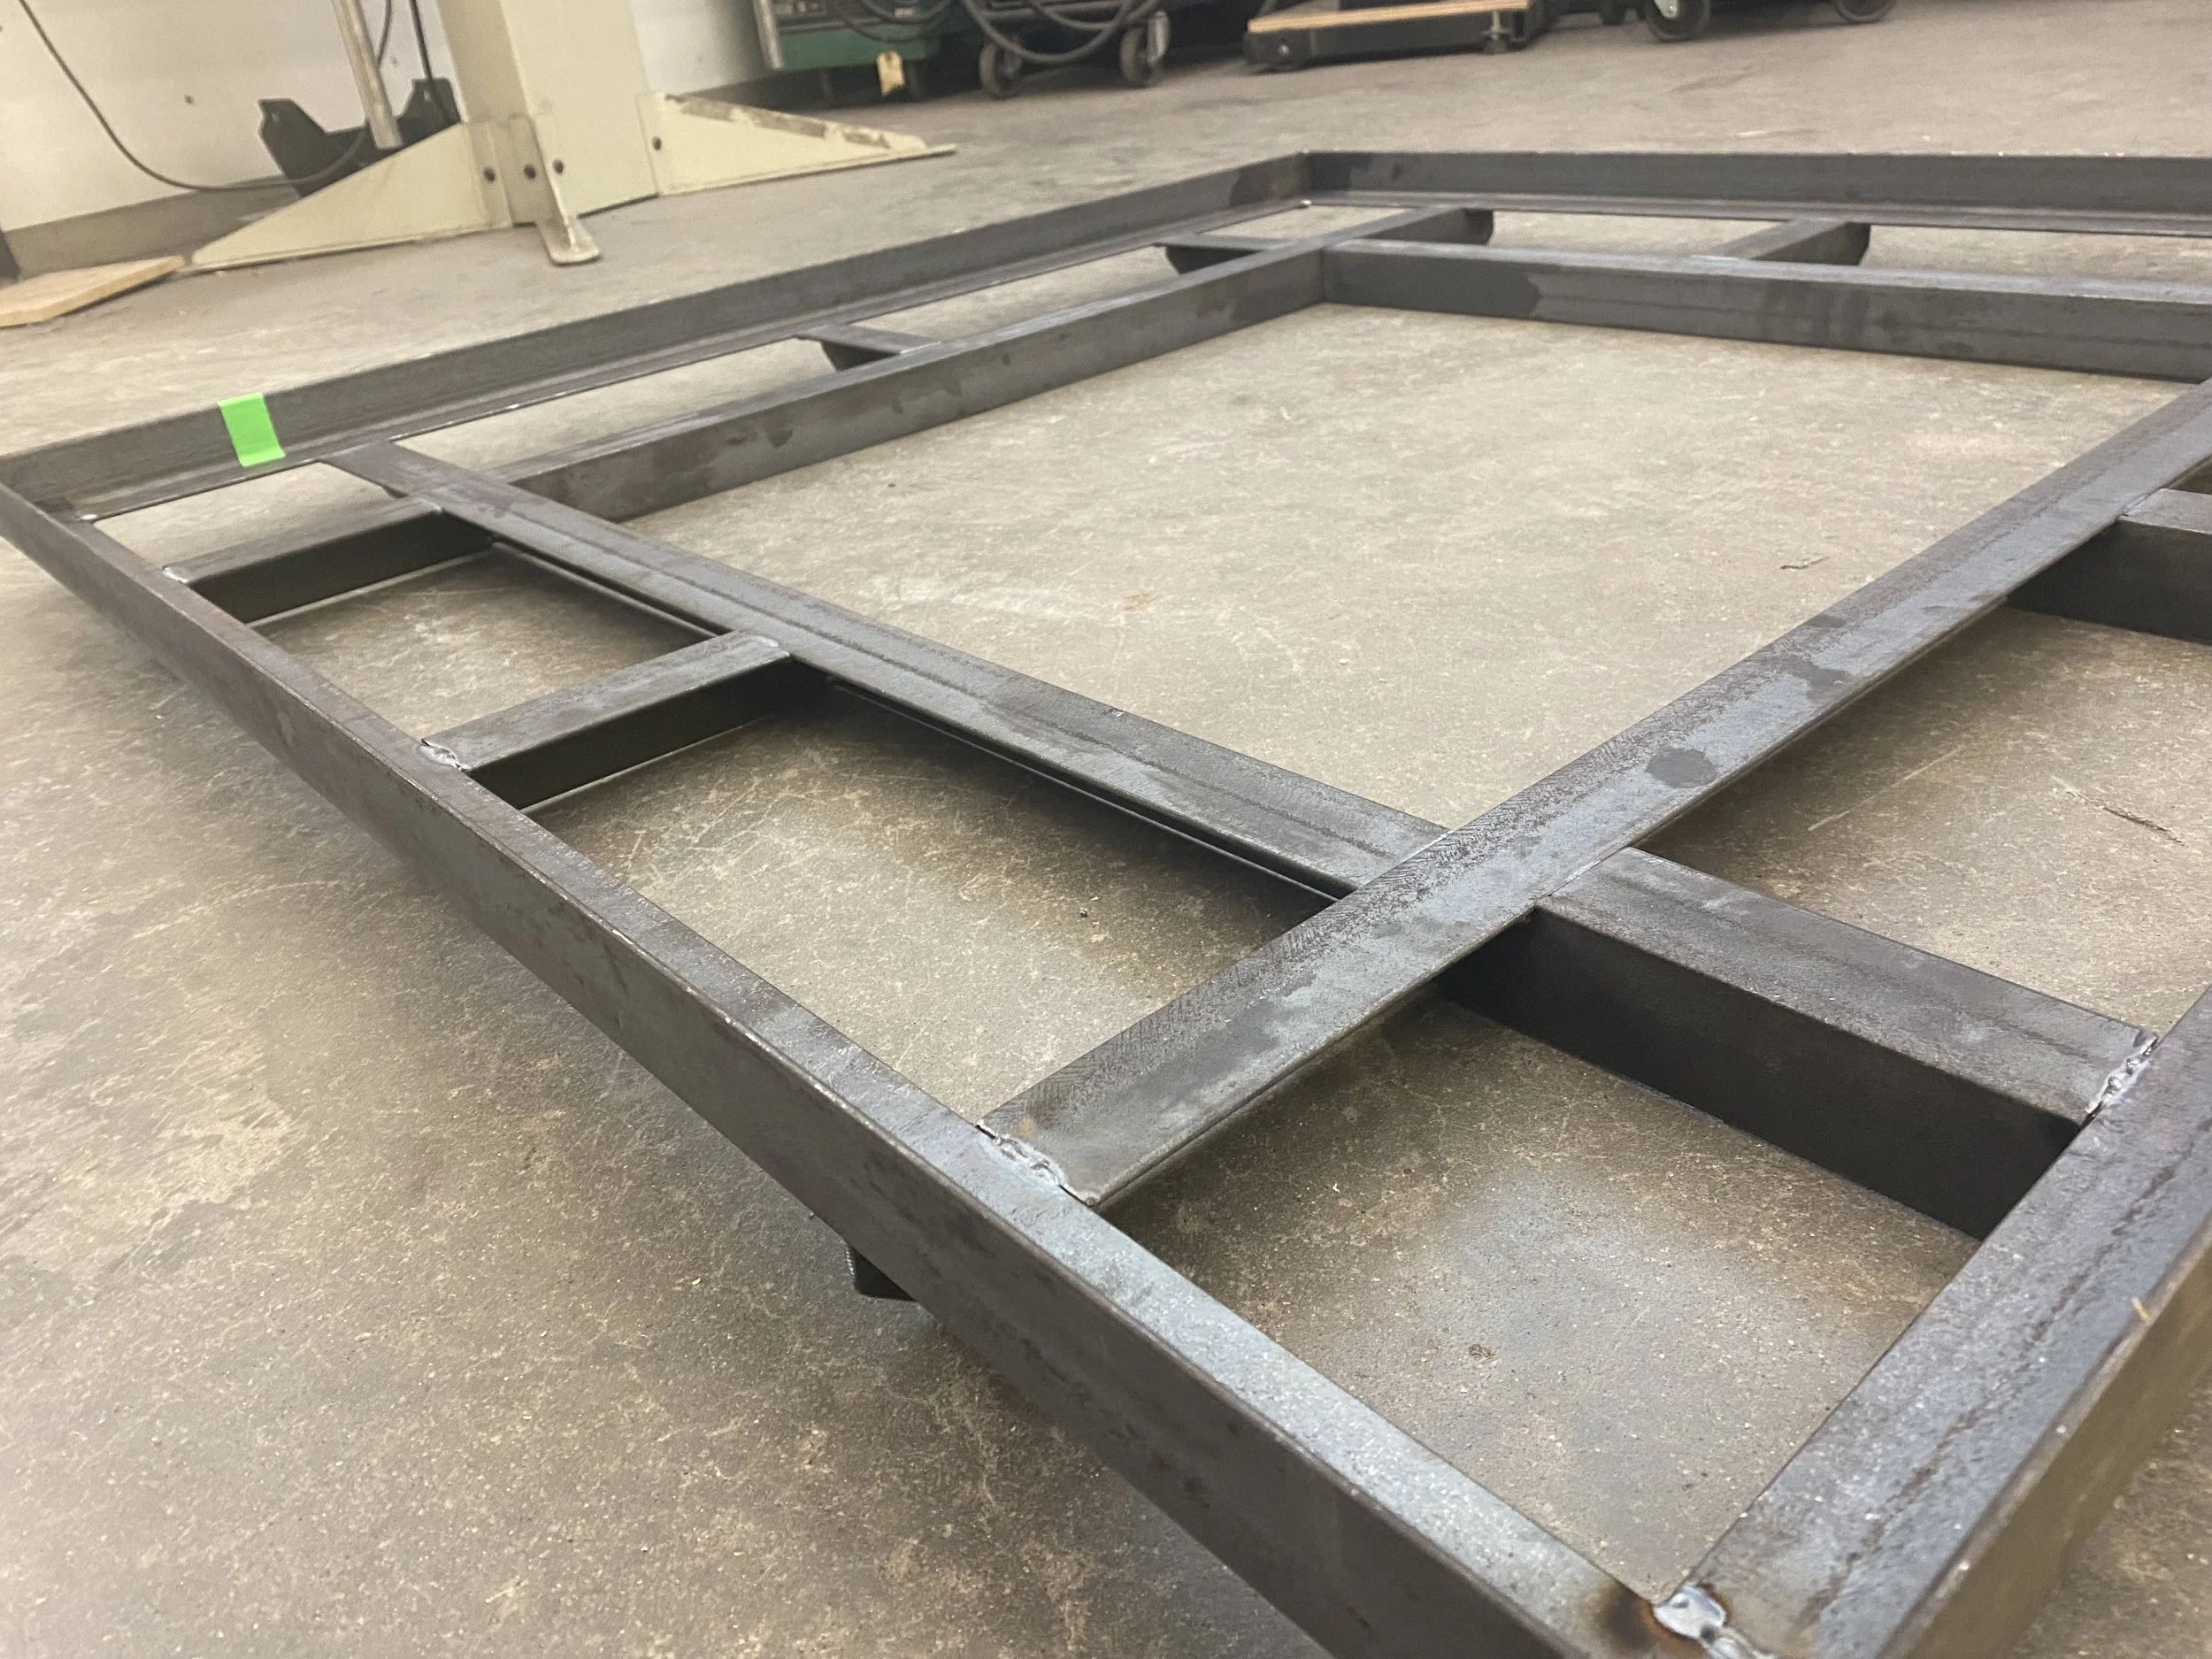
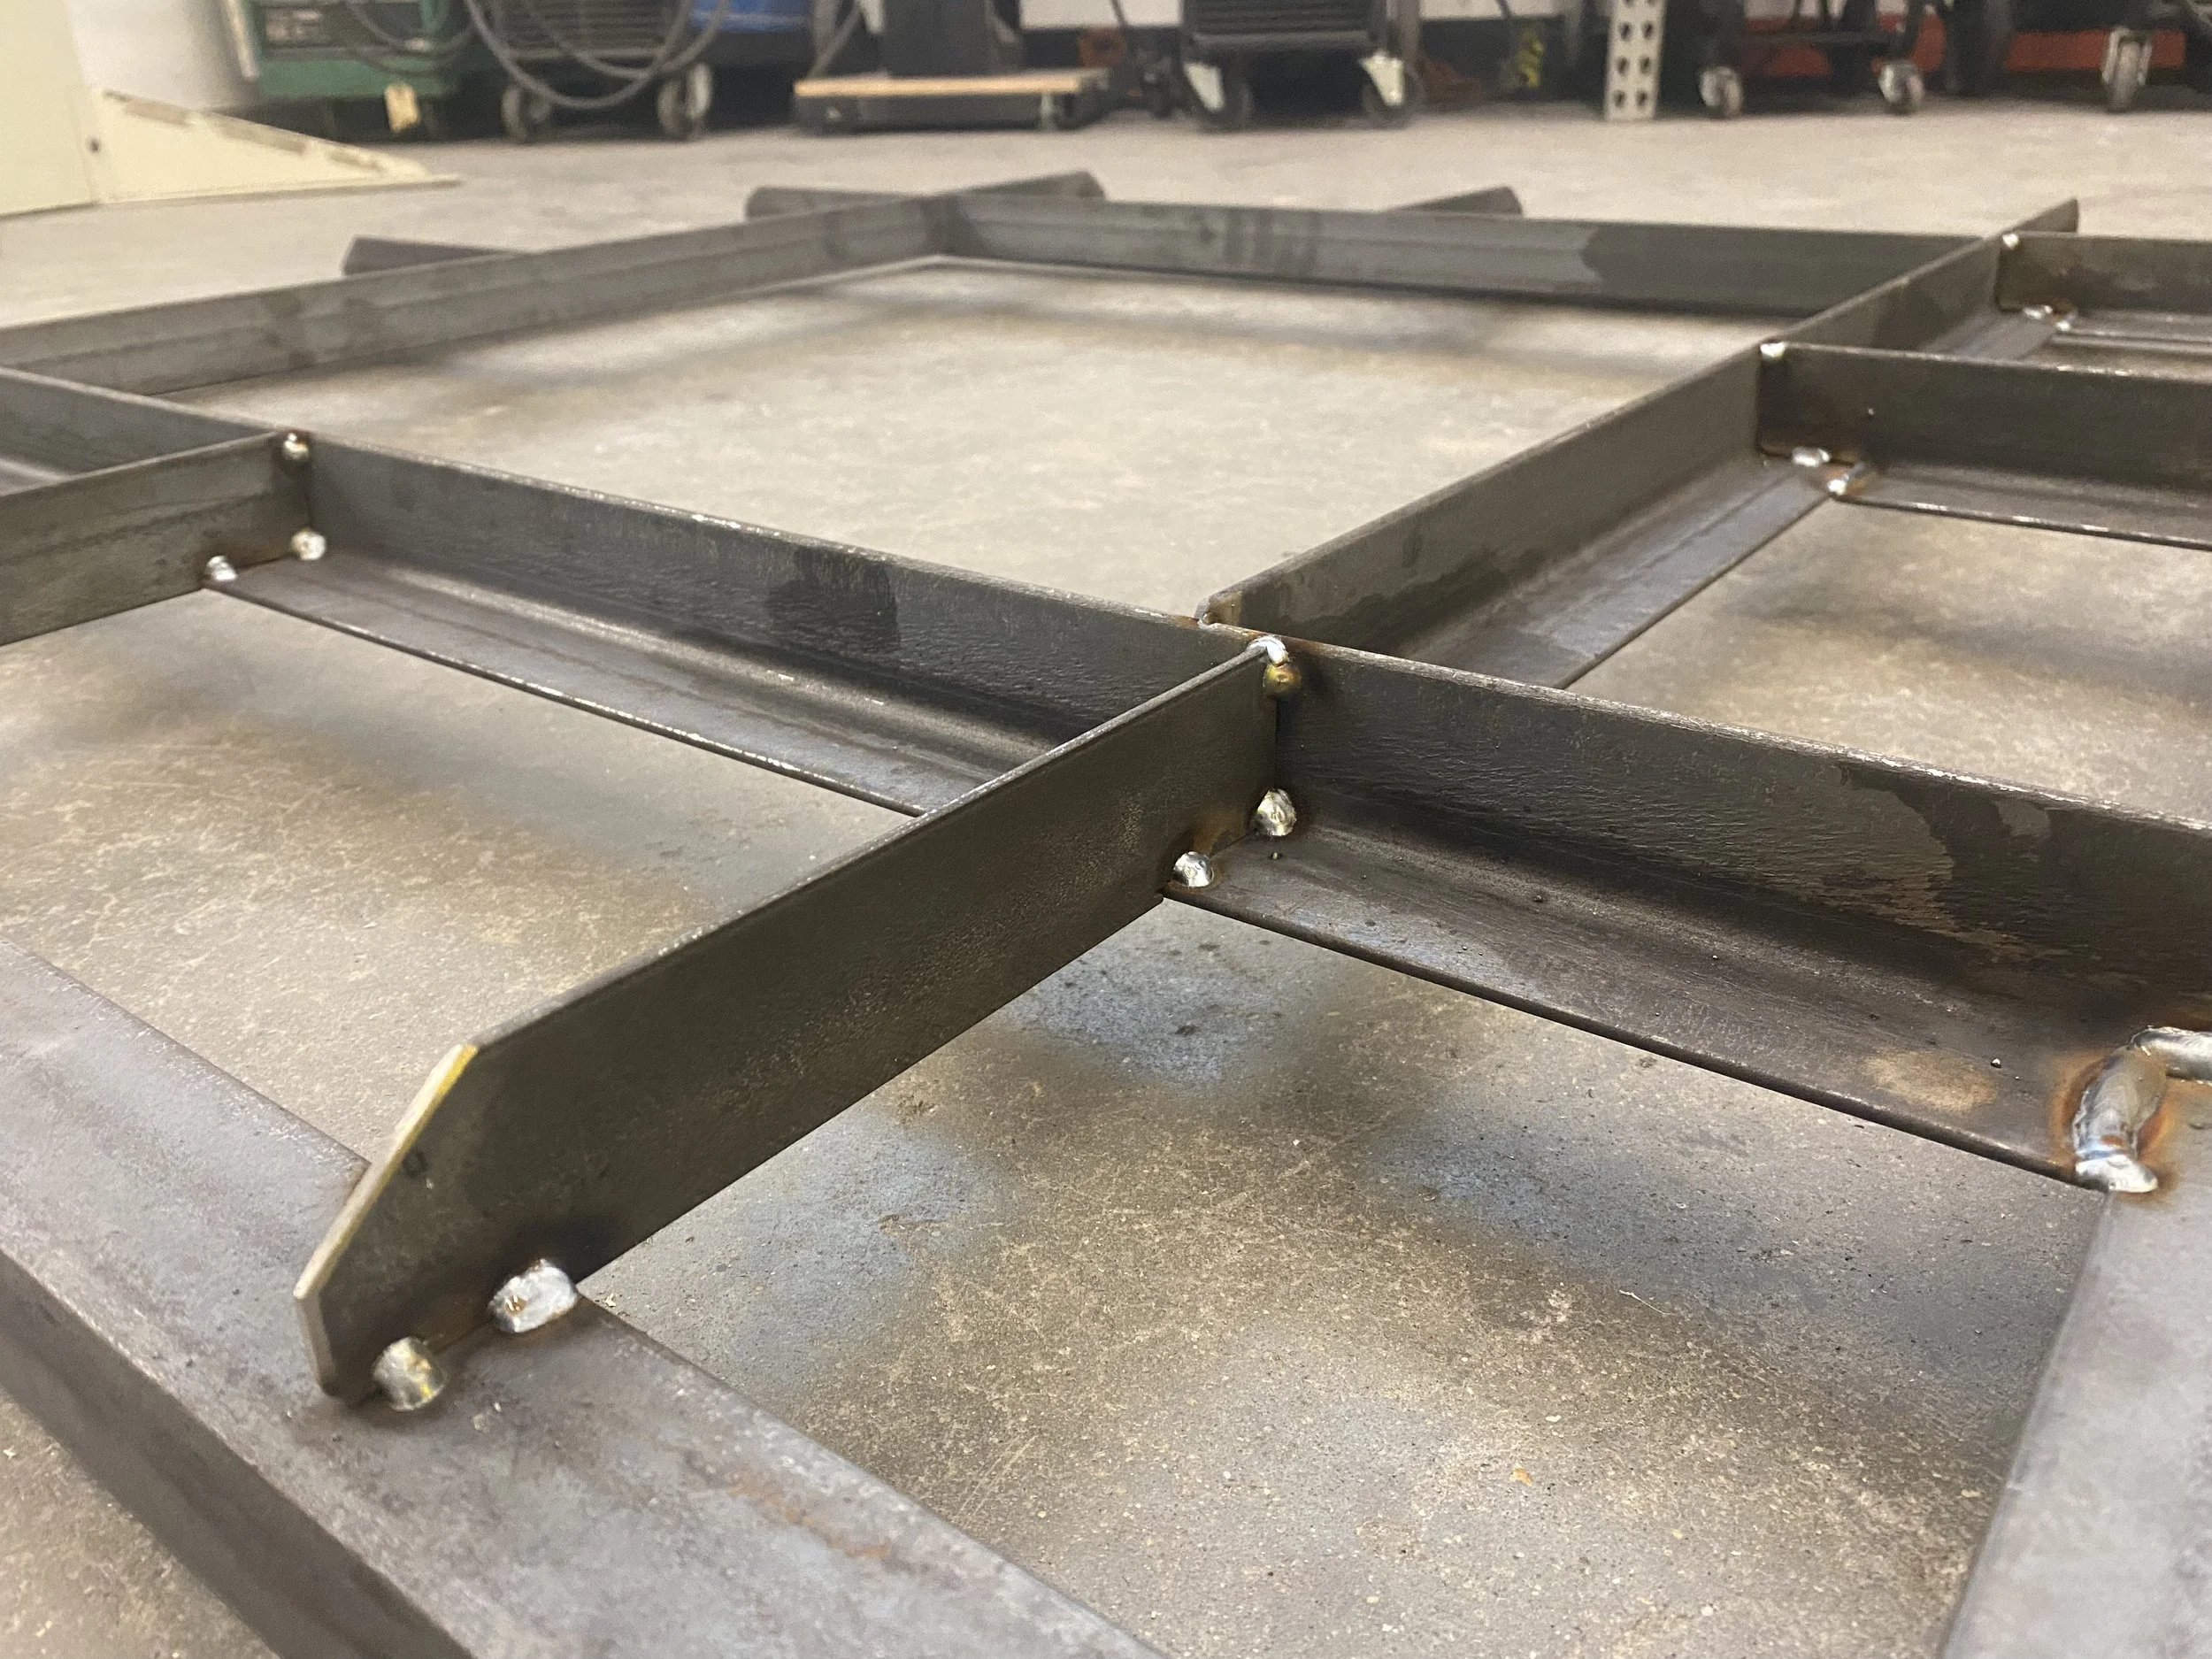
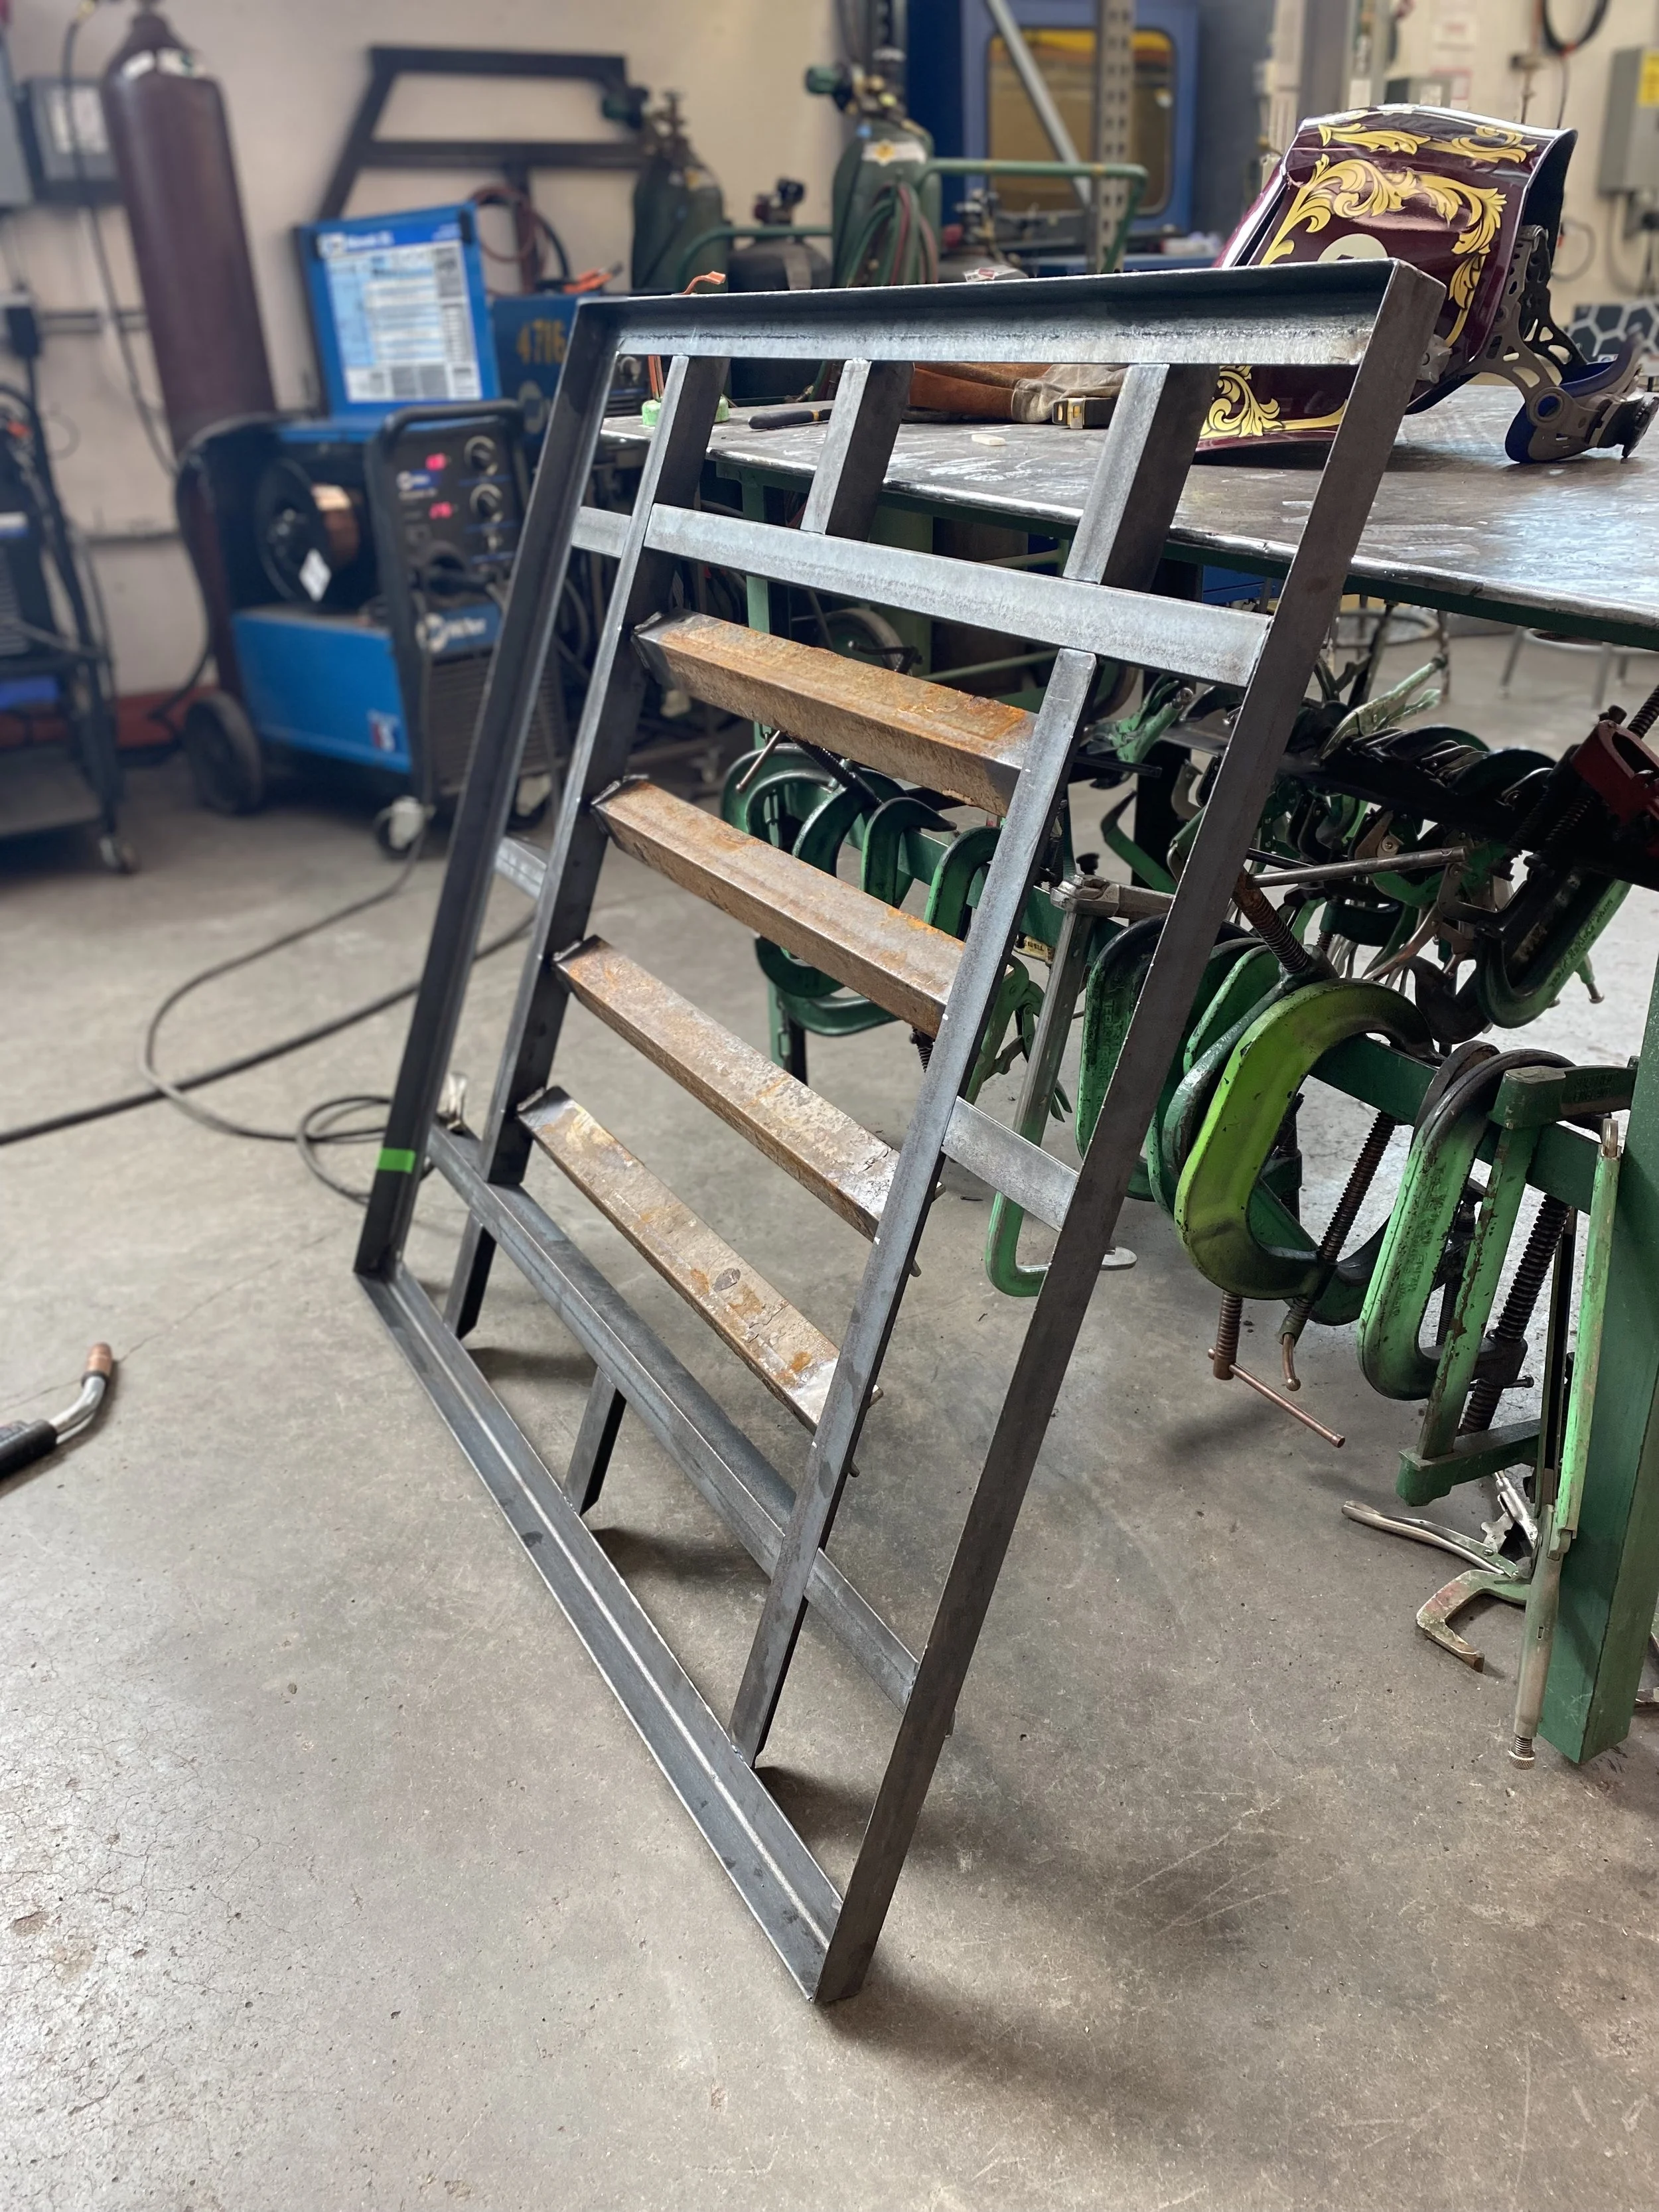
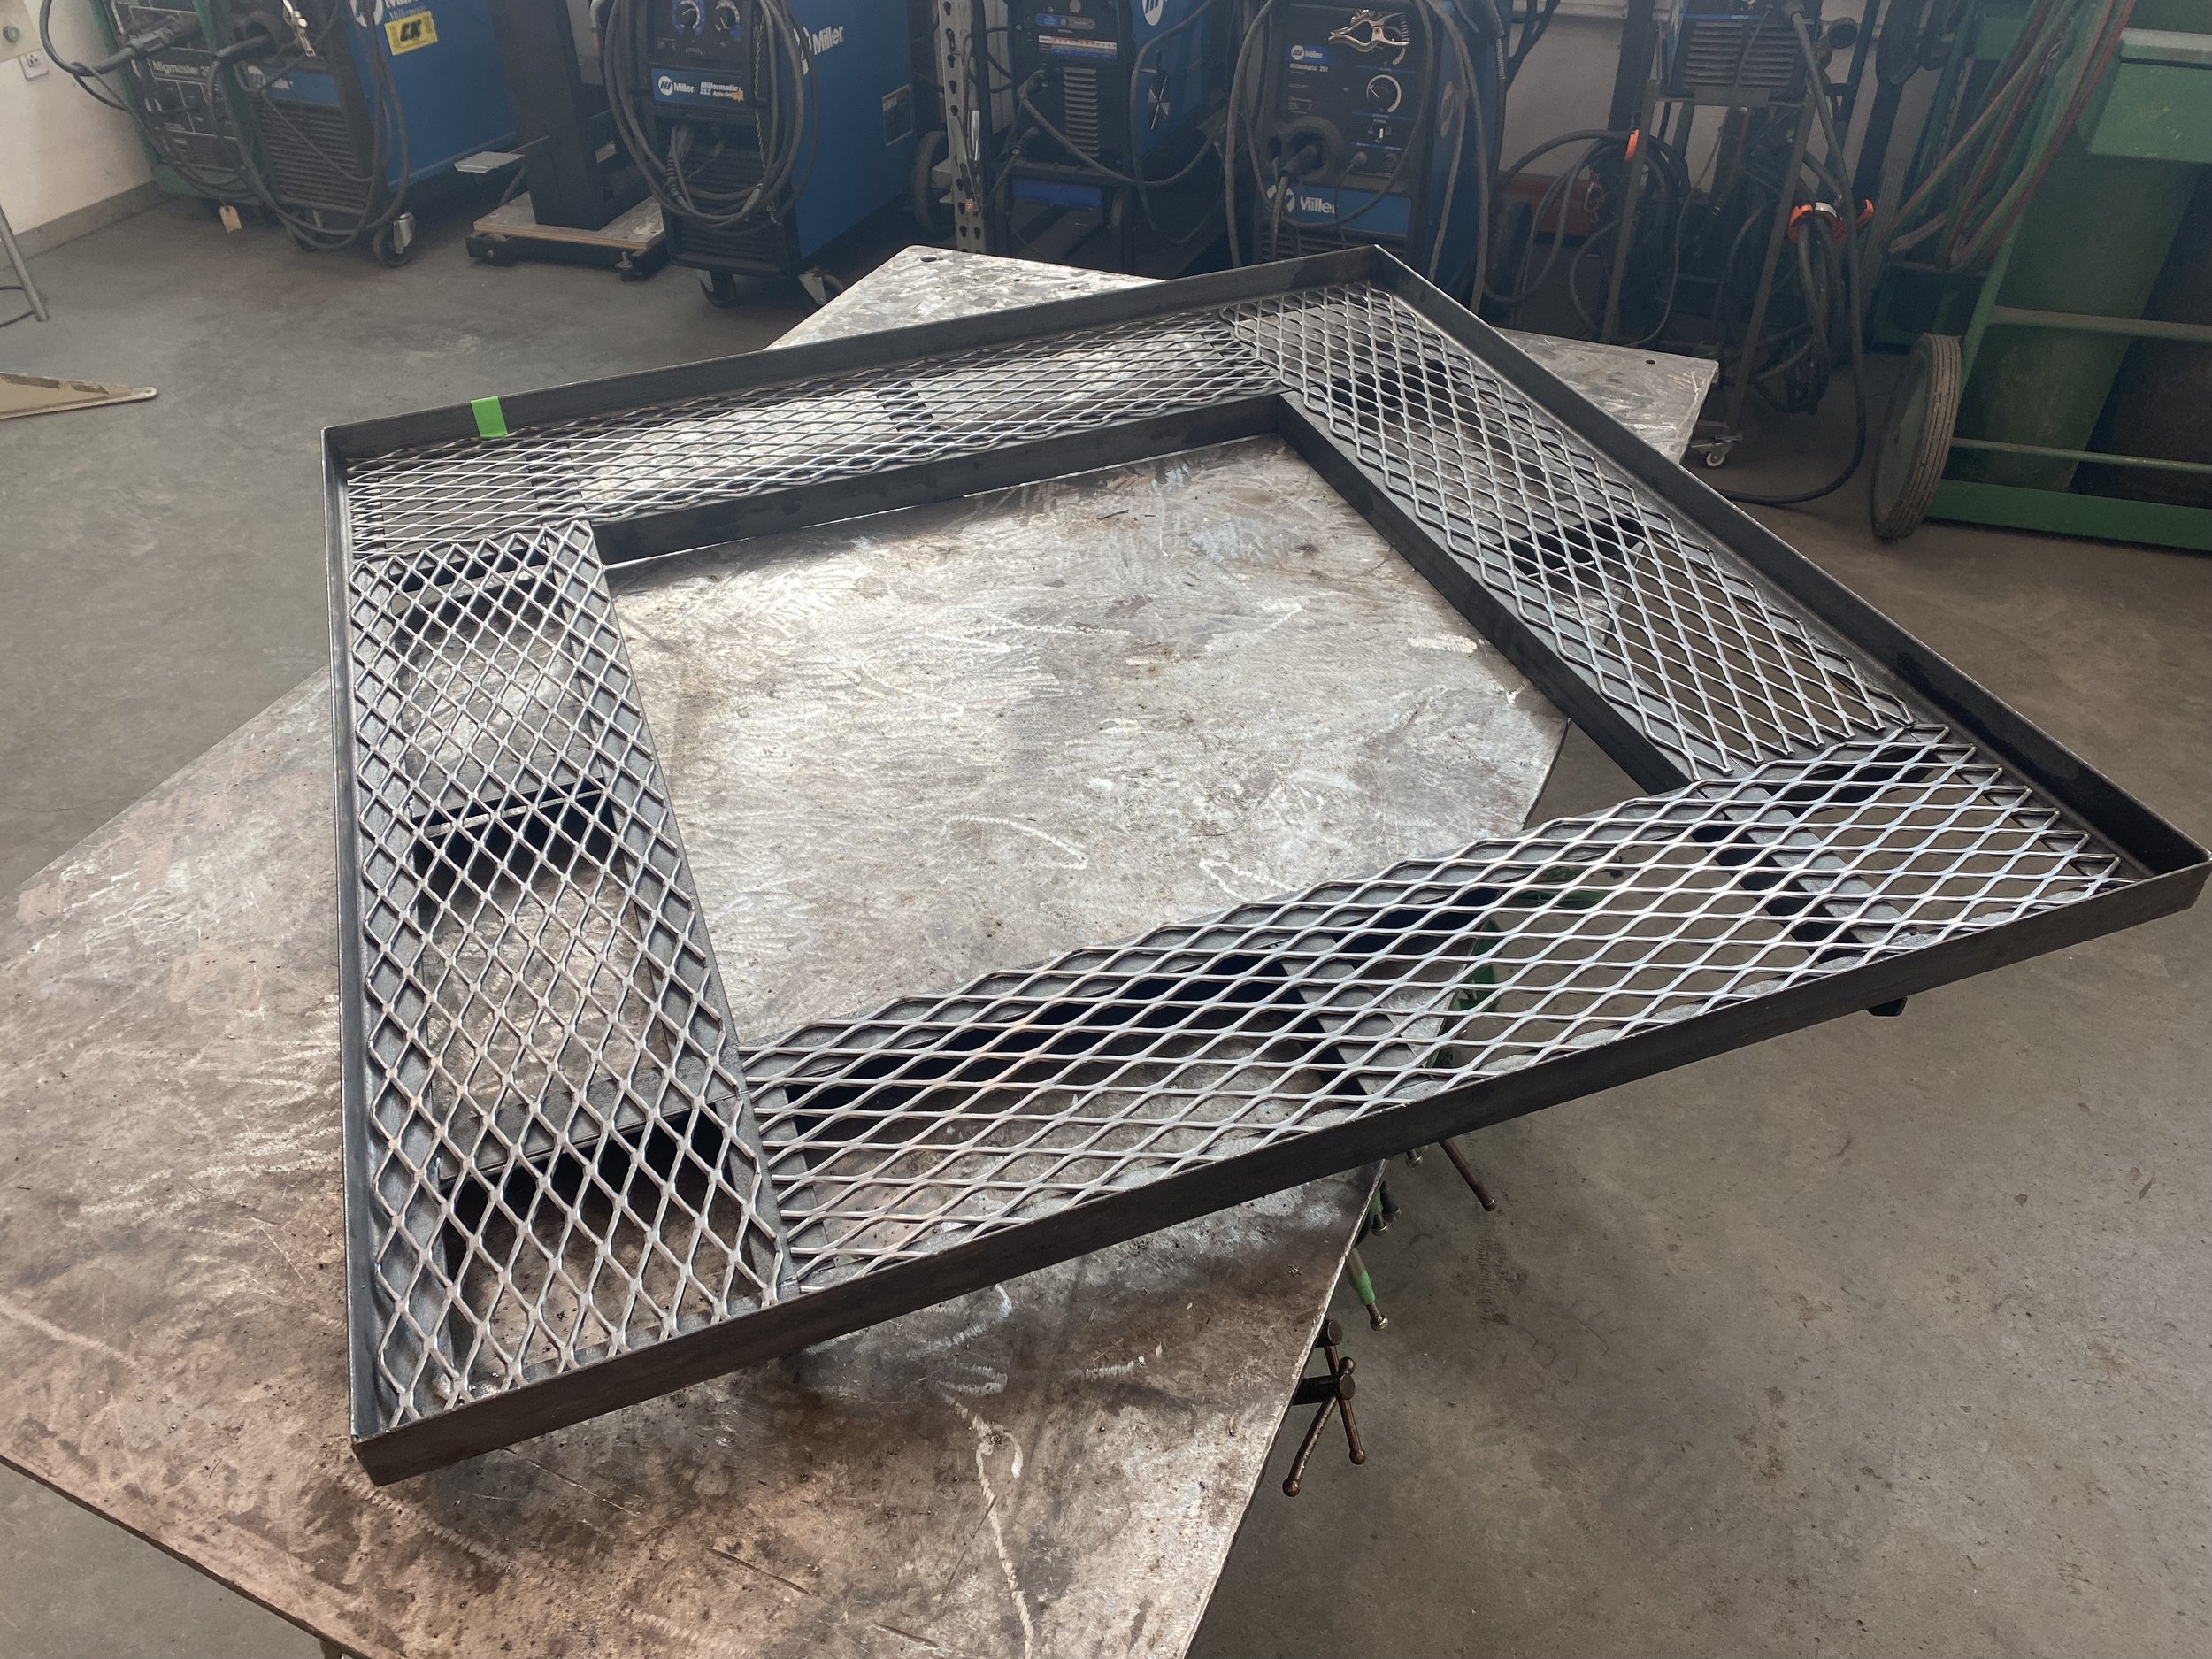
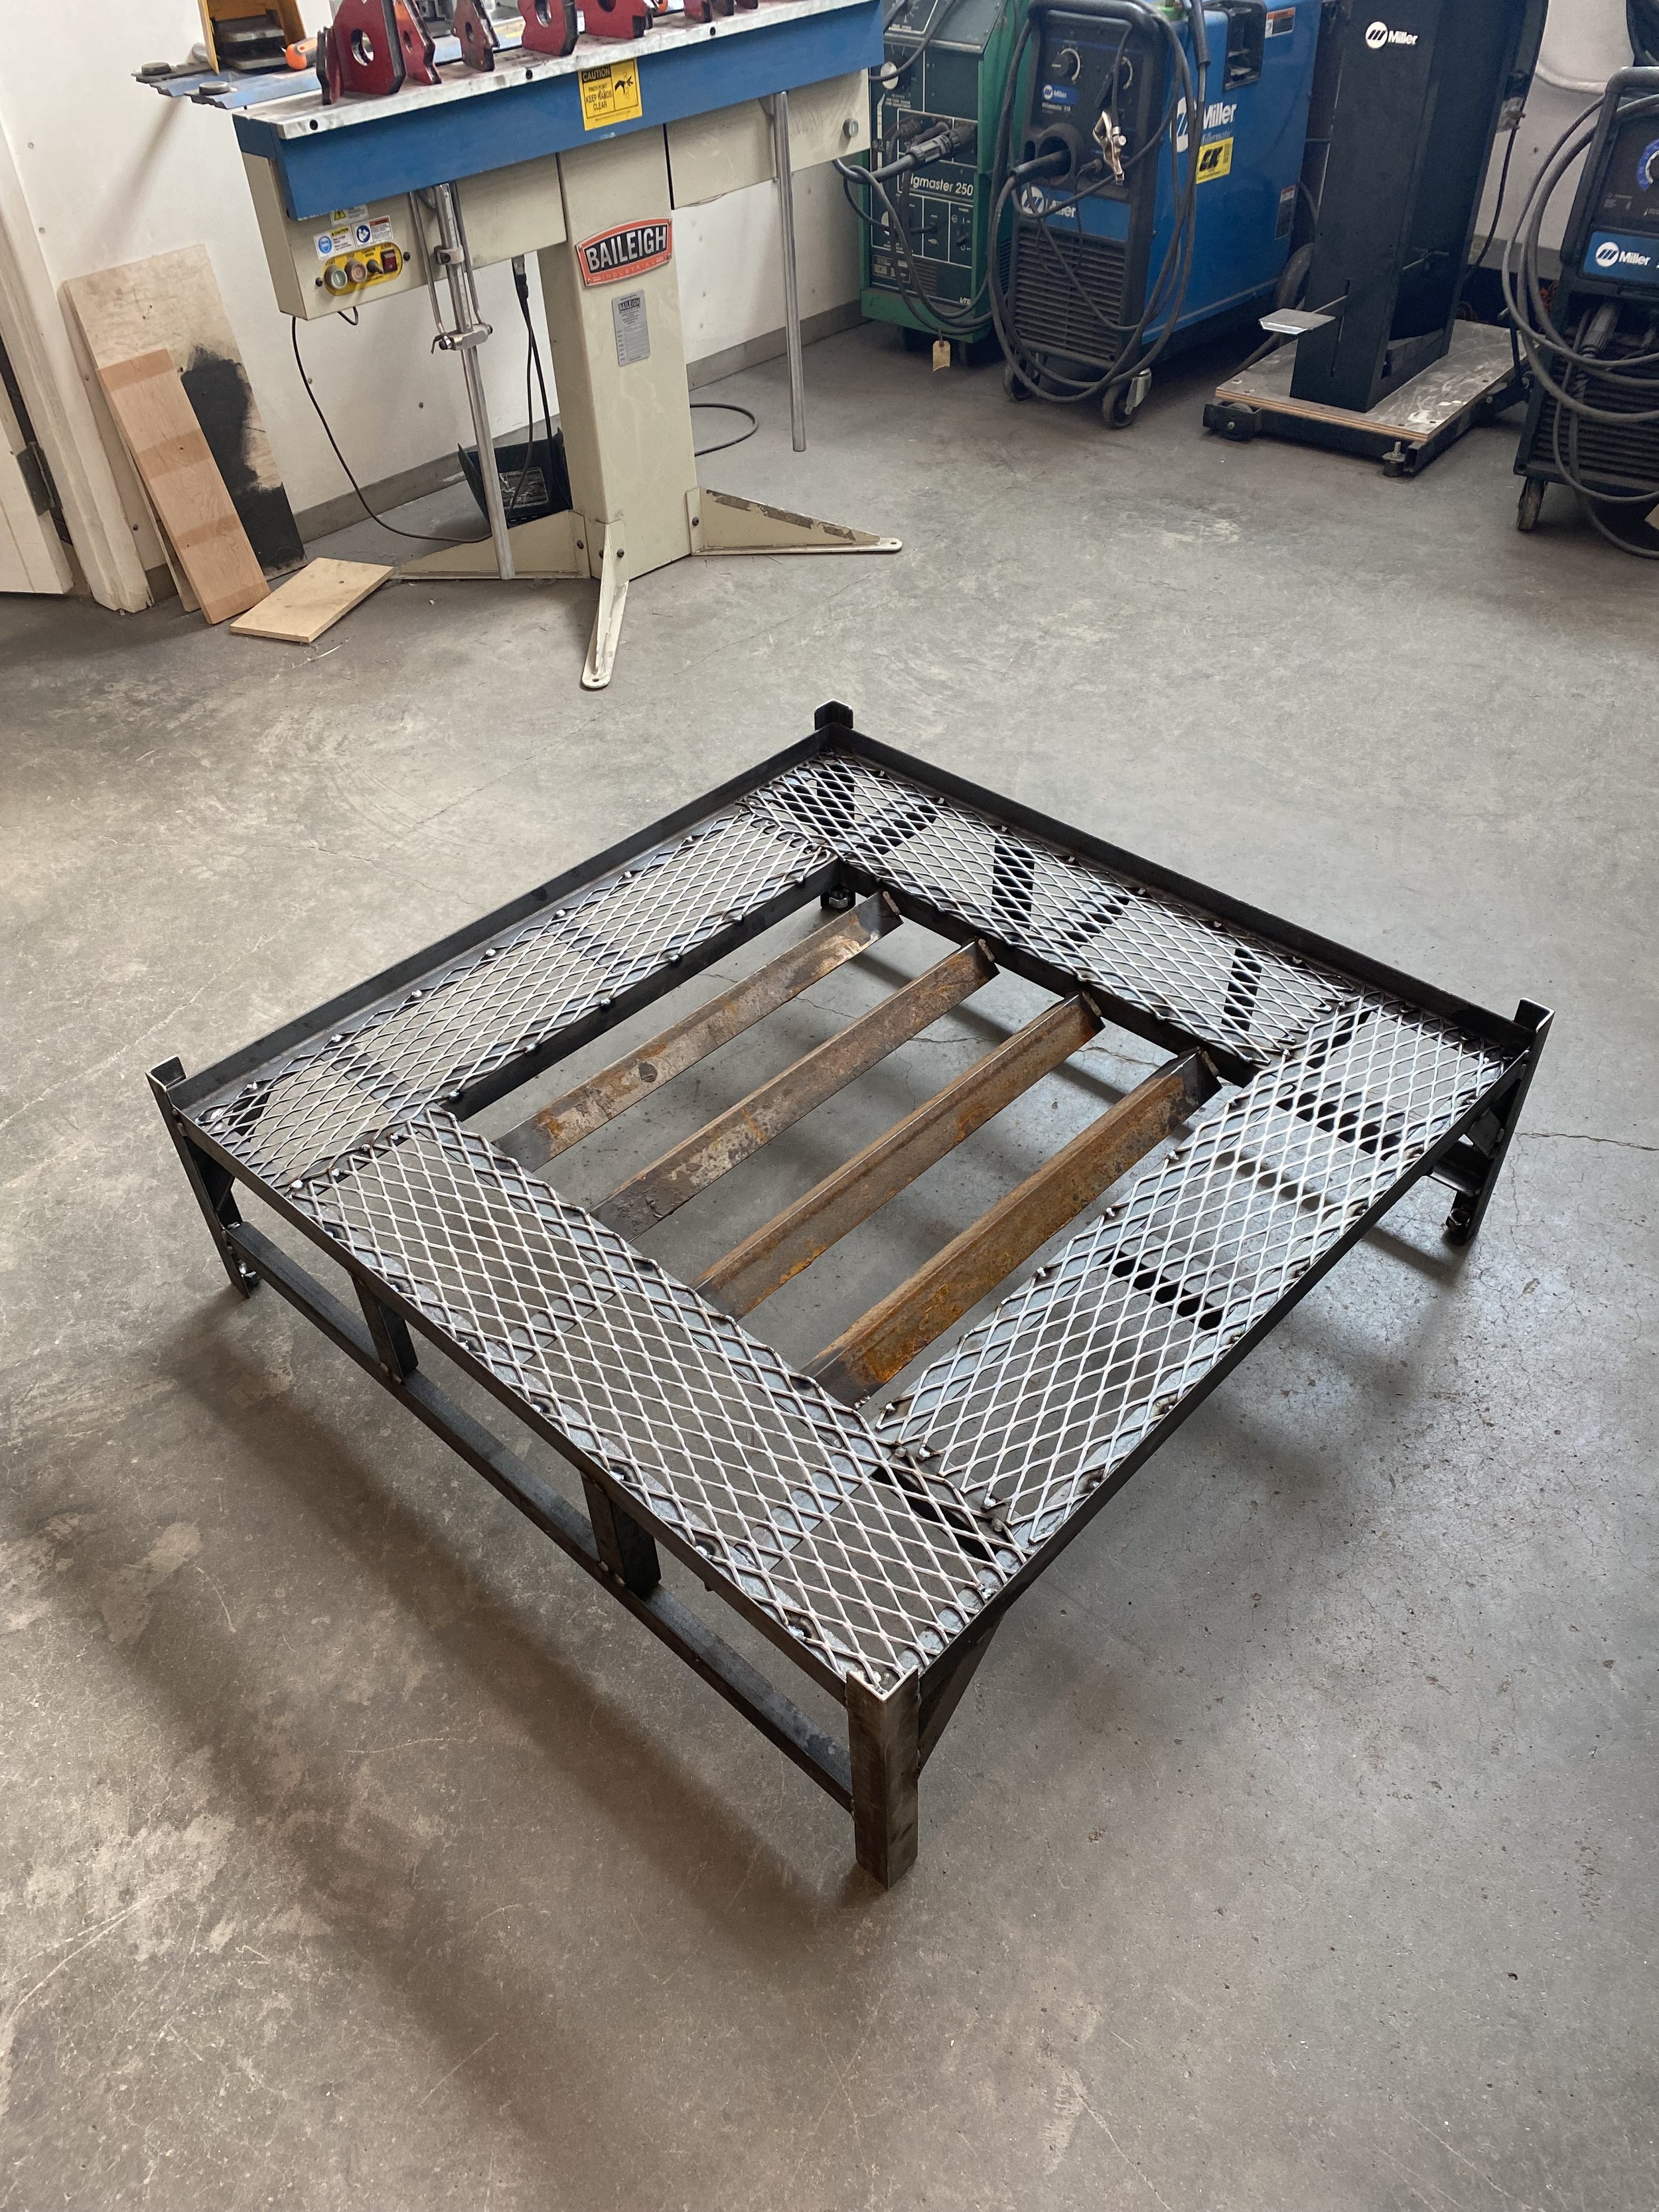
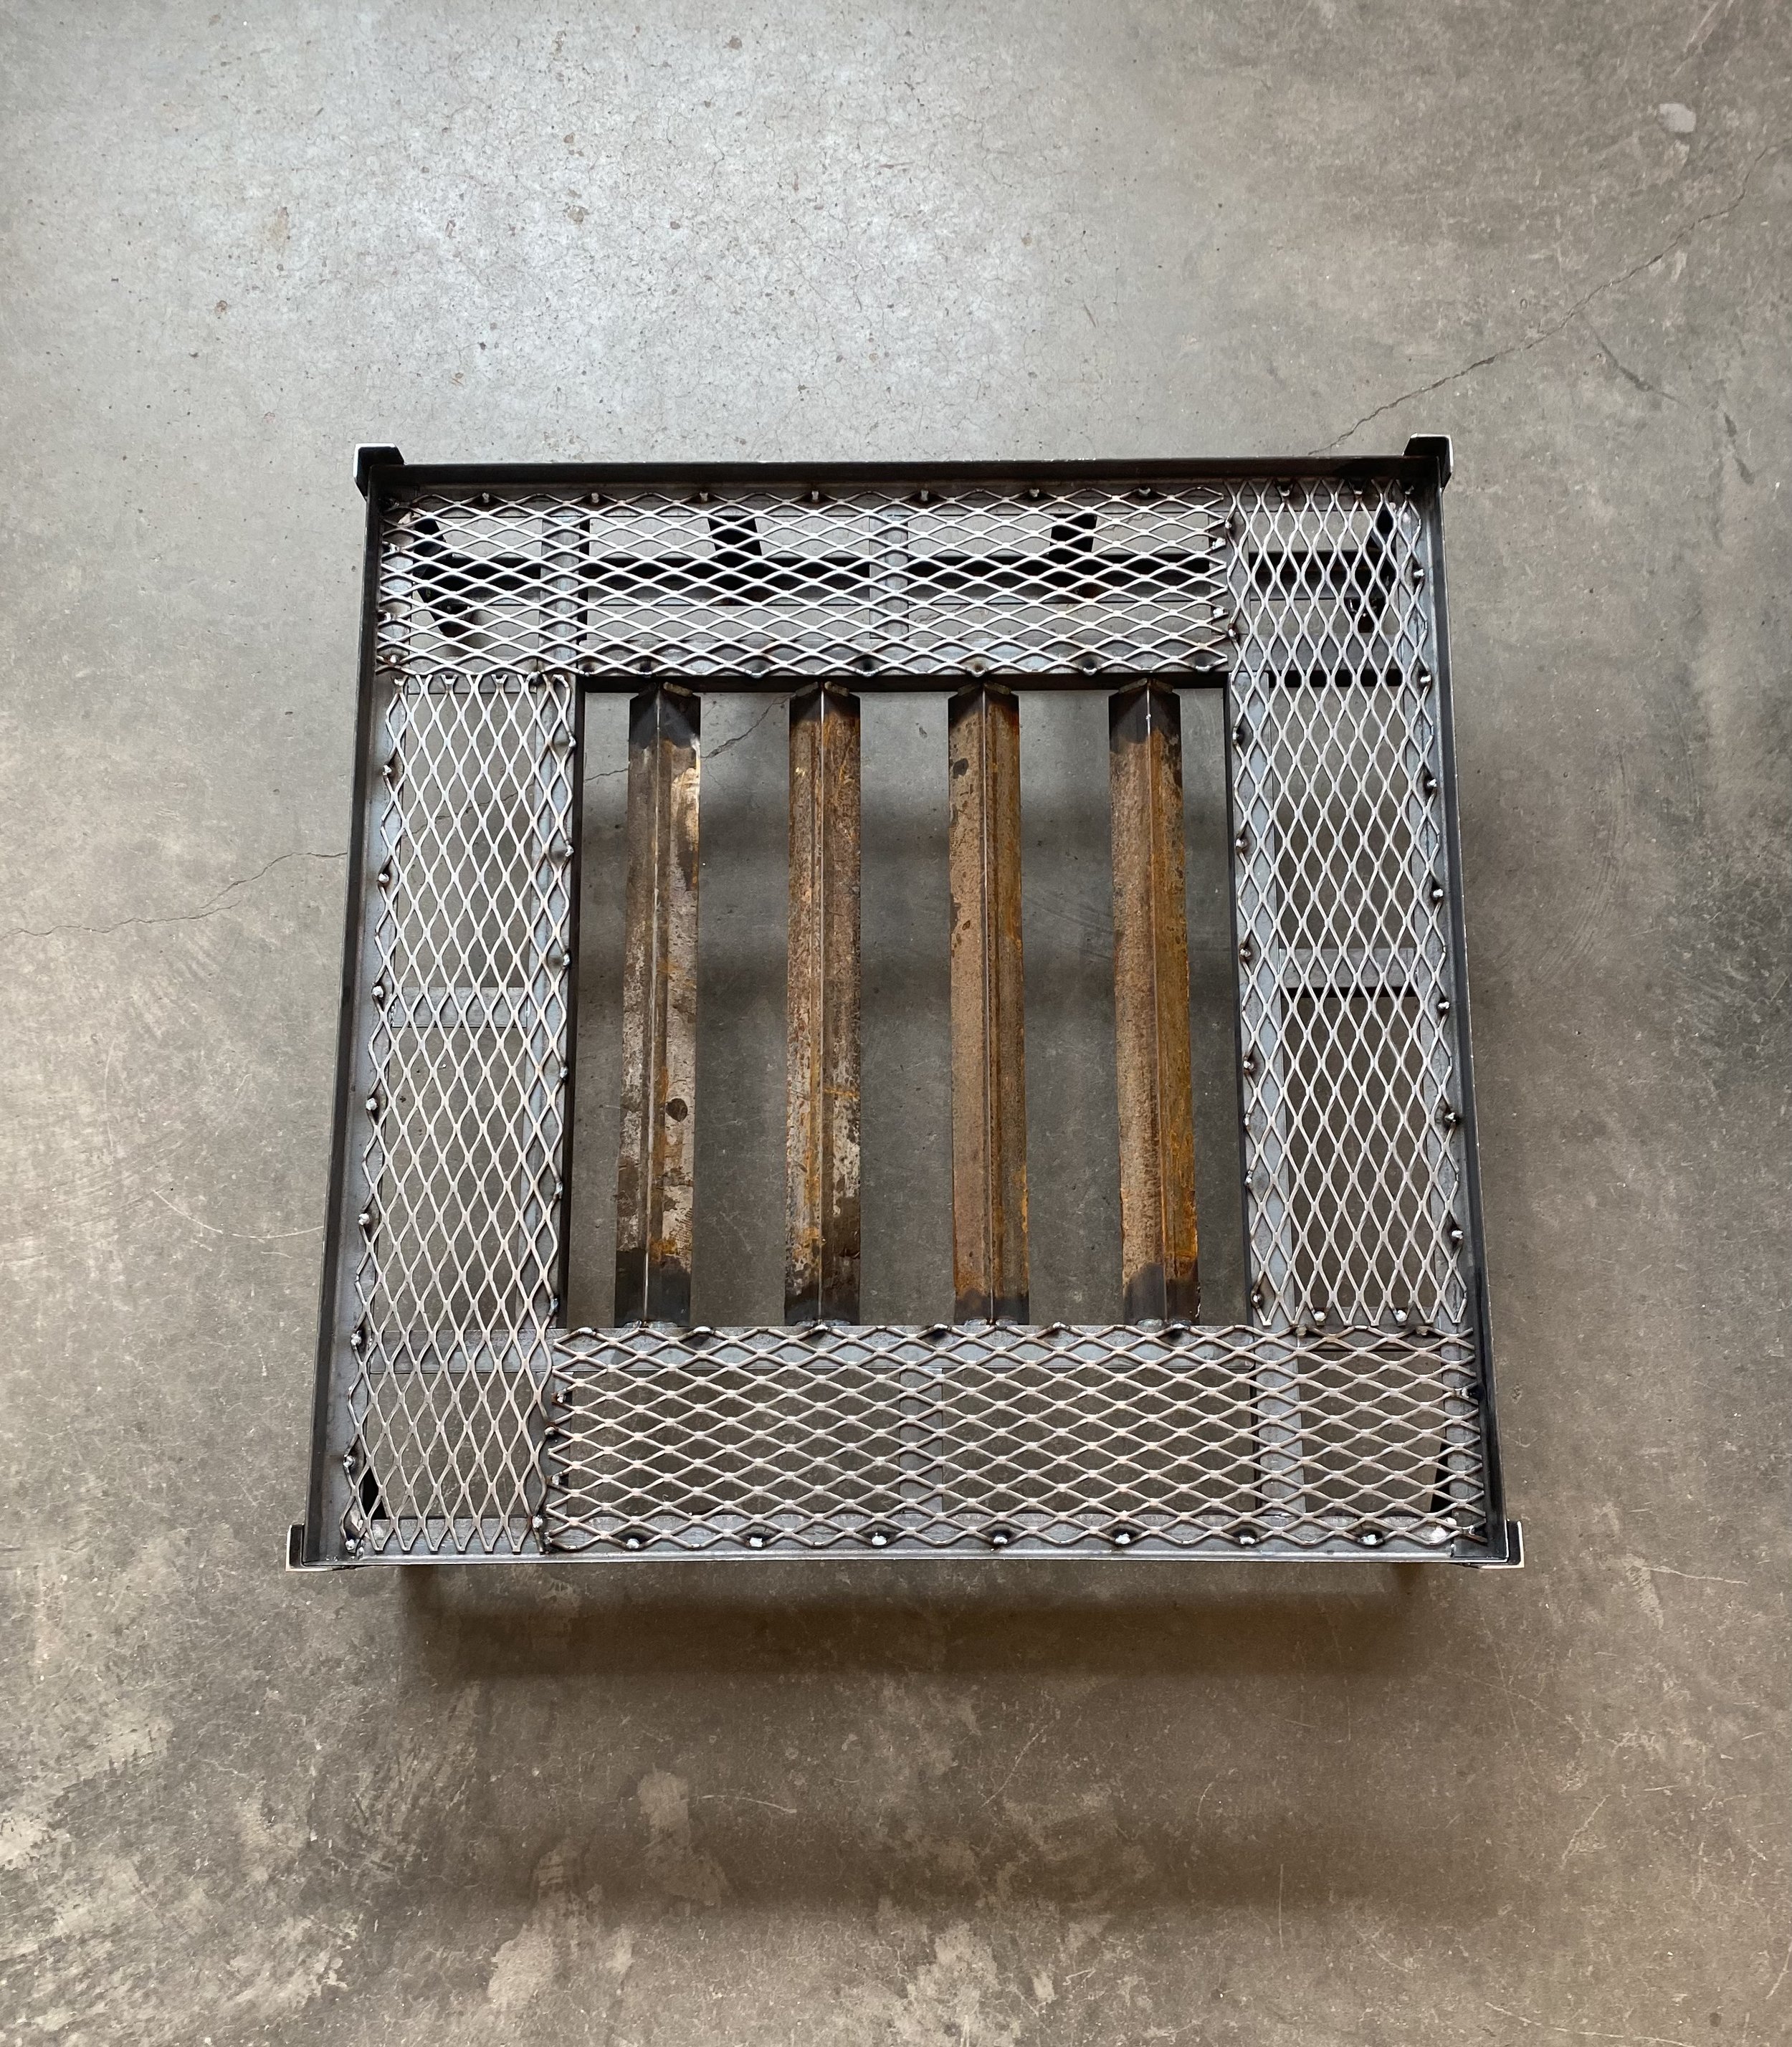
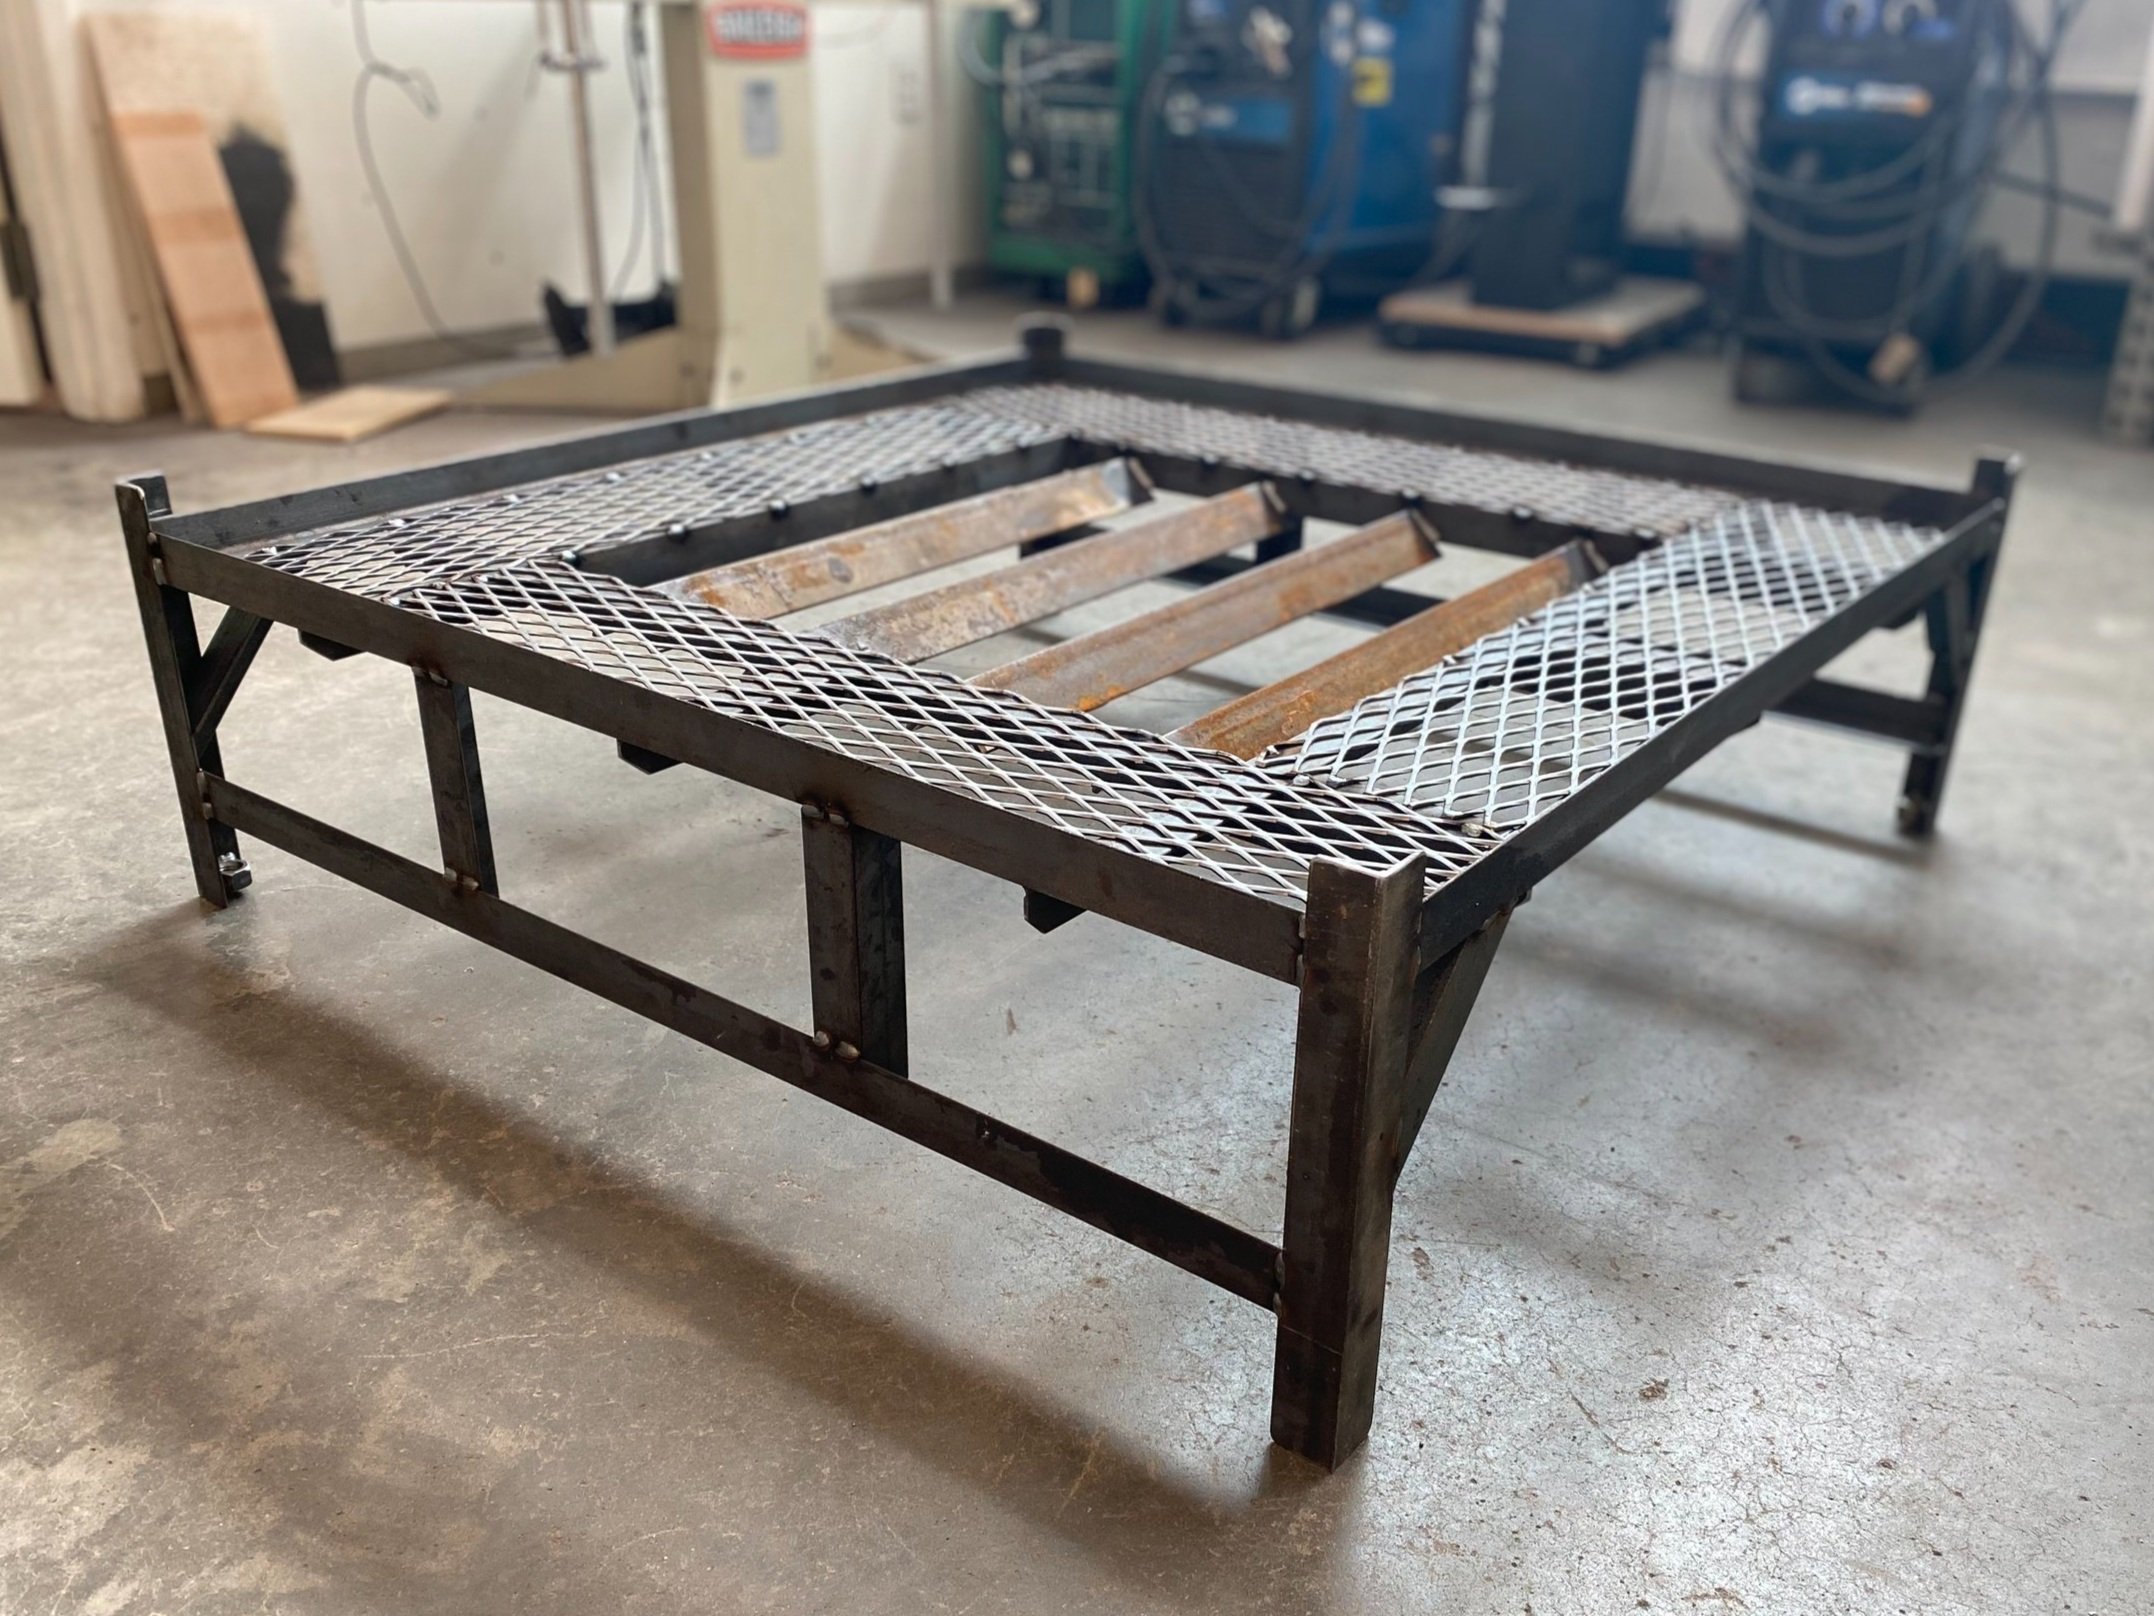
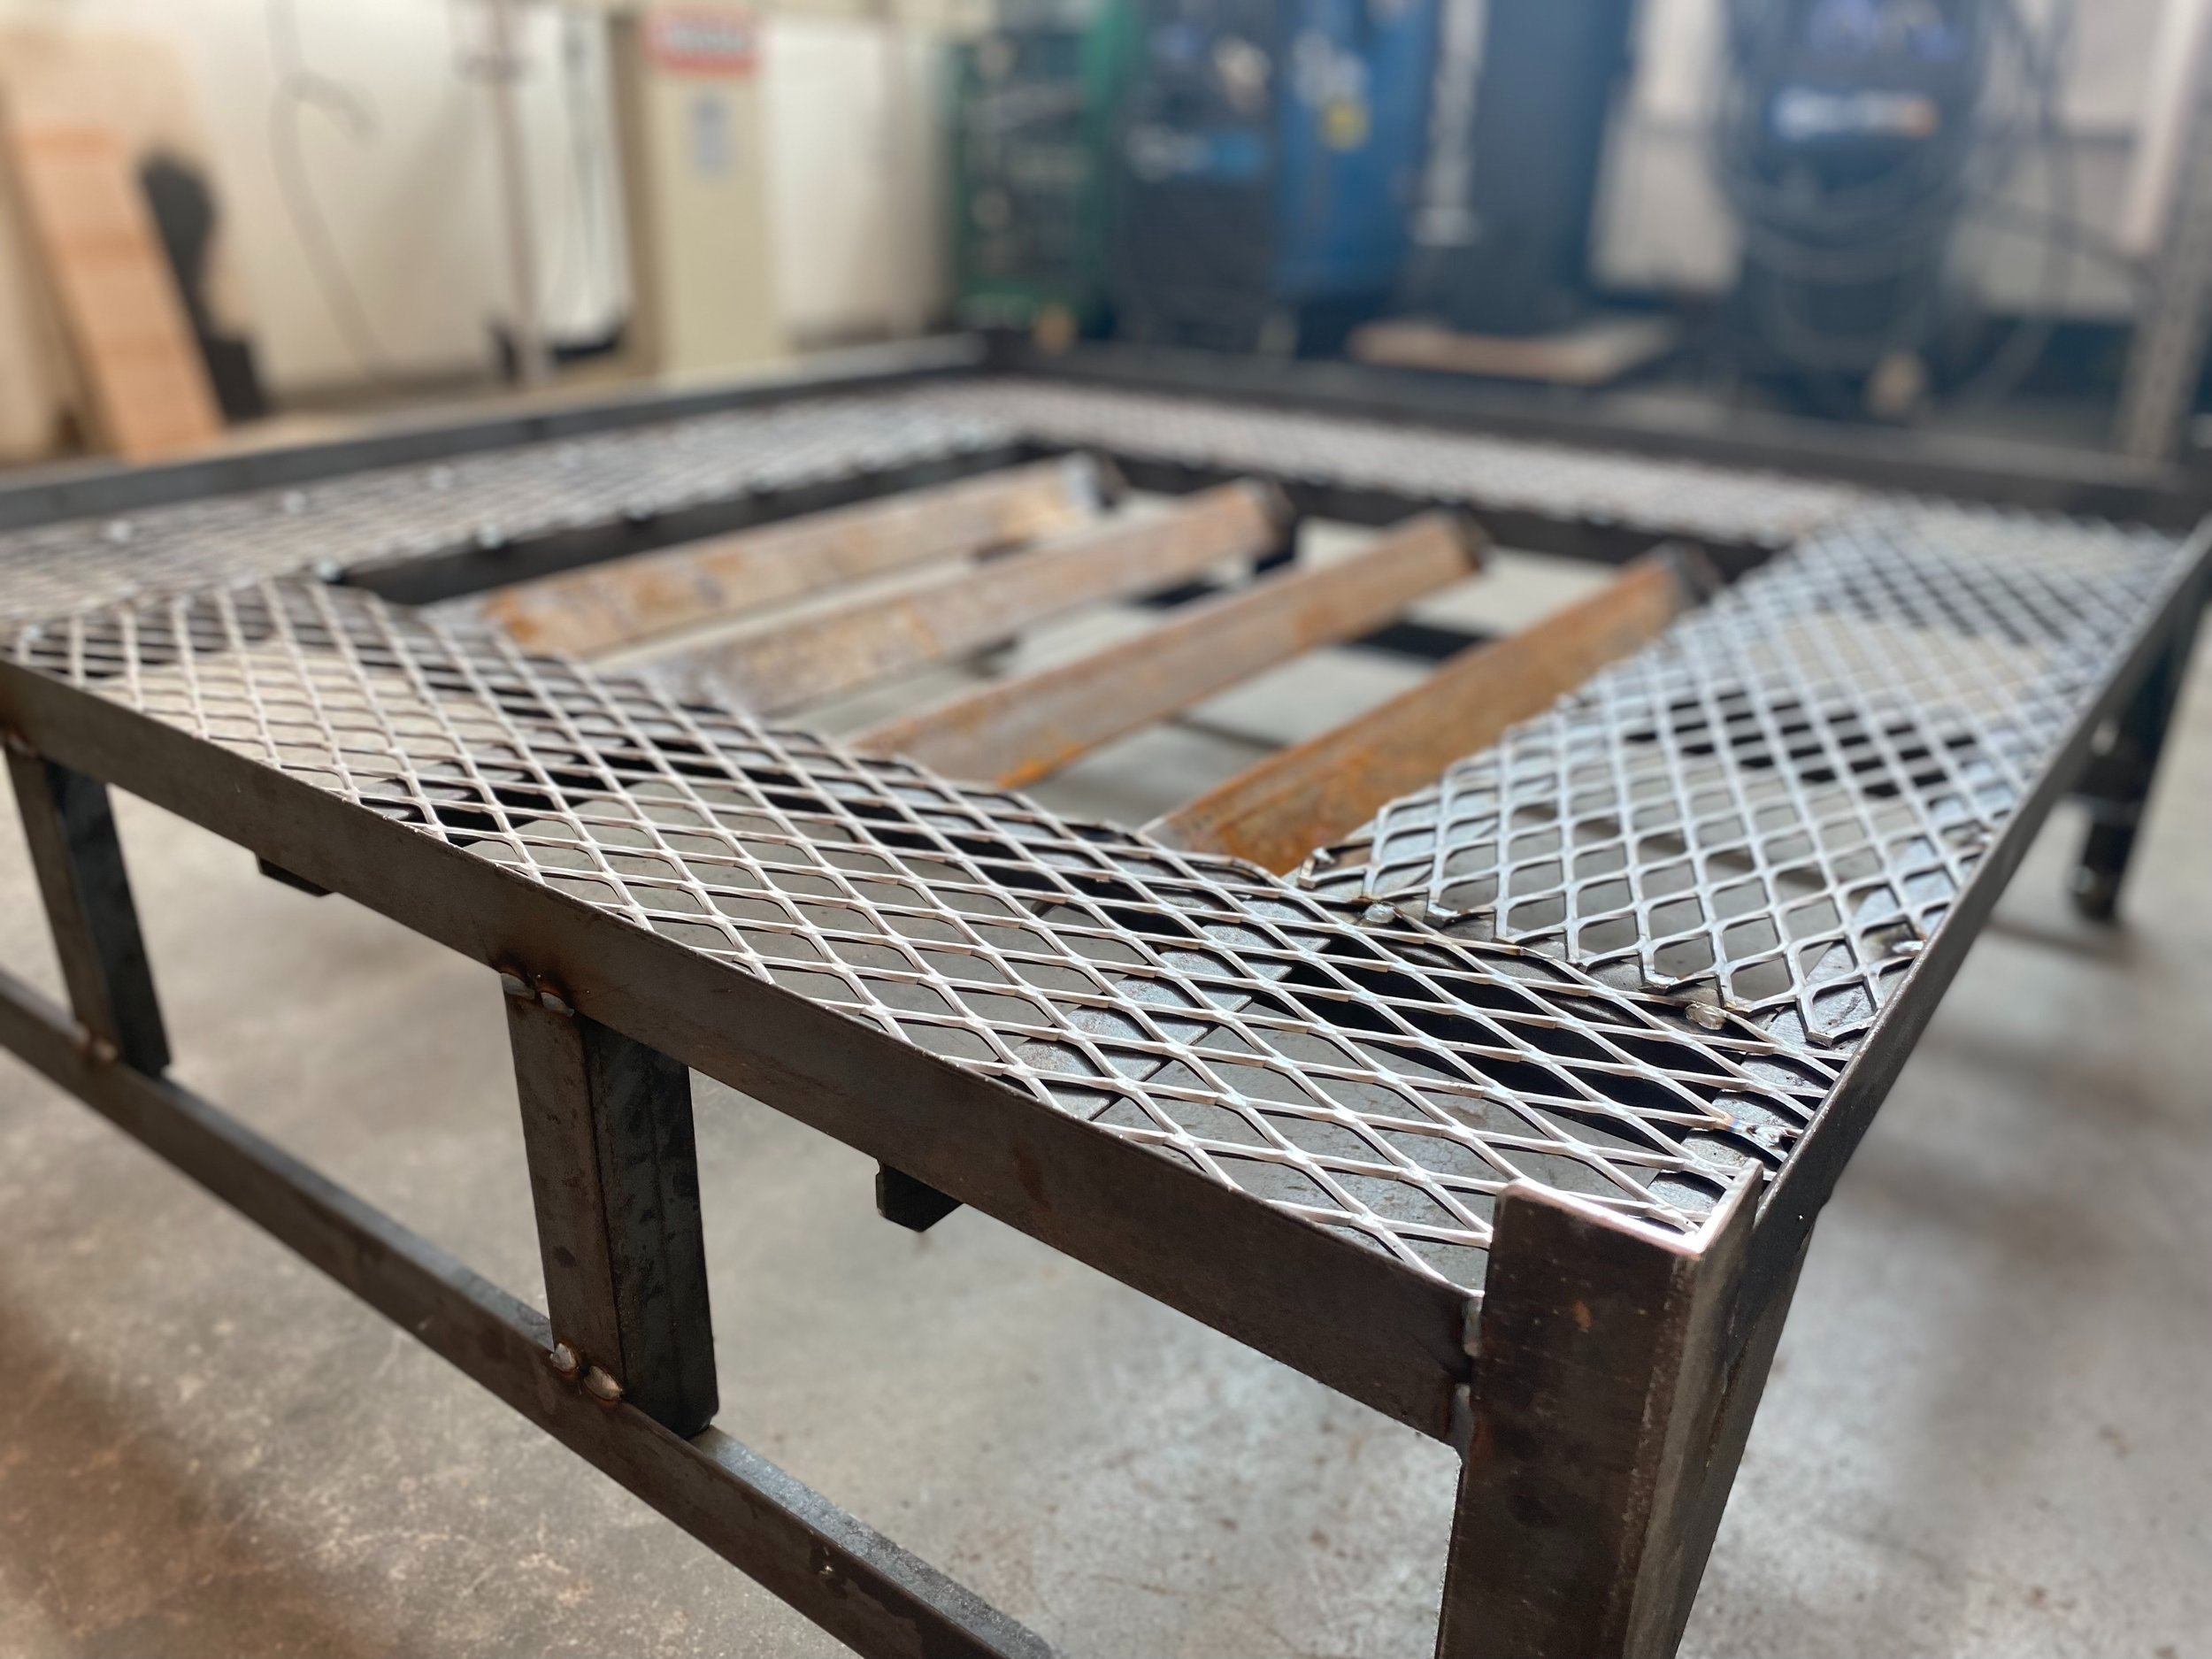
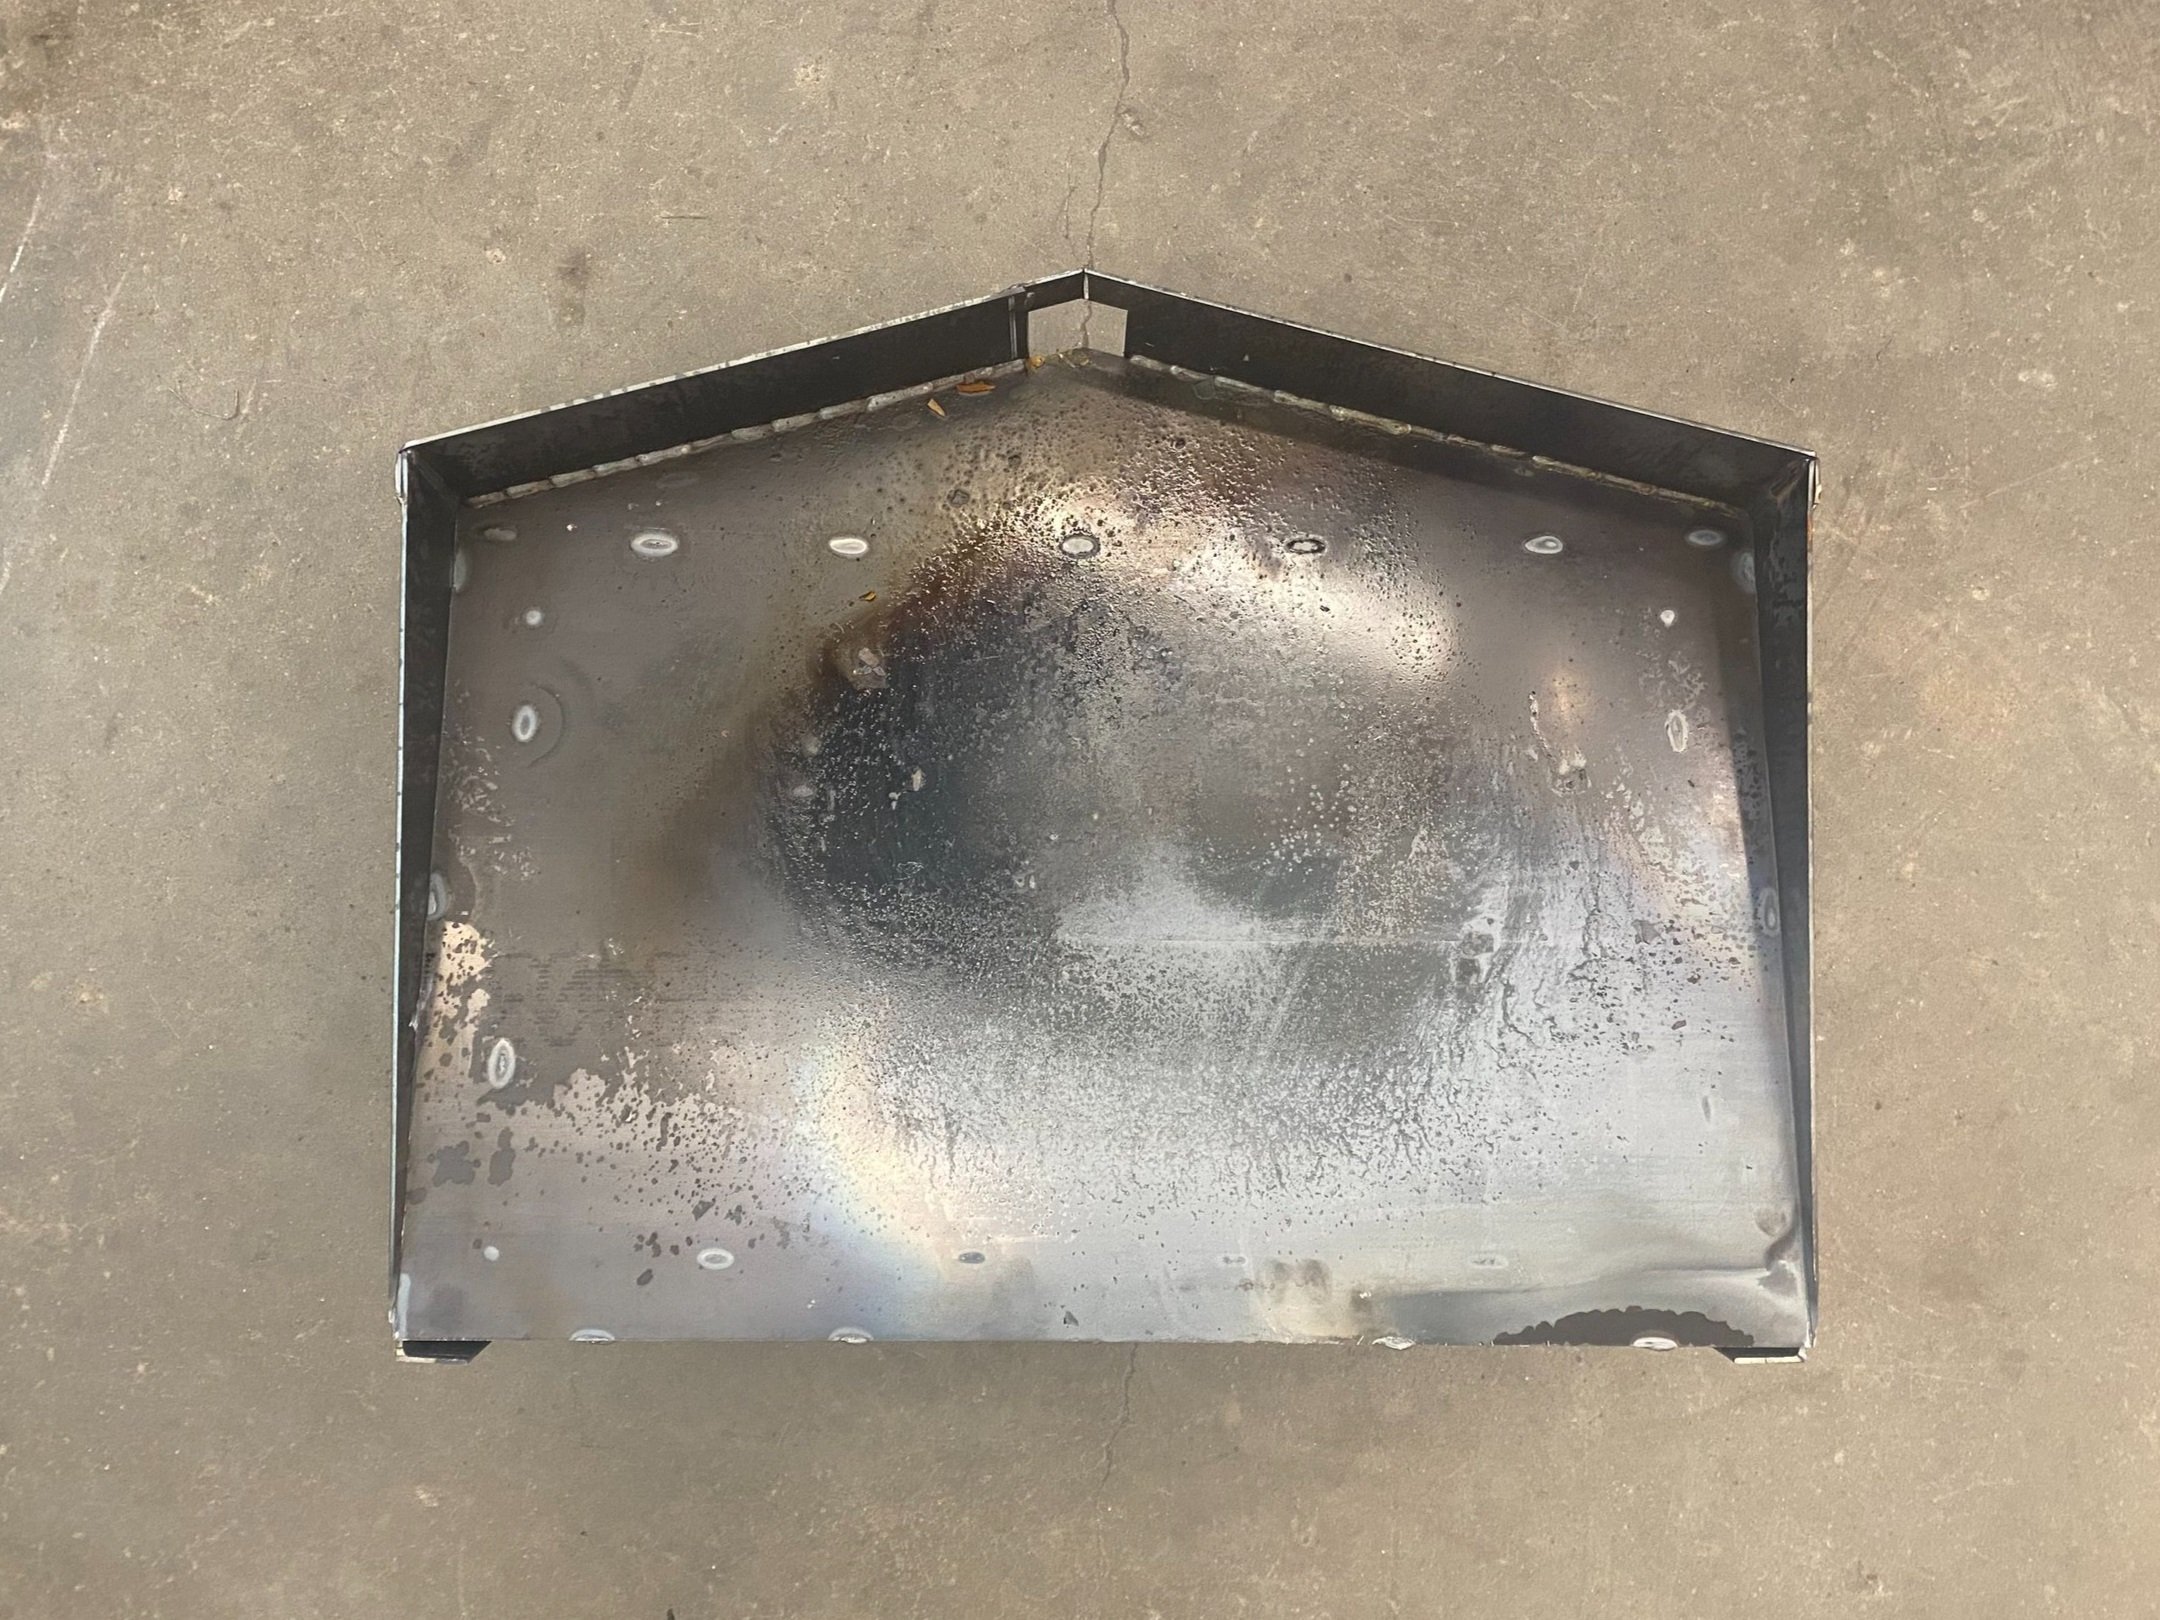
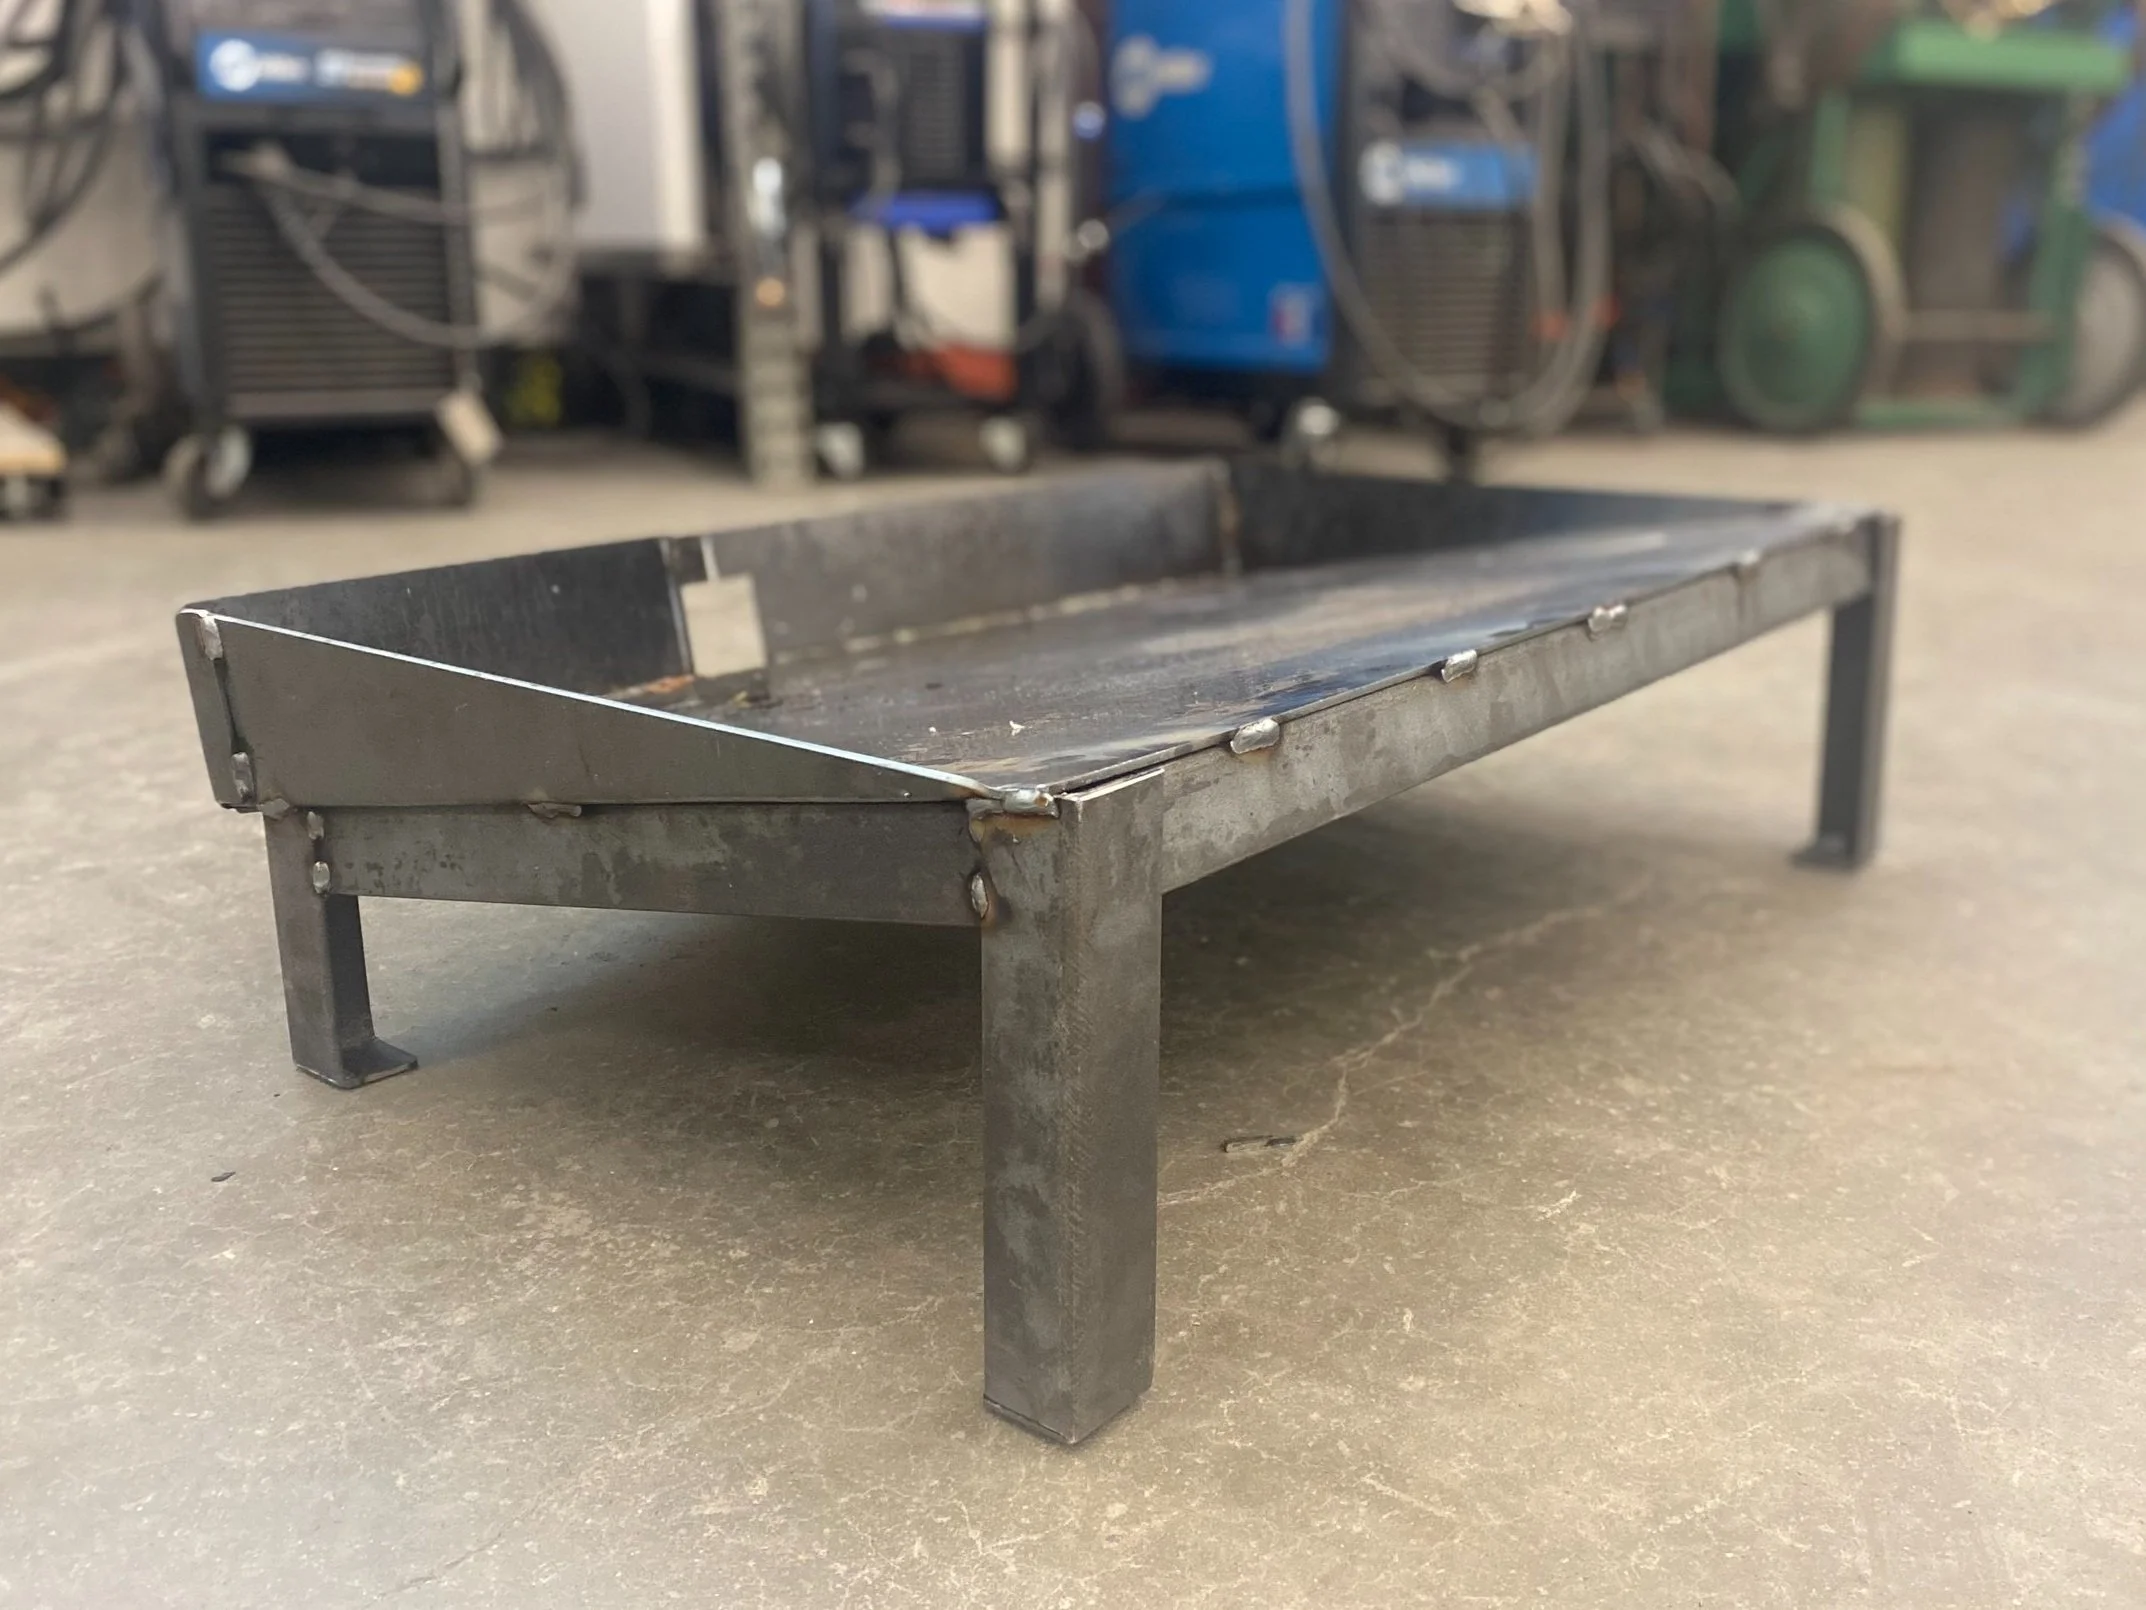
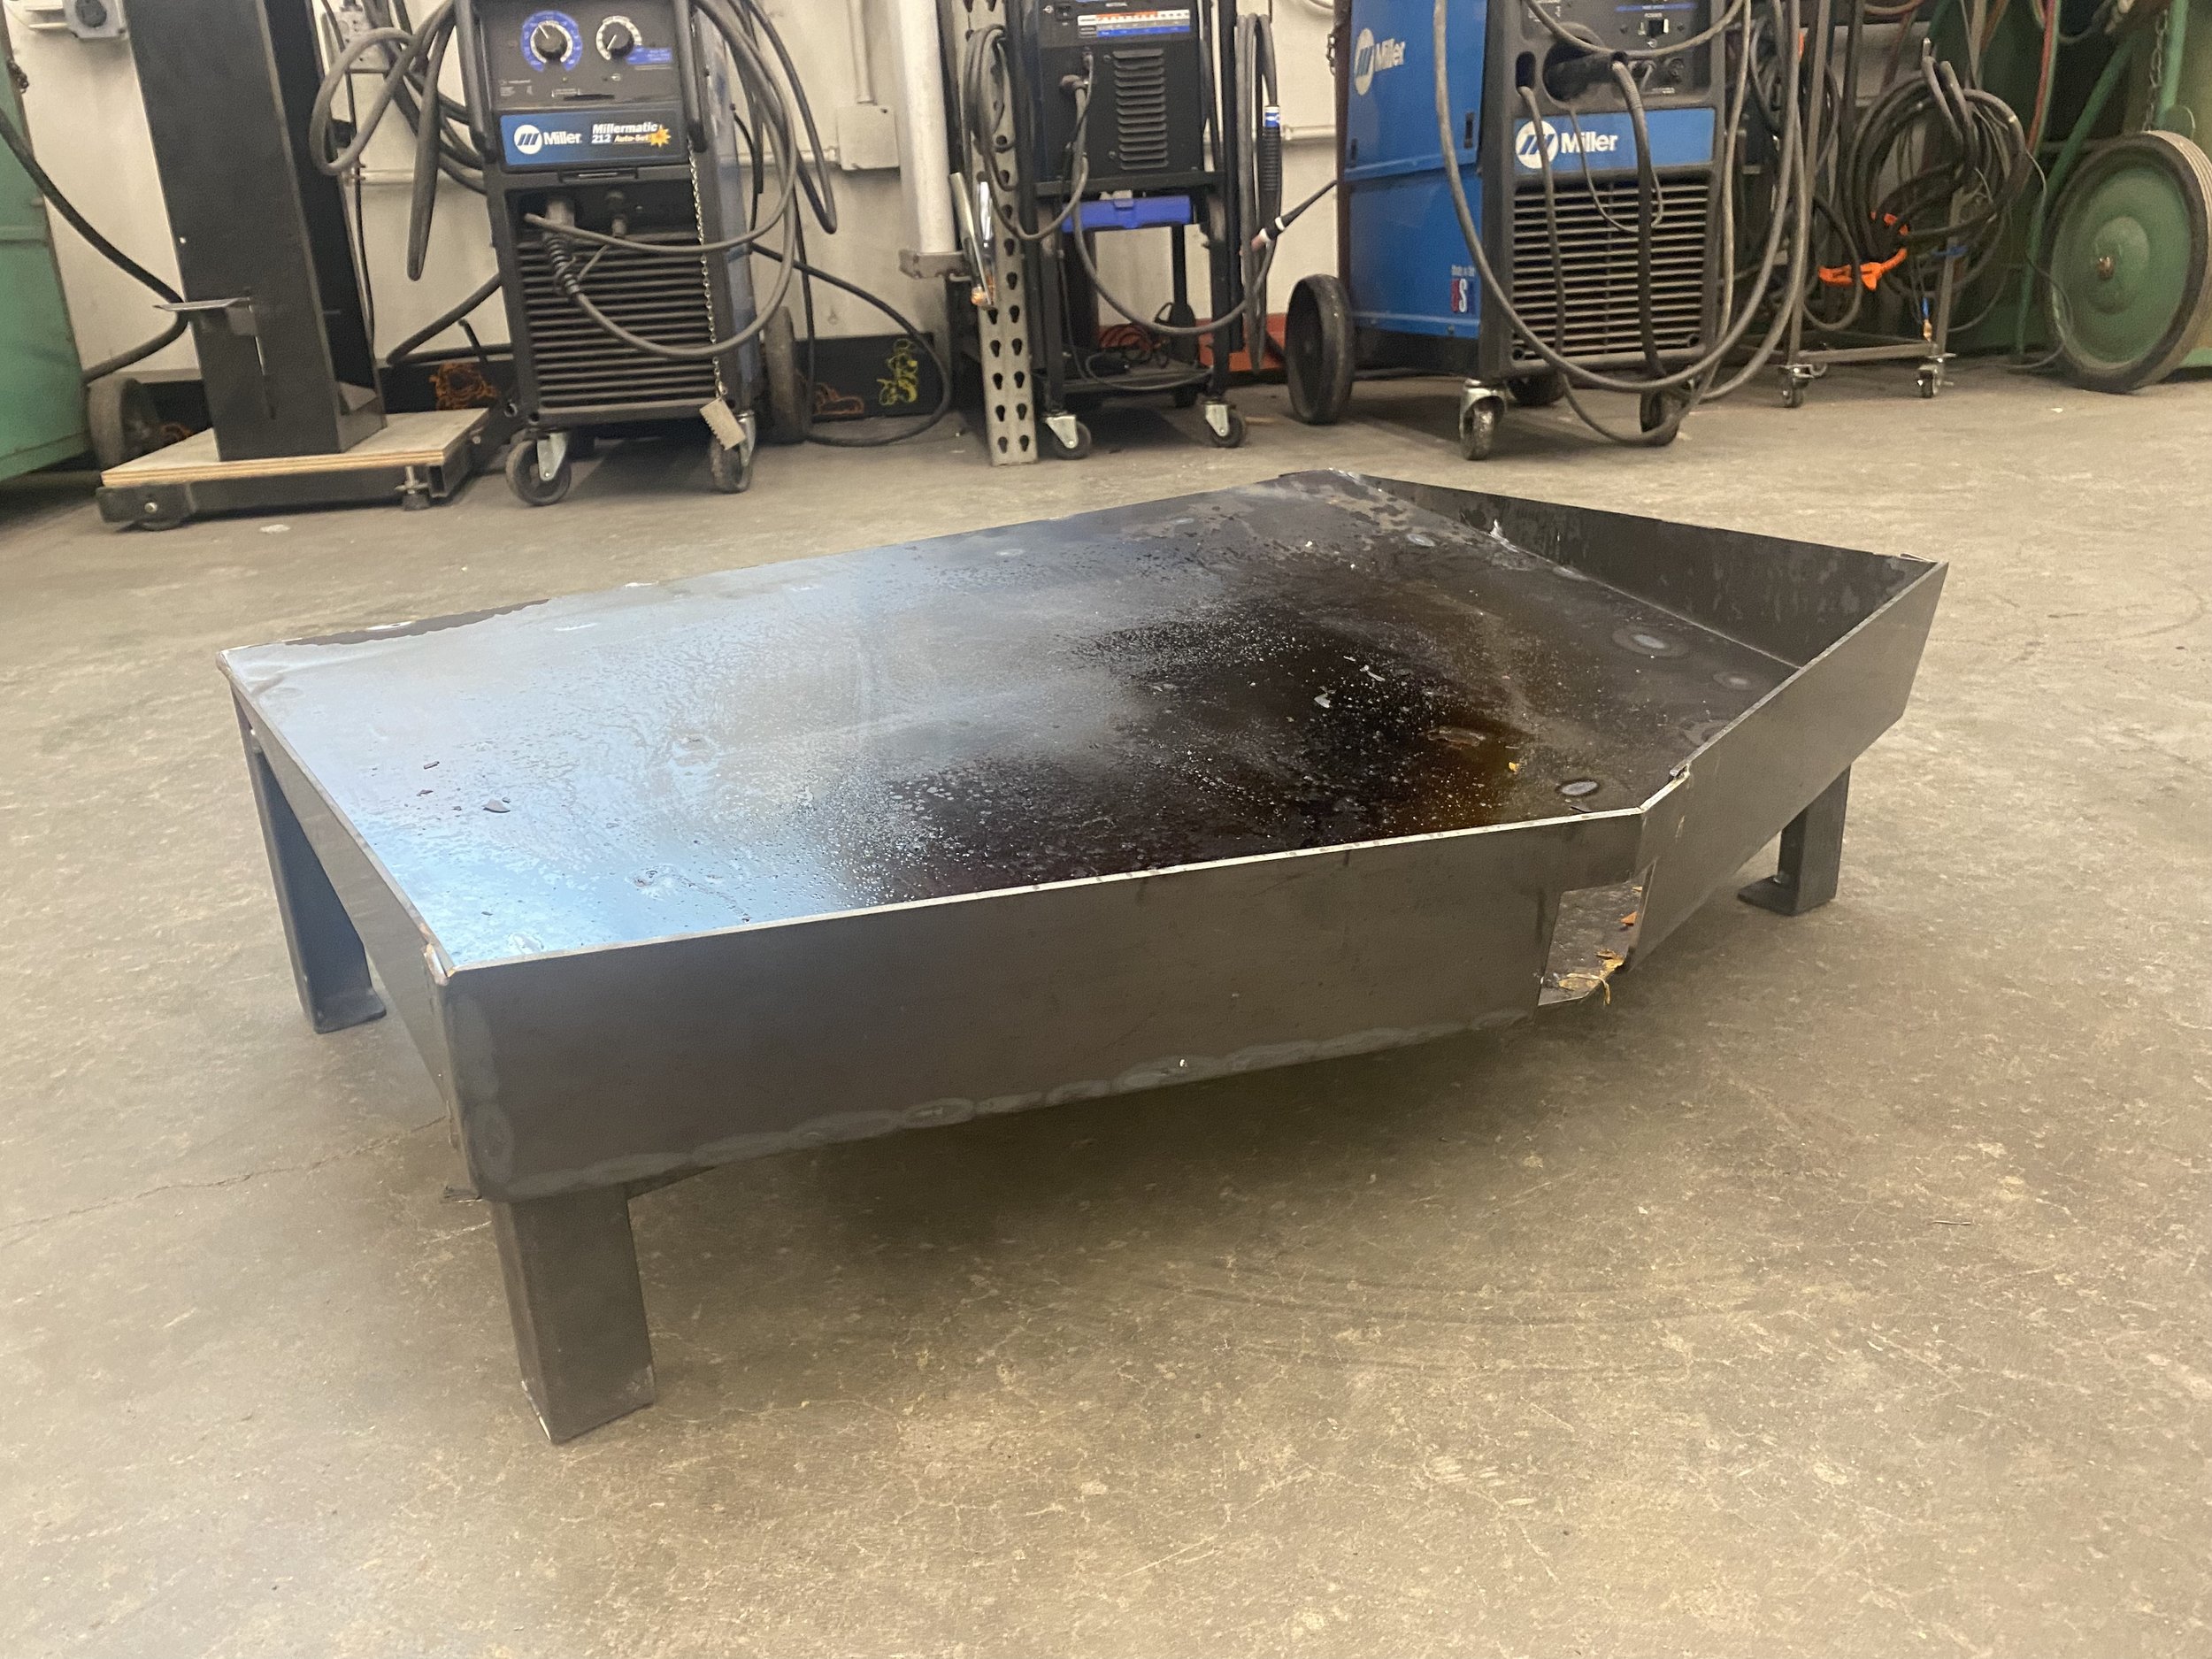
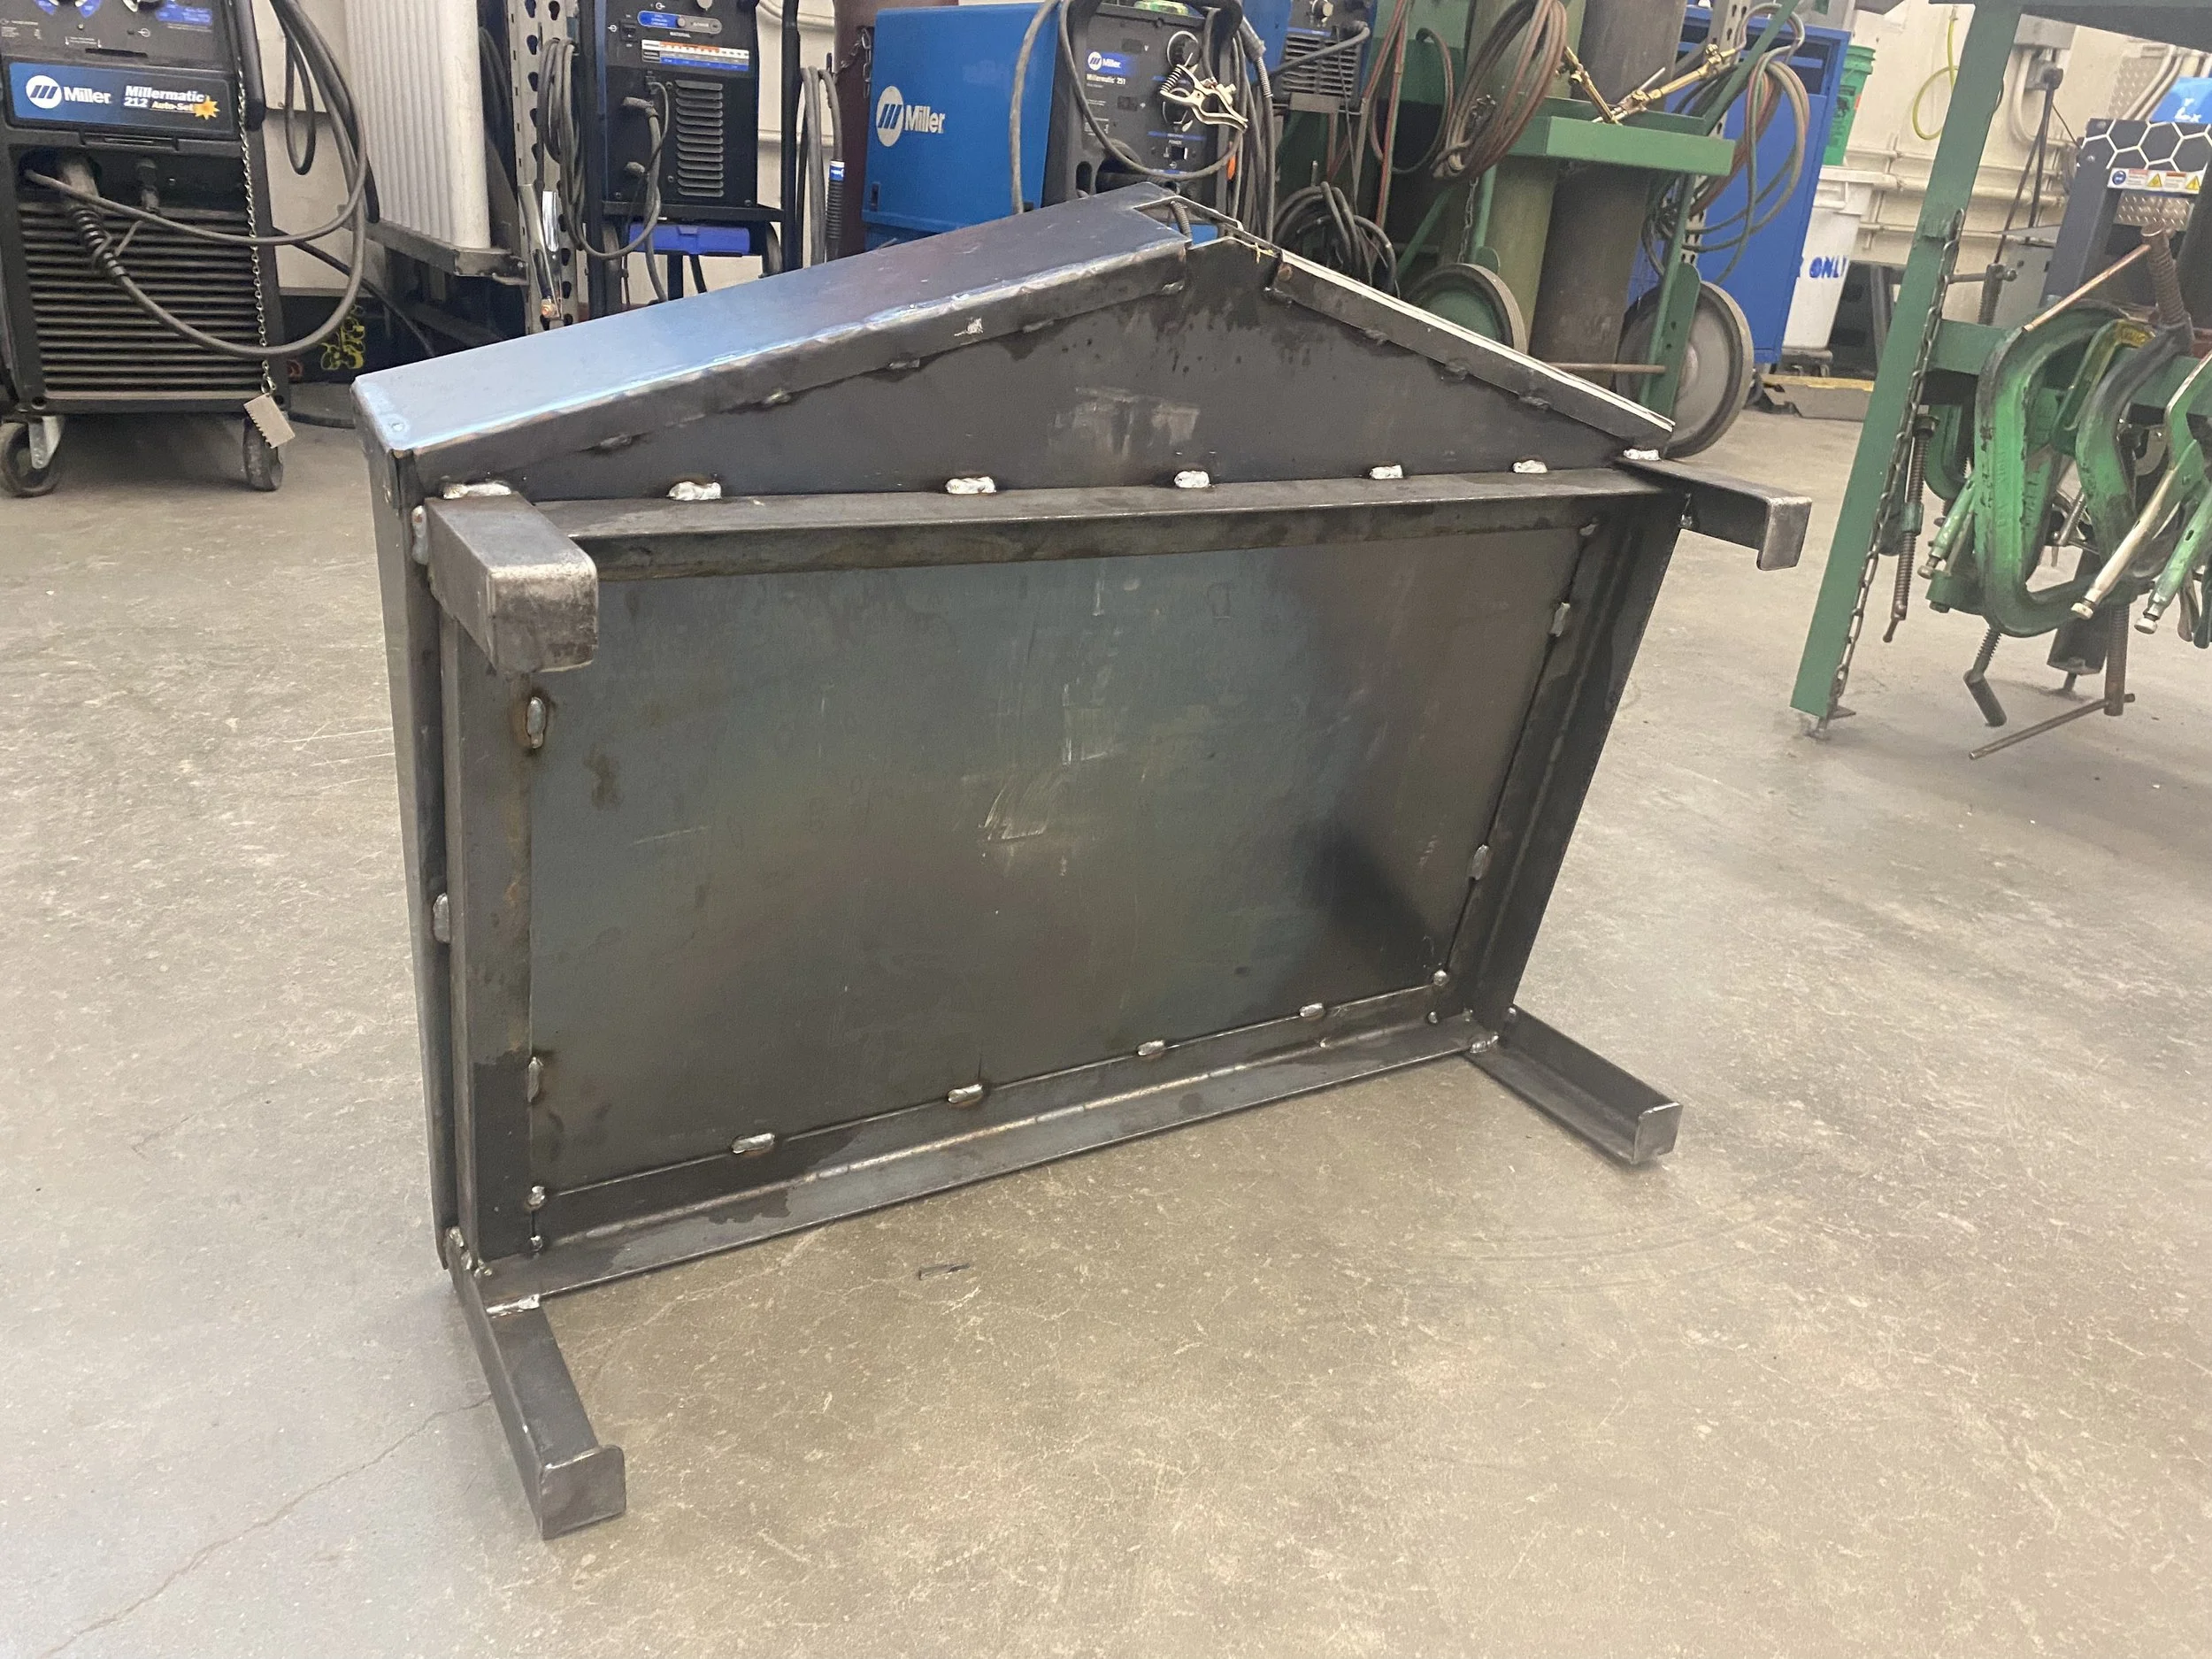
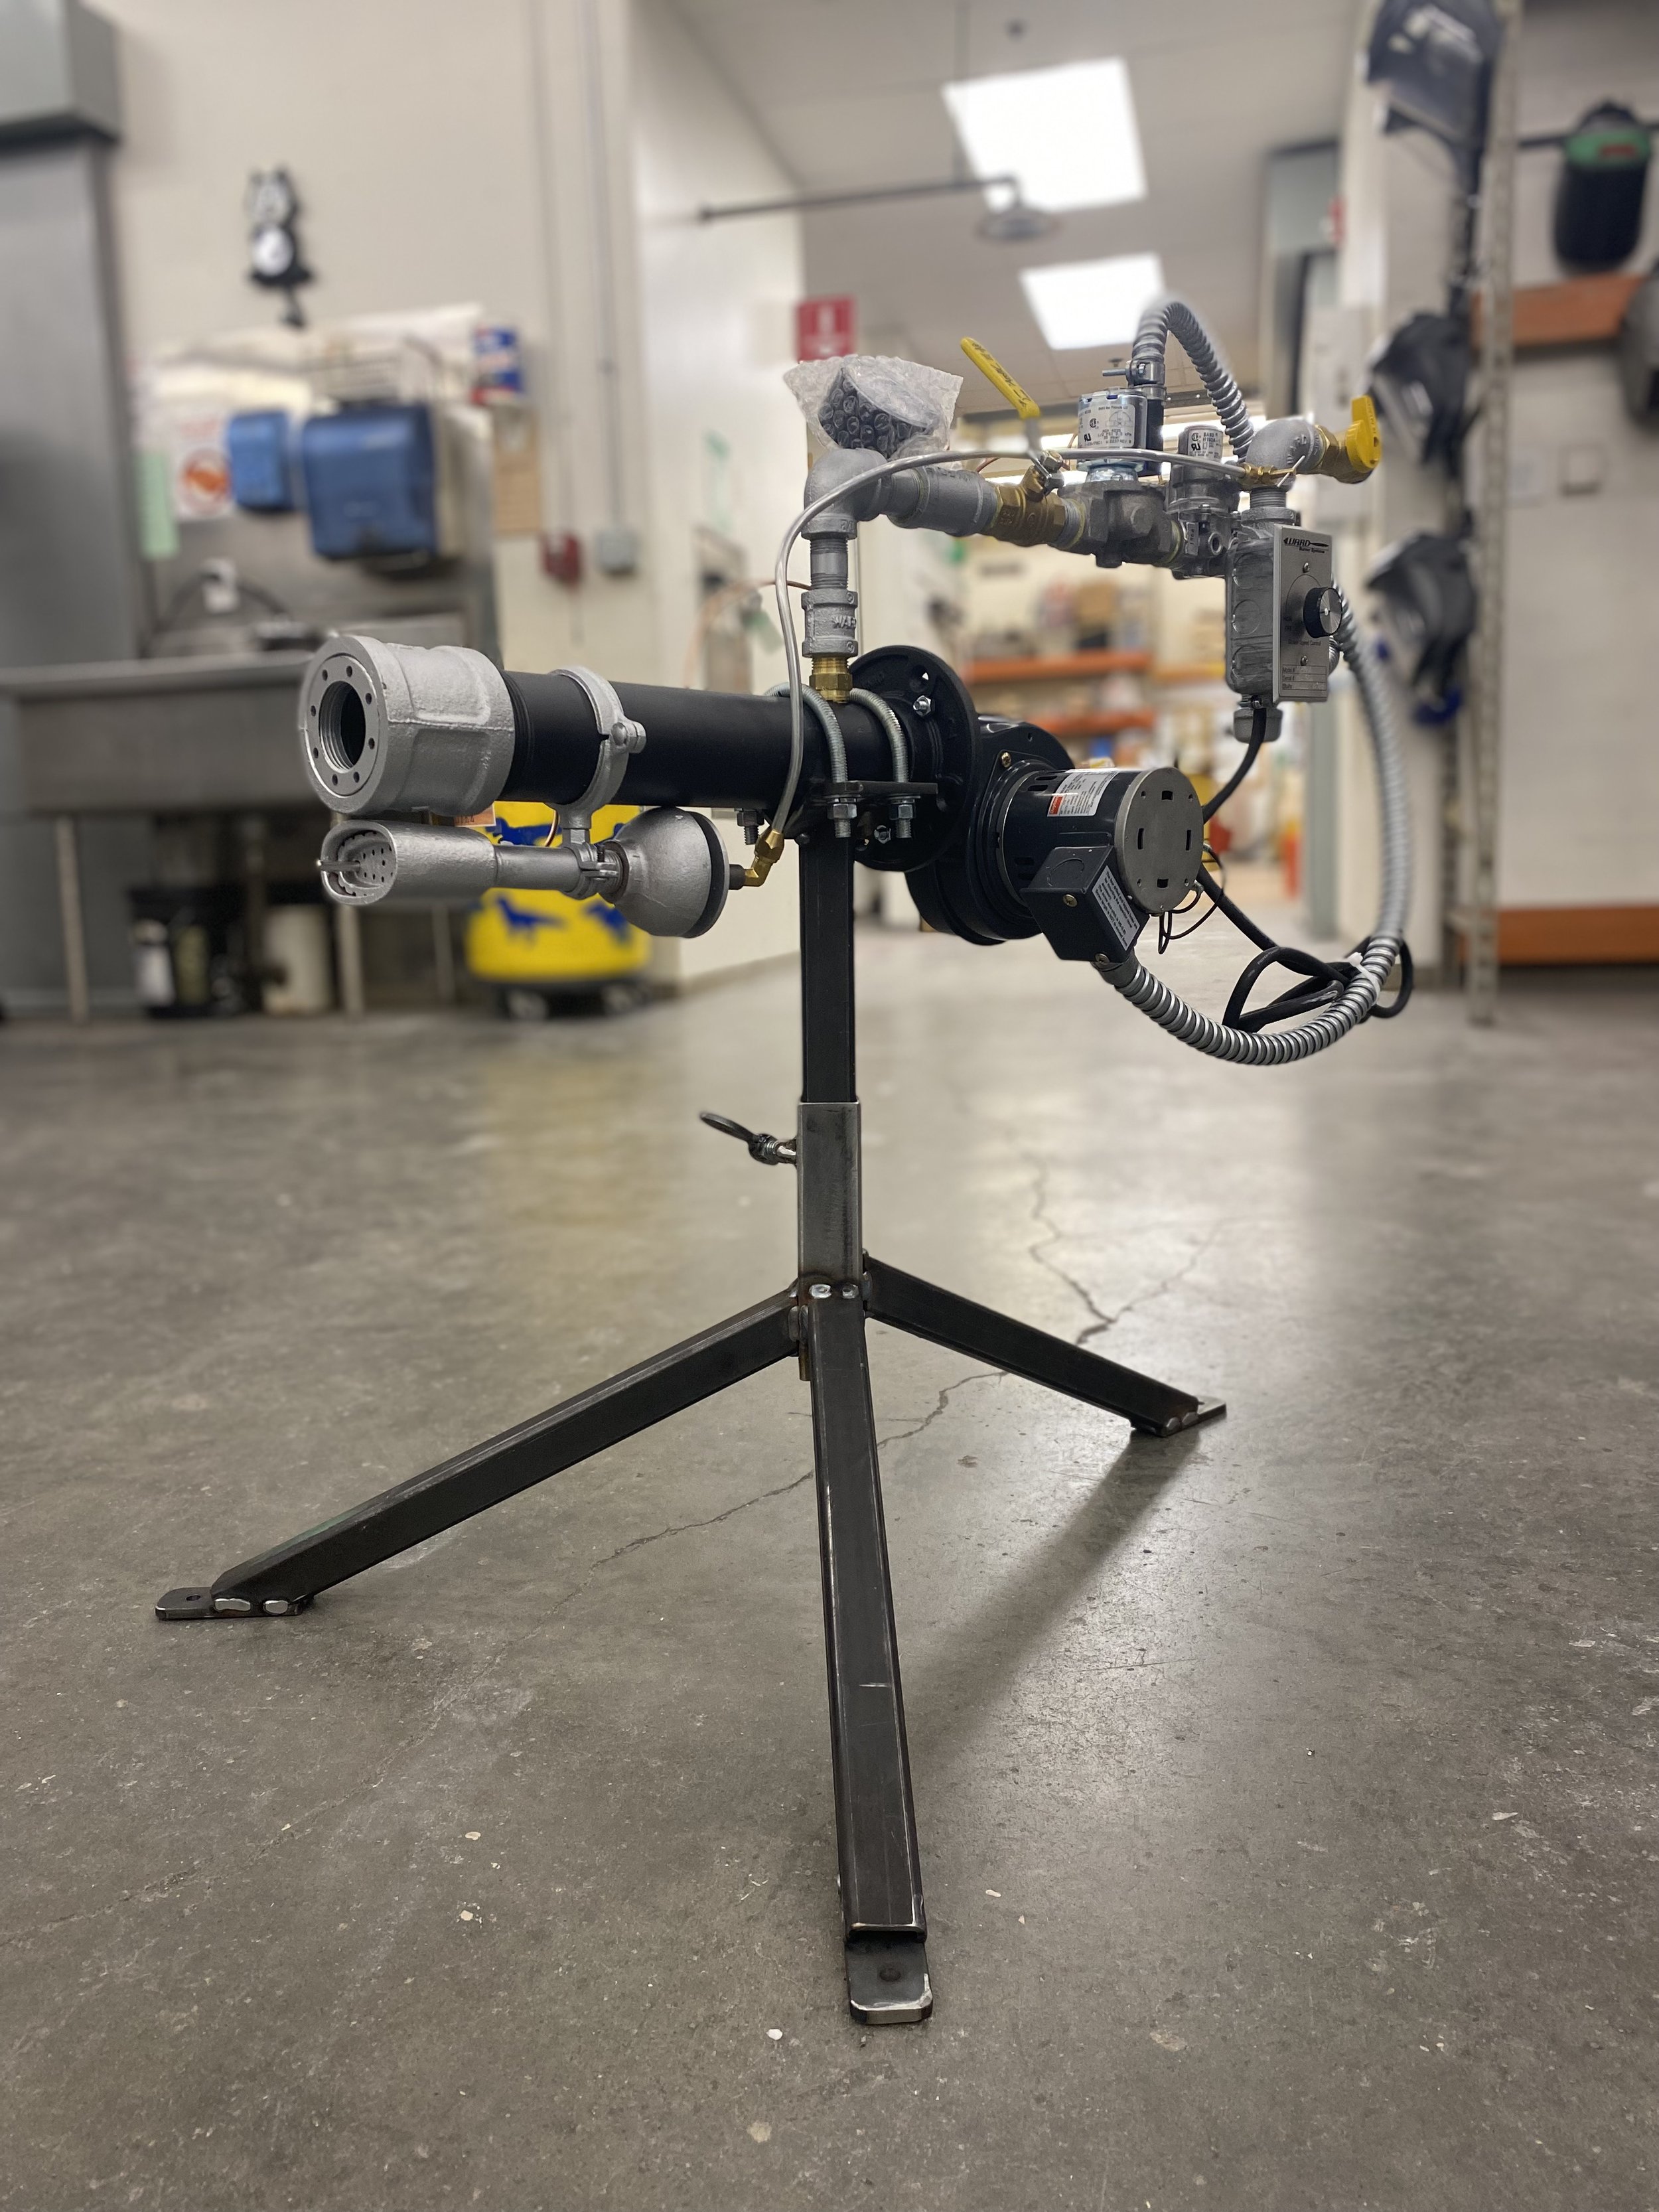
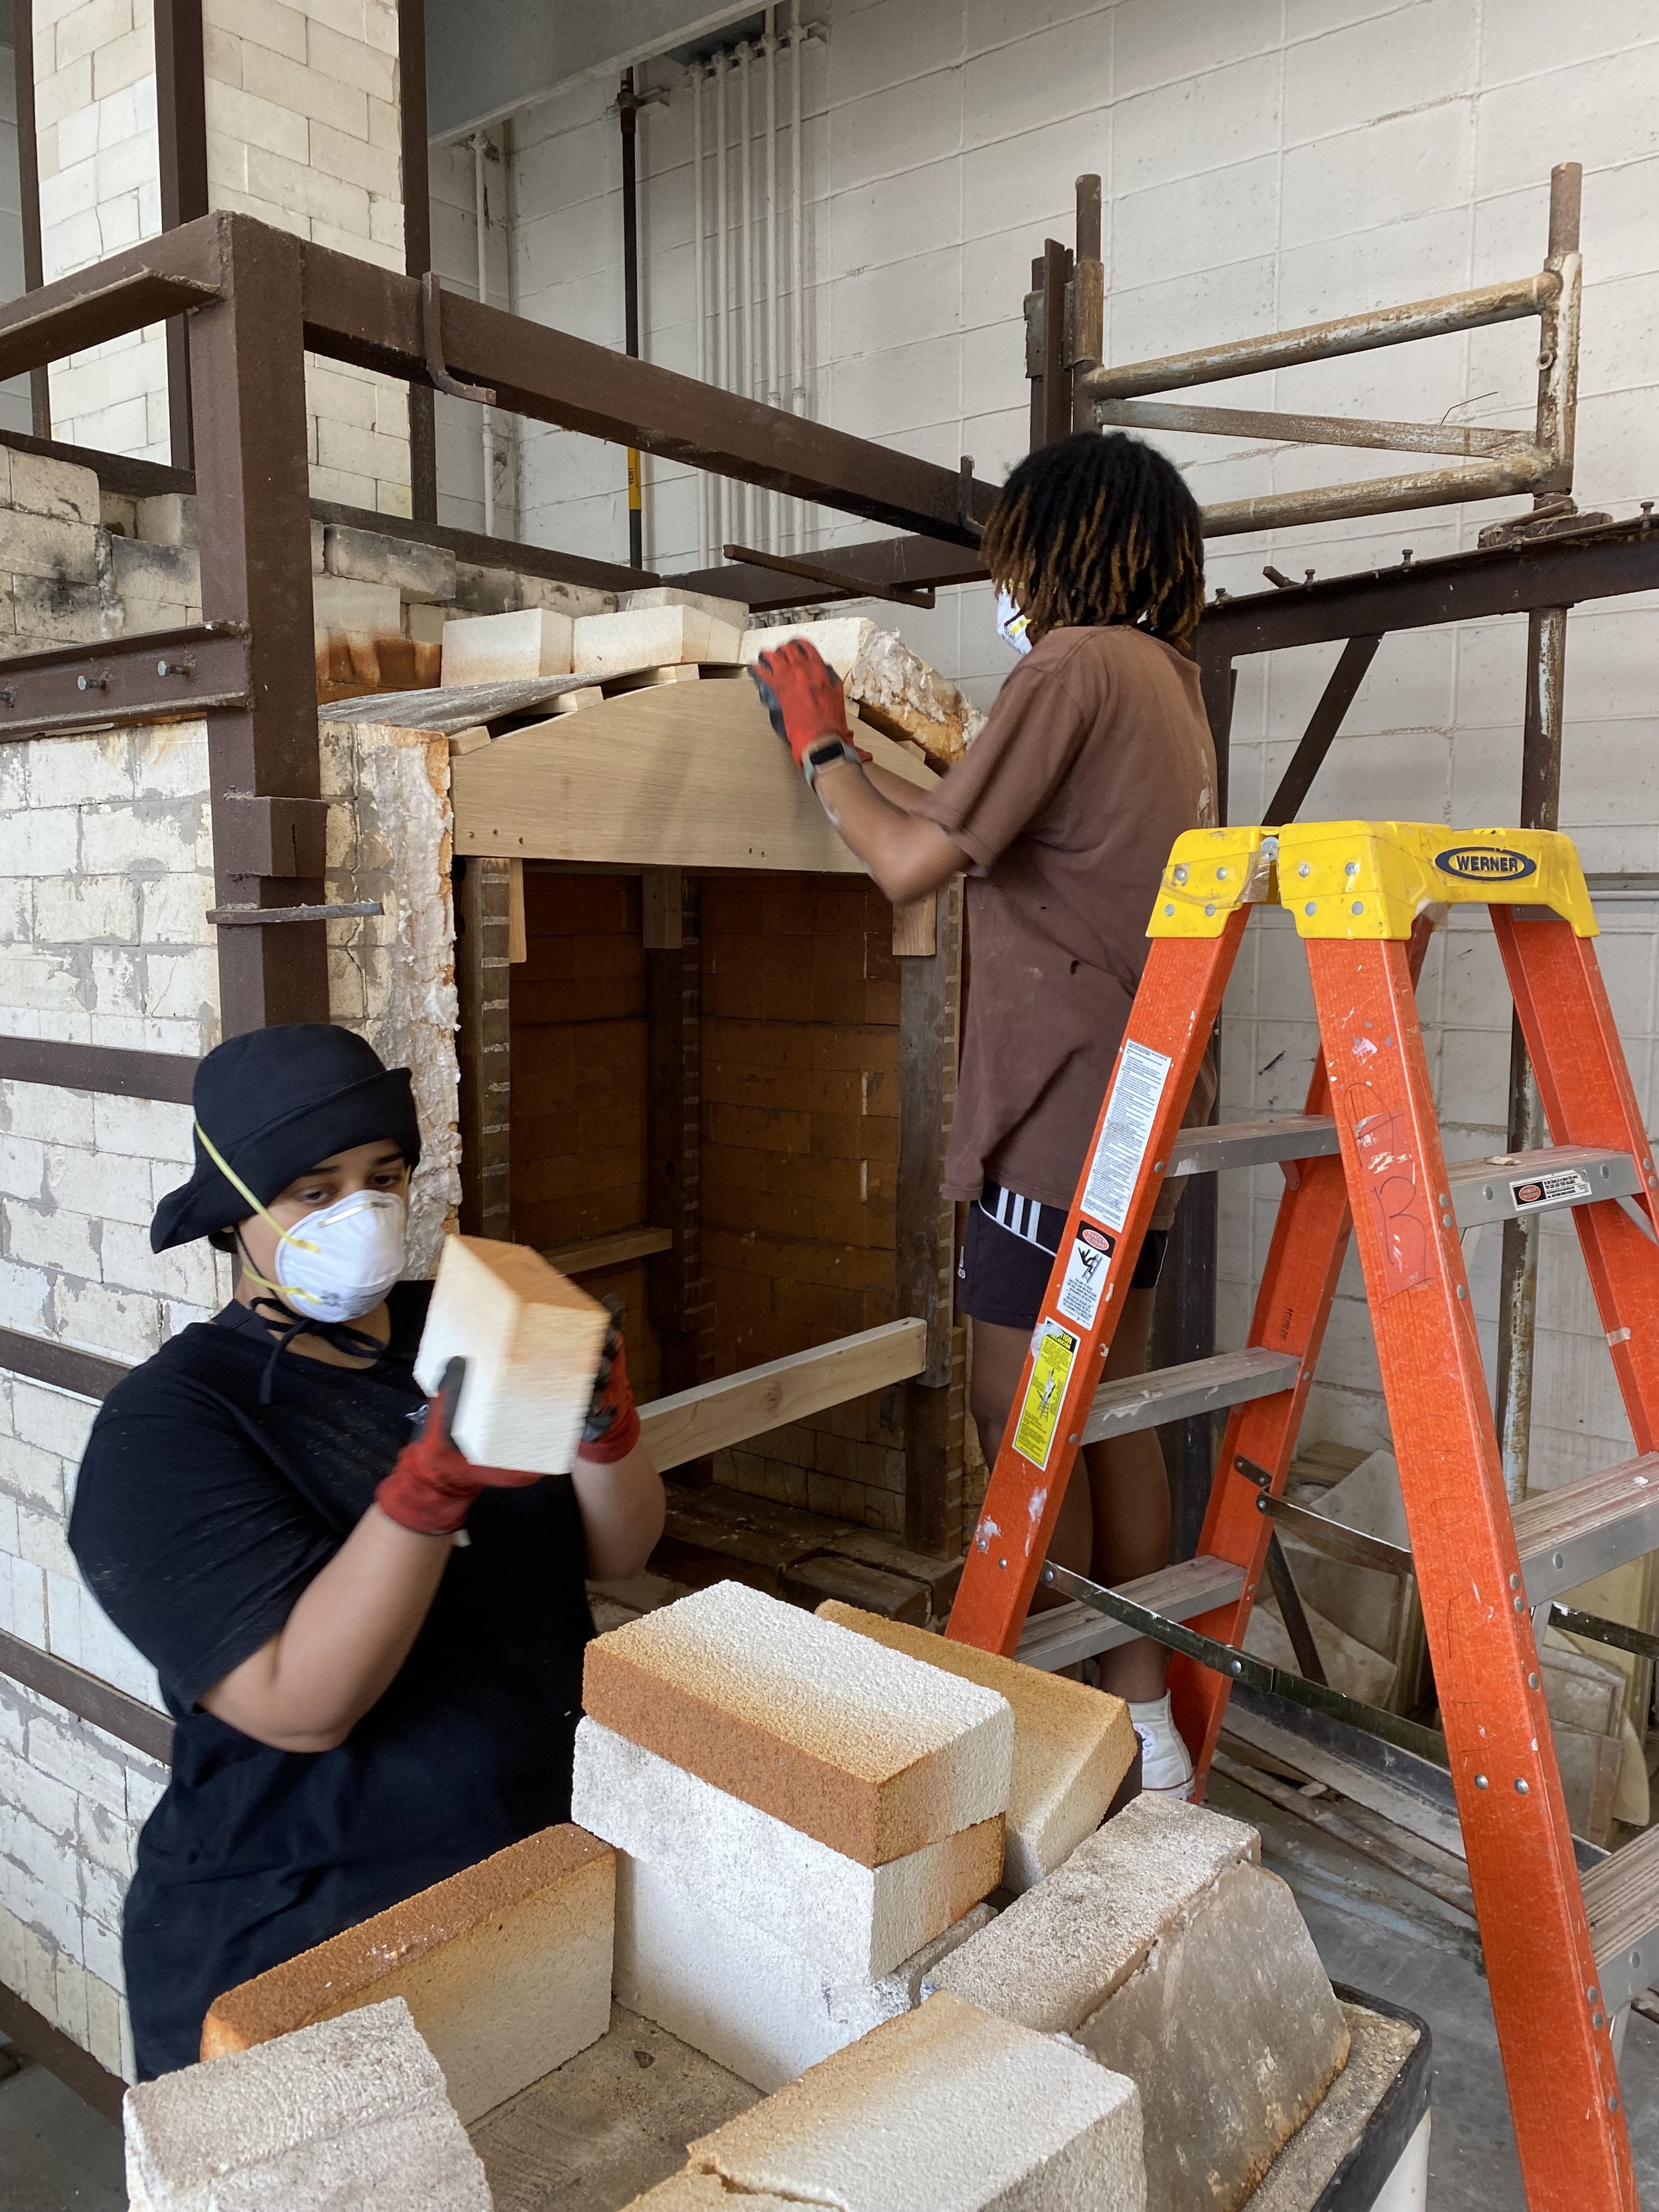
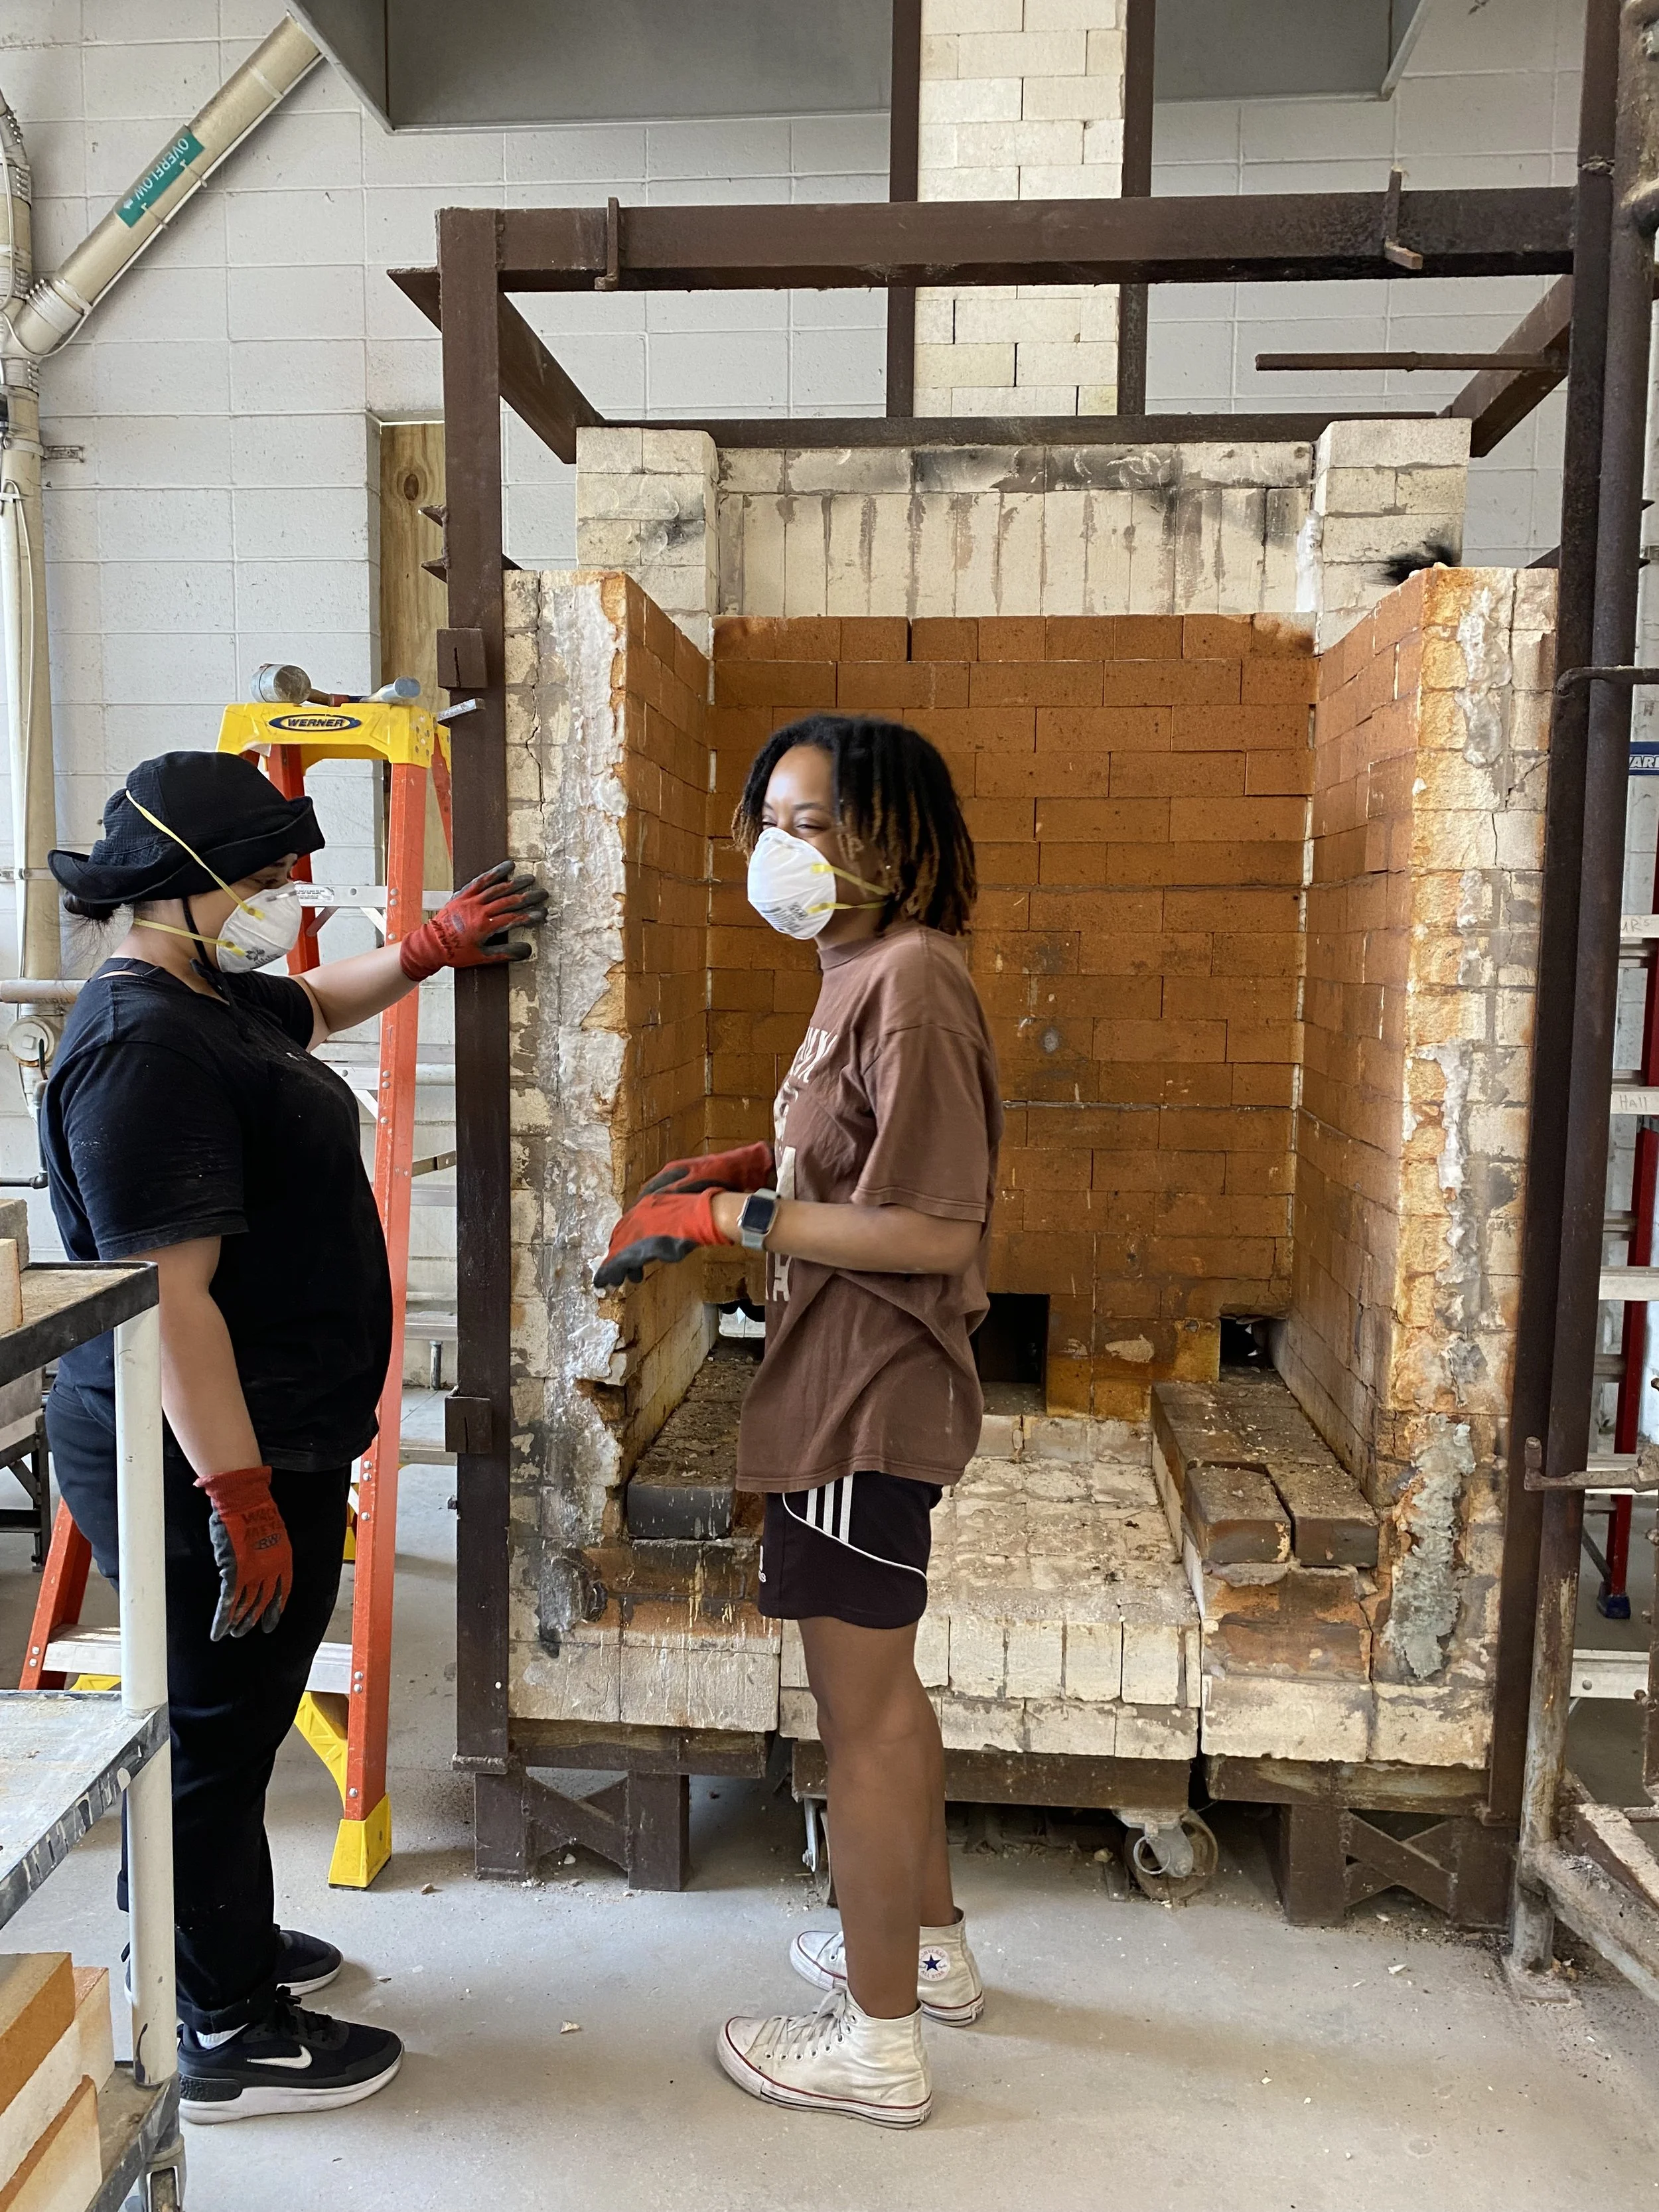
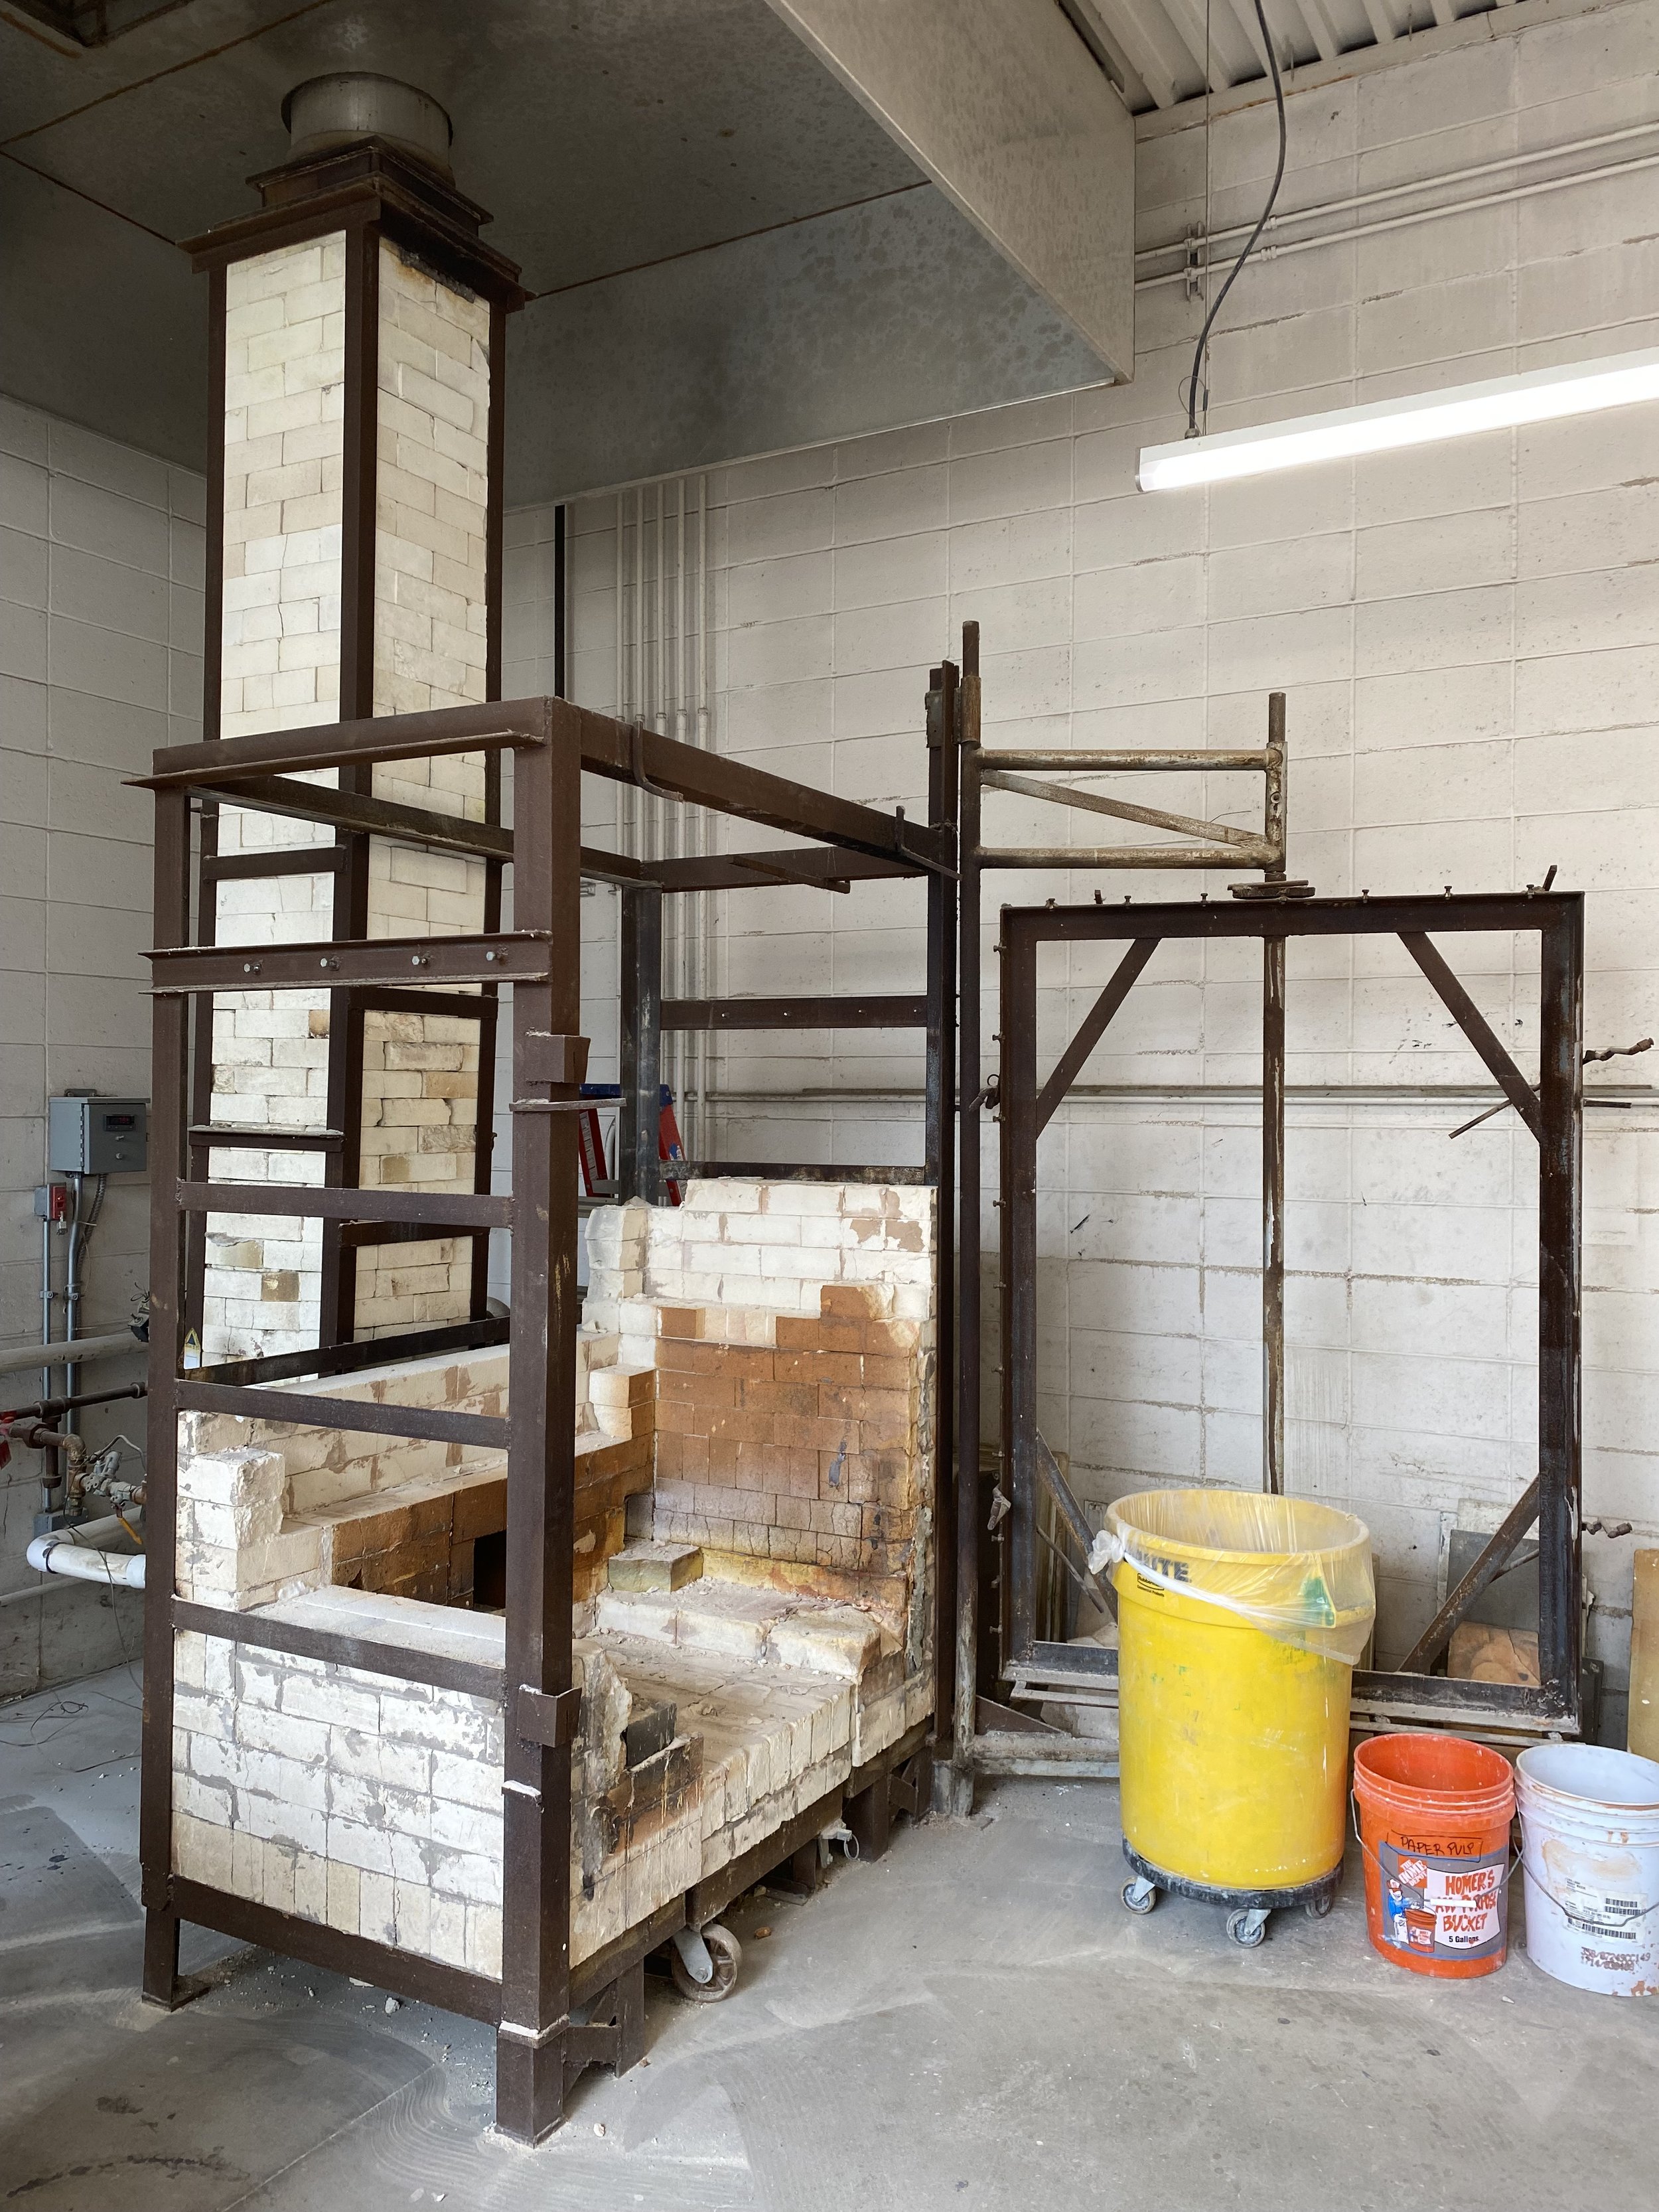
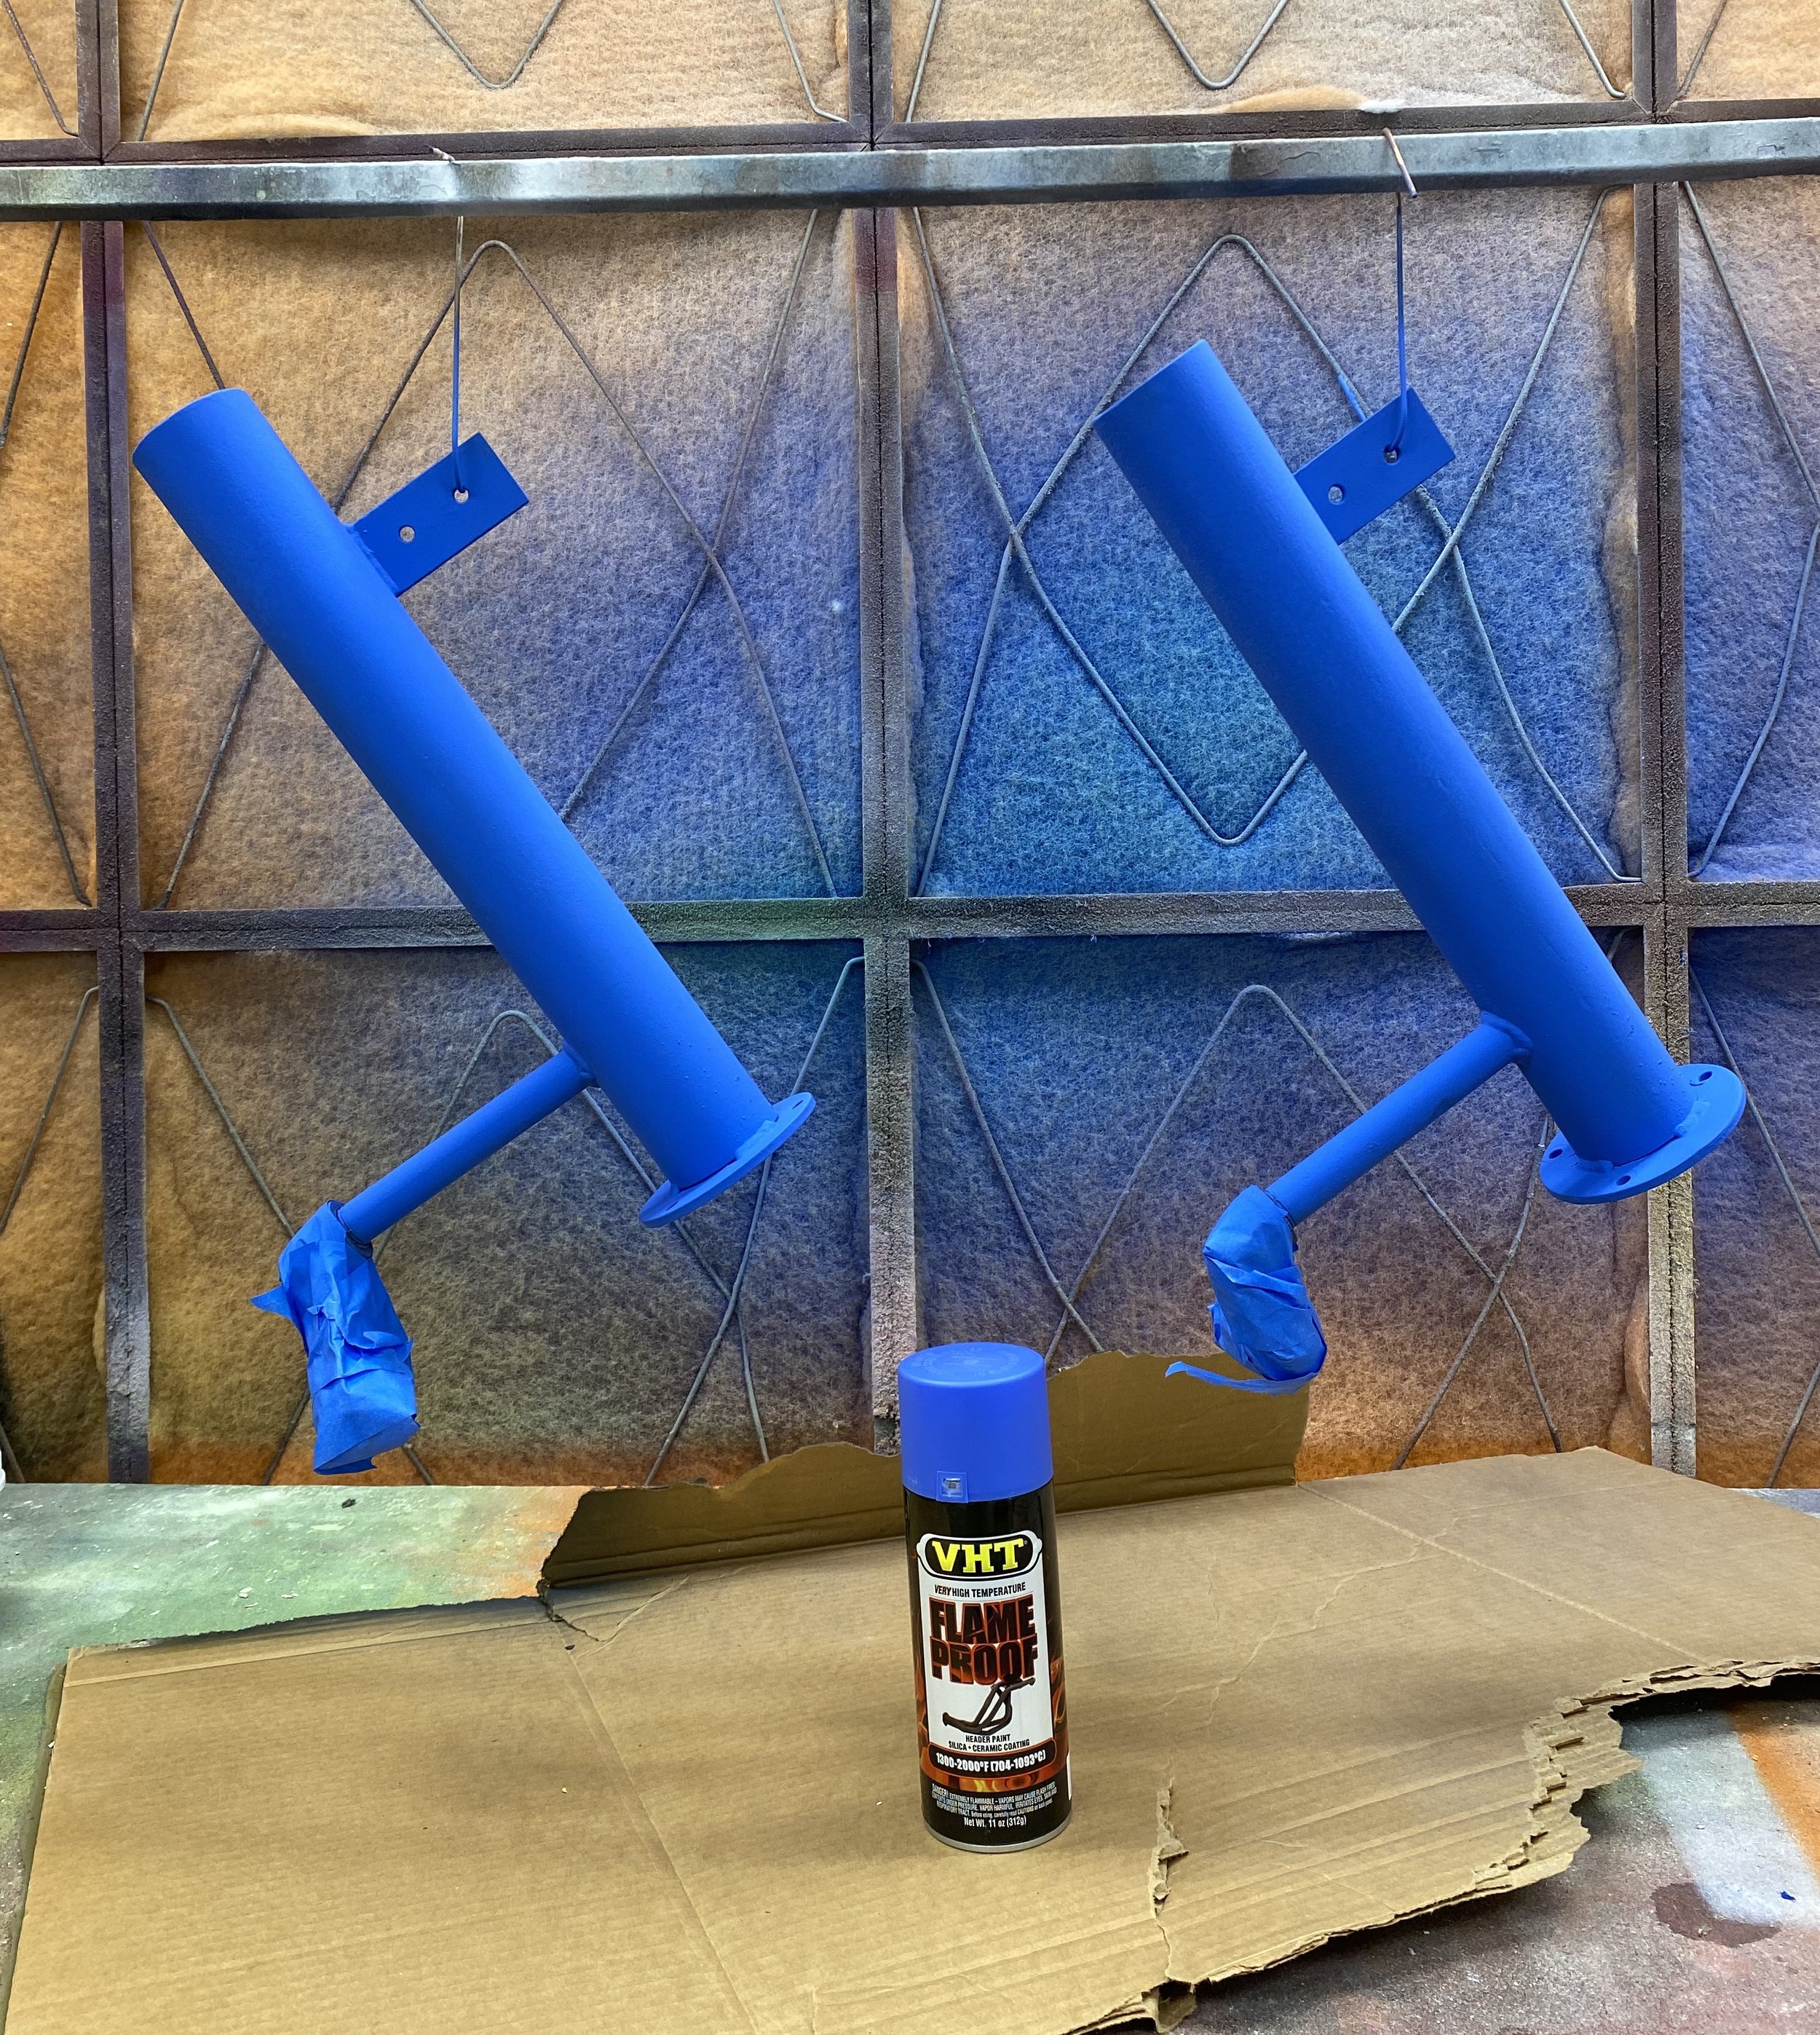
The Walker Hall courtyard that I oversee includes a metal foundry for aluminum and bronze casting, and two Bailey gas kilns for ceramic reduction firing. With an interest in being able to offer raku firing (ceramics) for our students and the need to rebuild the brick kiln used for ceramic shell wax burnouts (foundry), it was a perfect opportunity to fabricate a hybrid kiln that could effectively do both things and only have one footprint. Raku and ceramic shell burnout fire to similar temperatures on similar schedules. By creating a fixed grate in the middle of the platform, I could use kiln shelves as a floor that could also be removed when doing wax burnout. Because the melted wax needs to be able to drain, the kiln needed to be raised so that a pitched form could be placed underneath that would act as a drain to guide the hot wax to steam pans filled with water.
1) Tearing Down the Old Kiln
2) New Kiln Fabrication
3) video of the first wax burnout firing
CERAMICS - Mat. Storage; Dust Collection & Kilns
The majority of the 2023 summer was spent tearing down an old reduction kiln, receiving and installing a donated 2nd-hand Bailey reduction kiln, and updating our glaze and clay mixing room.
The kiln donation could not have come at a better time, as the kiln it replaced was was not being used often and needed a lot of maintenance. When the new kiln arrived to campus, while only slightly seasoned (approx. 10 firings), it was dismantled, painted, tuned up and put back together.
Old Kiln Teardown
New Kiln Install
Clay Mixing Ventilation and Dry Materials Storage Update
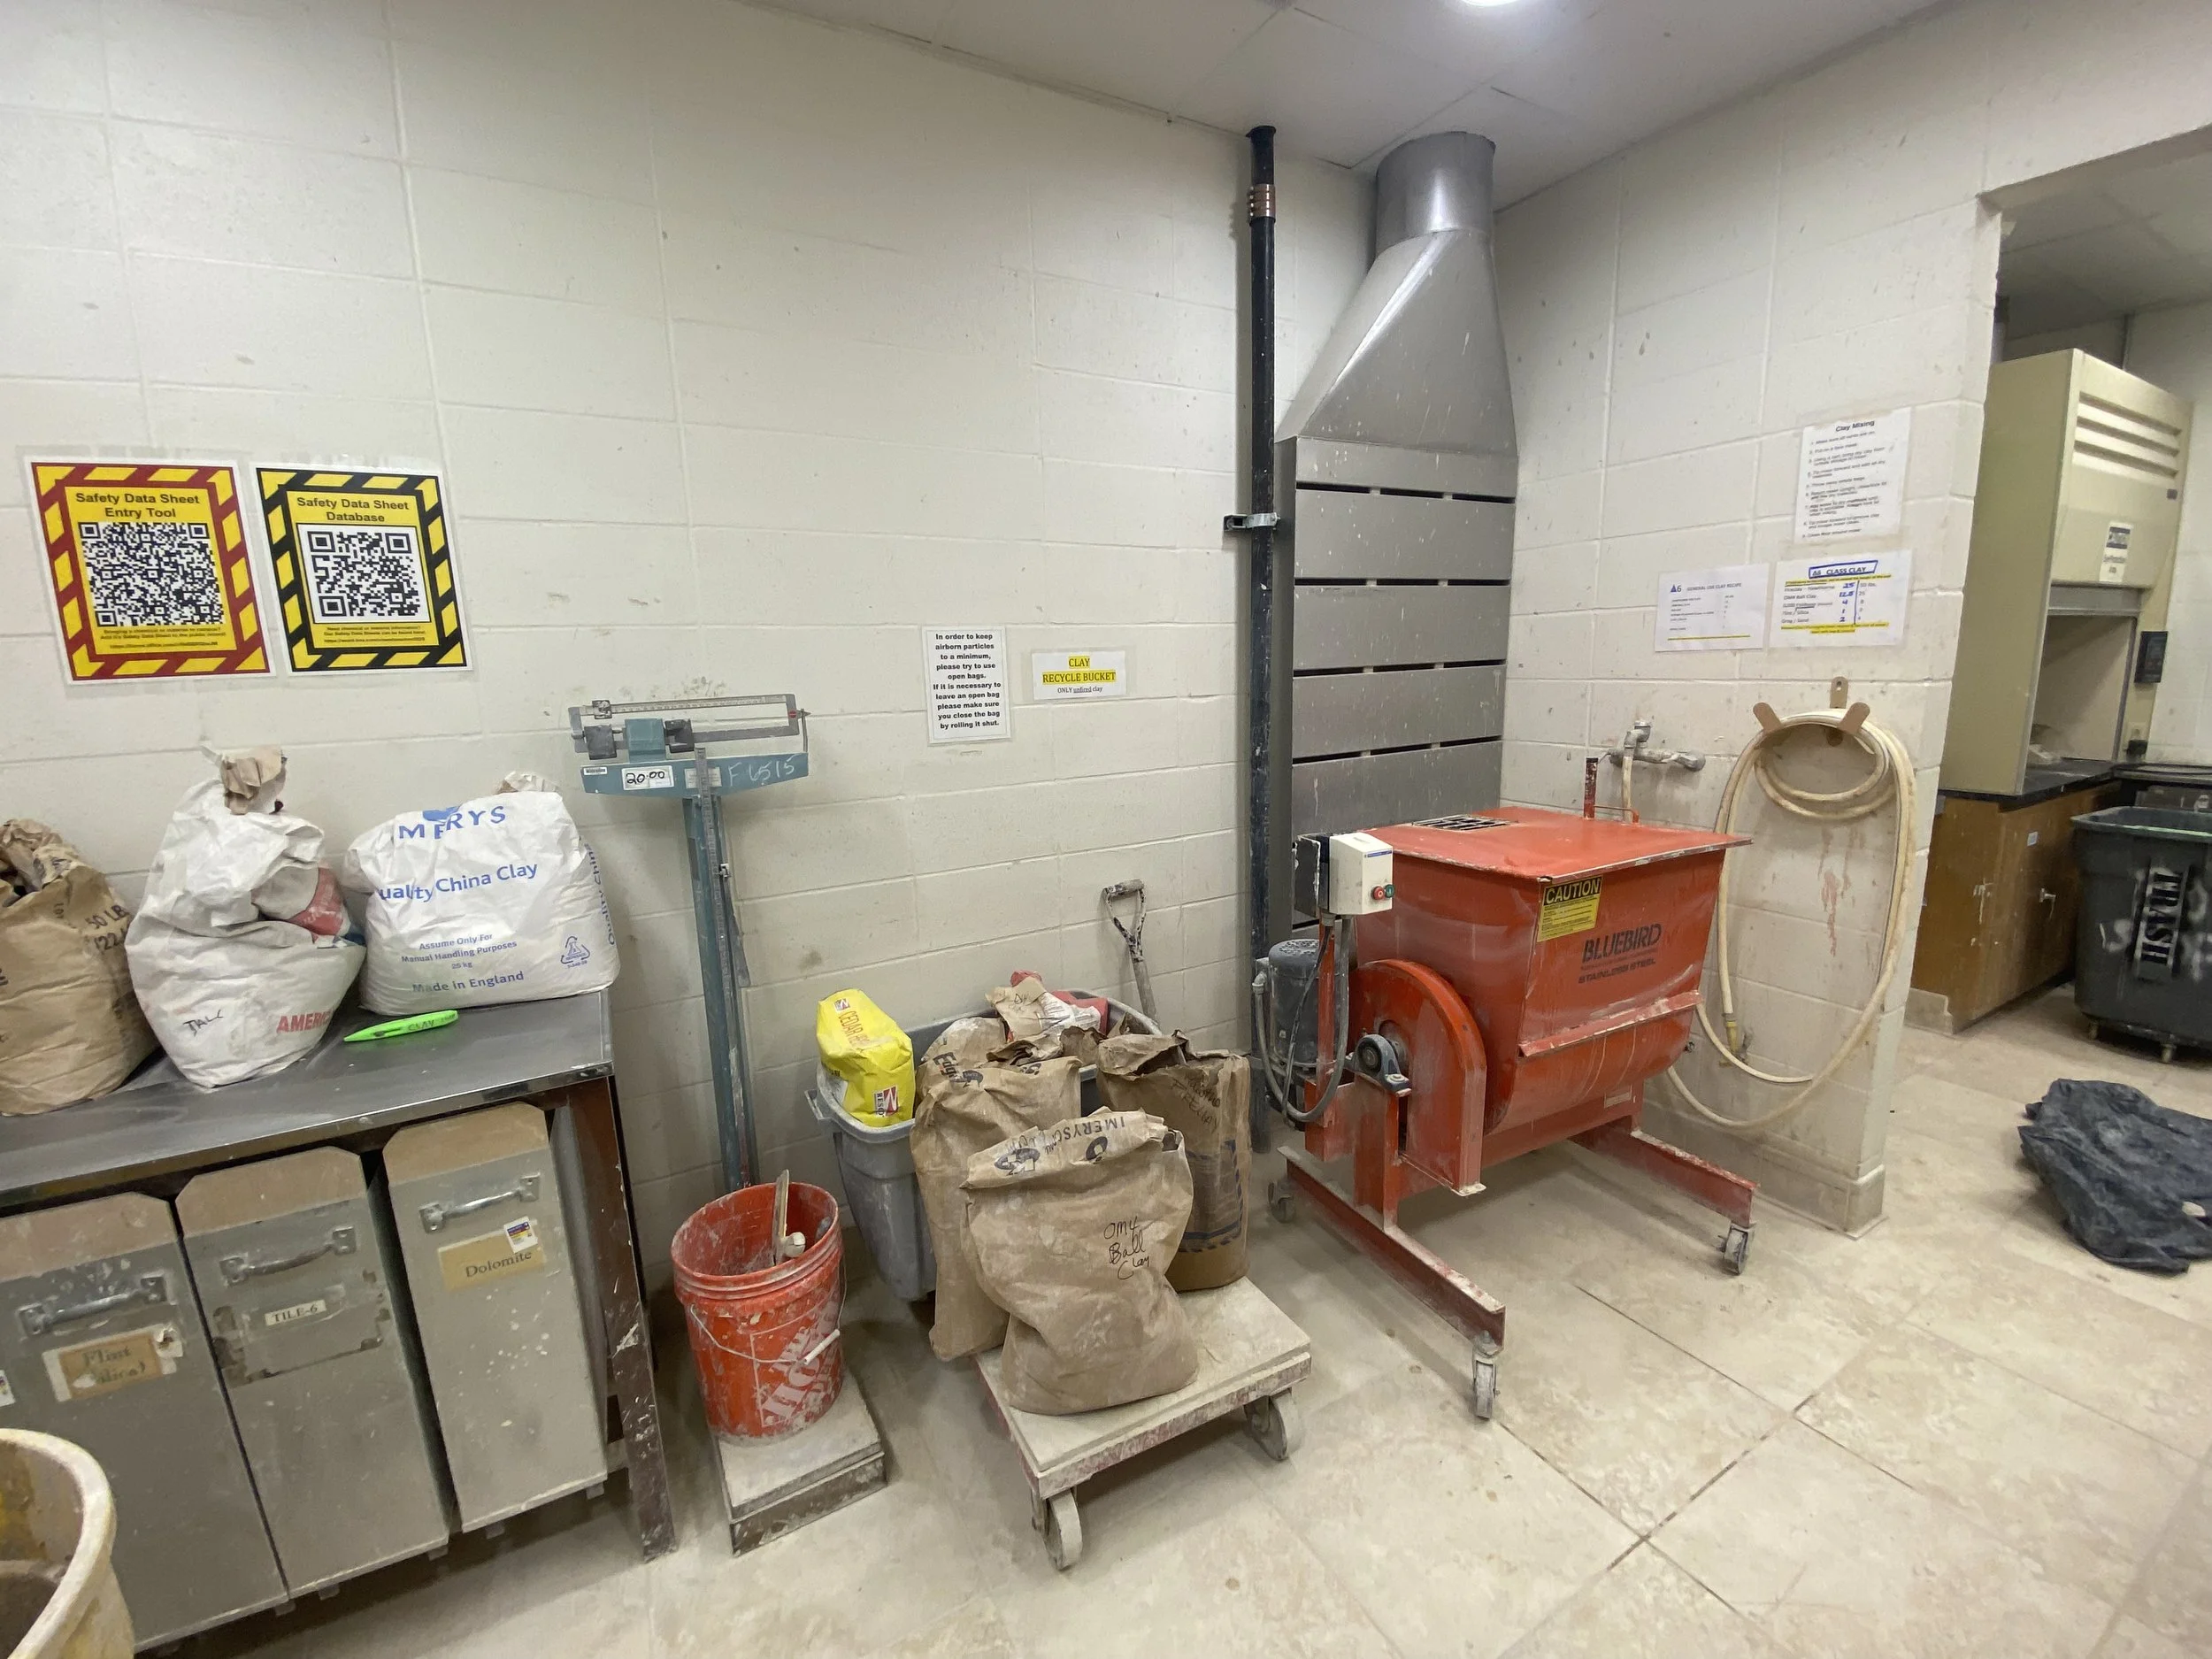
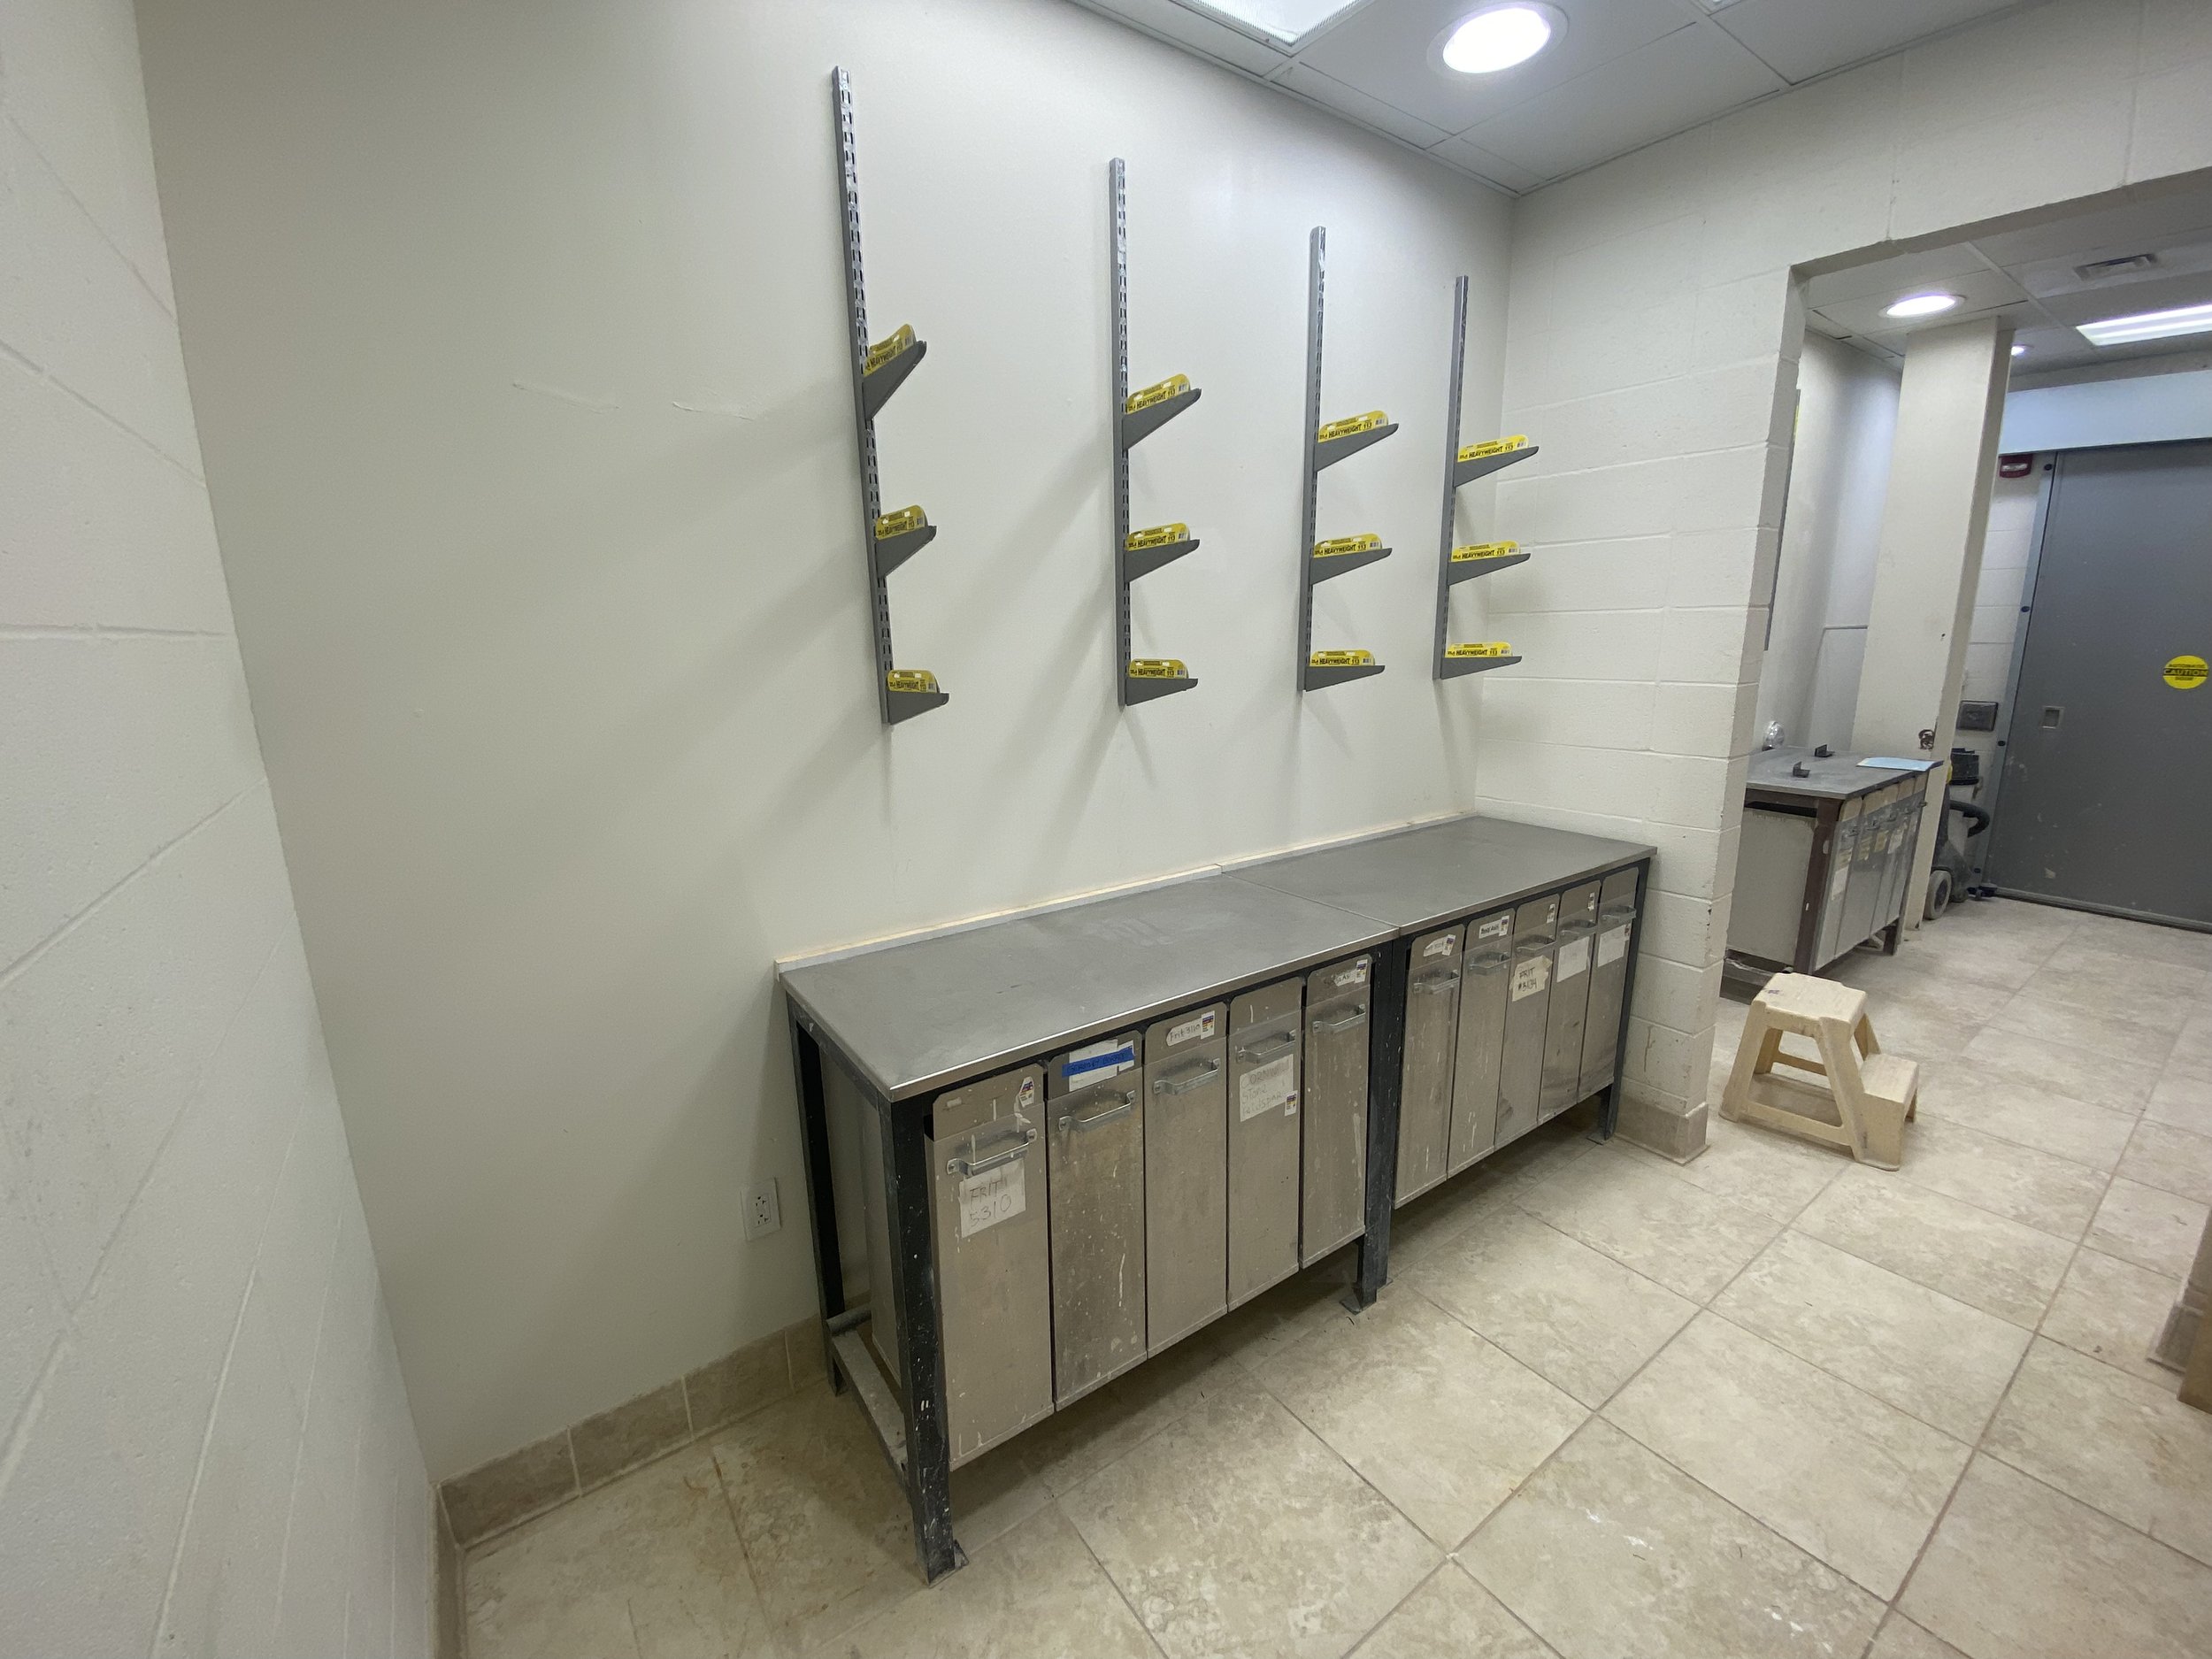
As part of the schools NASAD reaccreditation process, the glaze kitchen and clay mixing area both needed reorganization and updating. Both are frequently used and of course, if not kept clean and organized, can become hazardous.
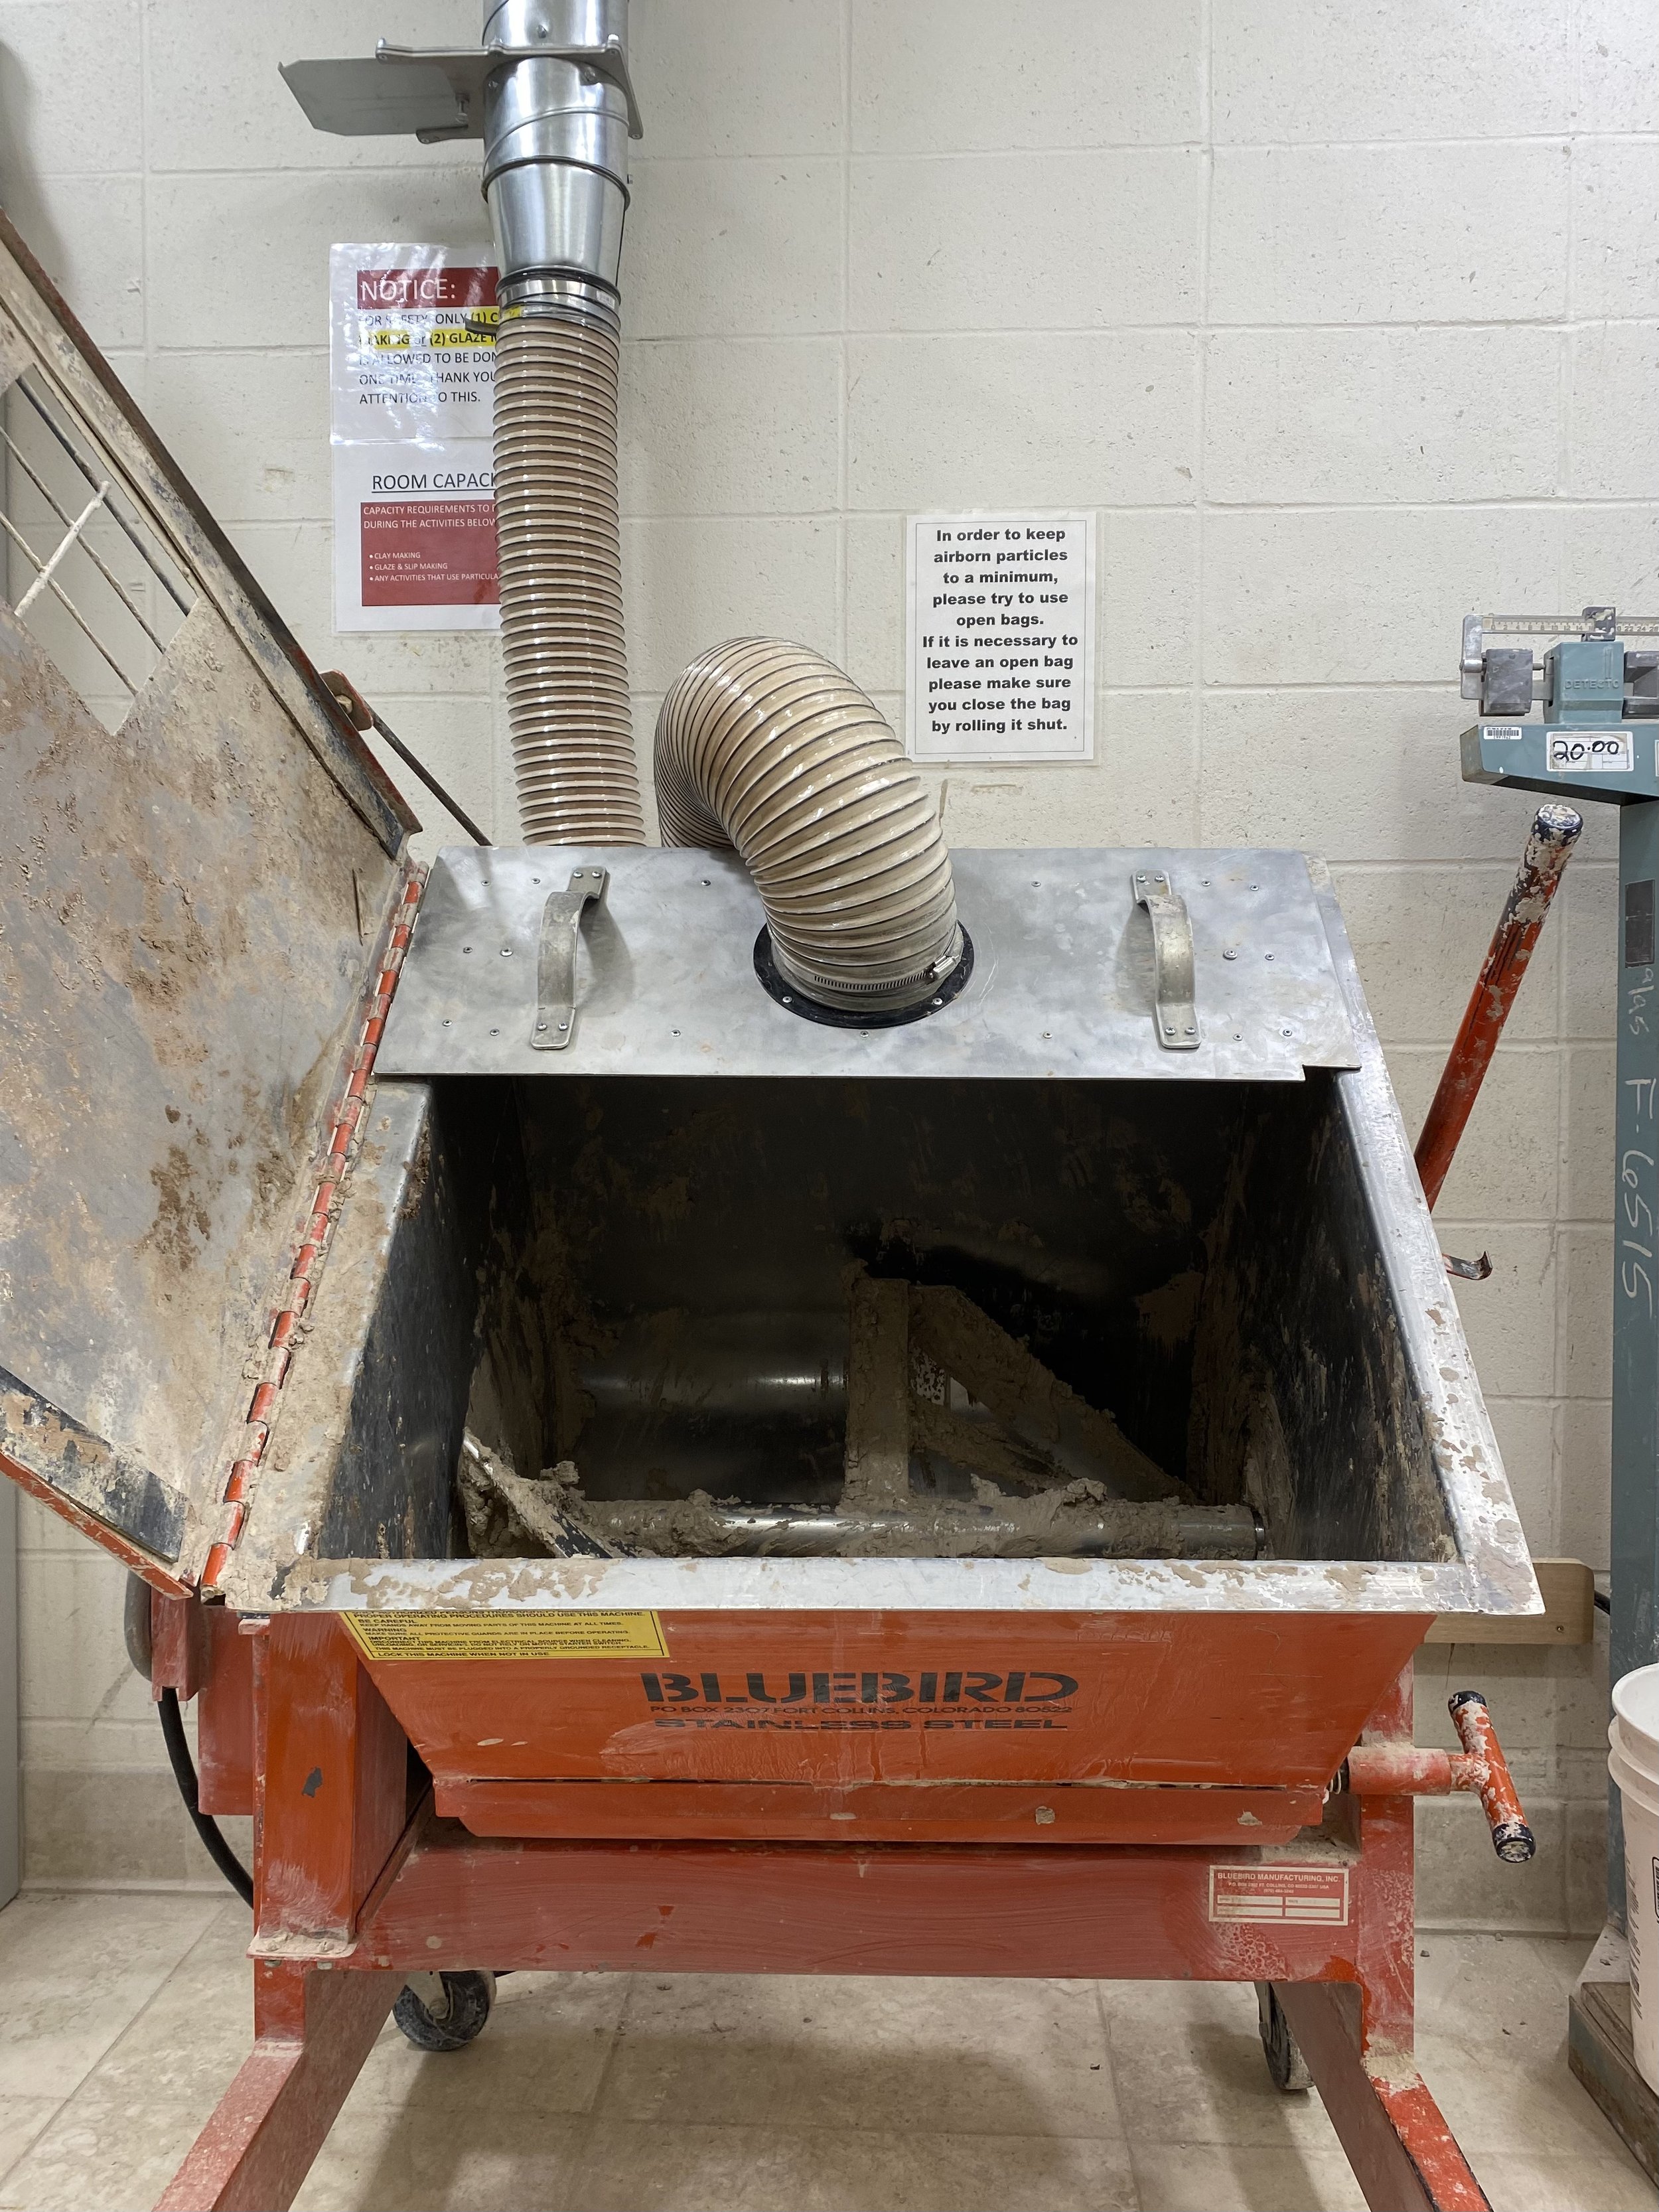
Original Clay Mixing Arrangement
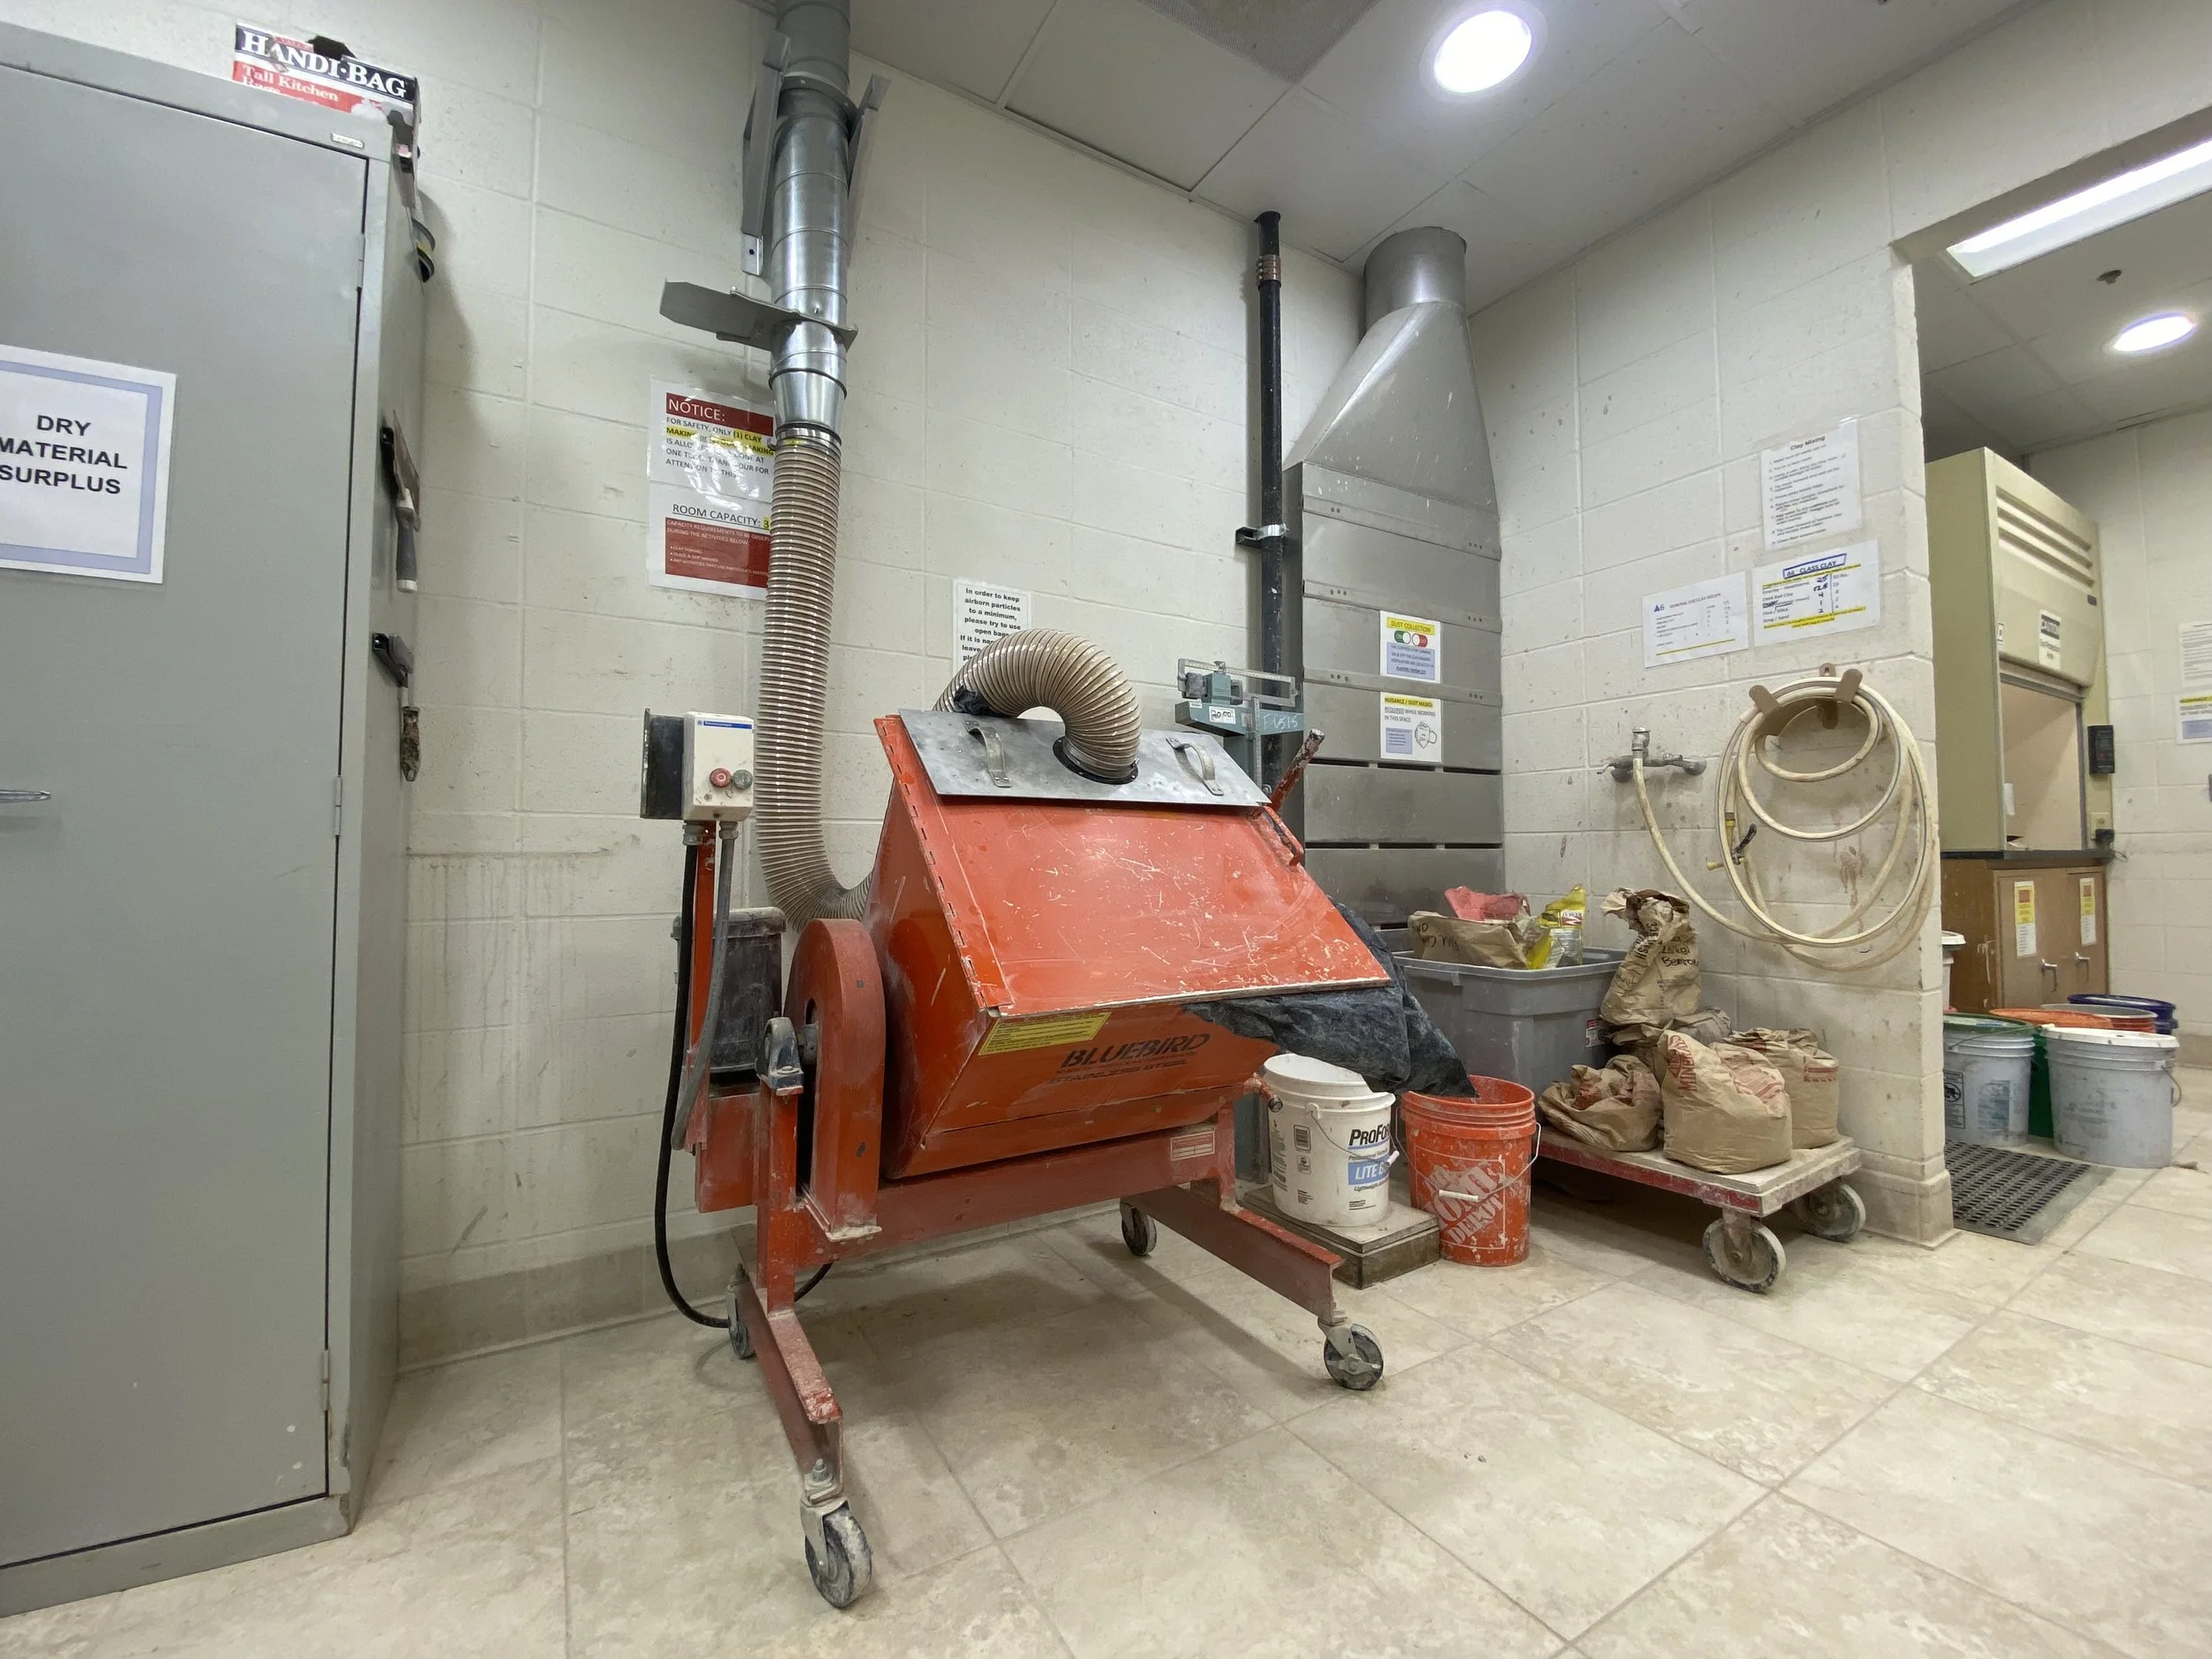
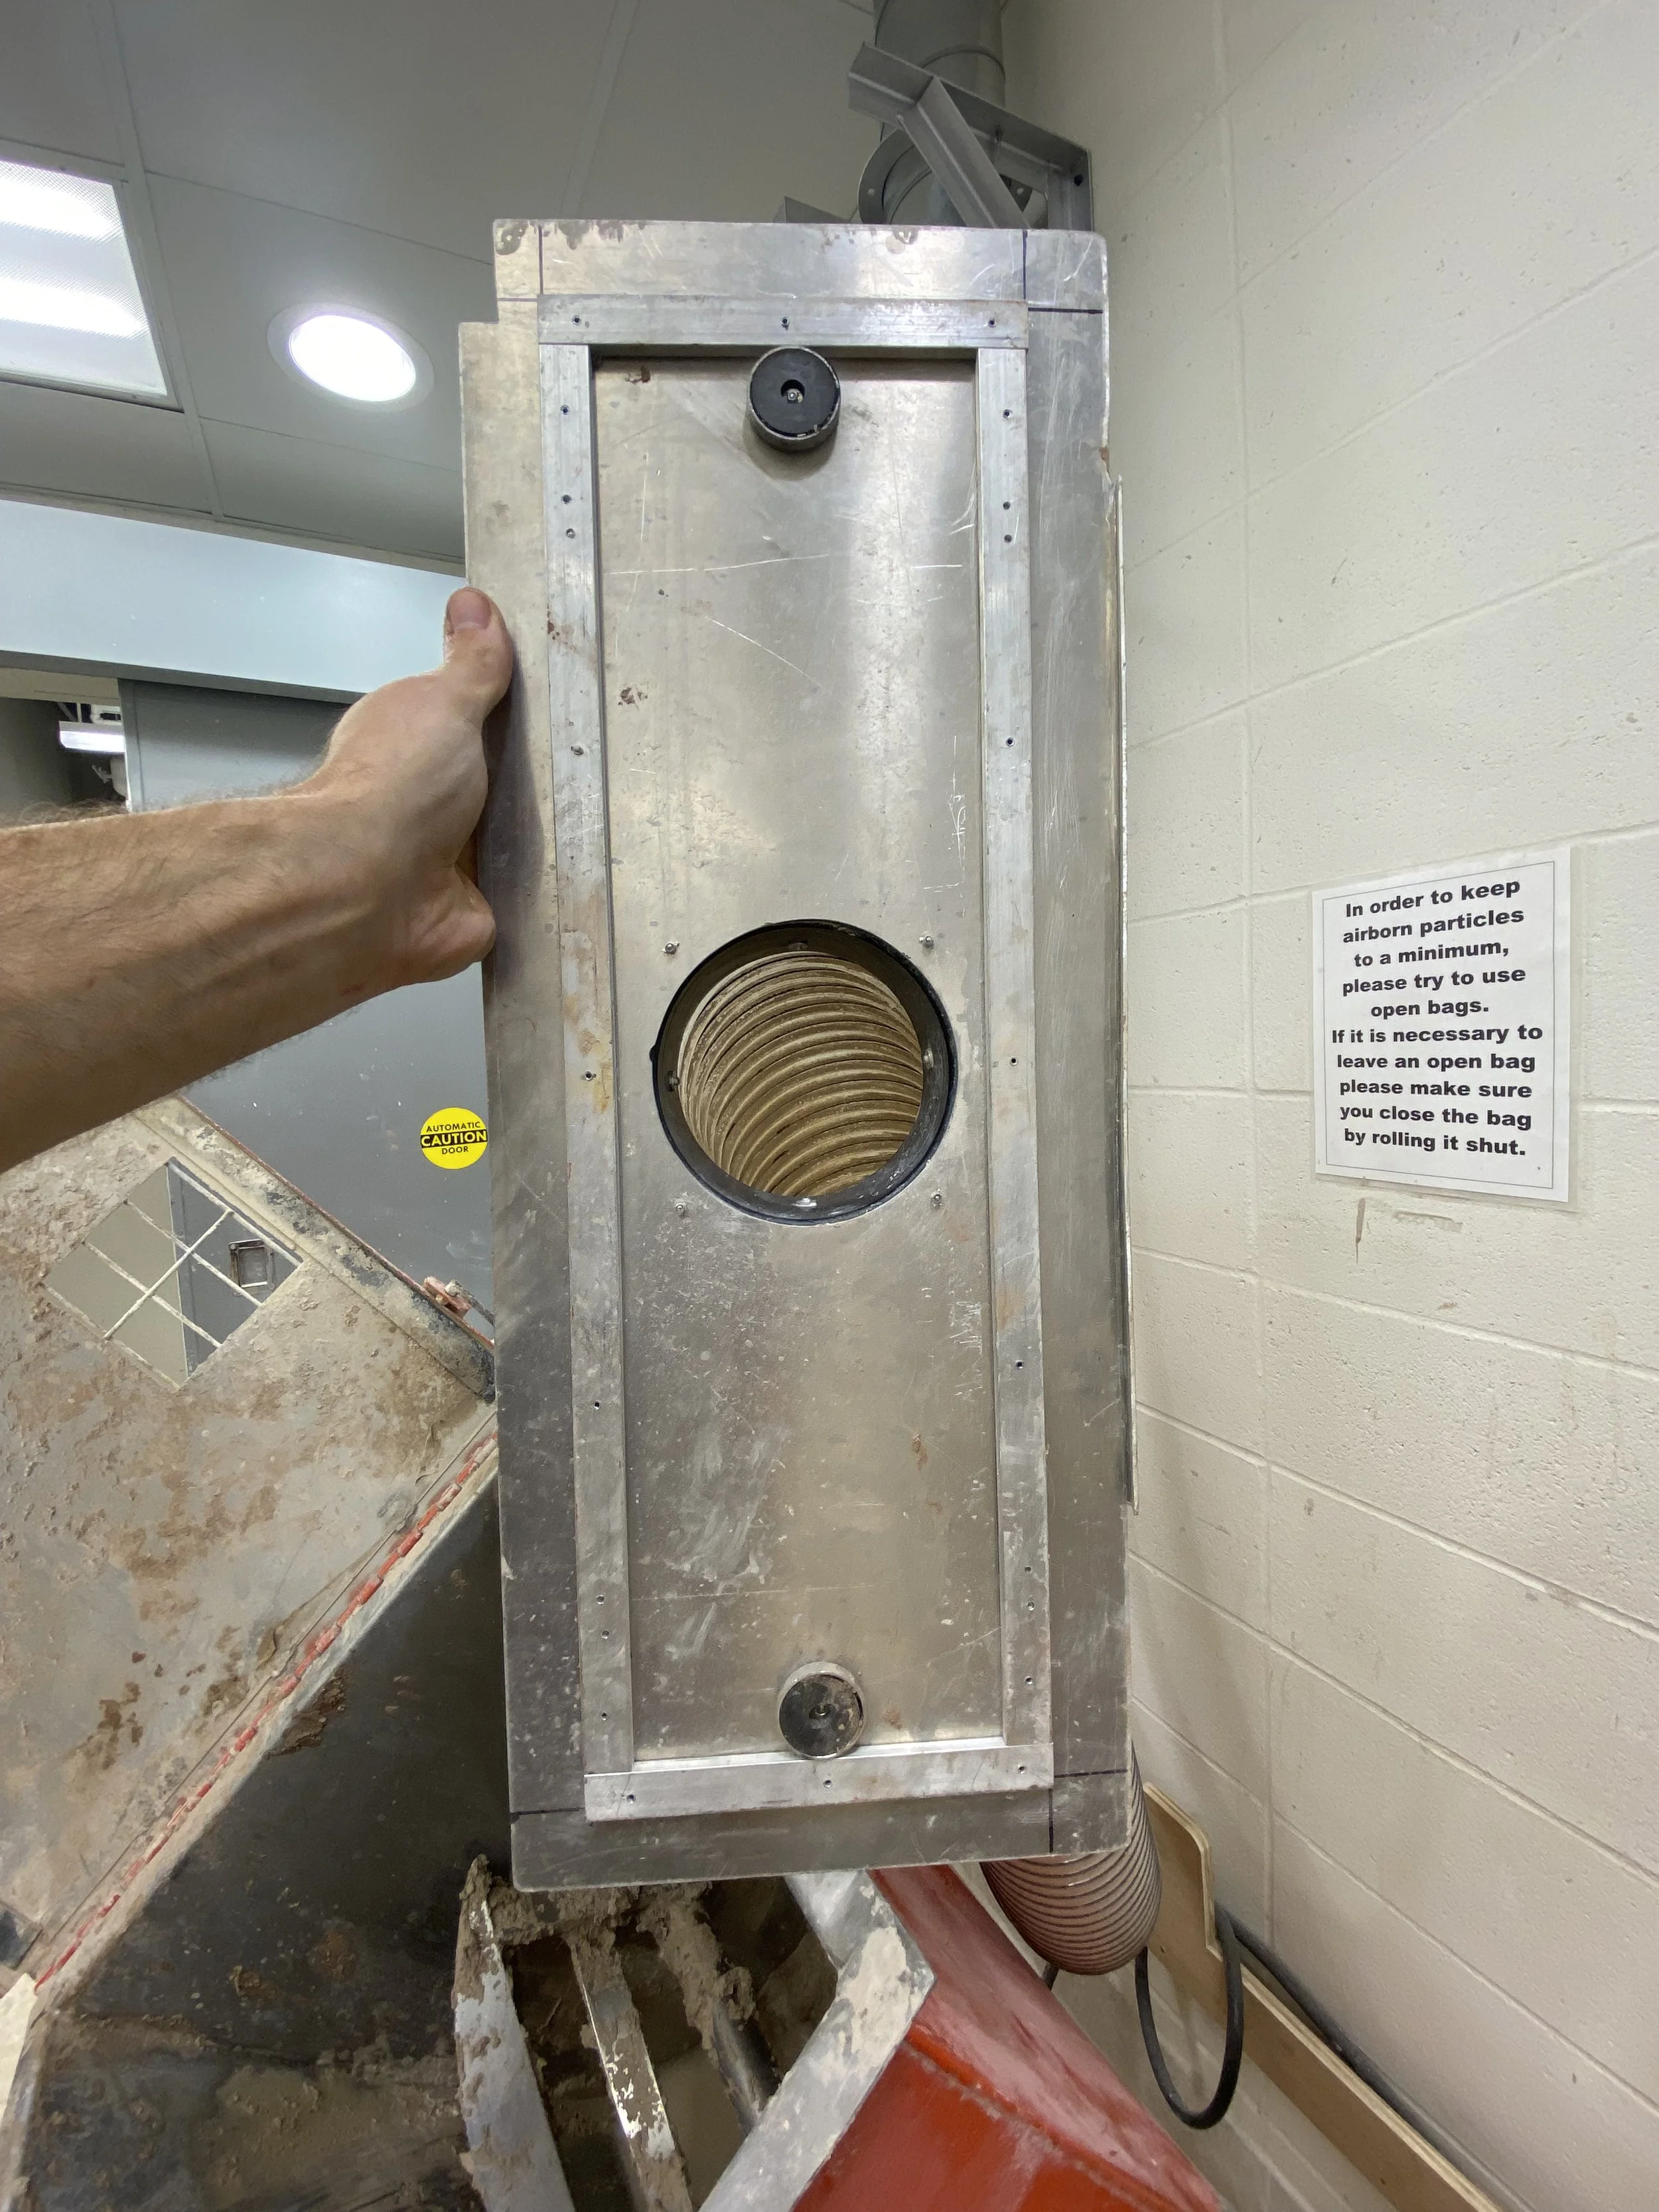
NEW Clay Mixing Arrangement and Dust Collection
Contractors first made a new line of duct work from from the existing dust collection in the ceiling. I was able to then tie into this with flexible tubing and the fabrication of an aluminum mount for the mixer.
video of clay mixer dust collection
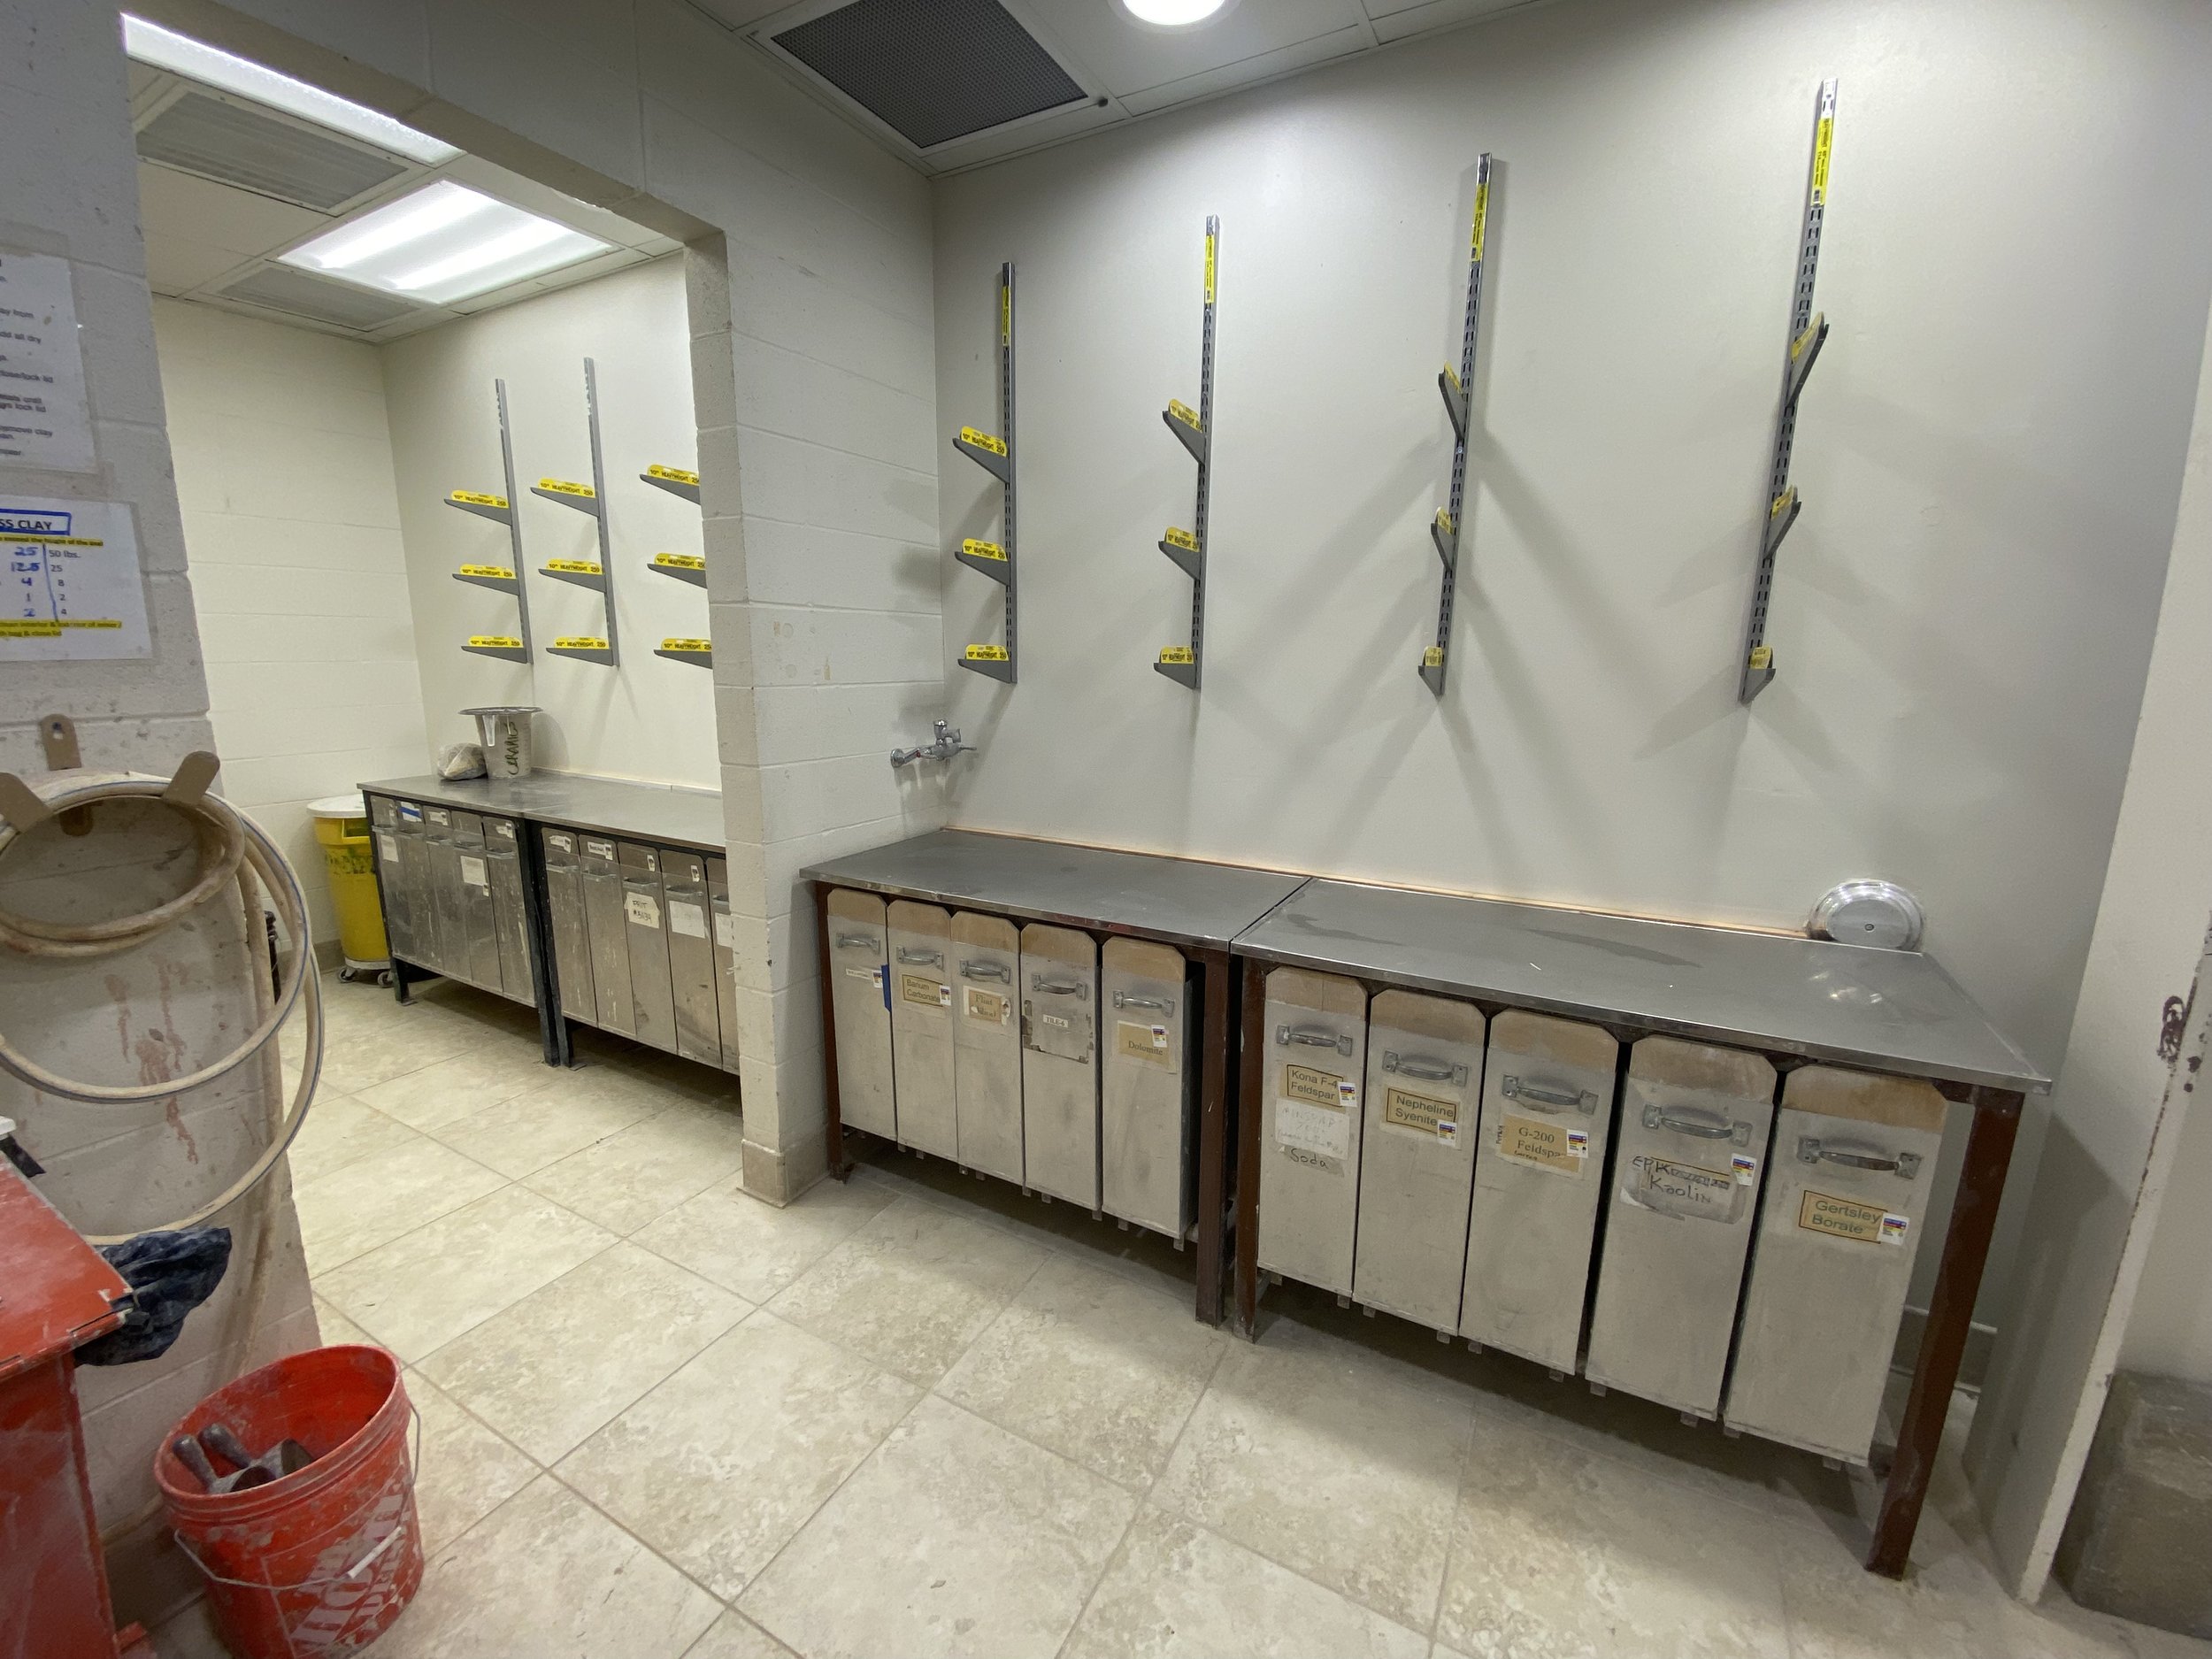
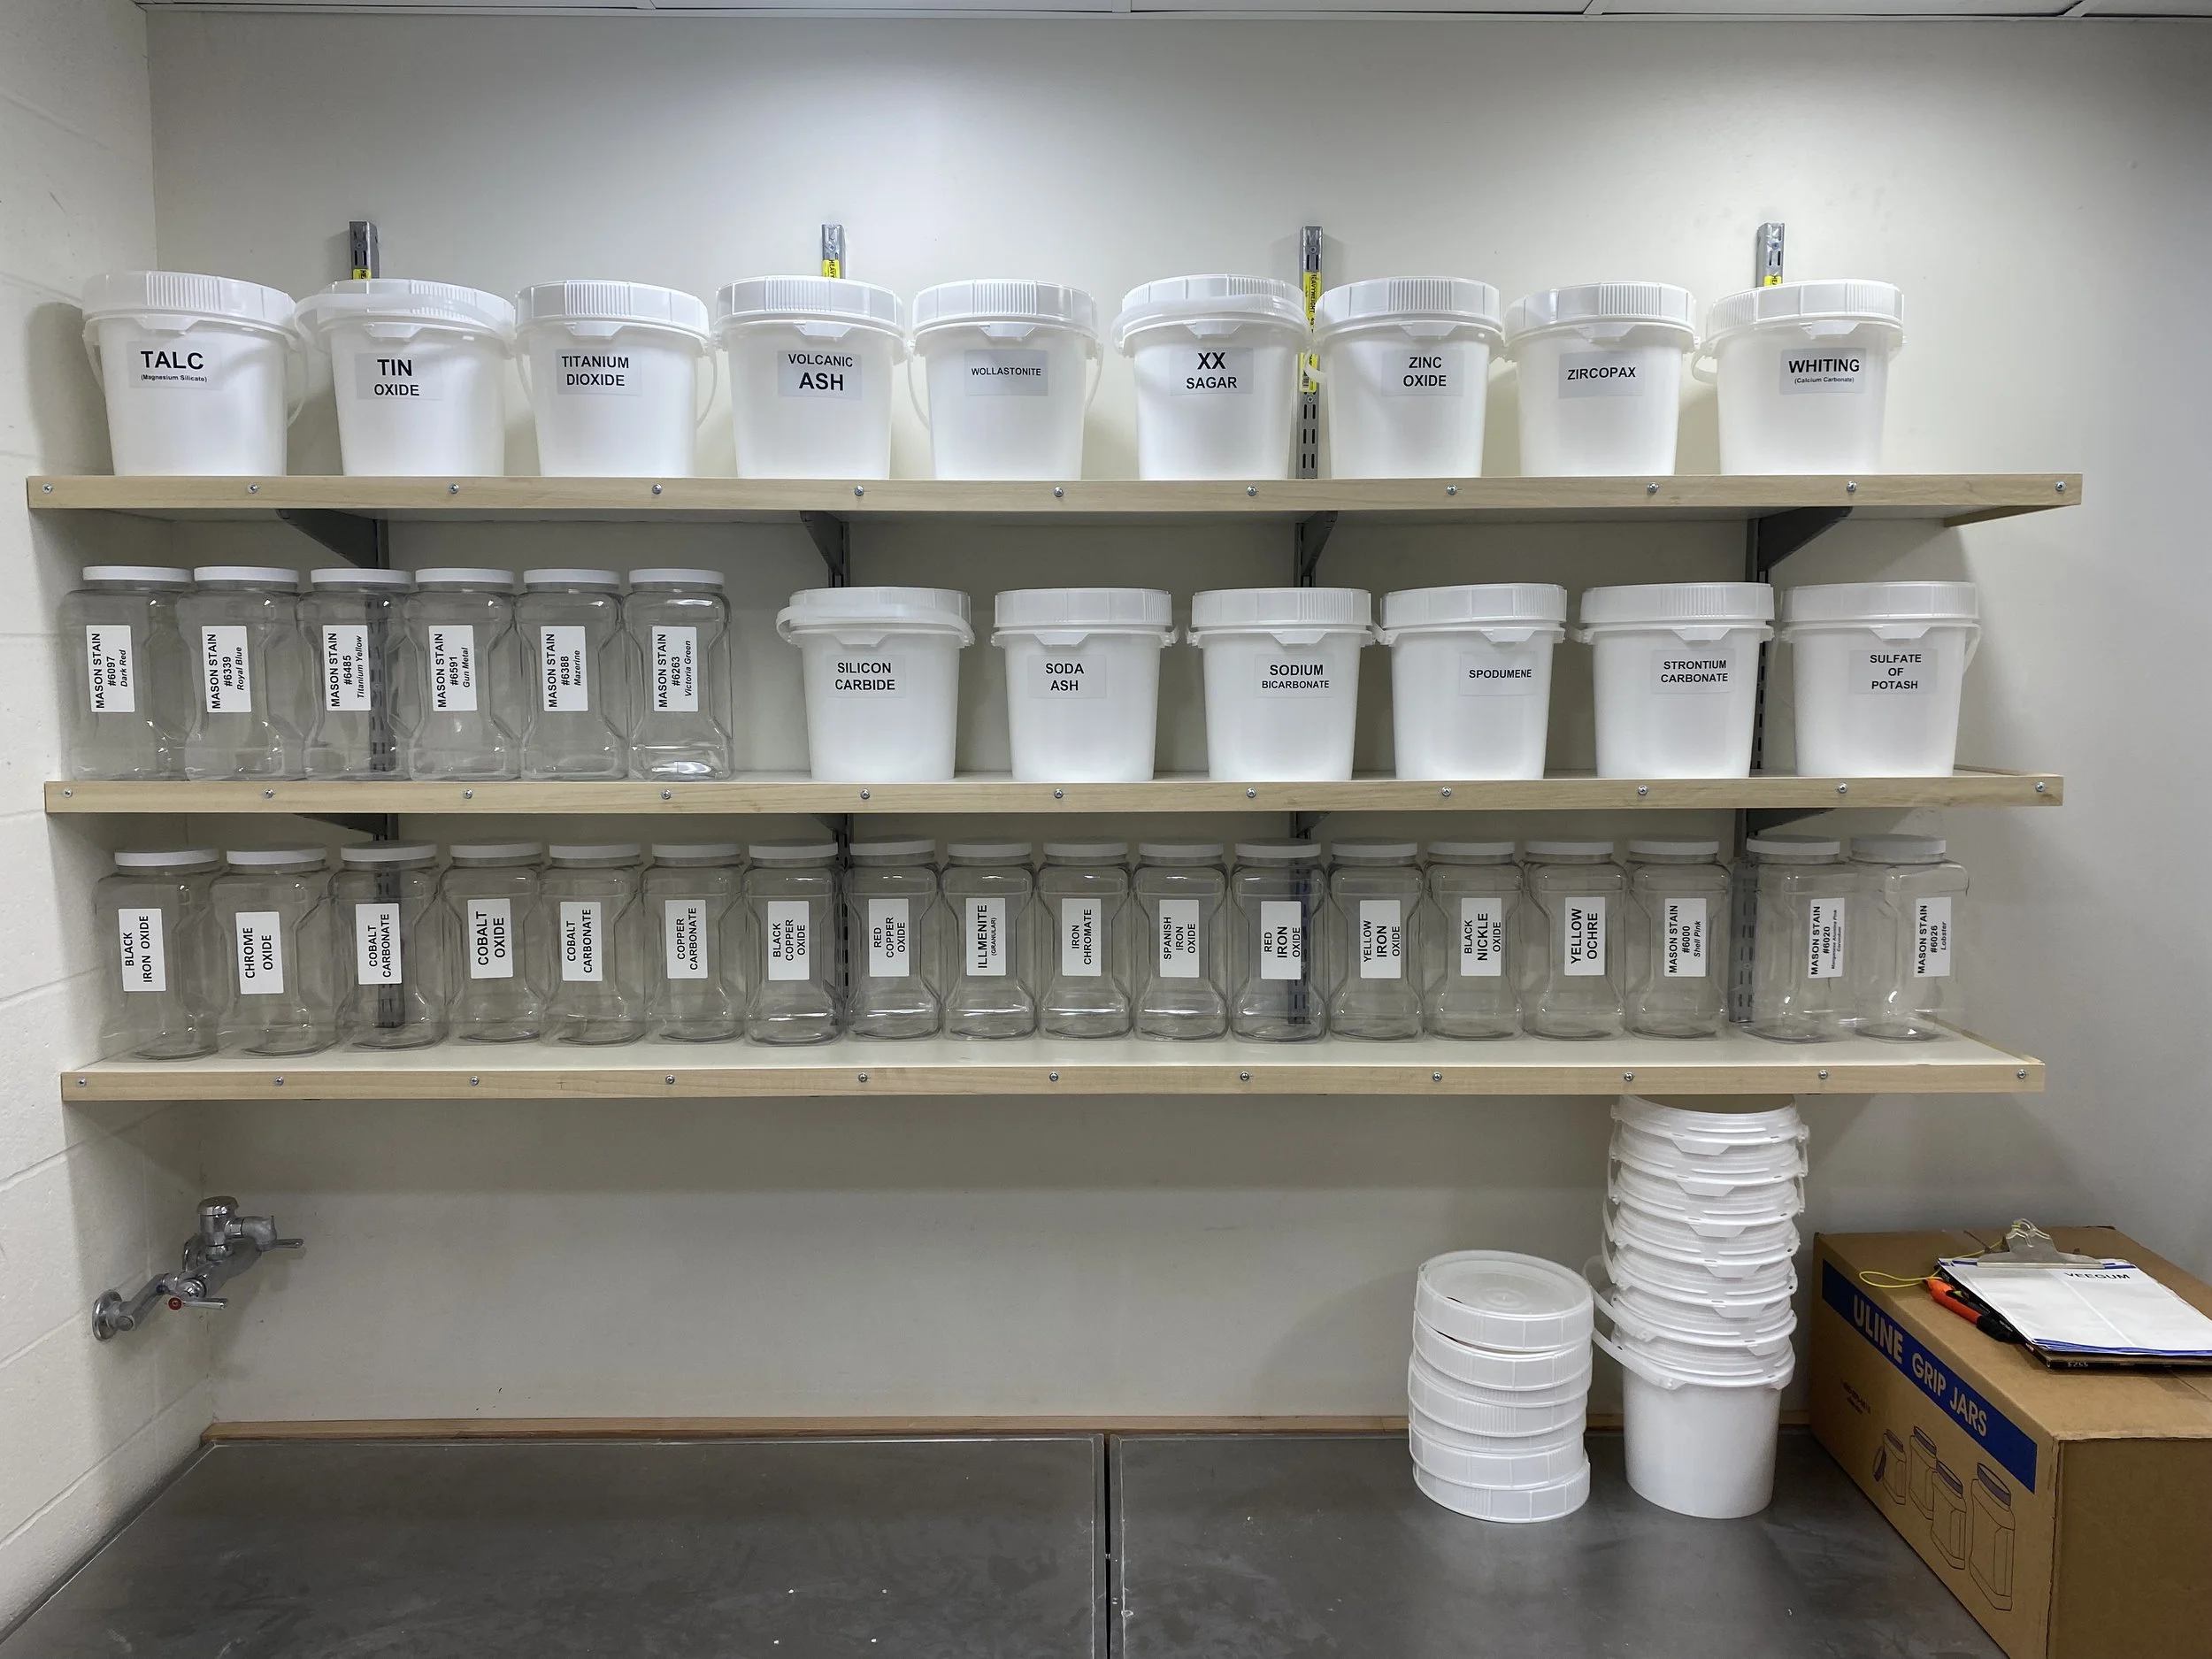
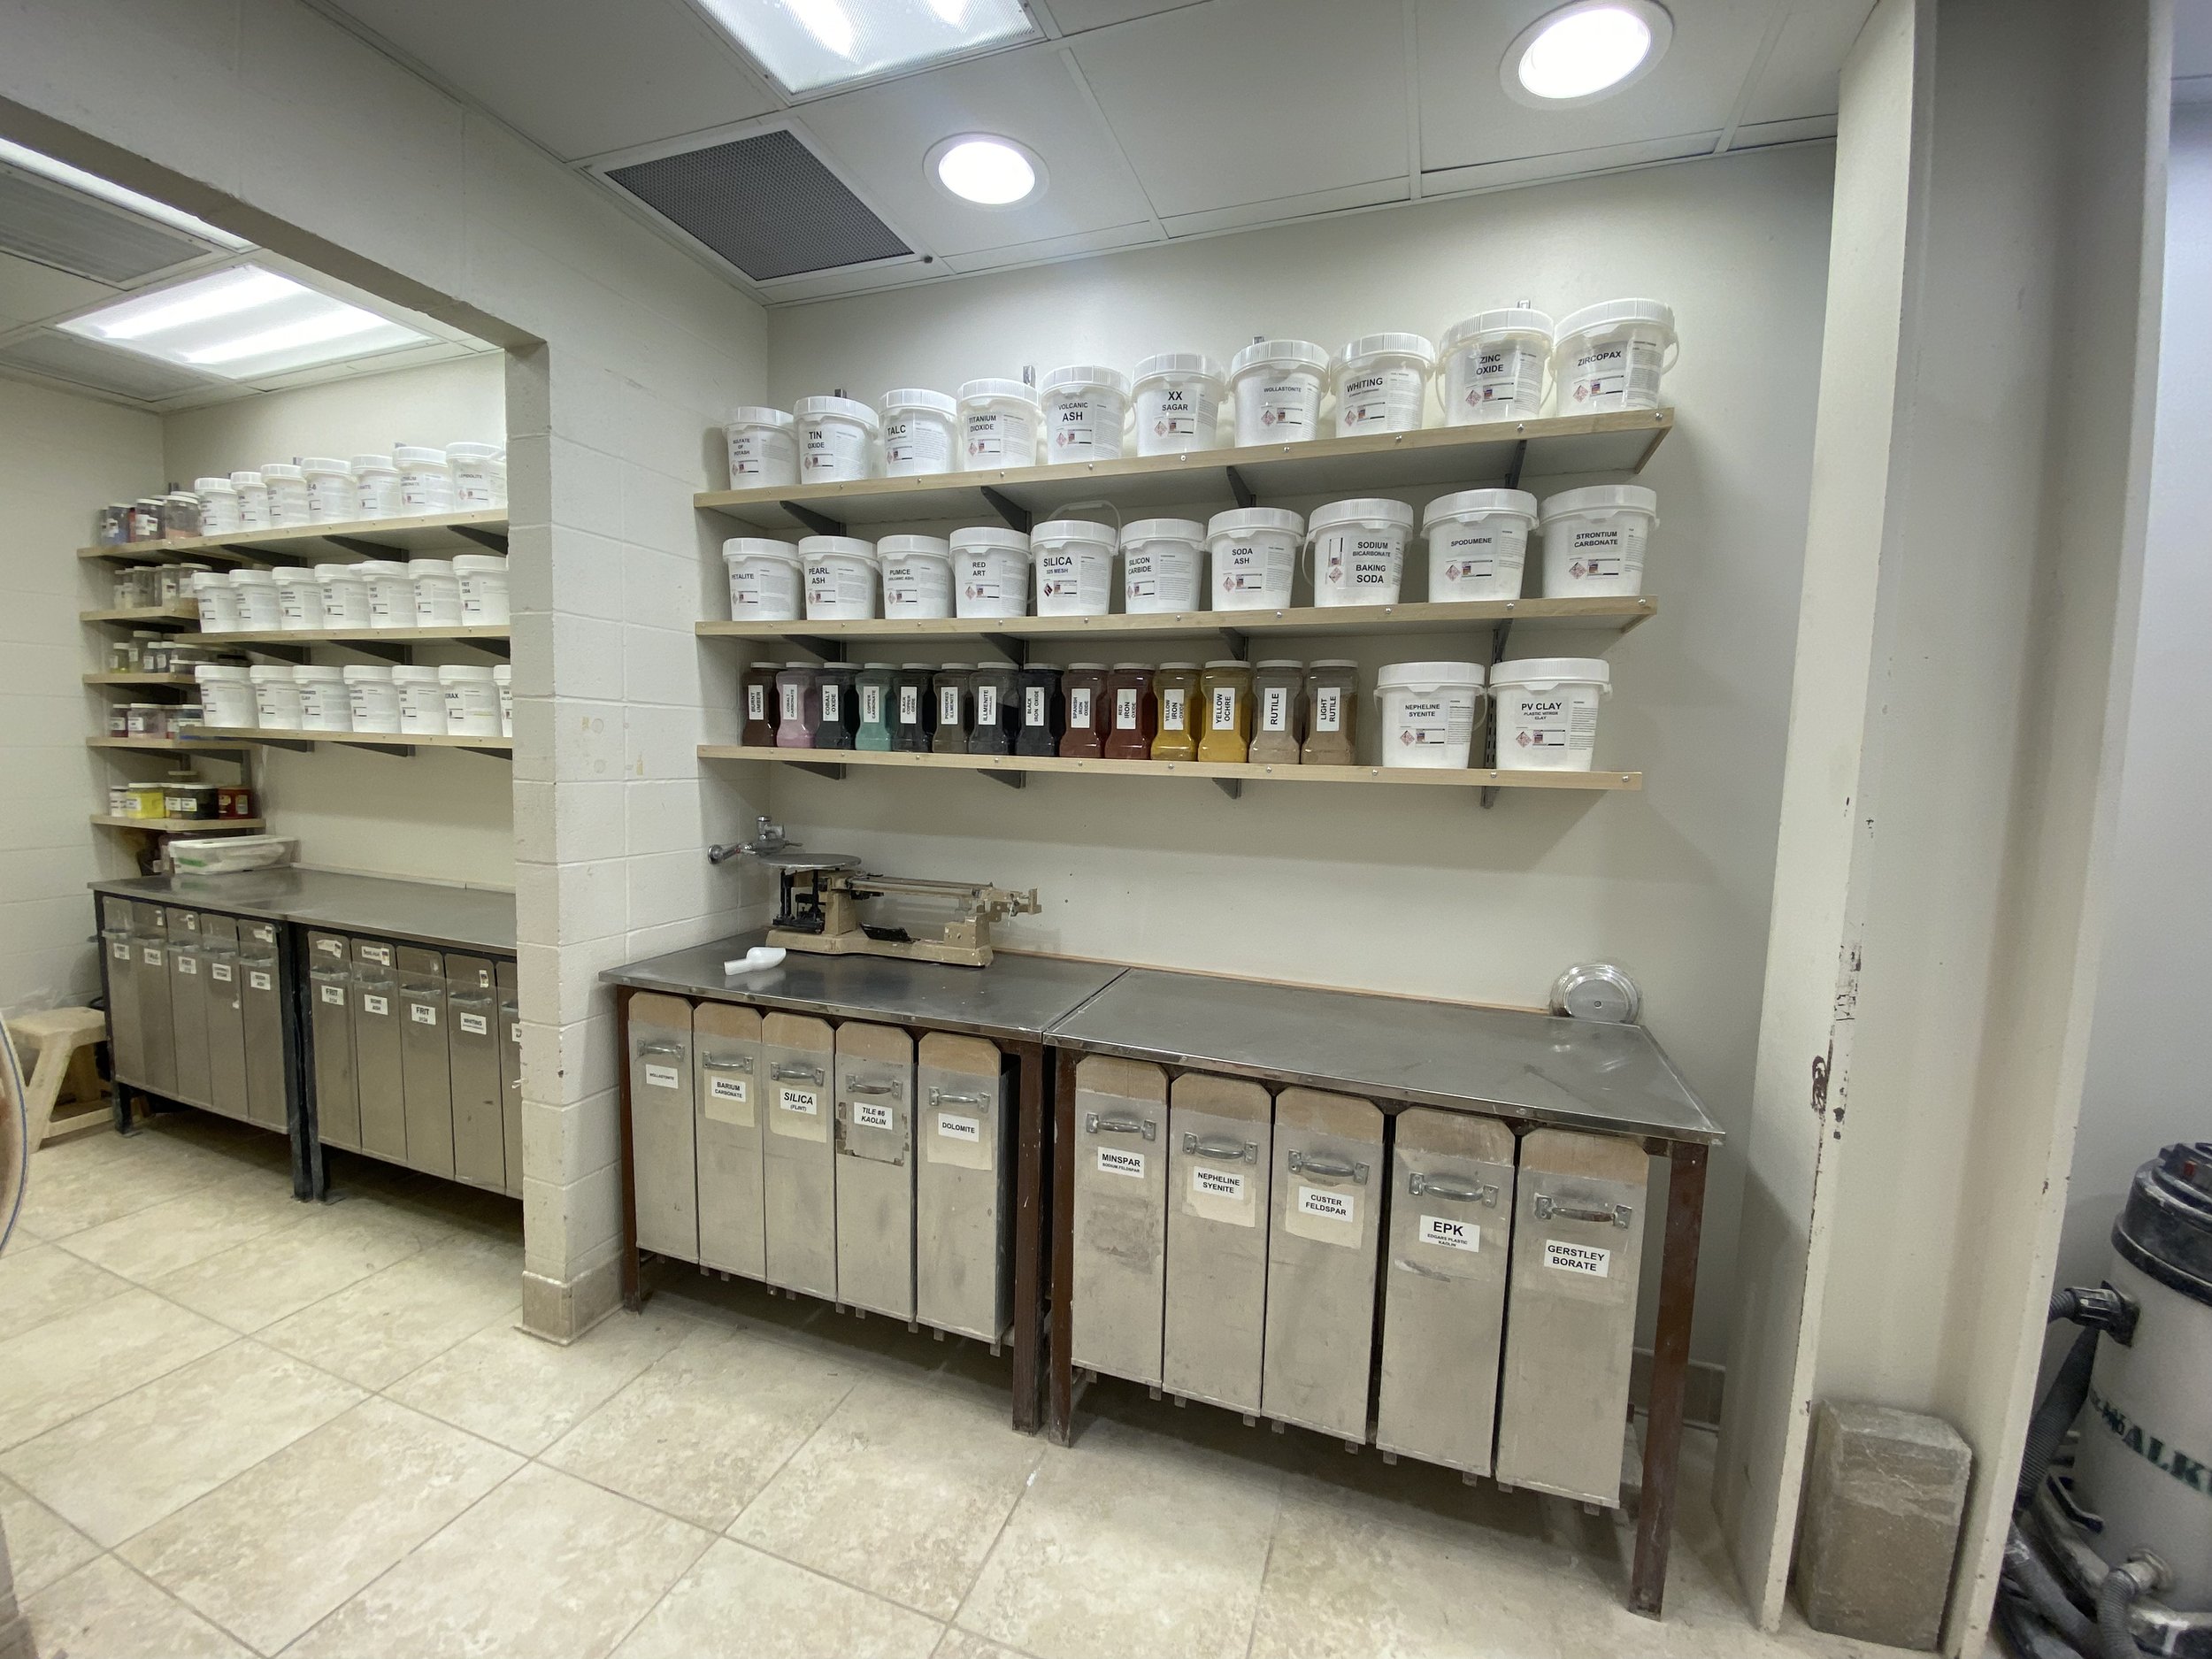
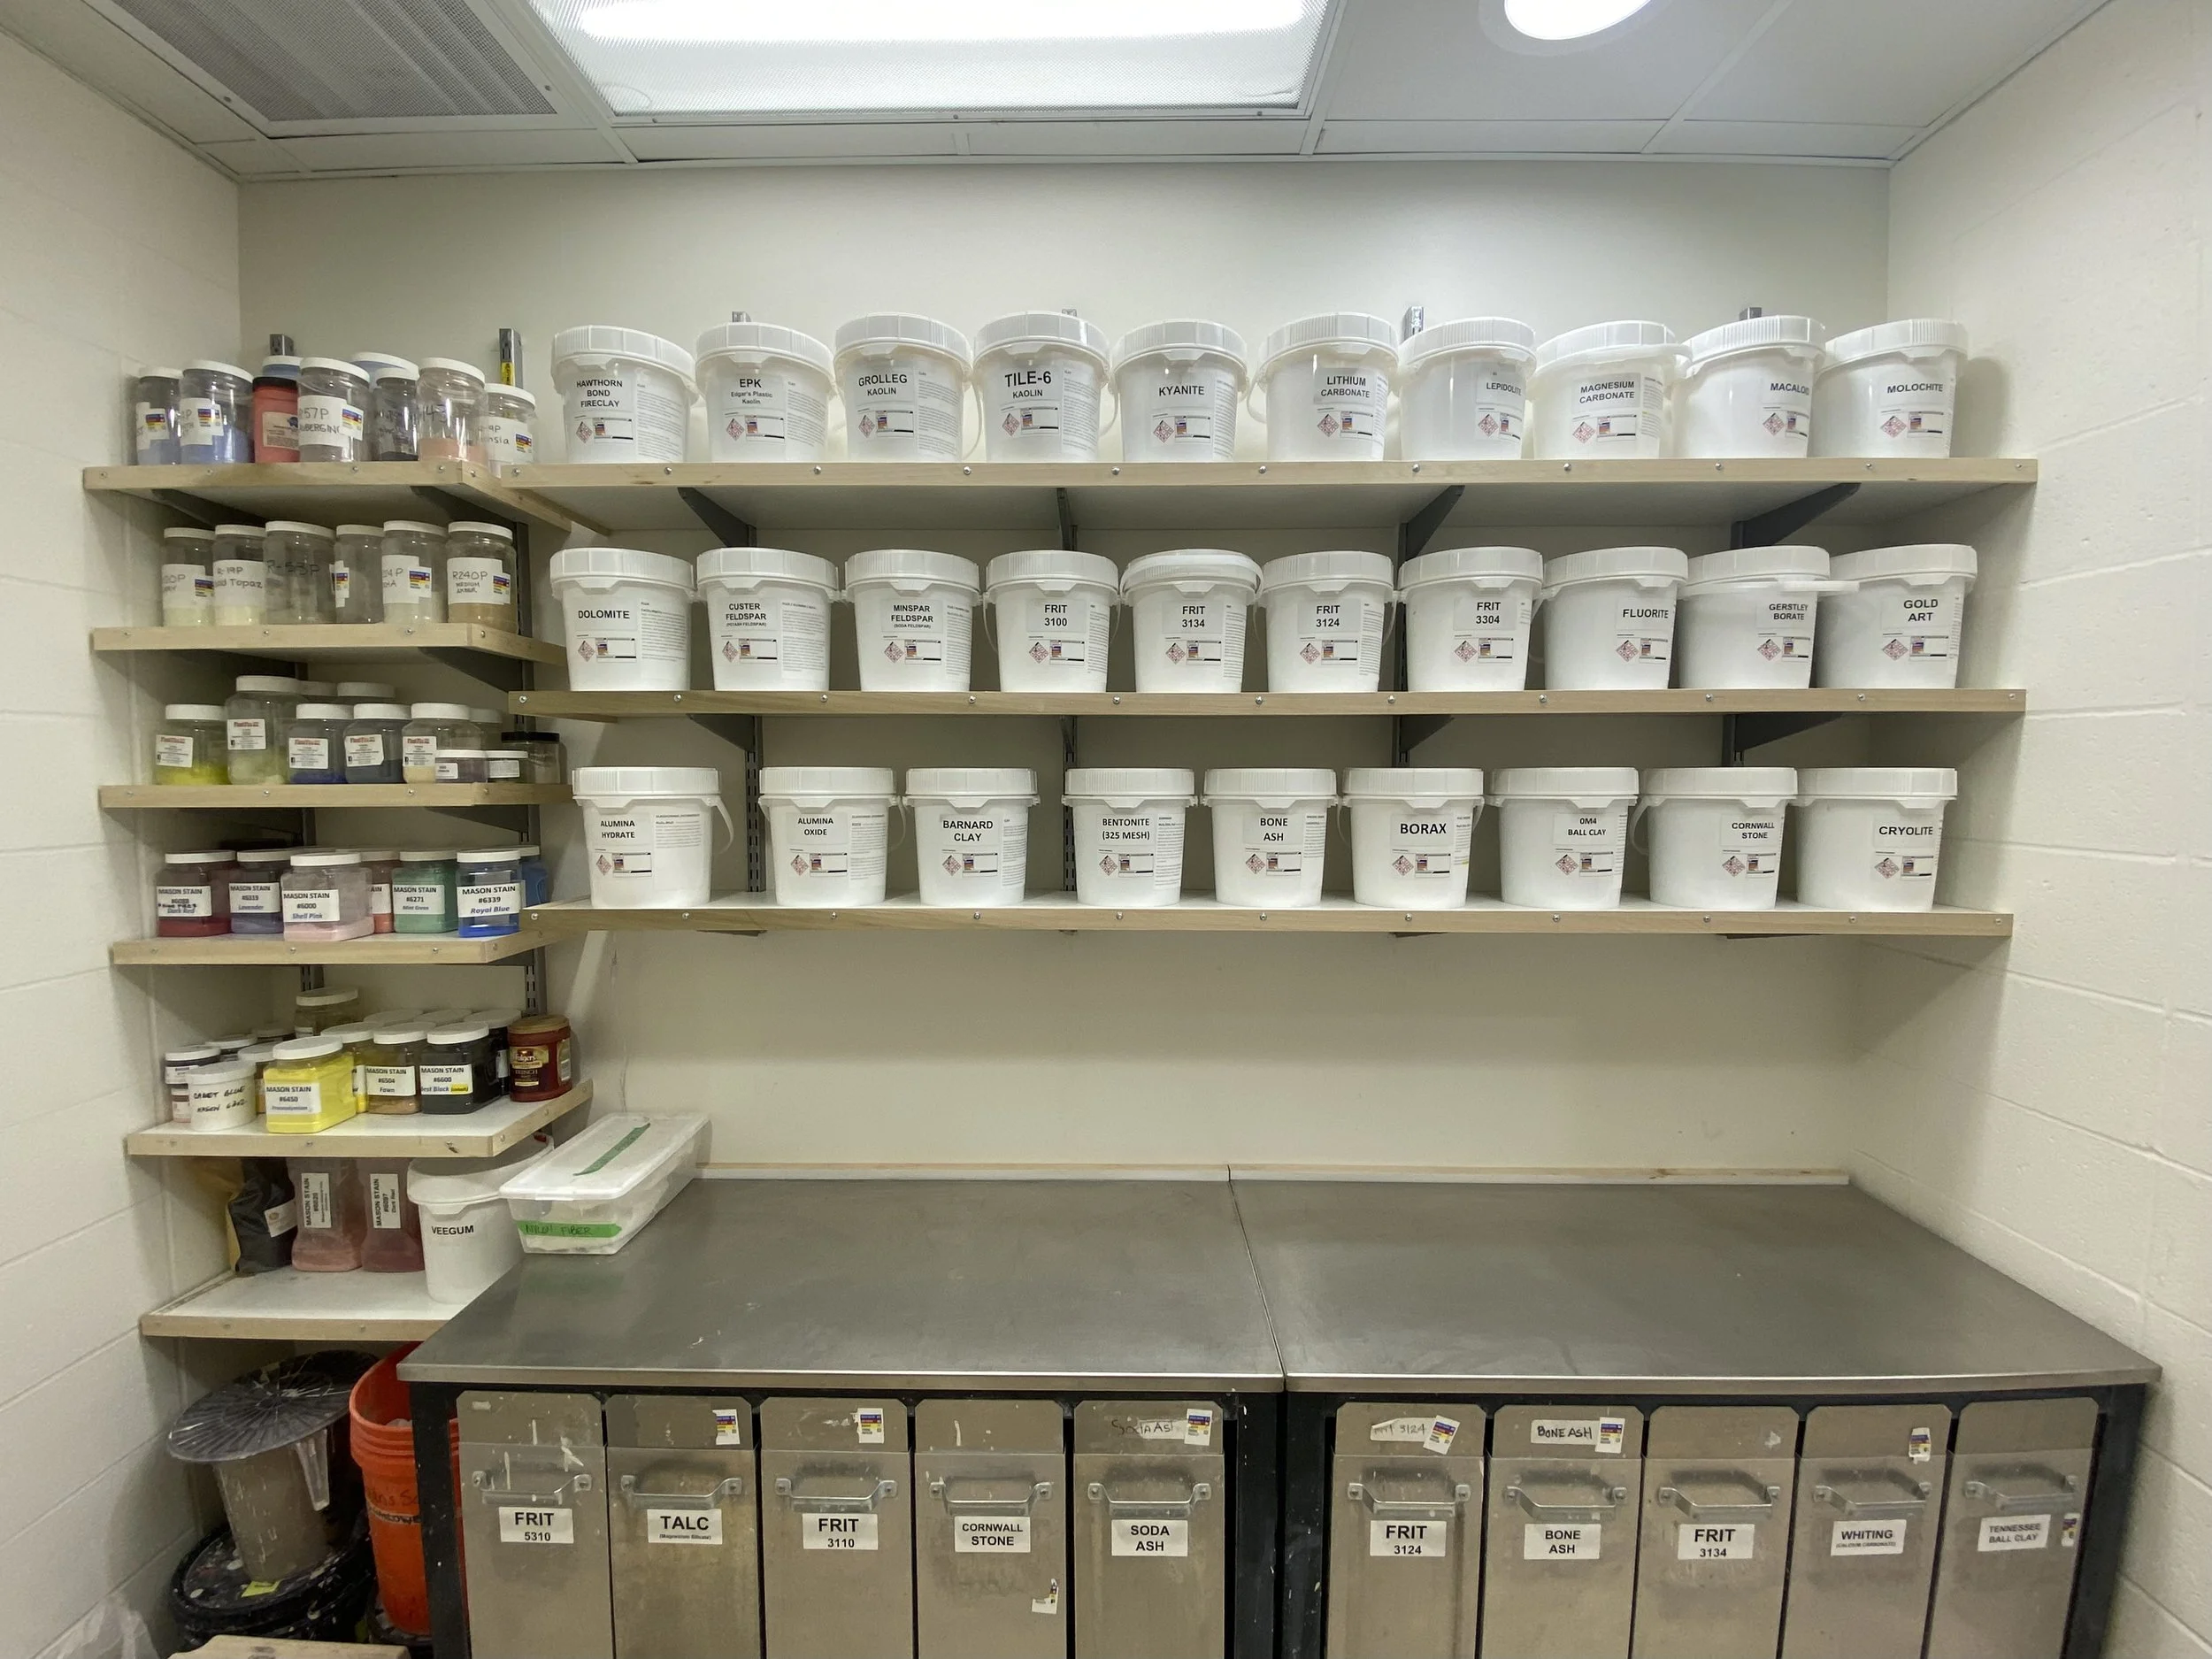
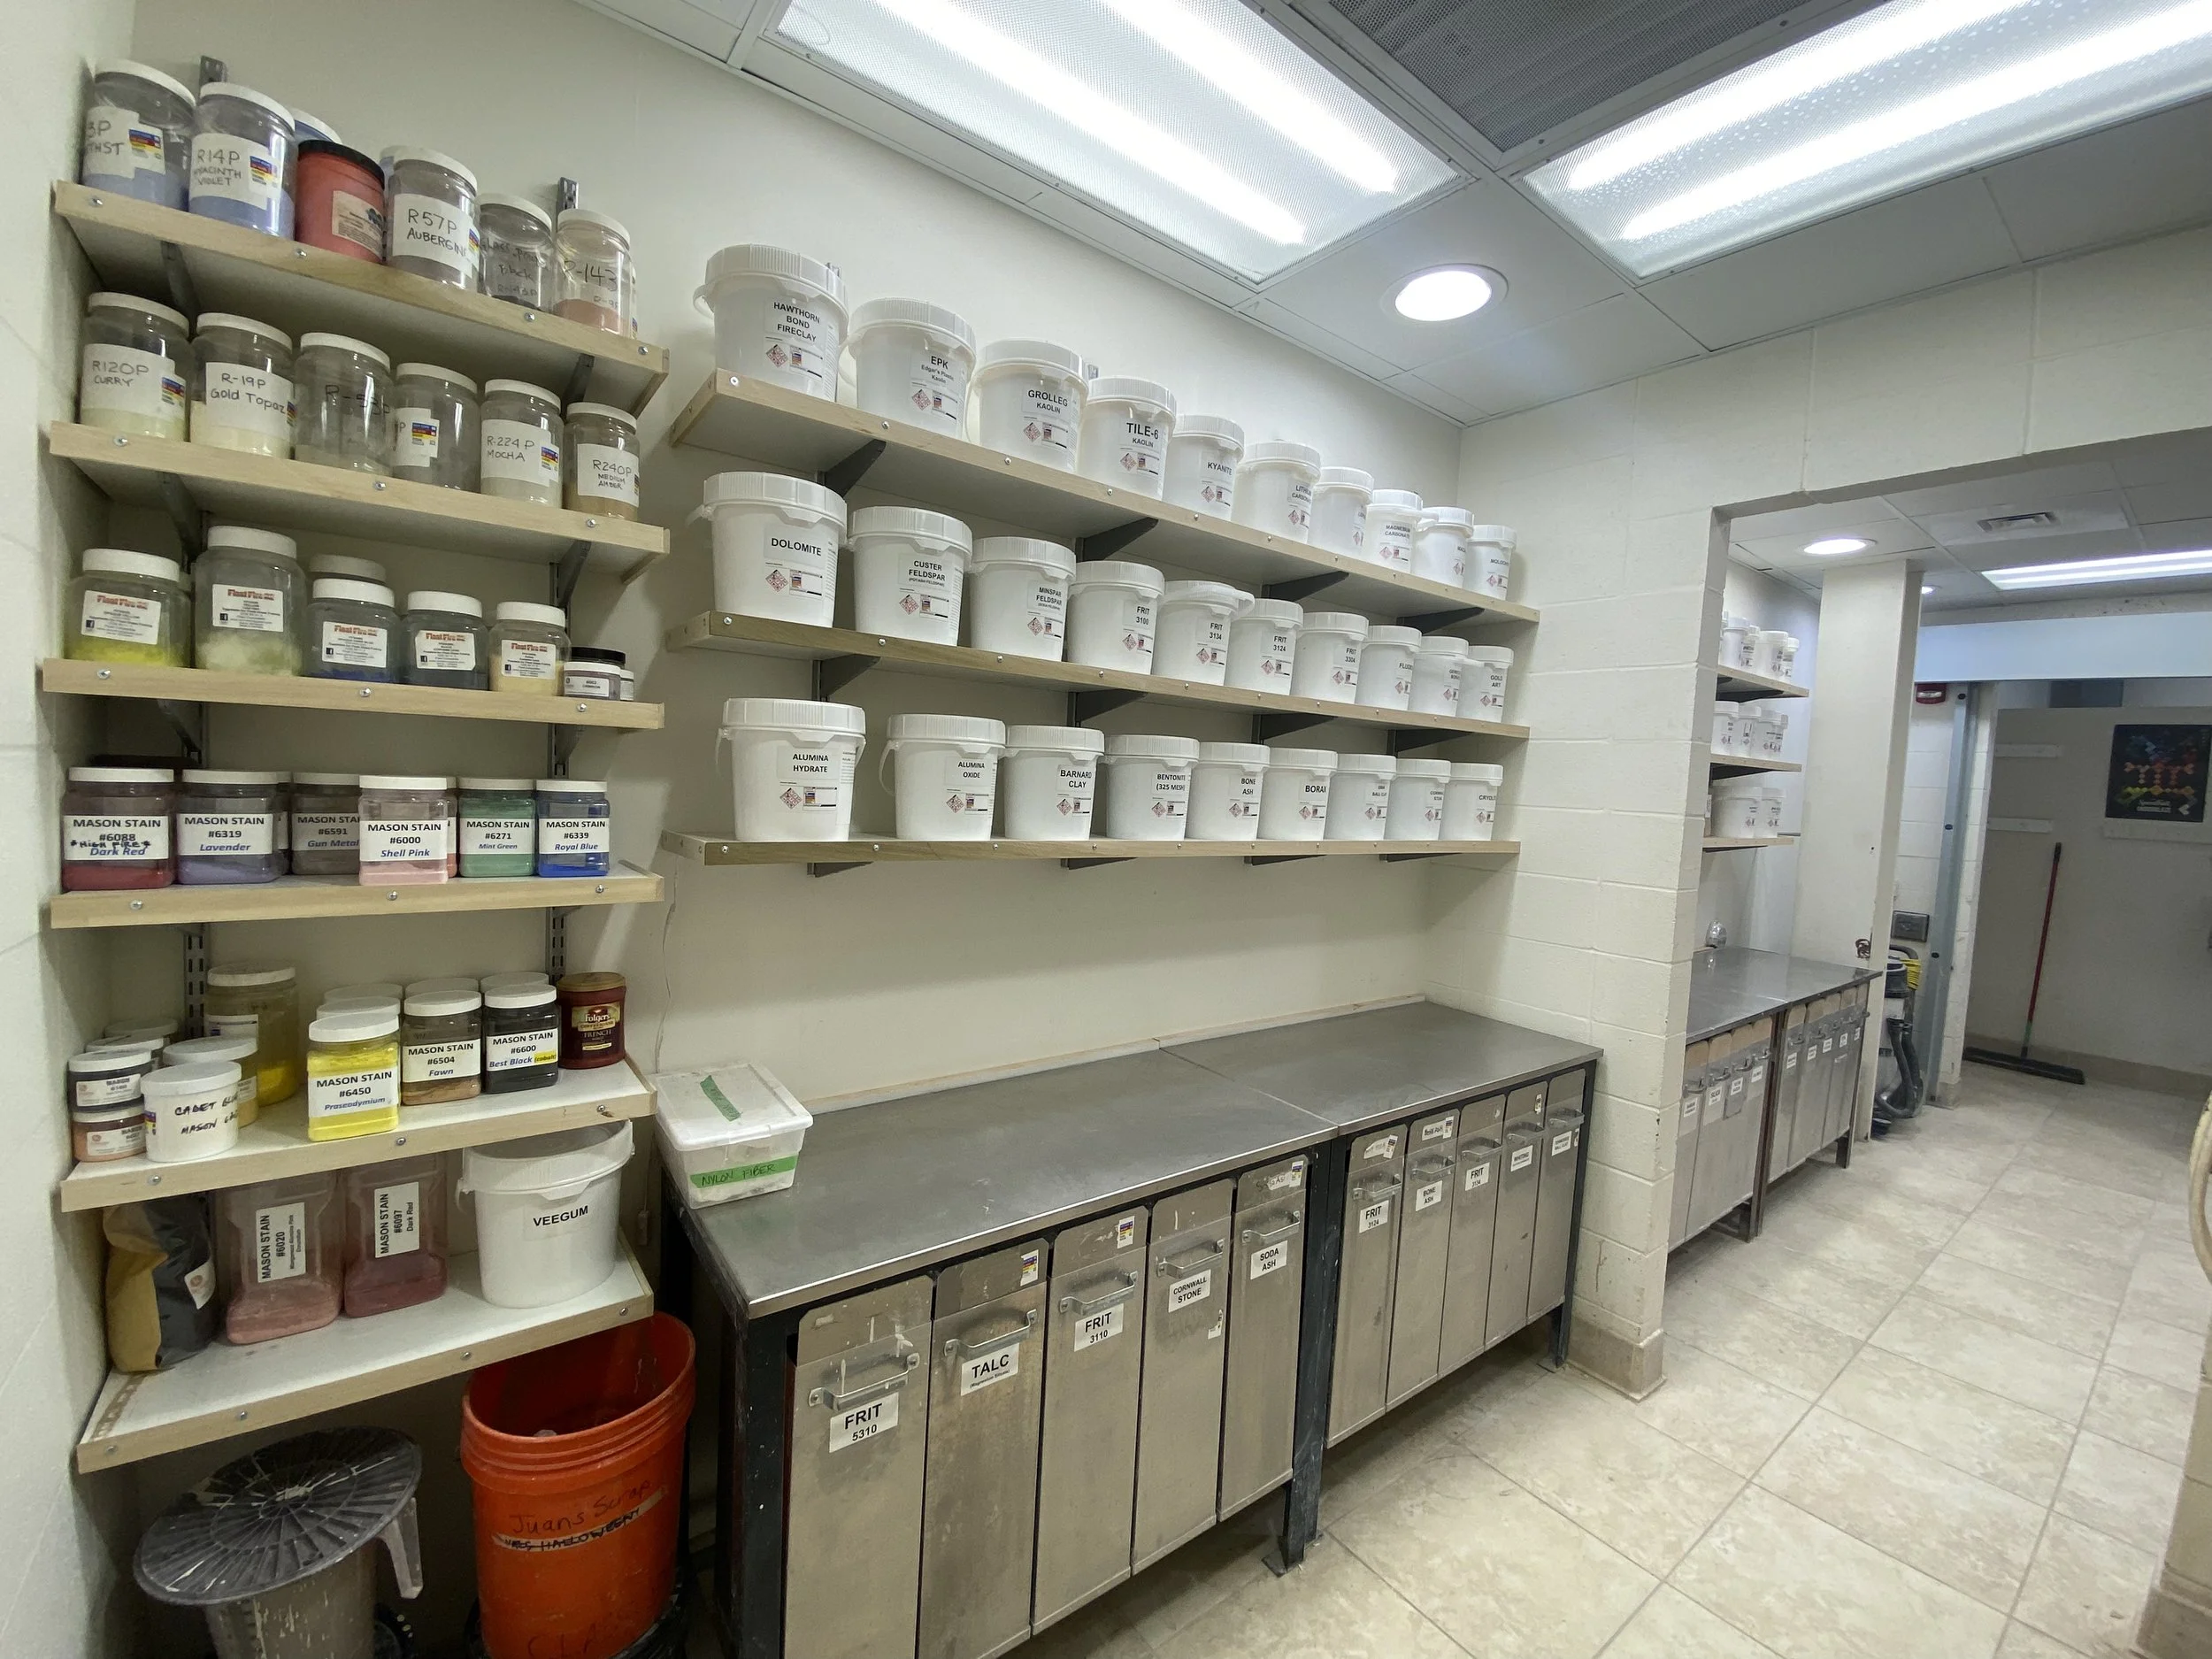
New Storage for Ceramic Dry Materials
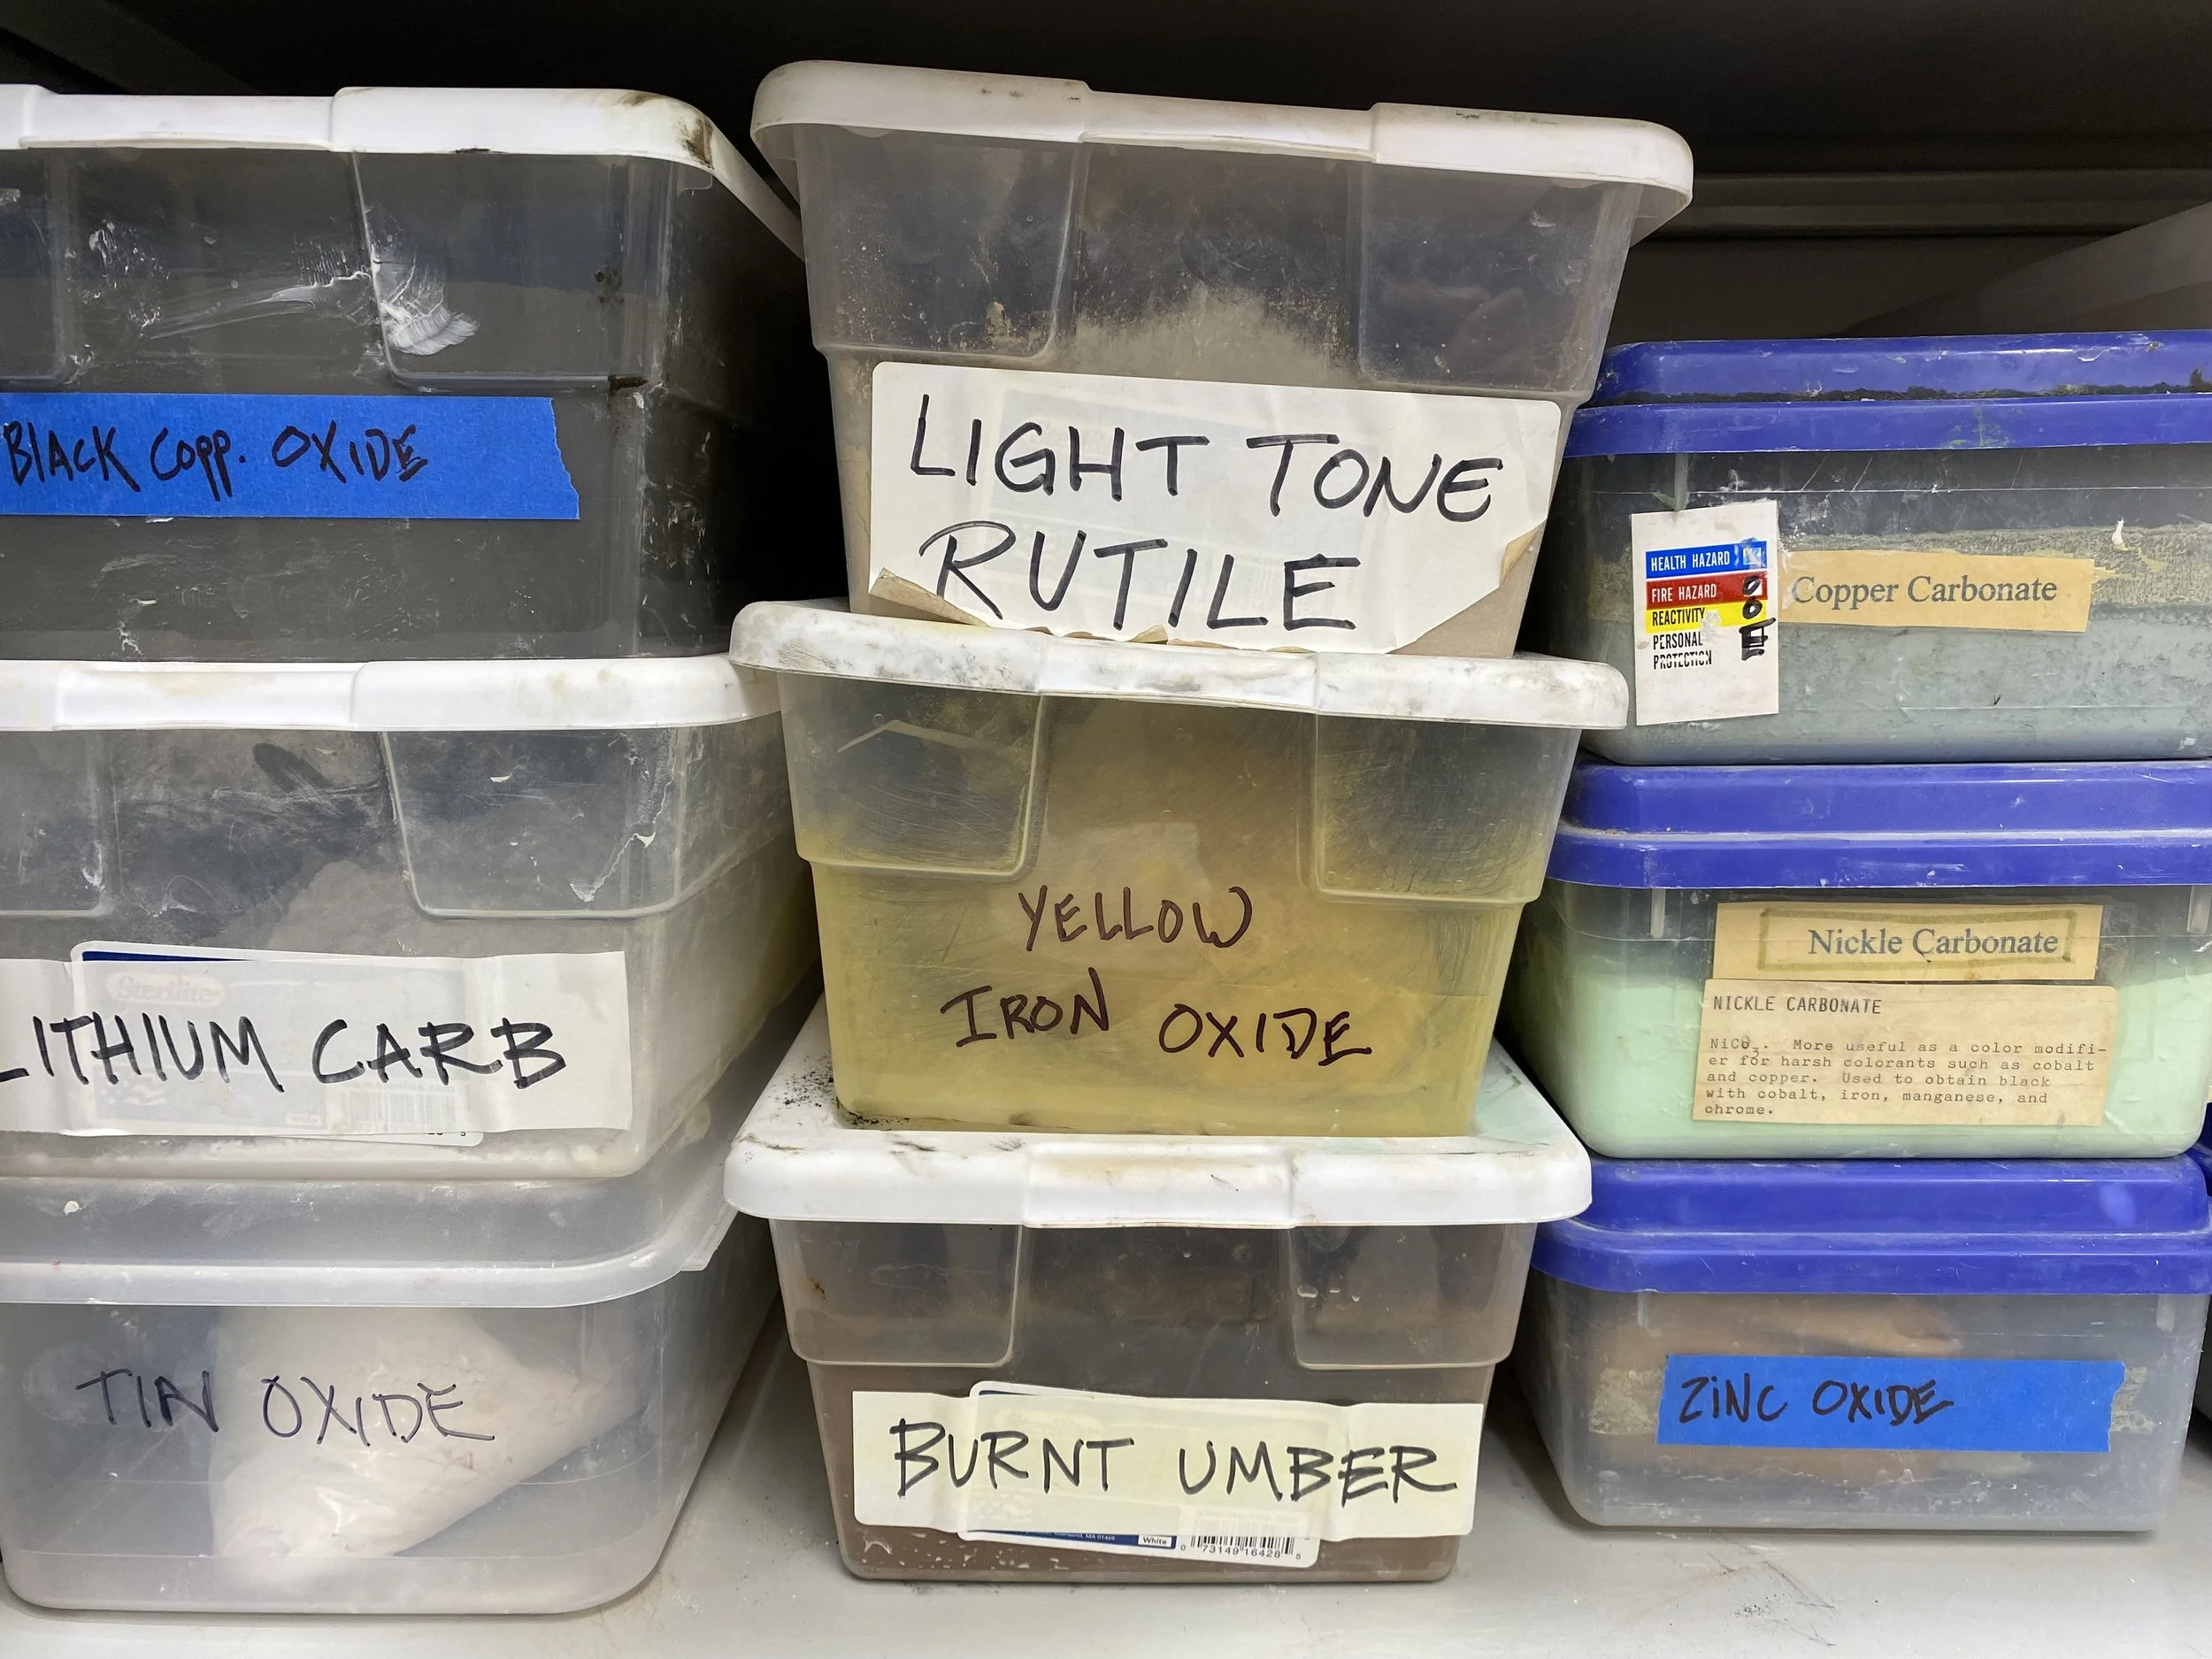
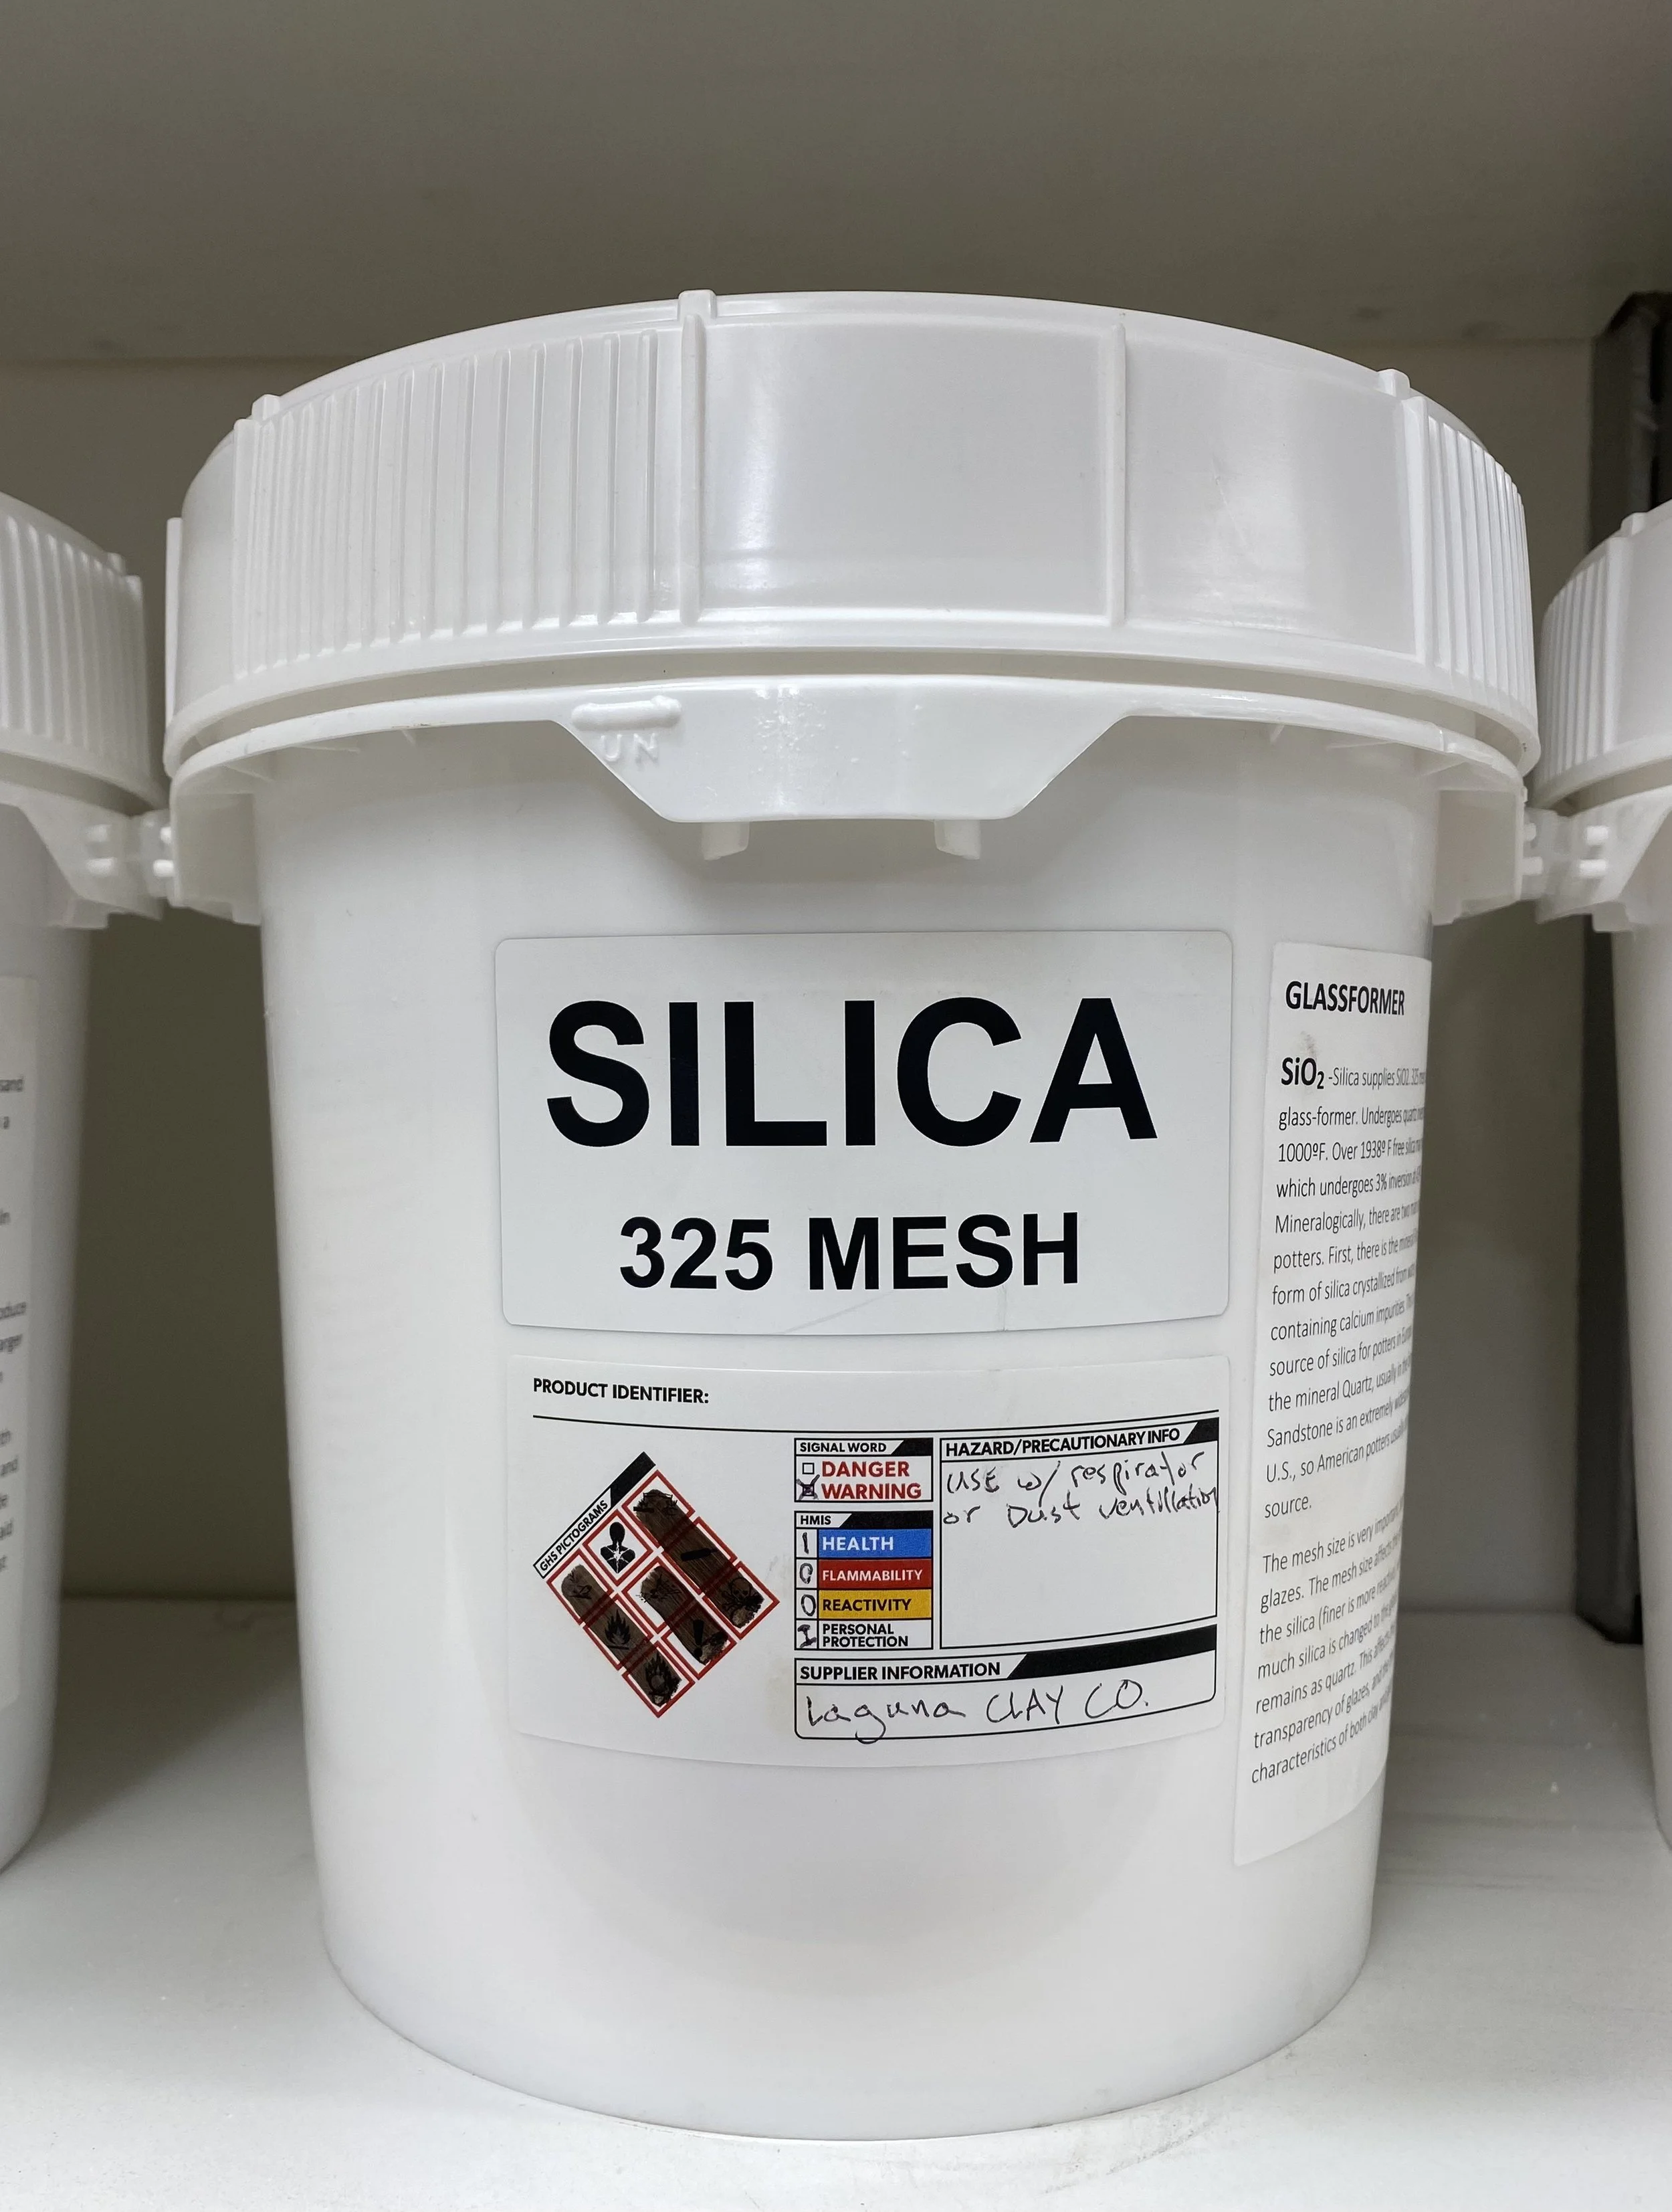
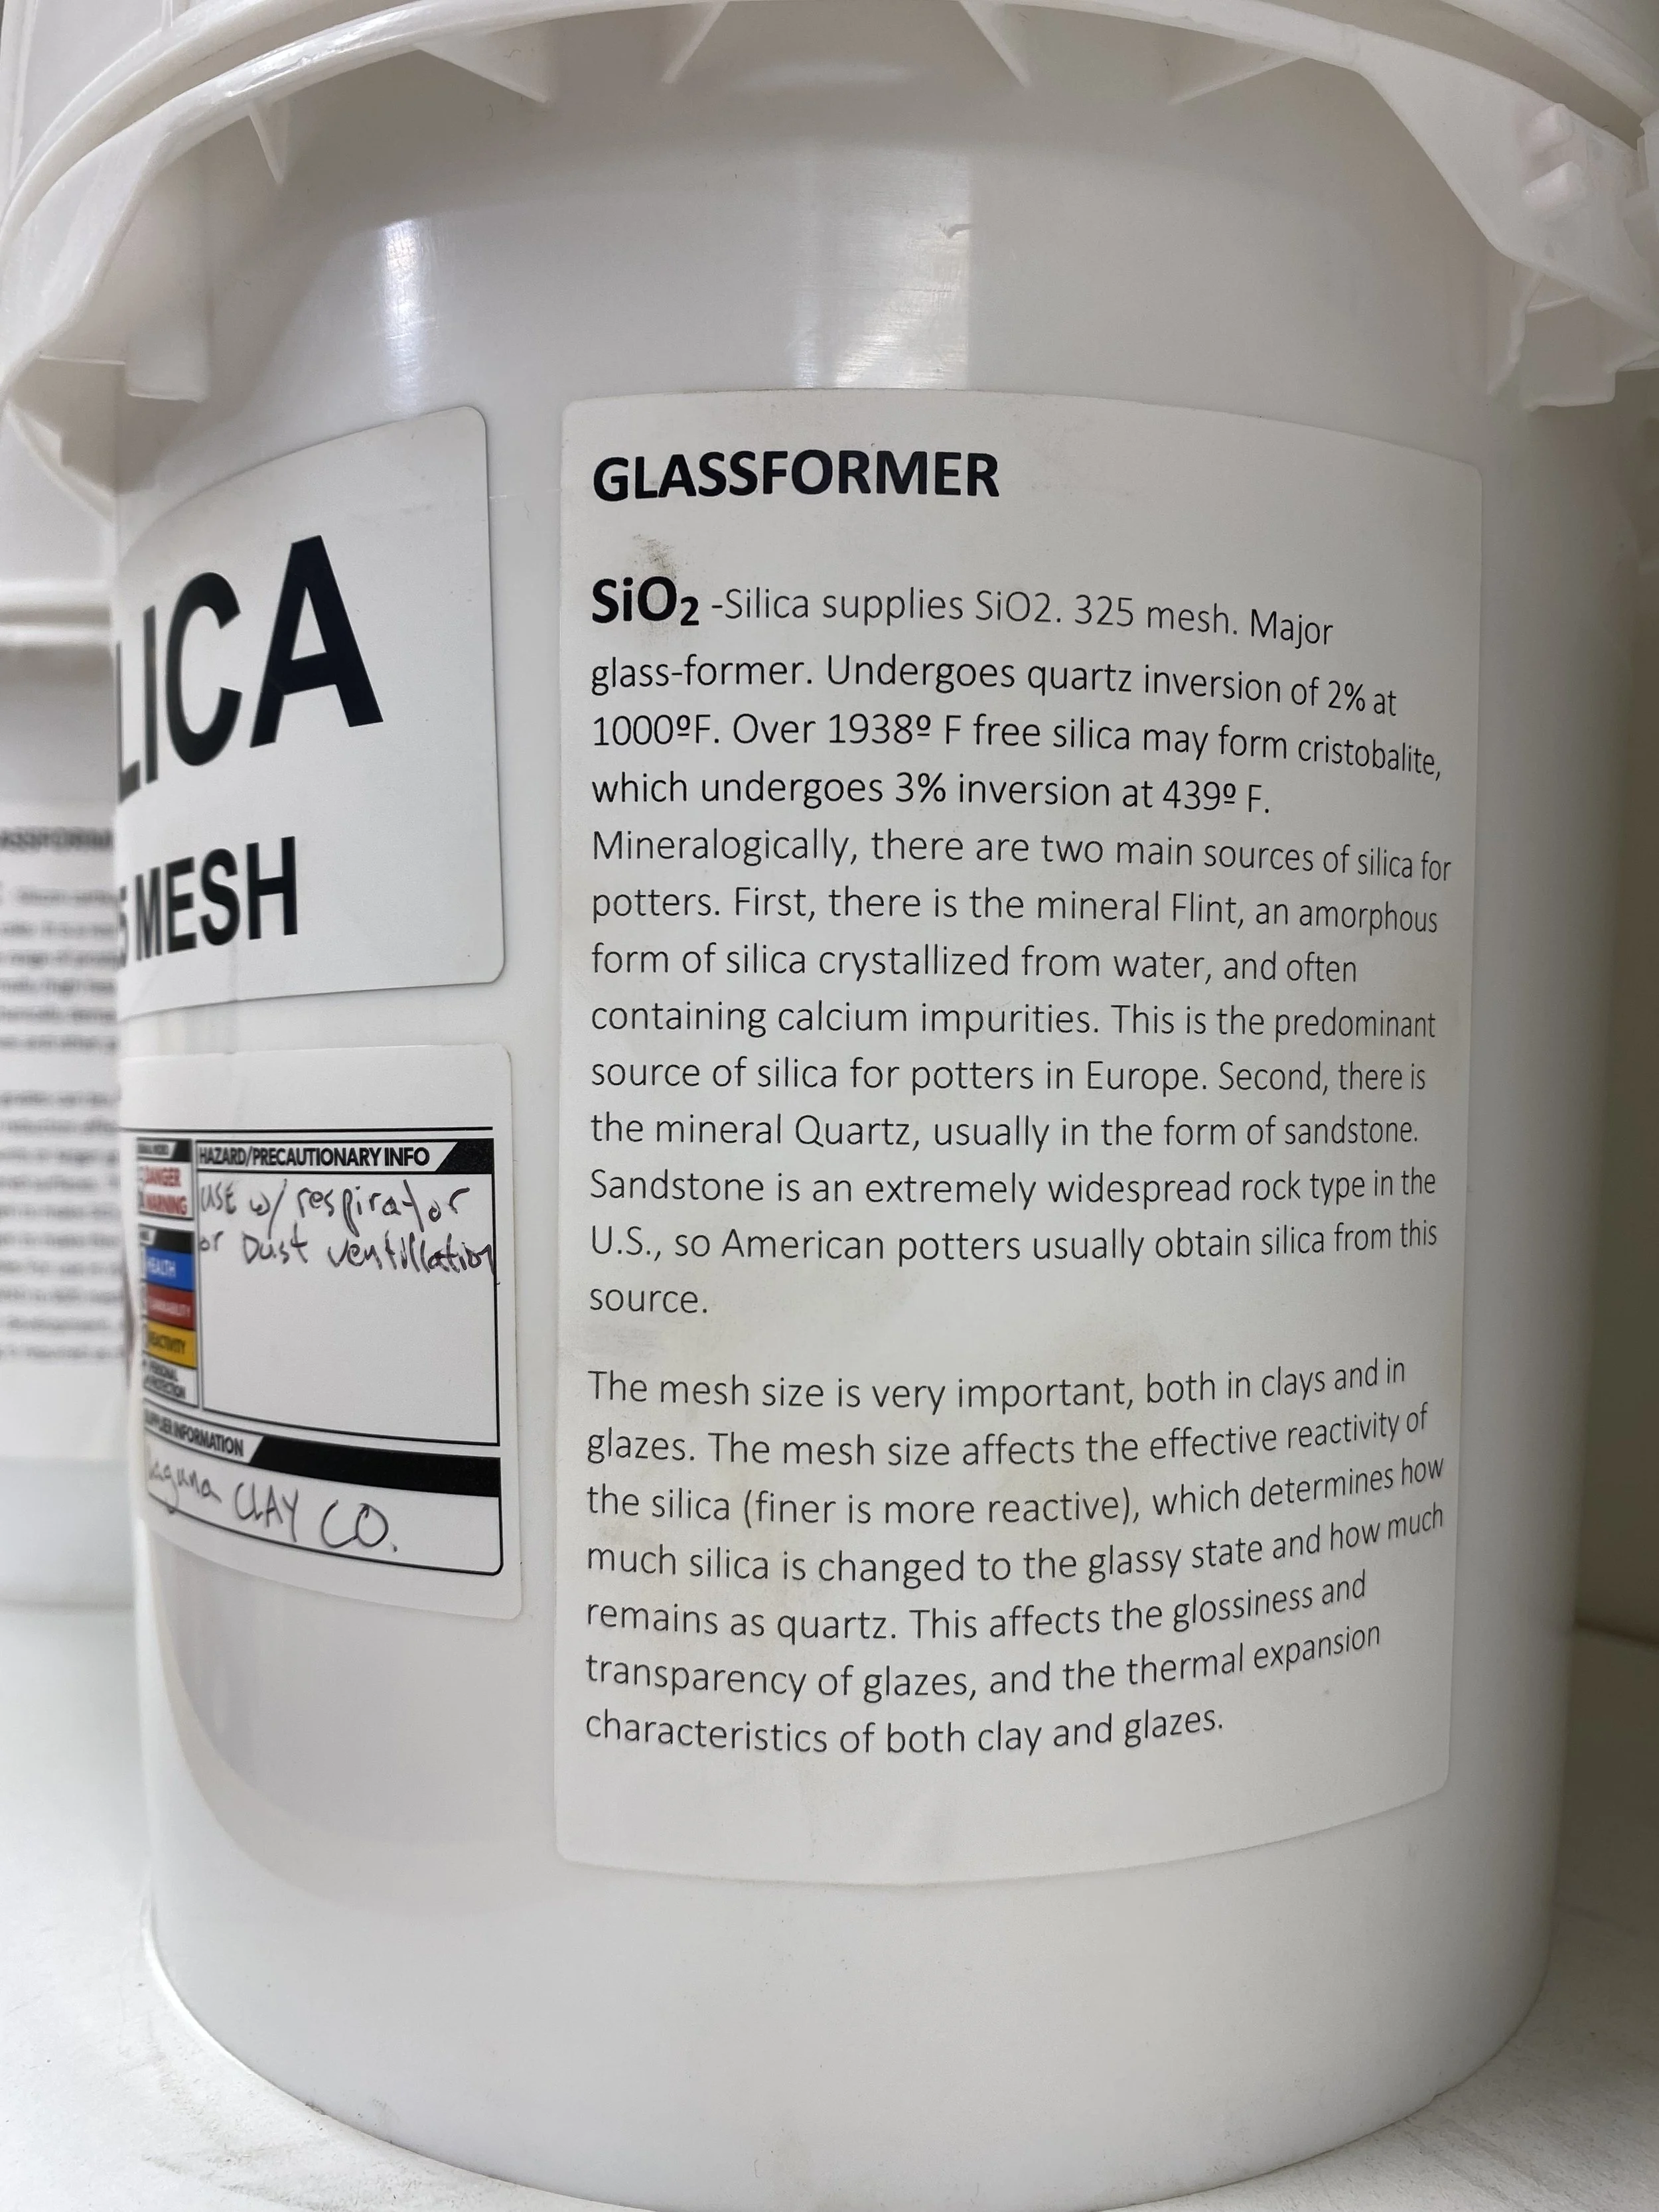
Previously, our dry materials had been stored in large steel cabinets with hand-written labels and descriptions. For this update, I wanted there to be a standard and consistency in the containers and labeling. Consequently, all fluxes, feldspars, glassformers, hardeners and clays are now stored in opaque containers with screw top lids, and all colorants (i.e. oxides, carbonates and stains) are stored in clear lidded containers. I used Digital Fire and Glazy.org as my primary resources for material descripters. As the editor, a large part of the summer was spent collecting, reviewing and combining this information.
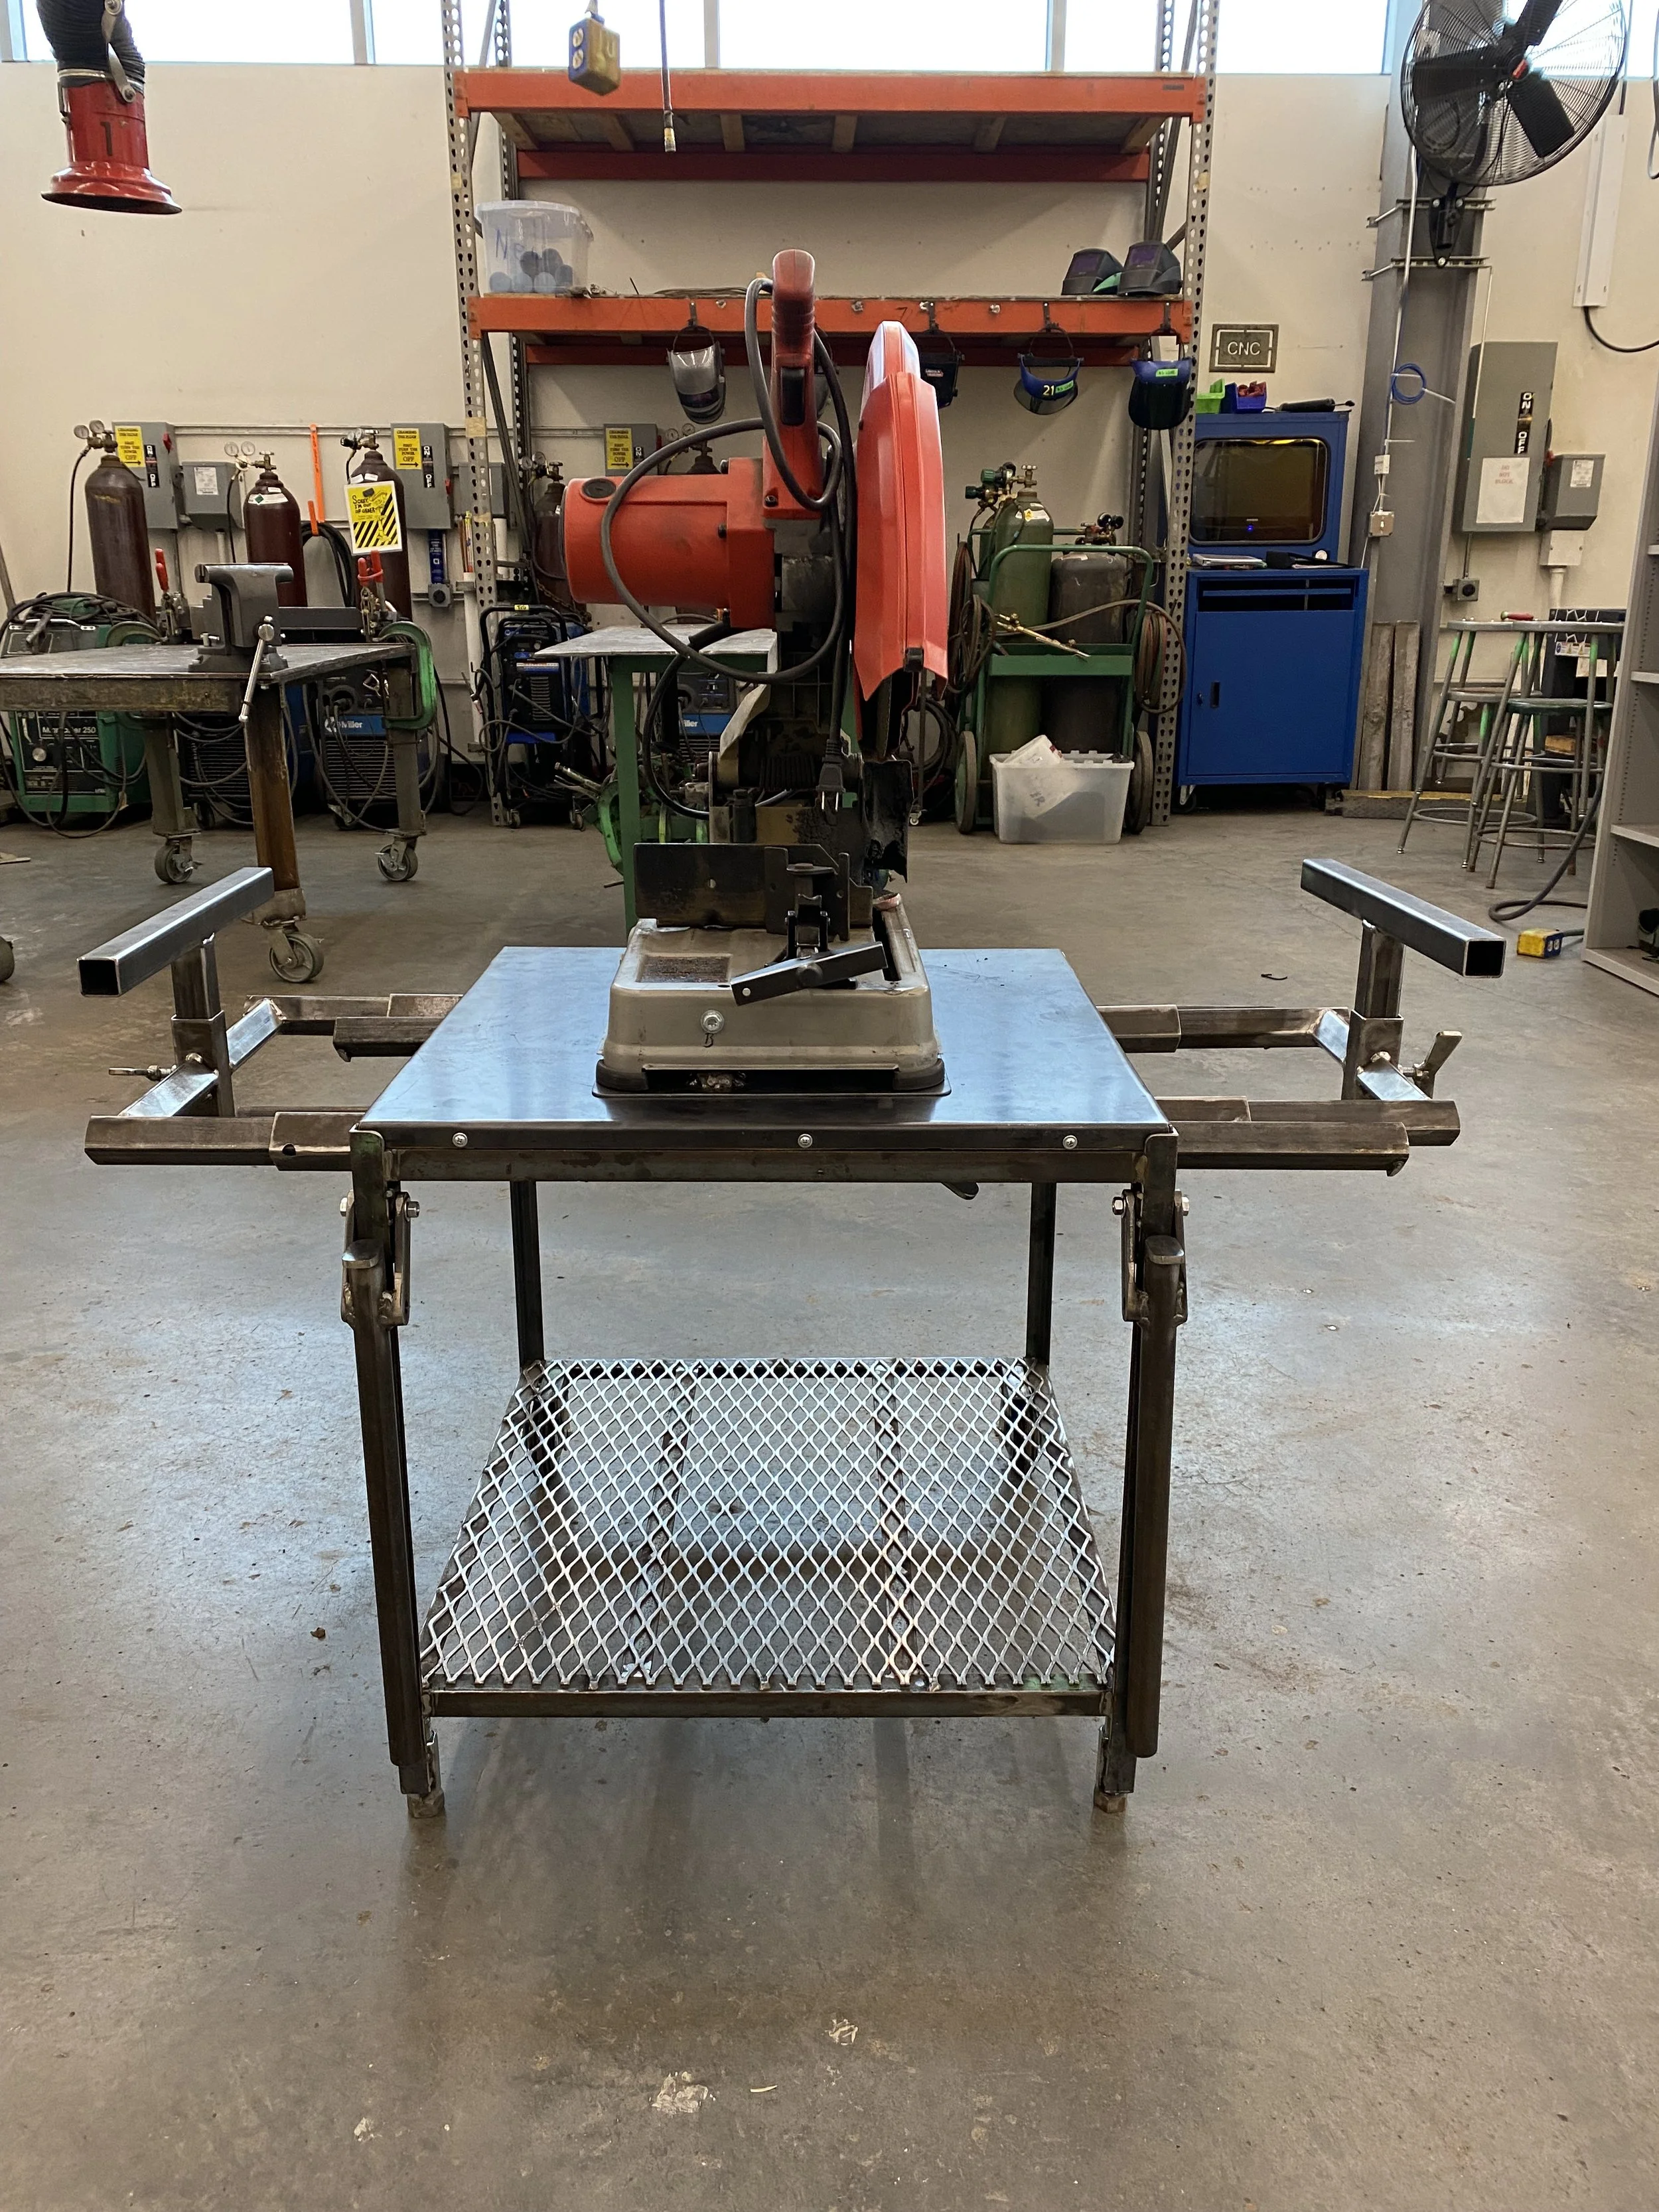
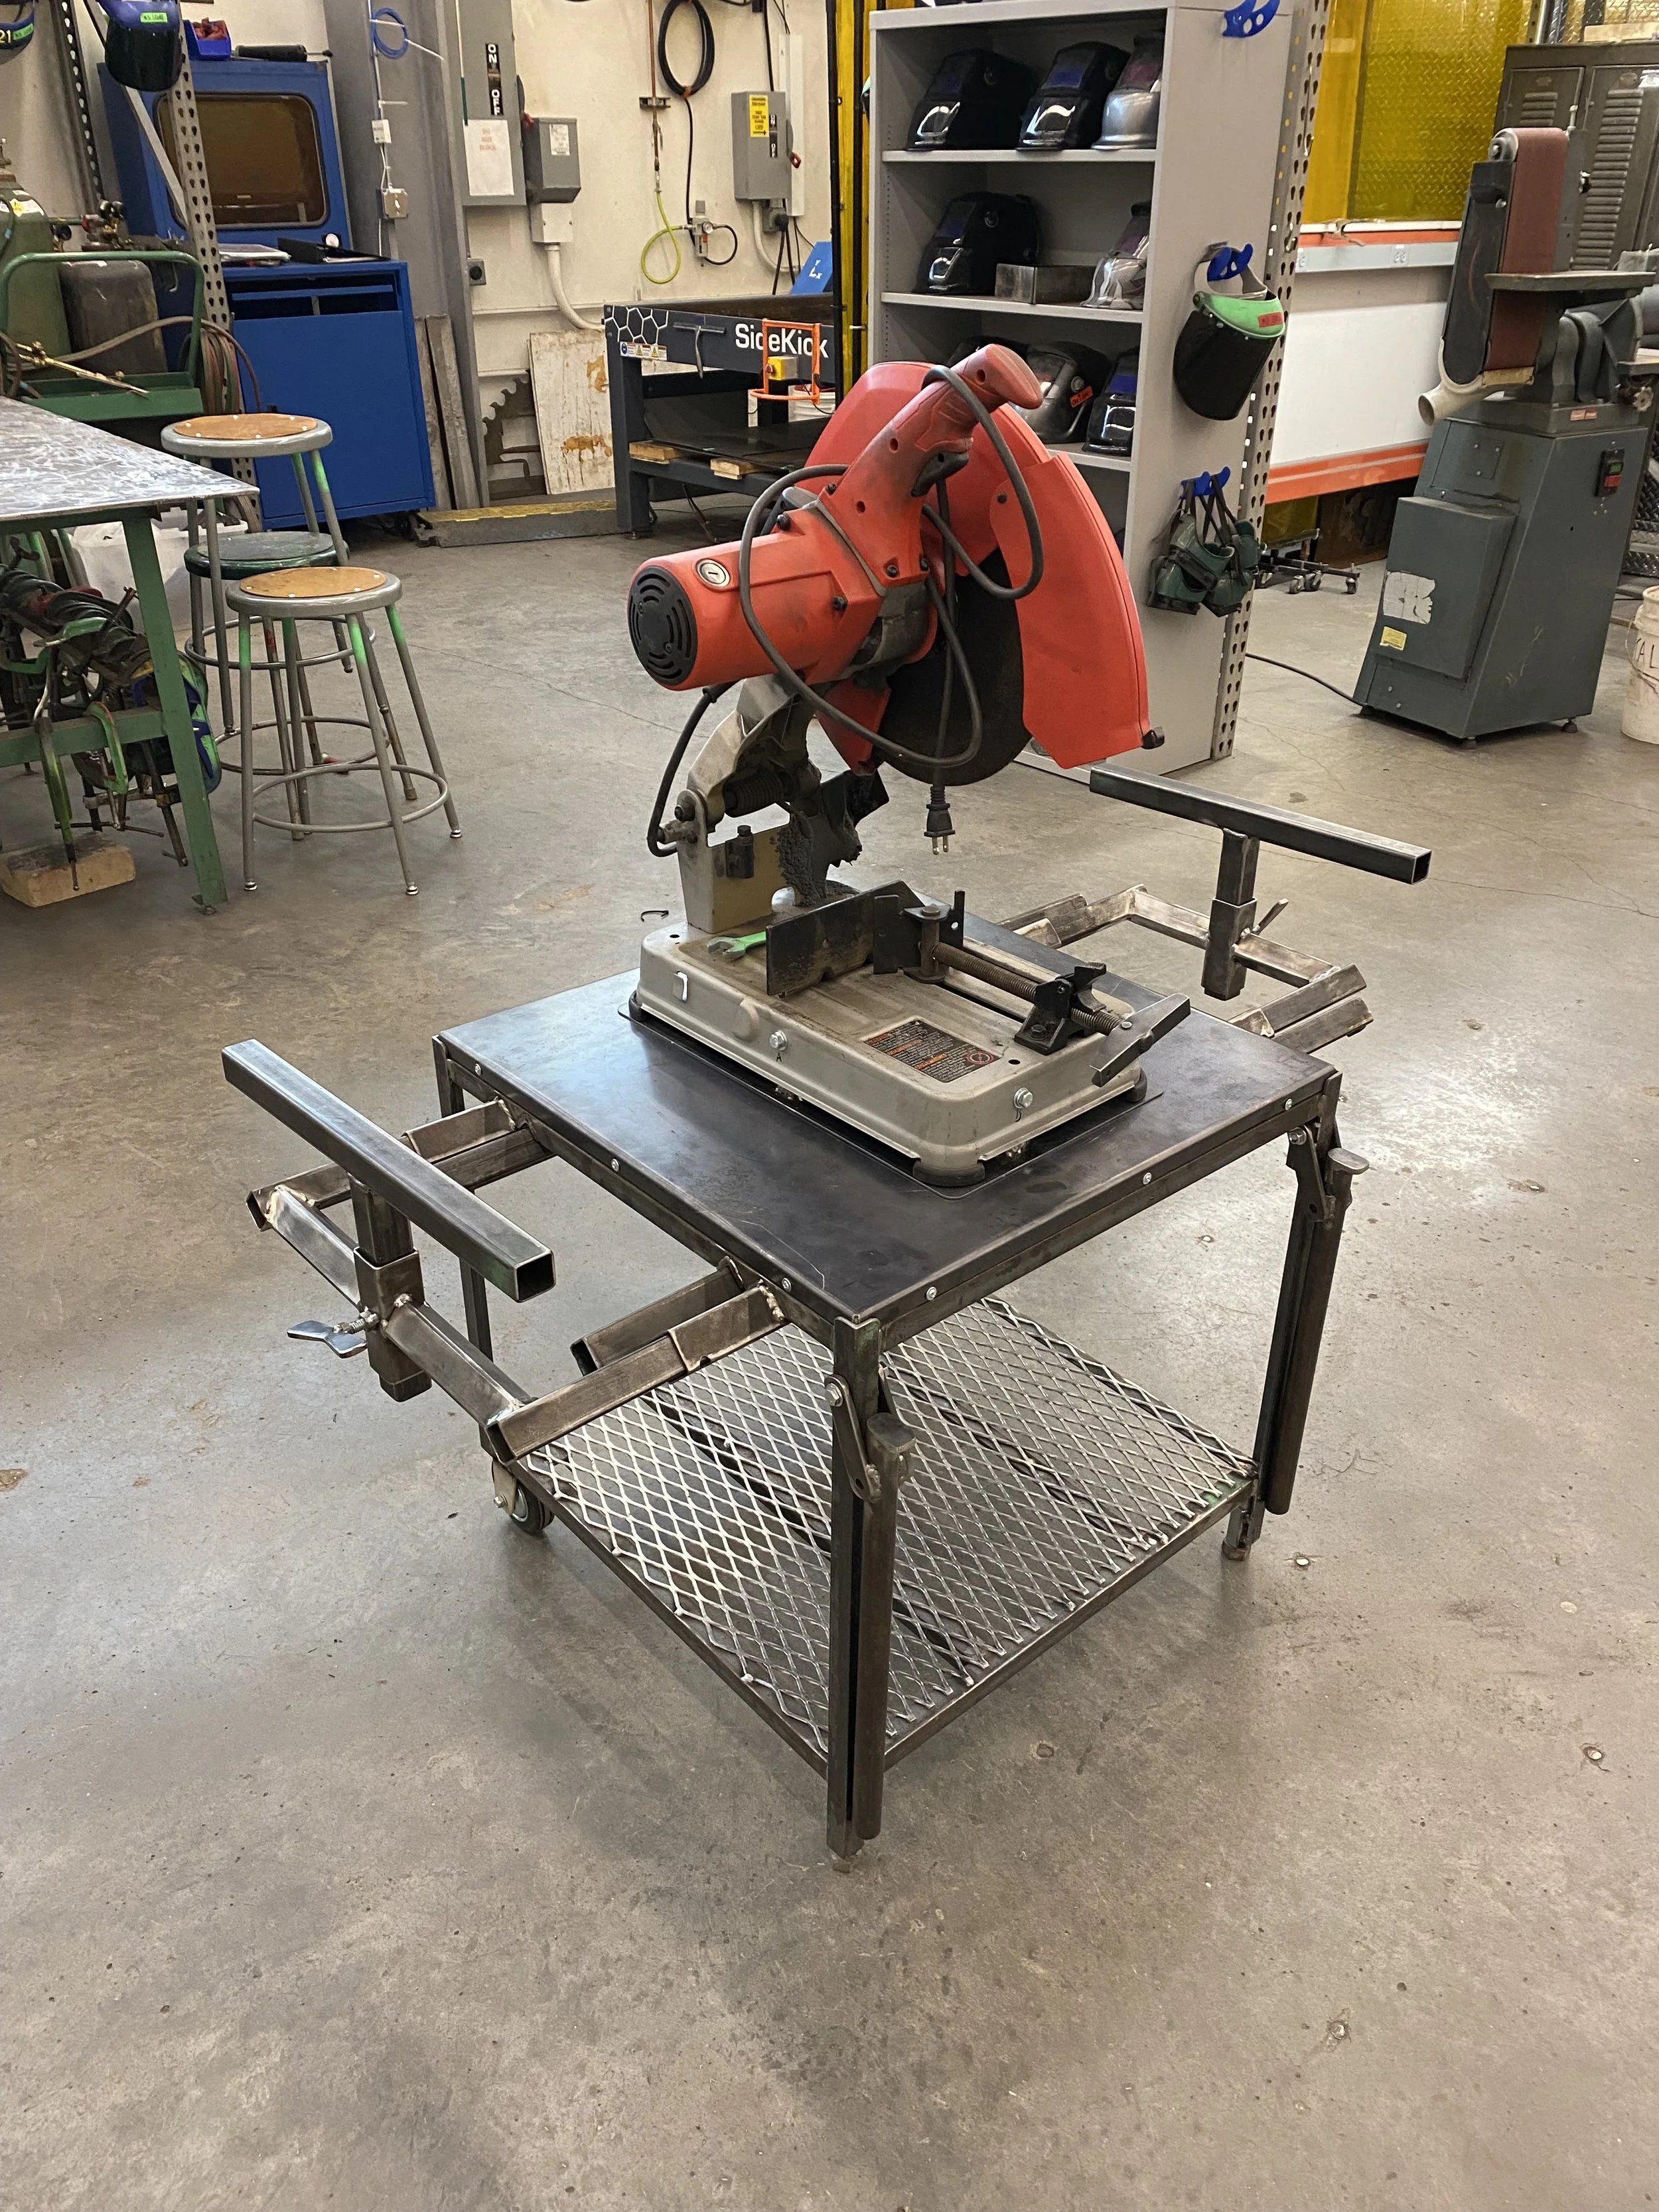
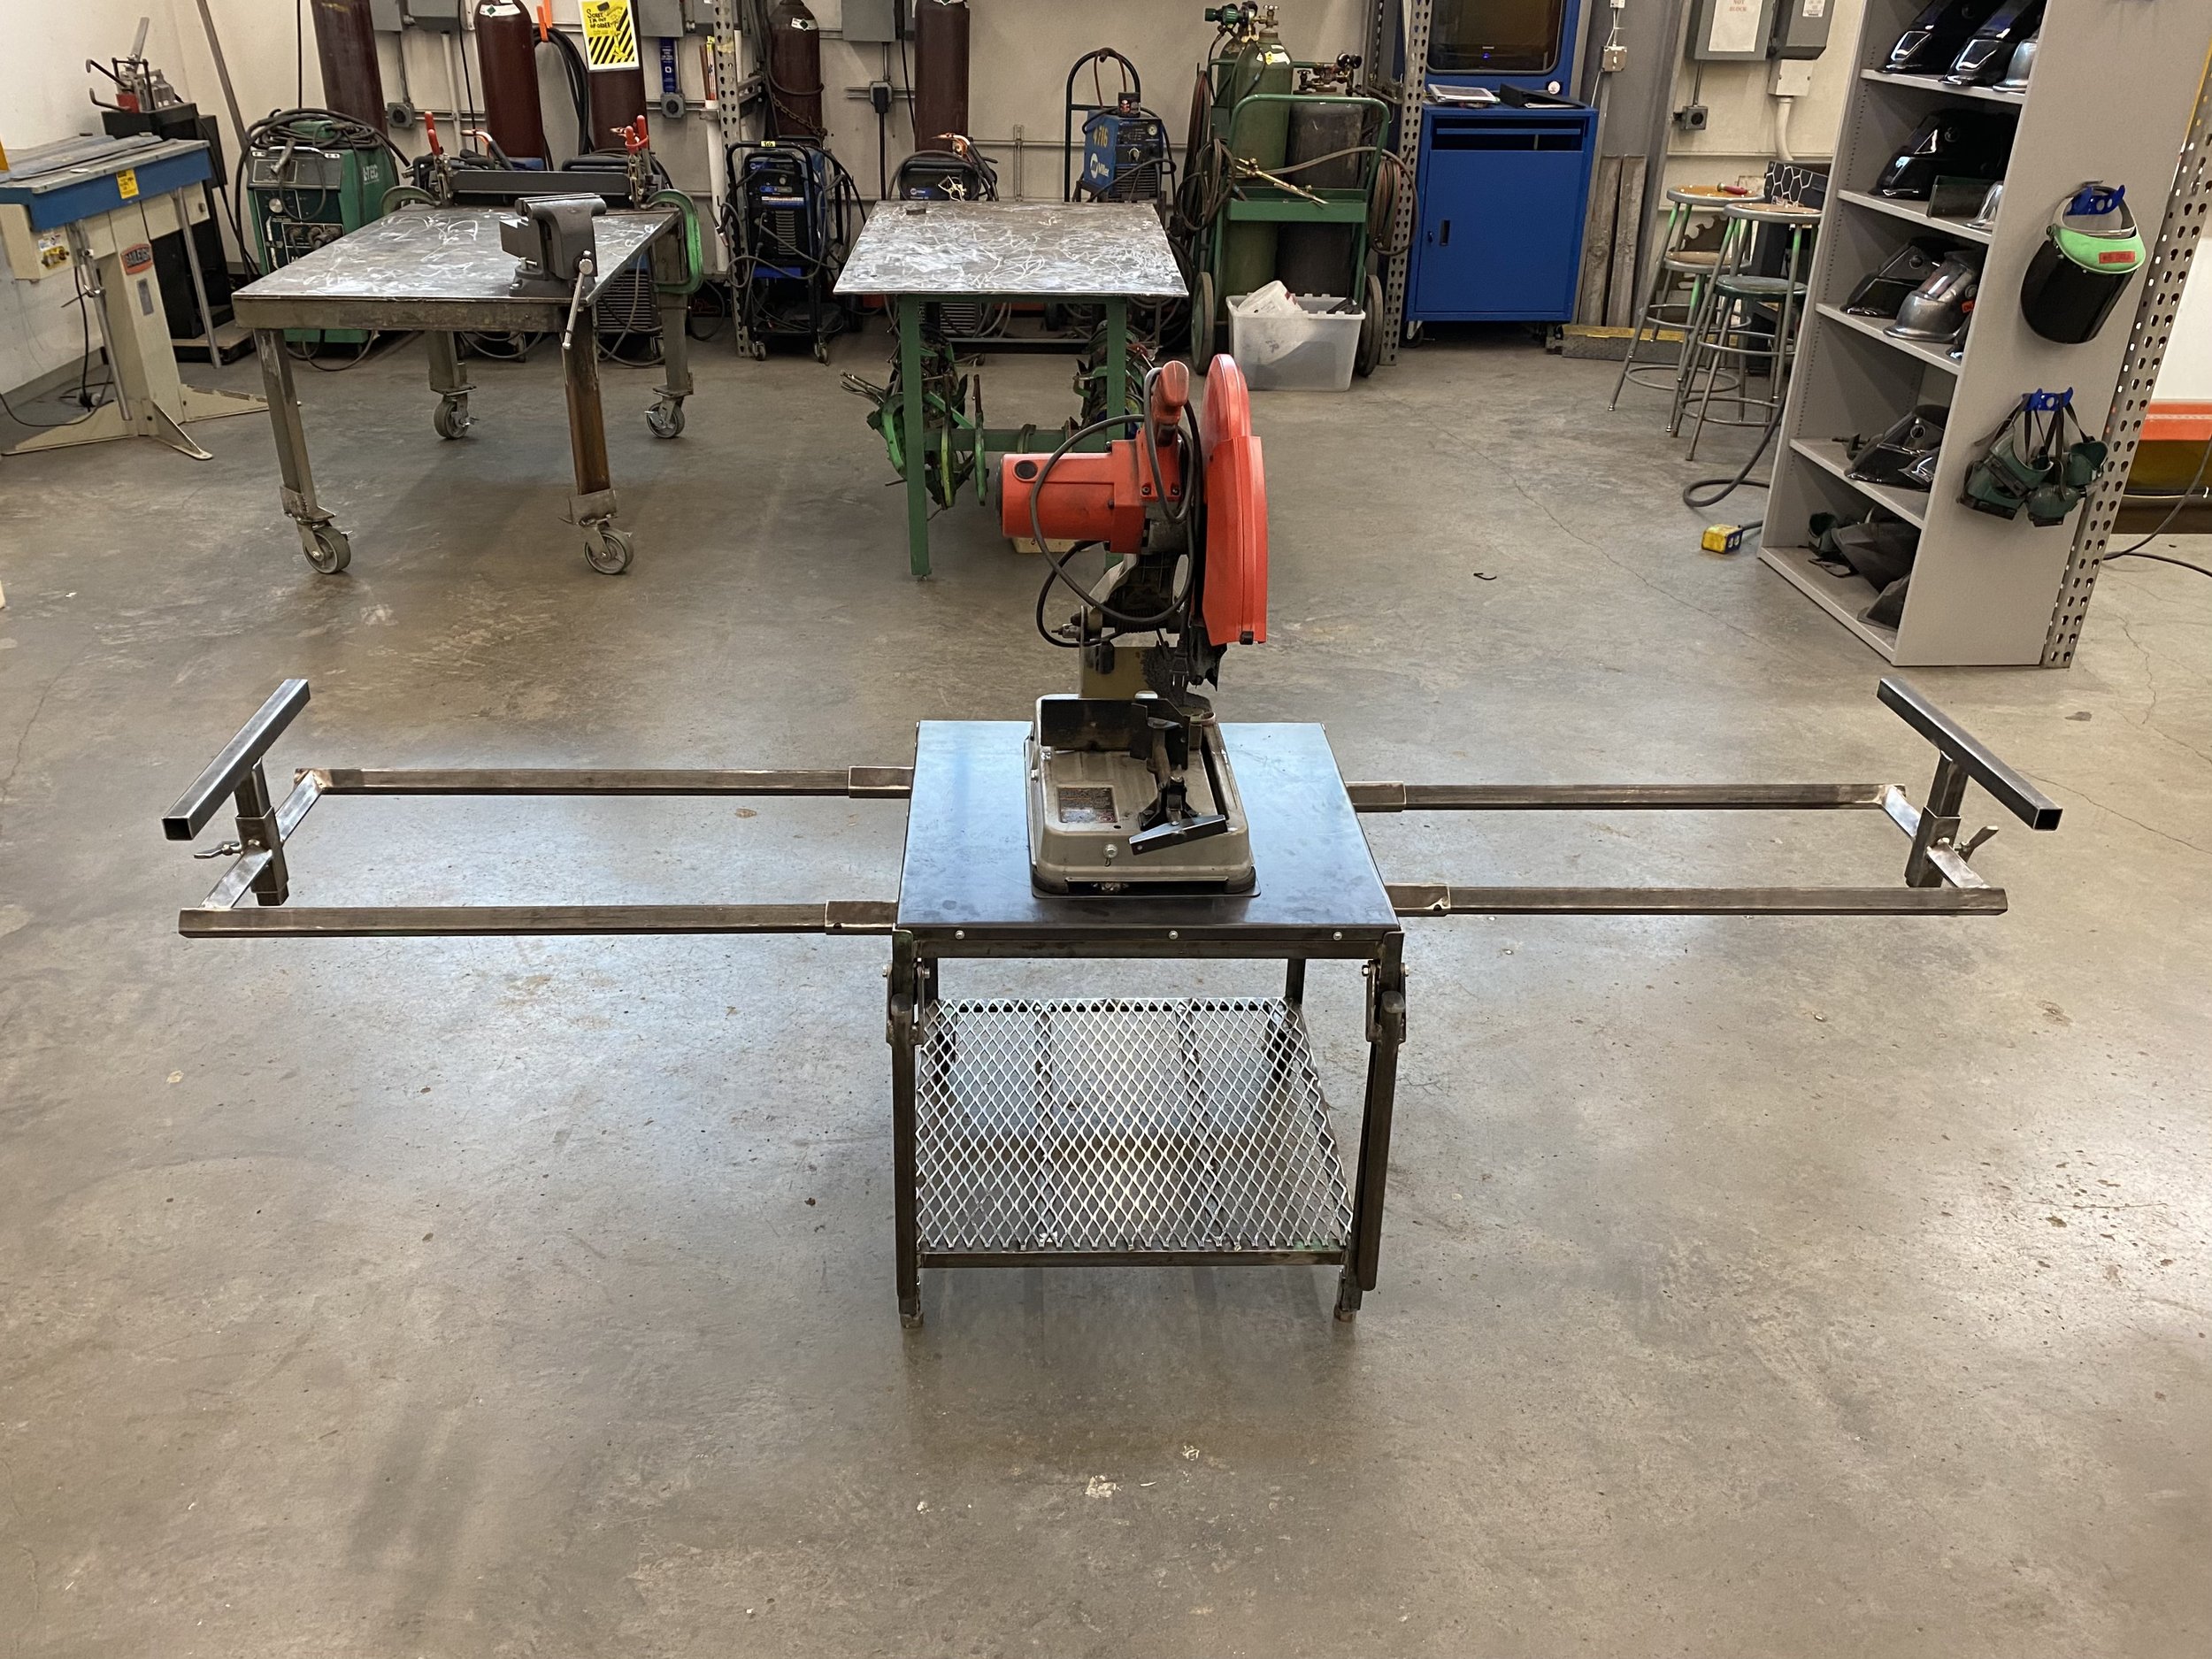
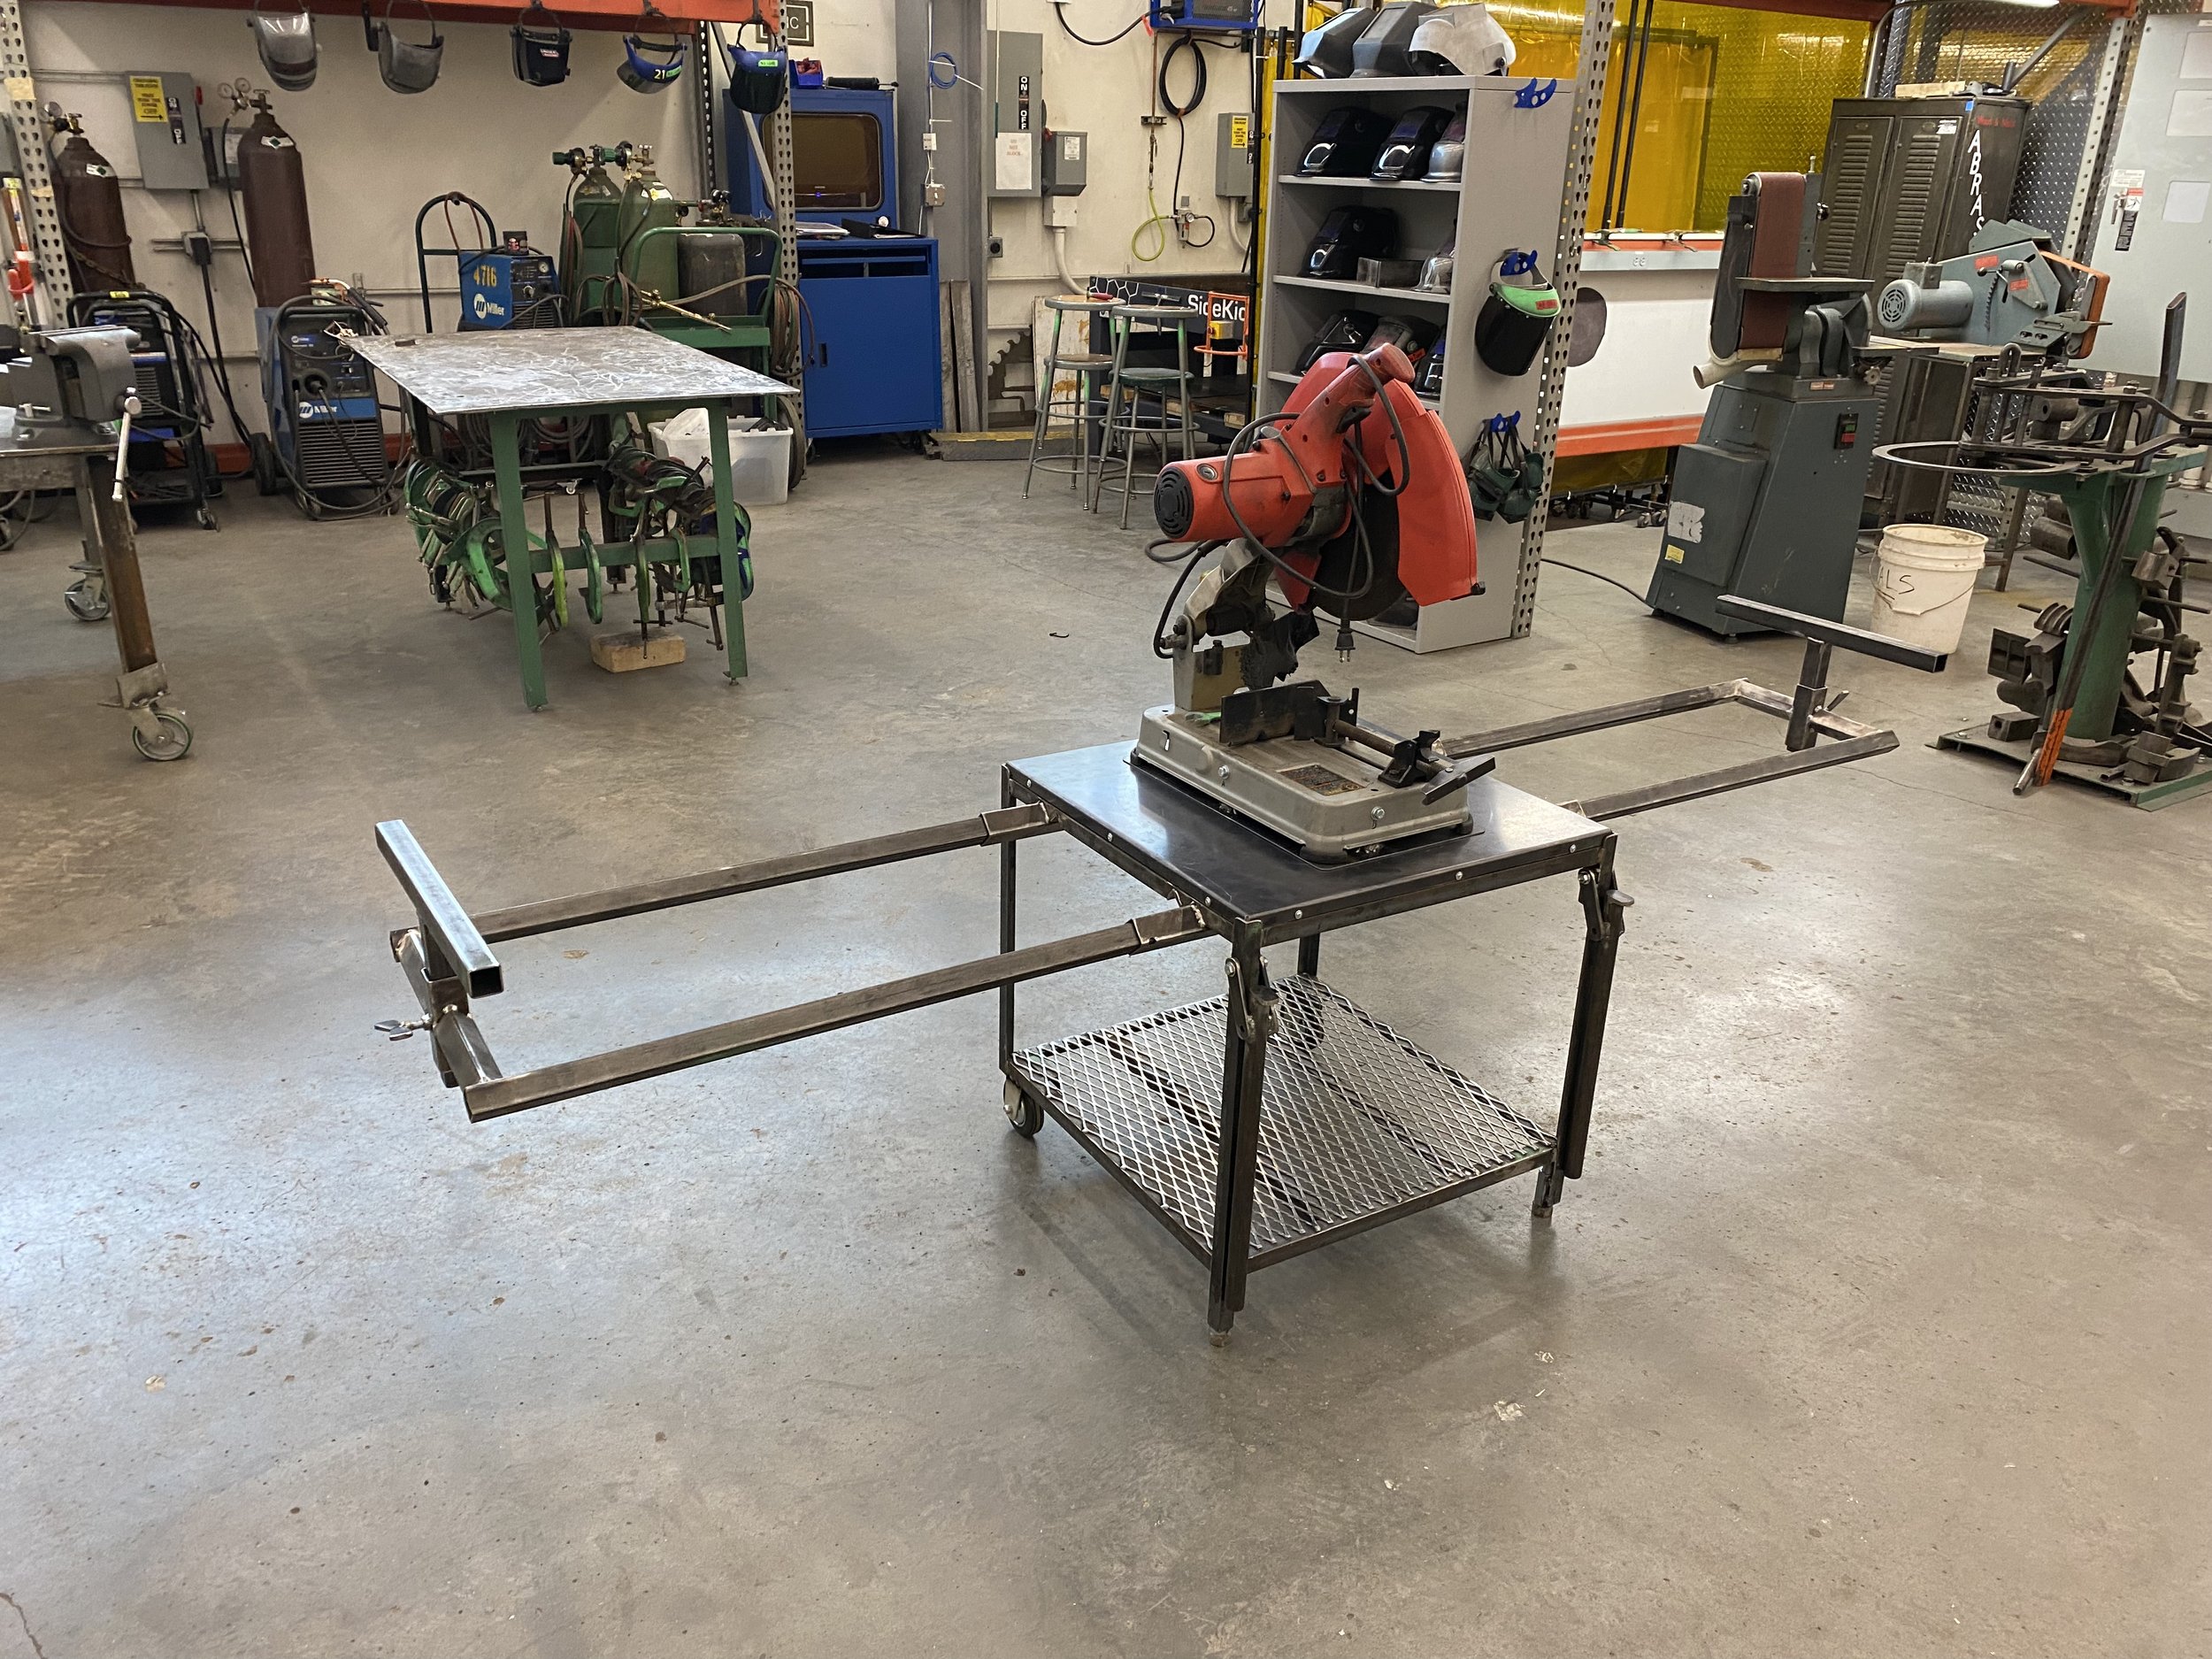
METAL SHOP - Oscillating & Telescoping Chop Saw Cart
Previously, the chop saw in our metal shop was kept on an old AV cart. For the most part, this simple set-up was sufficient; however, personally growing tired of having to set up supports for long stock, I decided go down the rabbit hole of building a new cart. Unlike a mitre saw where the angle of the saw blade is adjustable / fence stationary, it is typically the fence of the metal chop saw that is adjustable. Consequently, when the angle of the fence needs to be changed from 90 degrees, so does all of the material or stock that is being cut. This often means having to rearrange the general area just find space. The design of the new cart is so the entire chop saw can swivel, allowing the metal material to stay in place, supported by the telescoping arms.
video of the cart in action
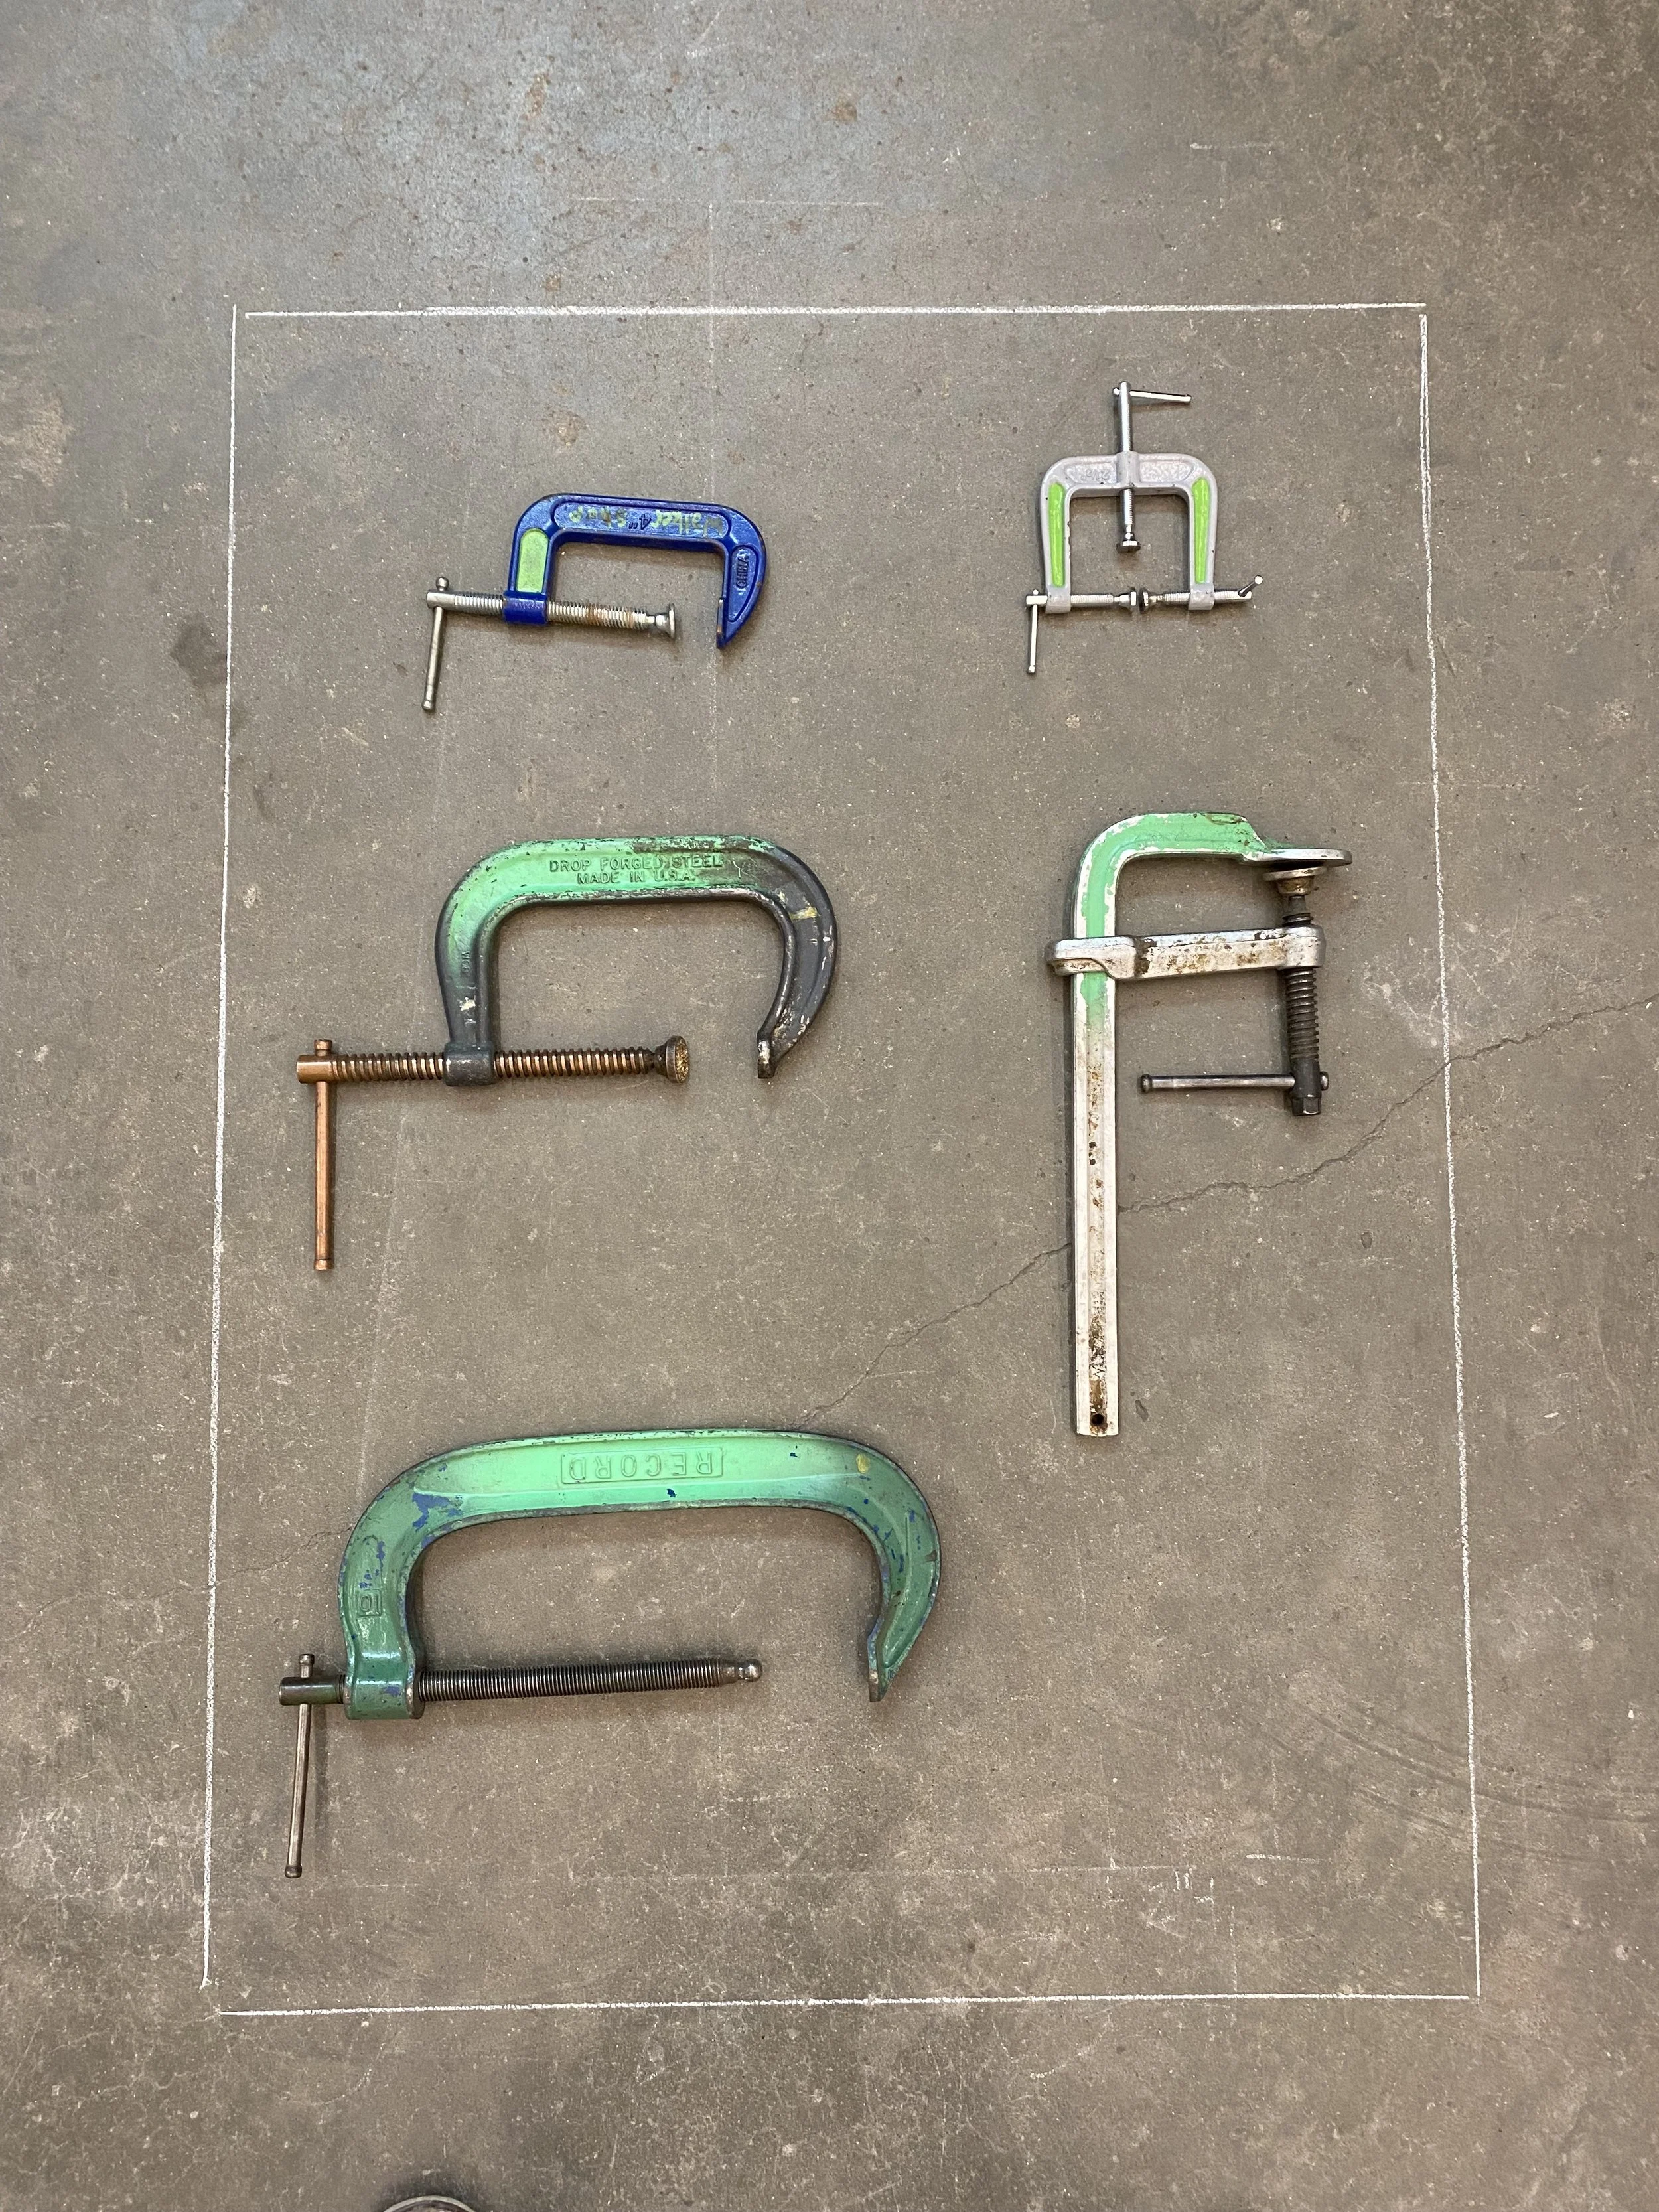
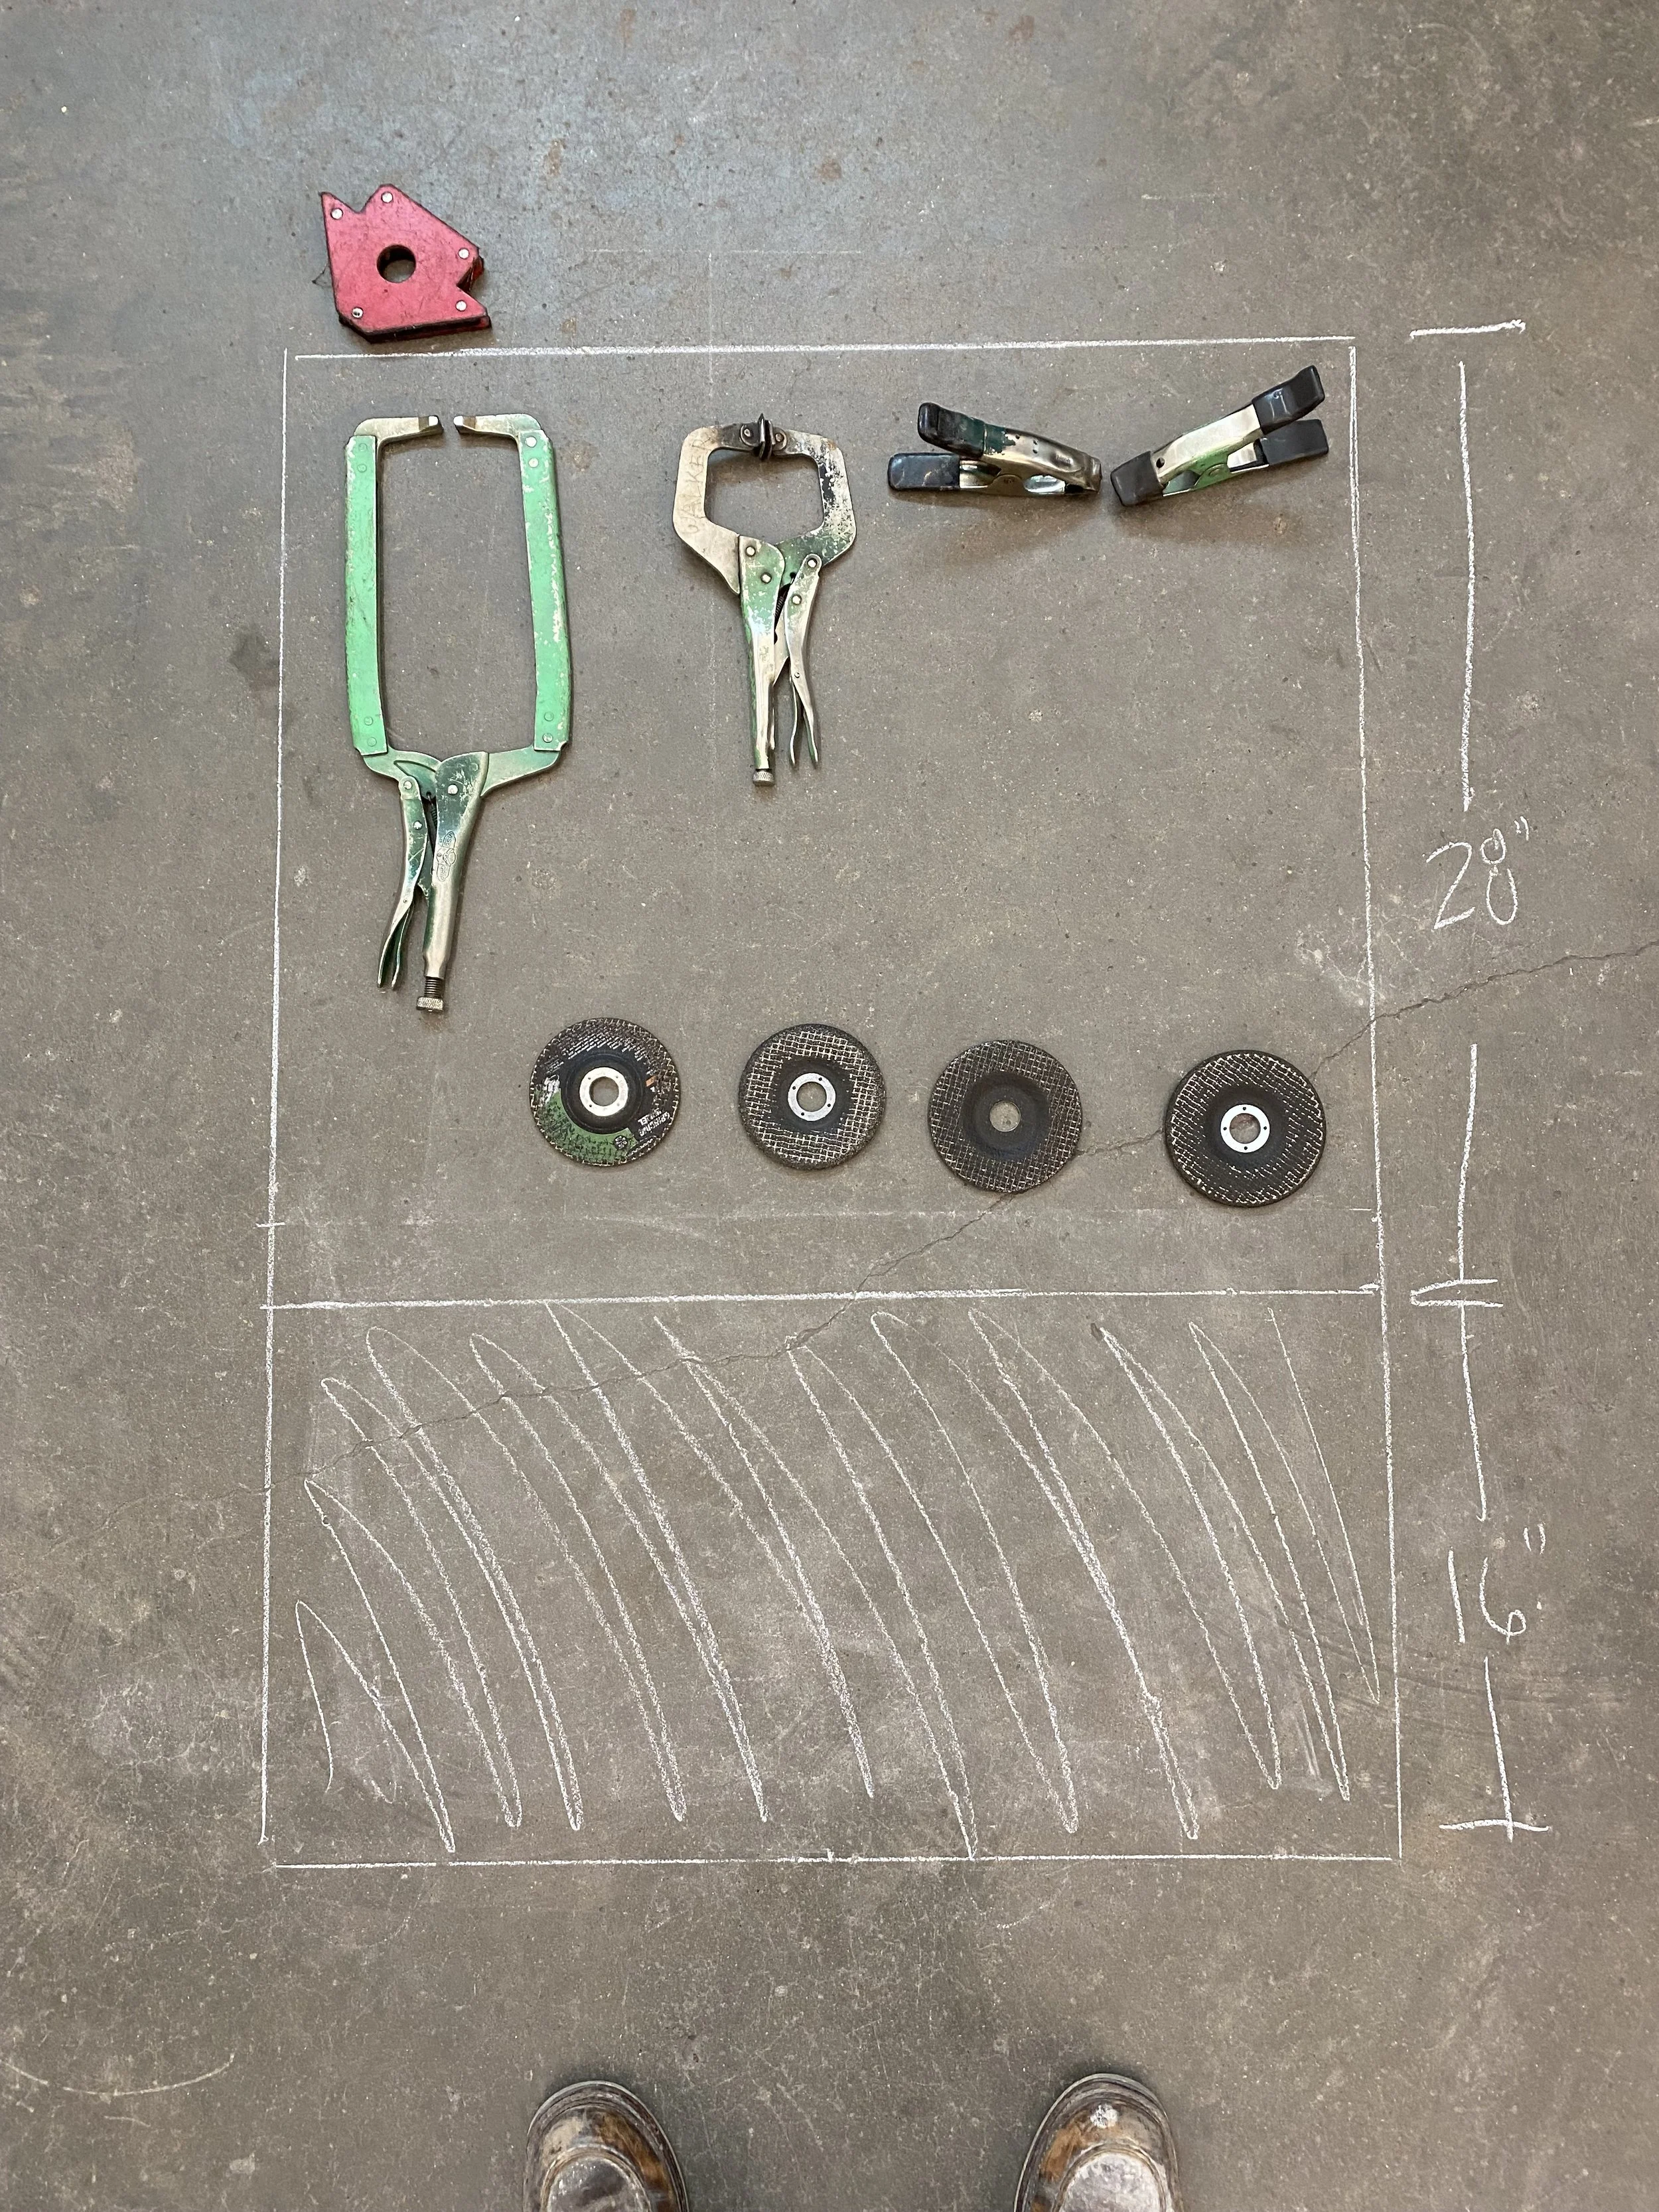
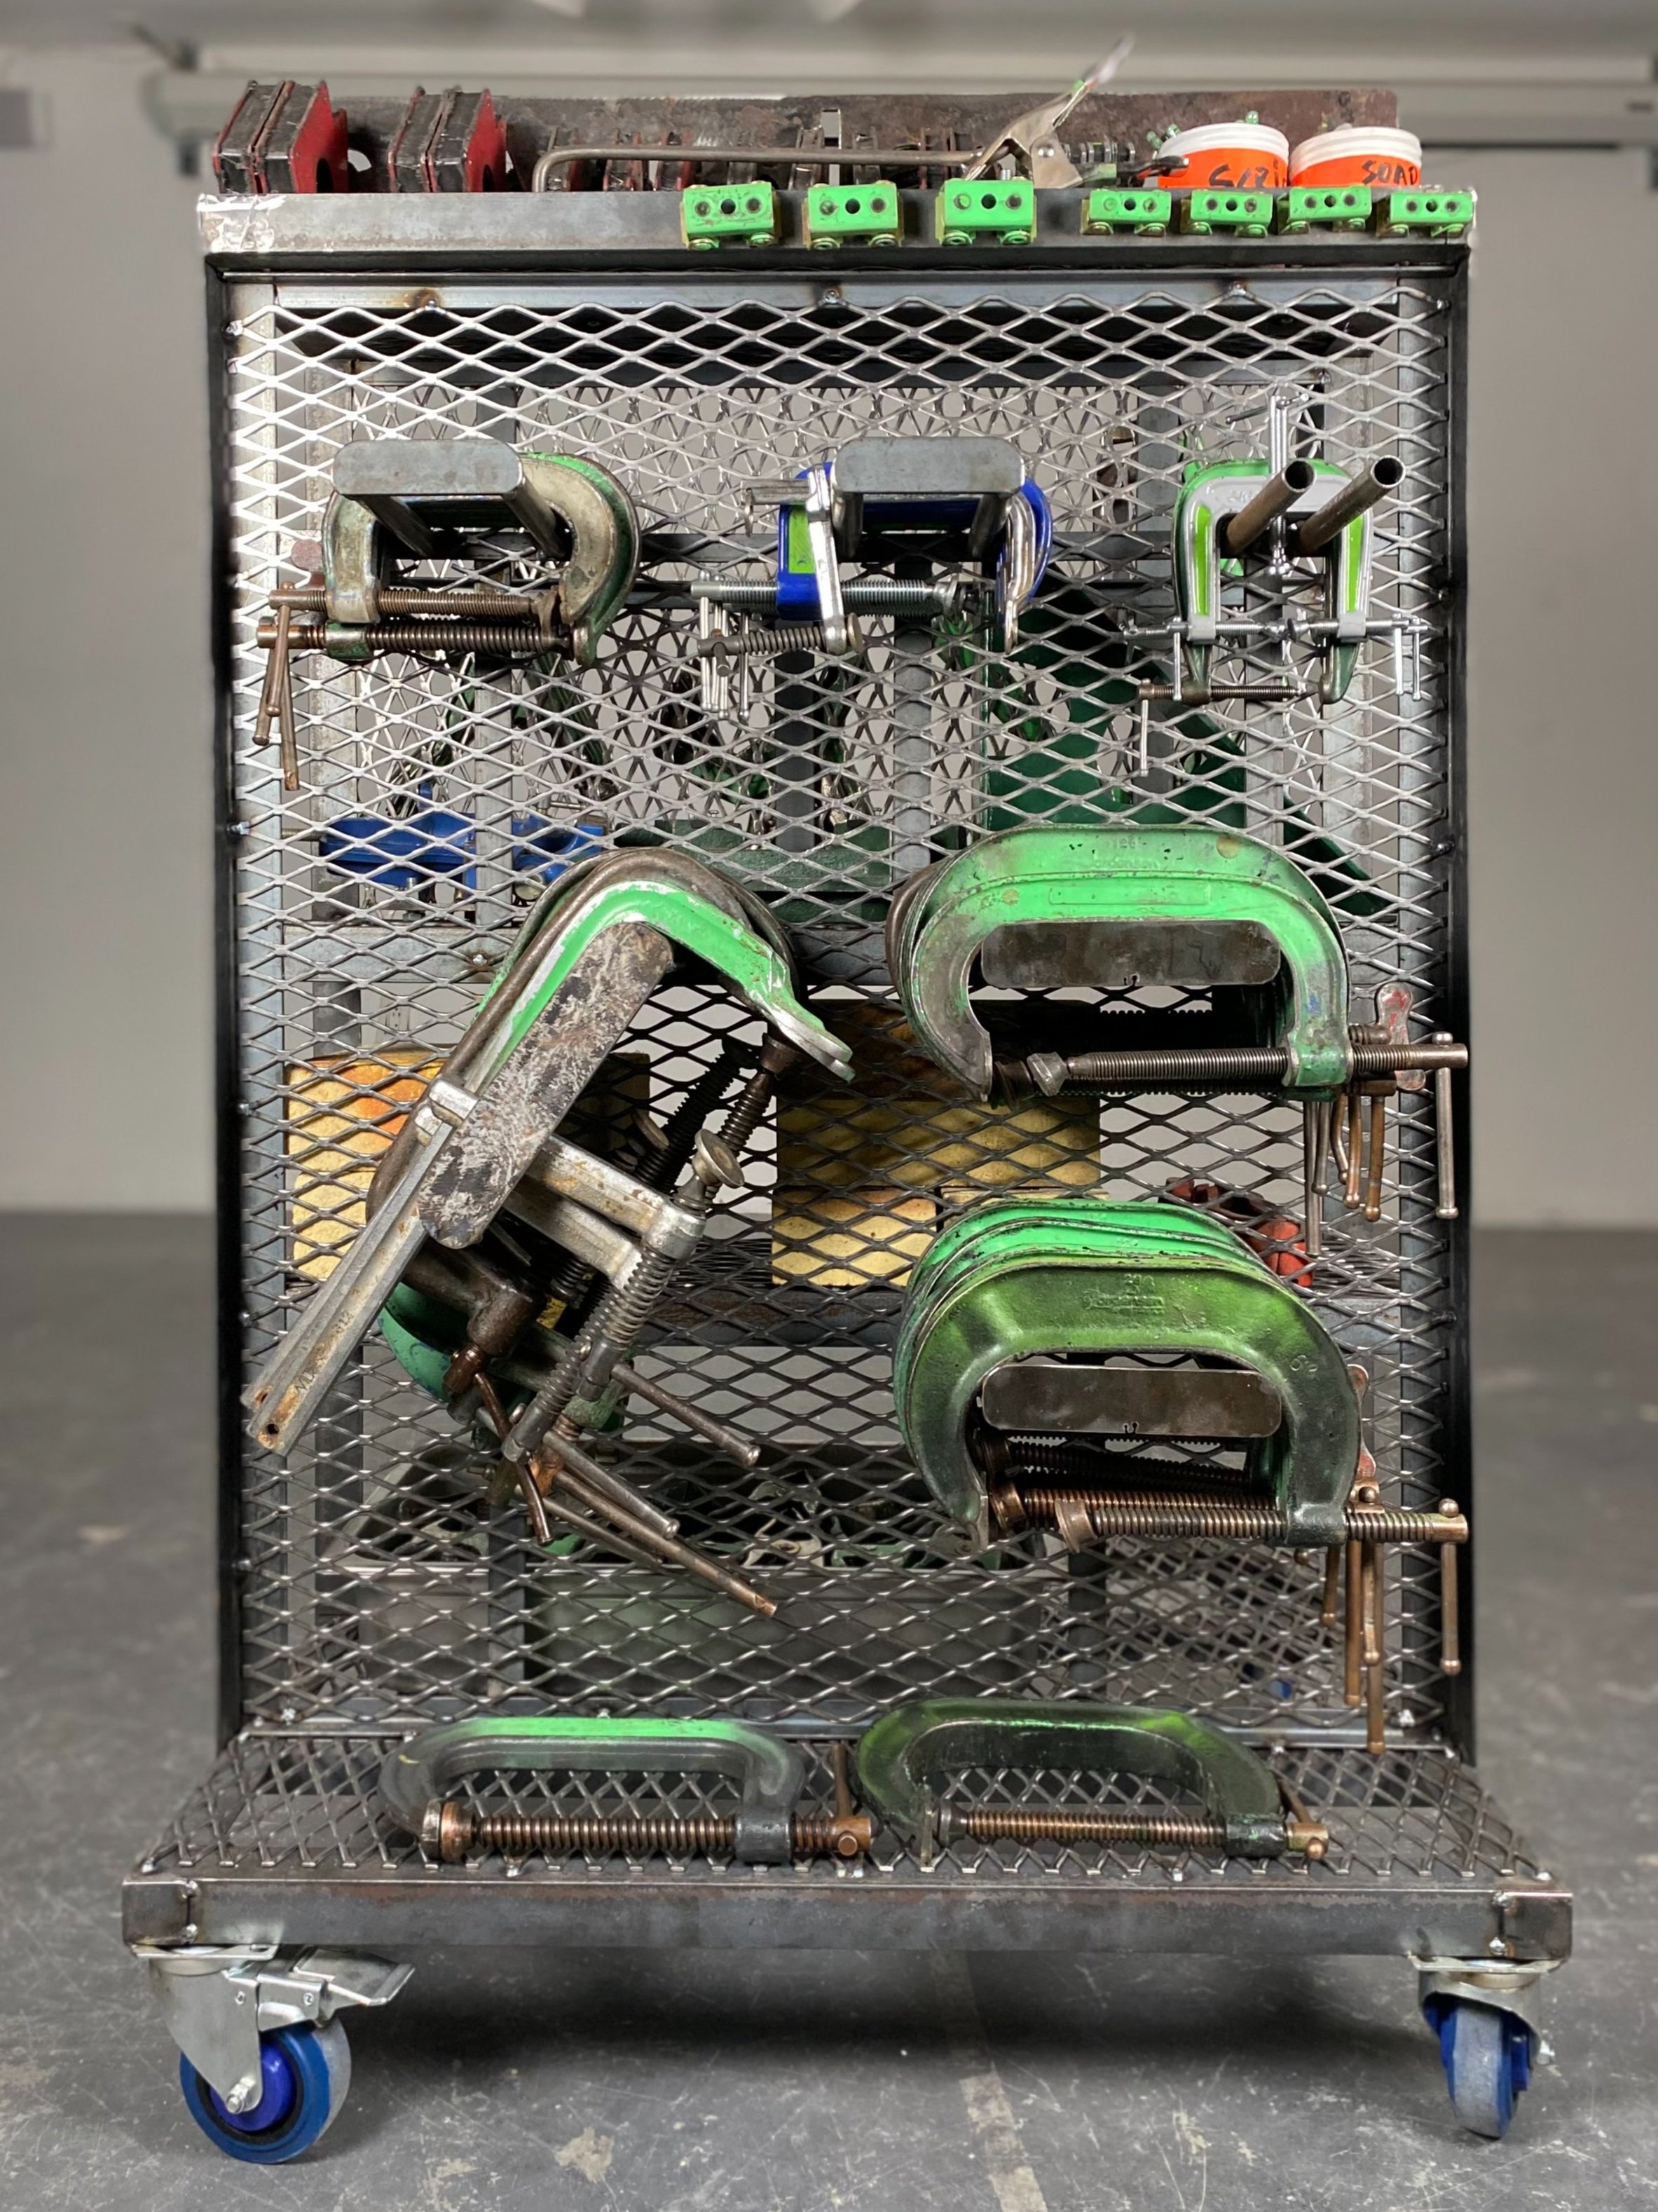
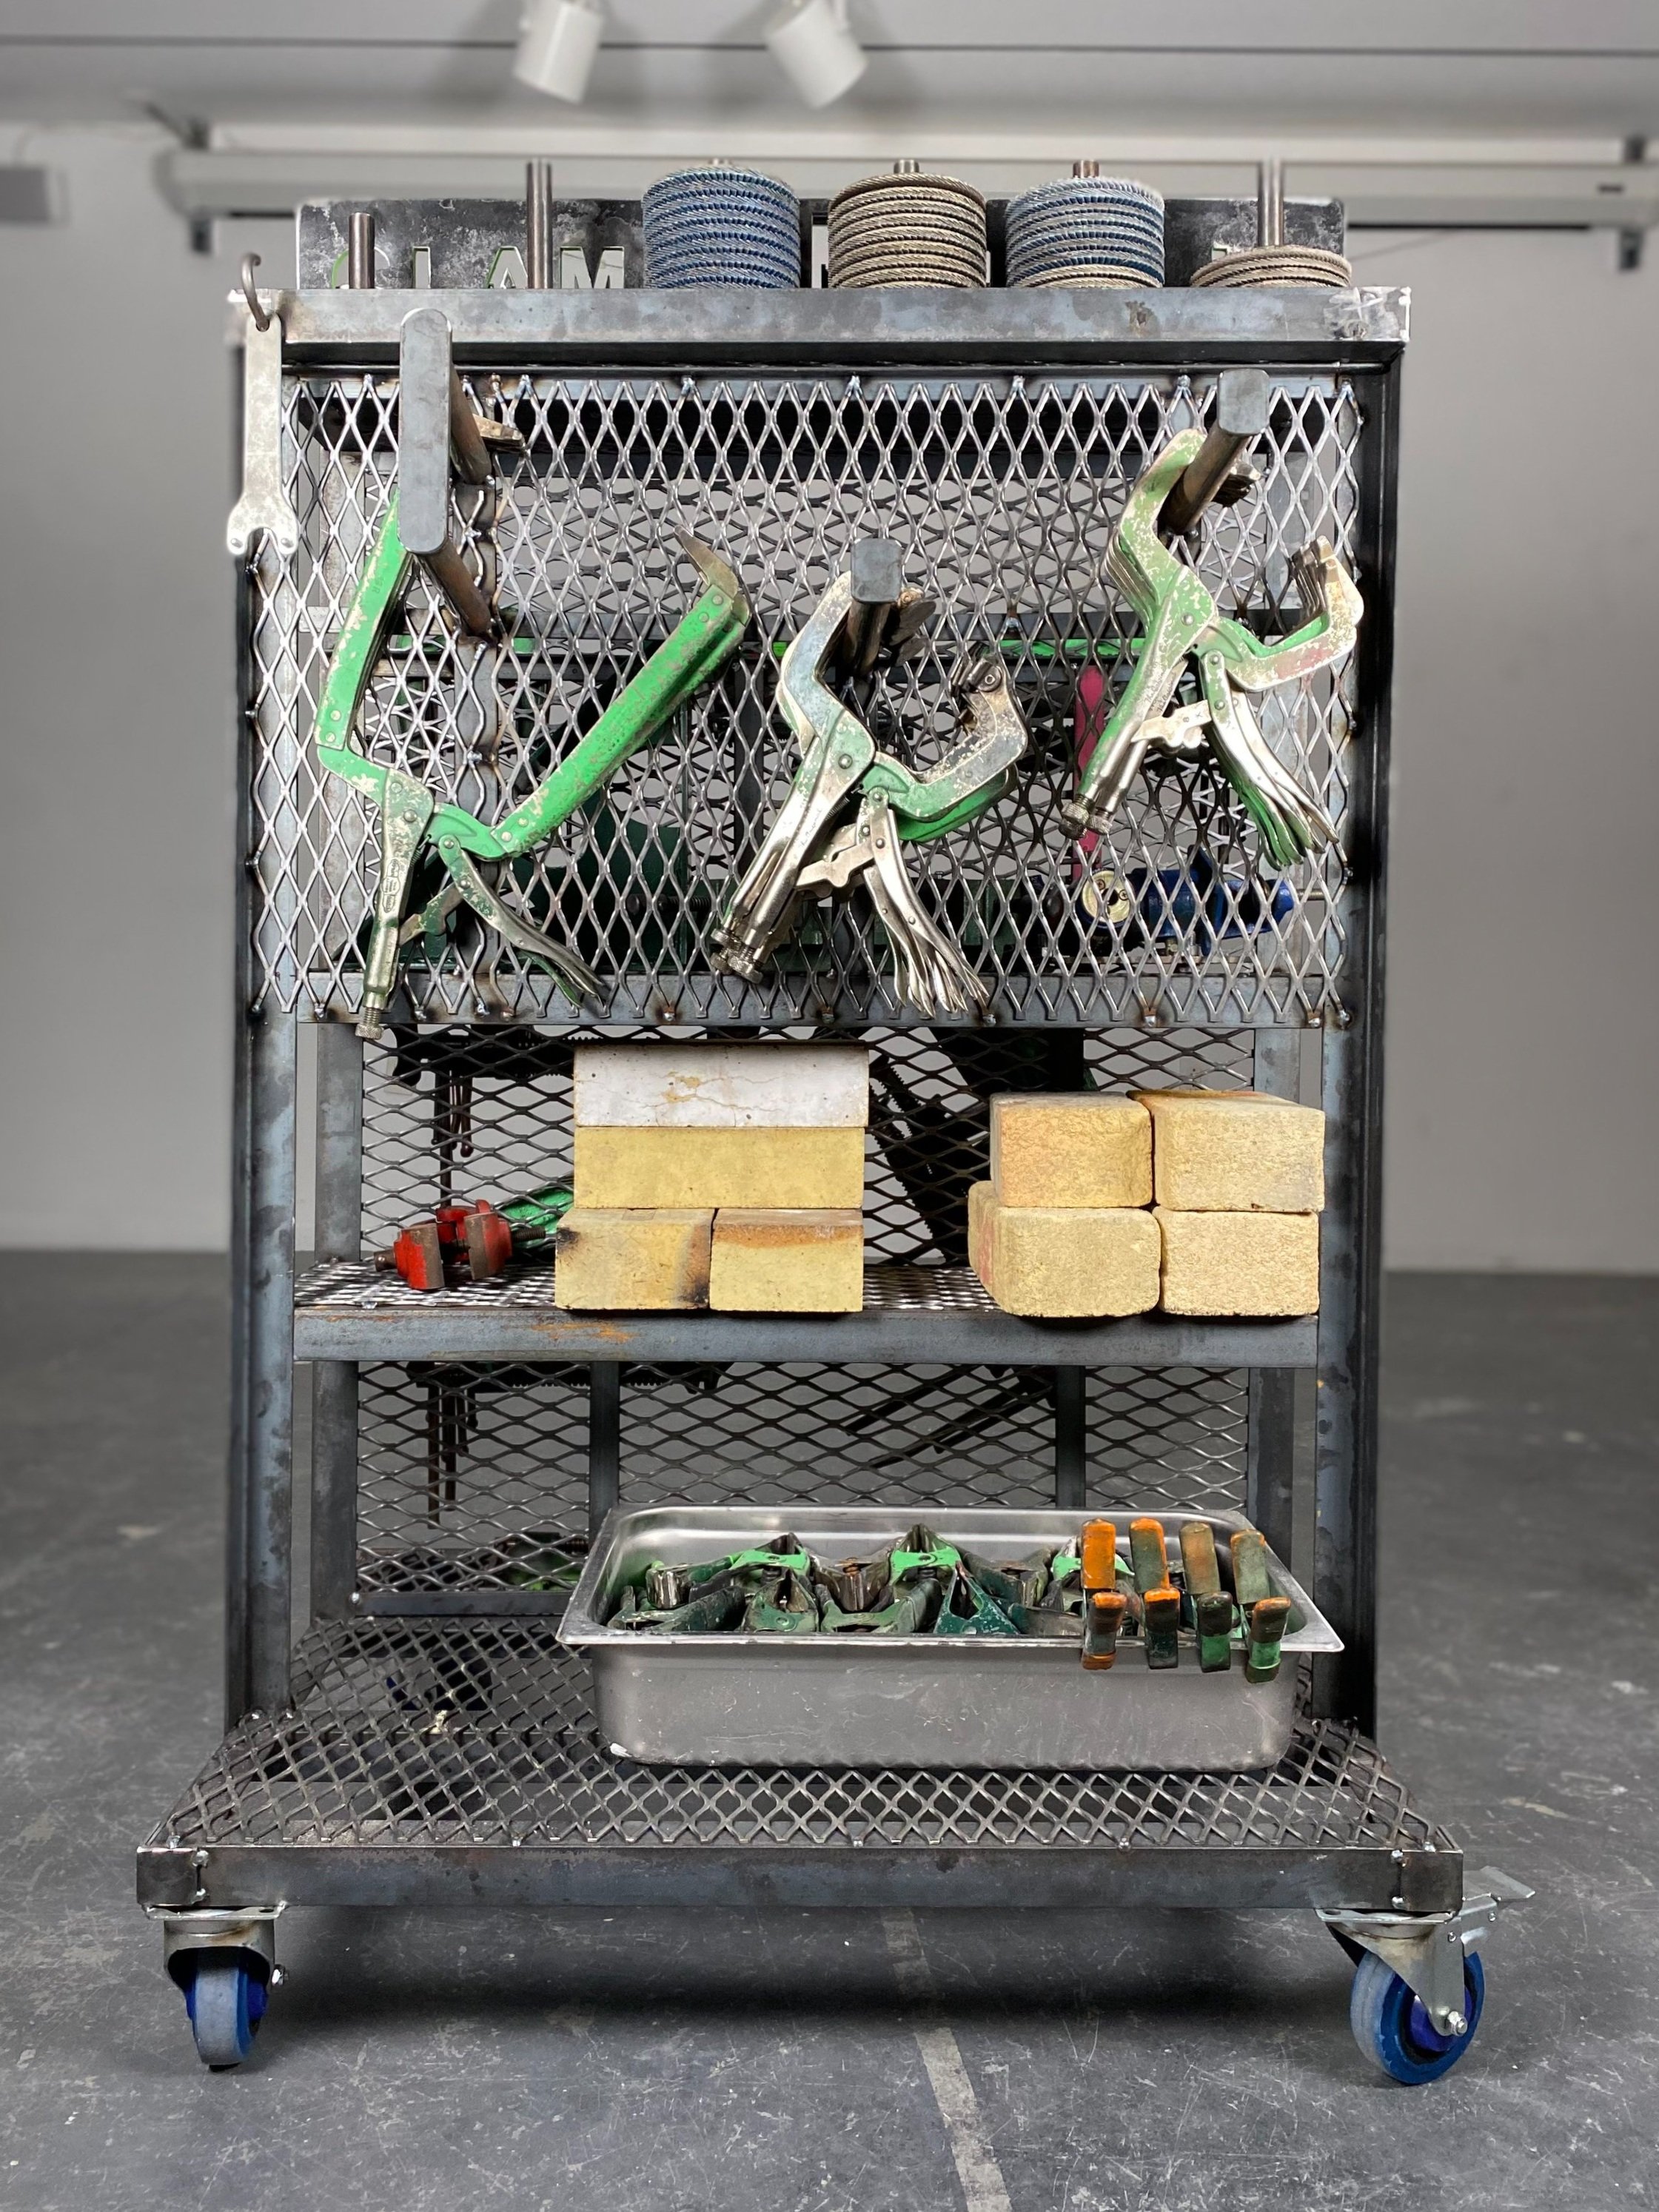
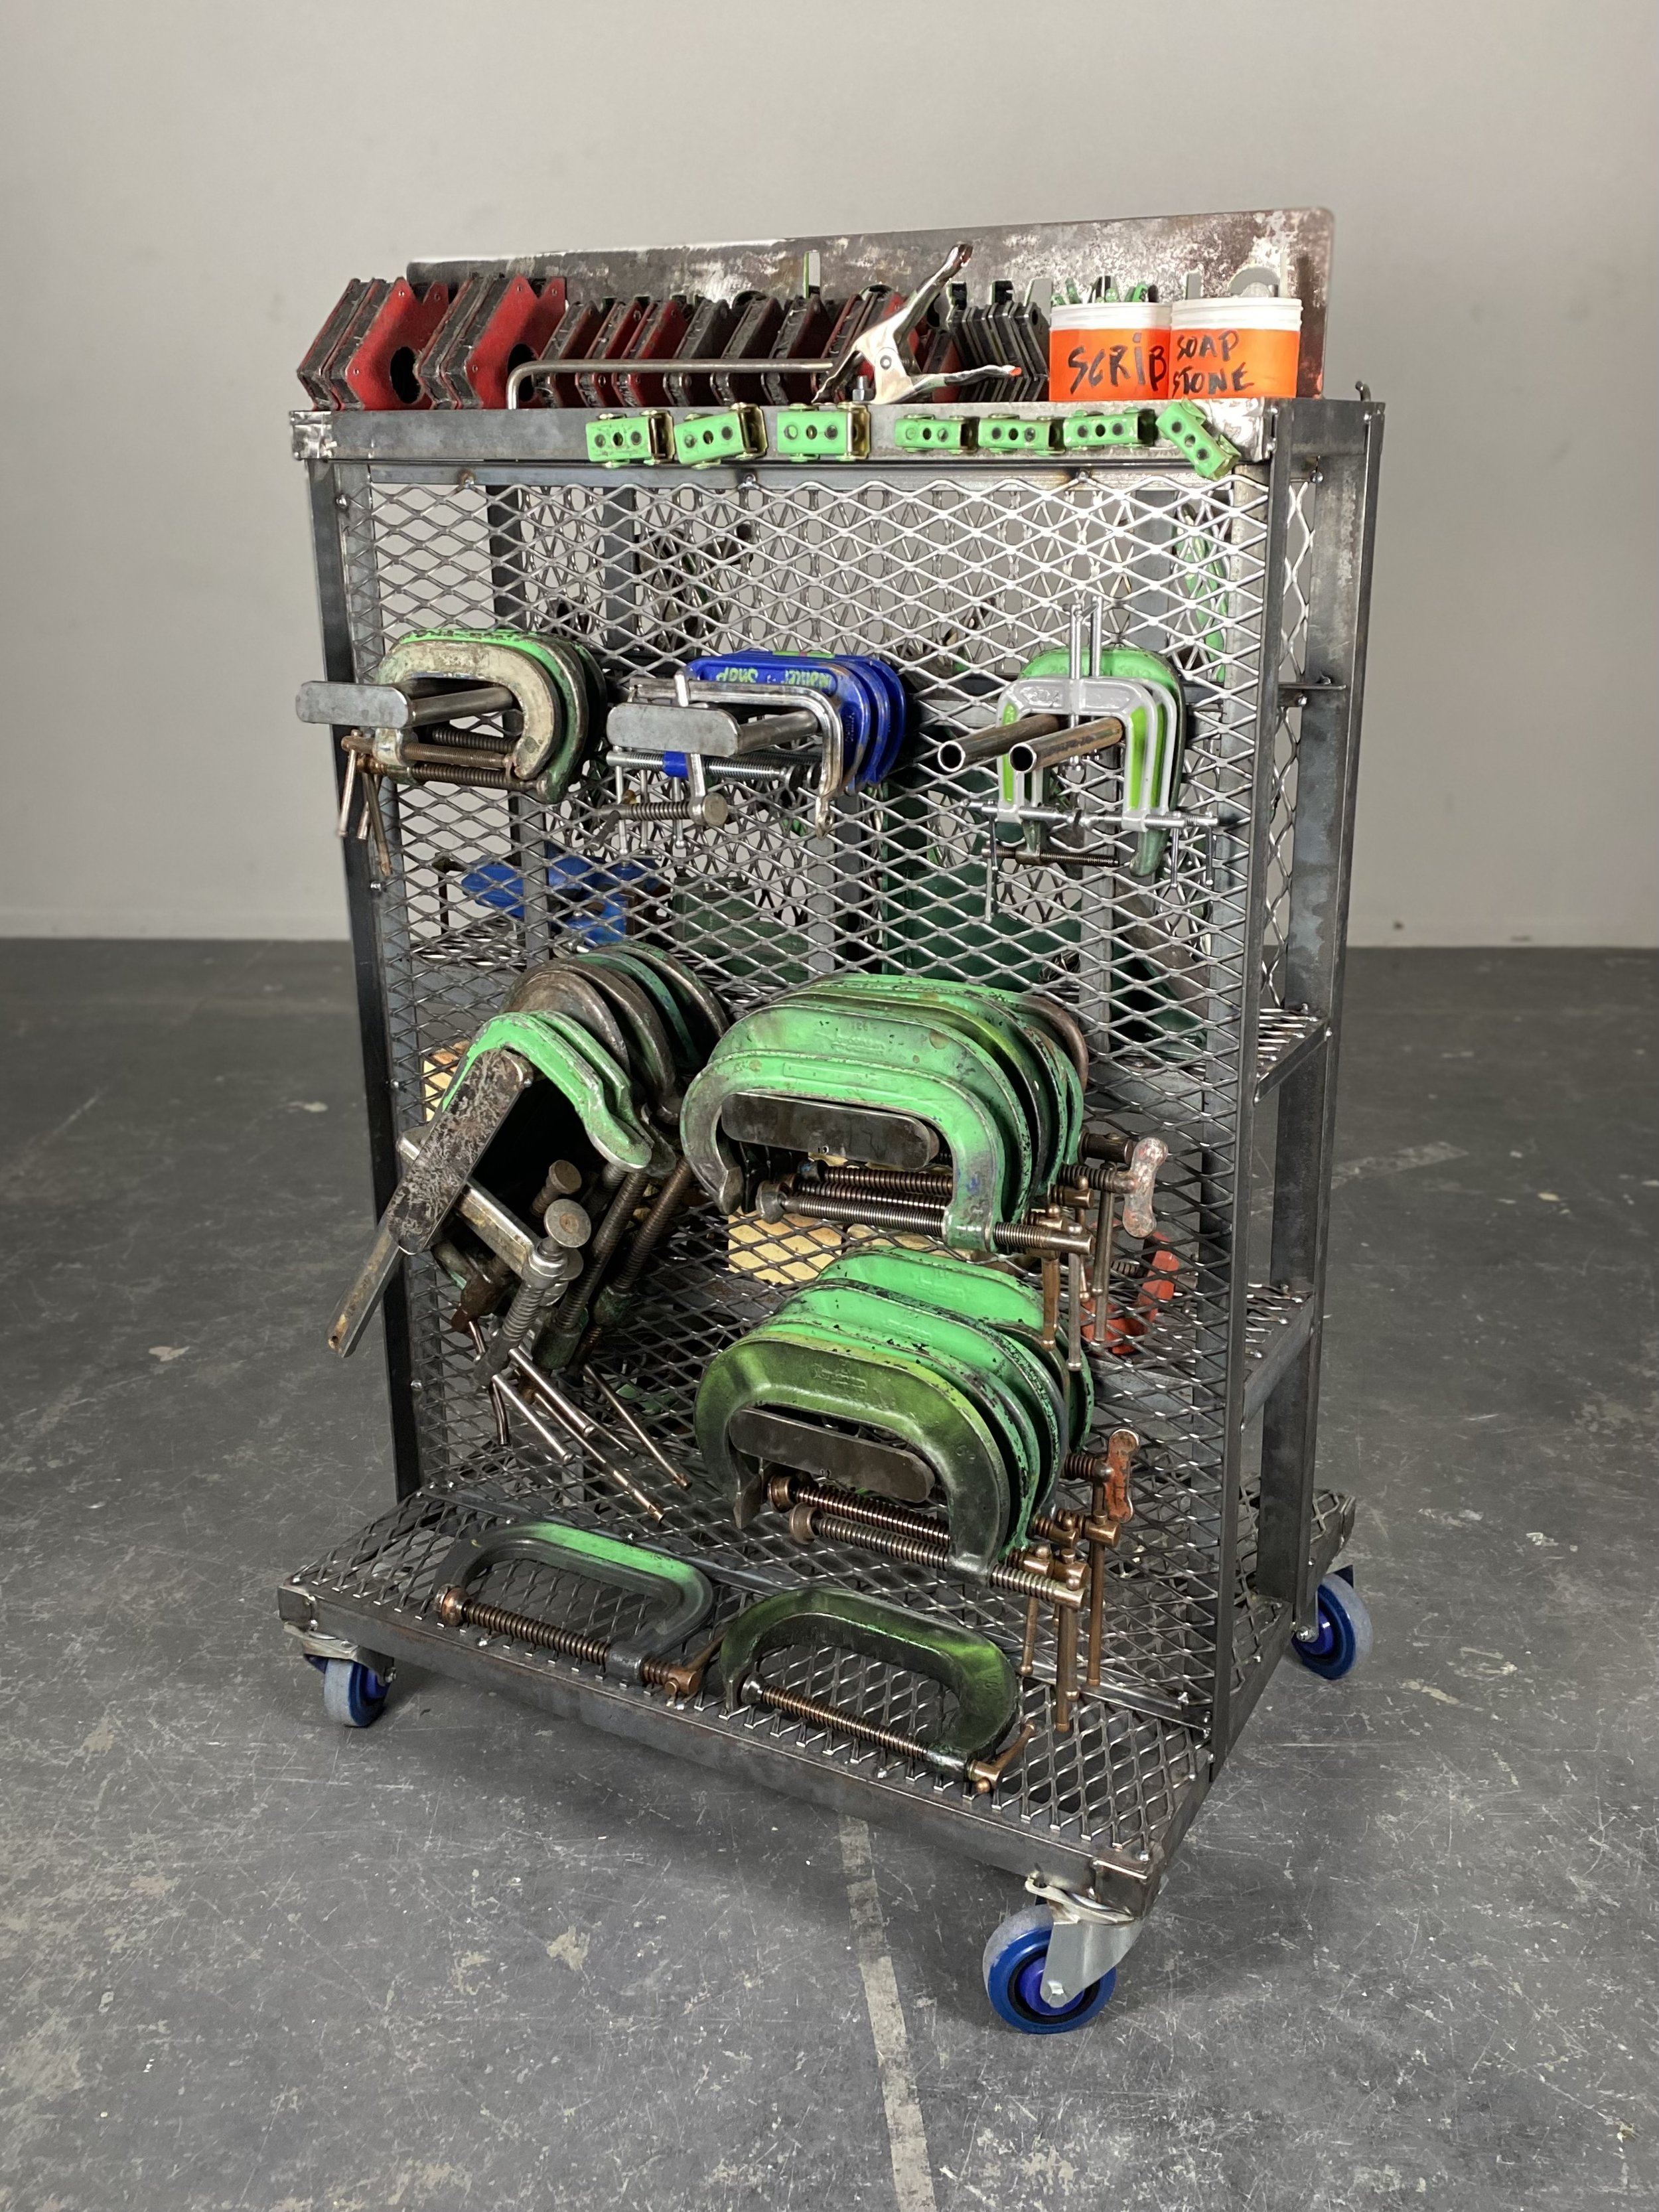
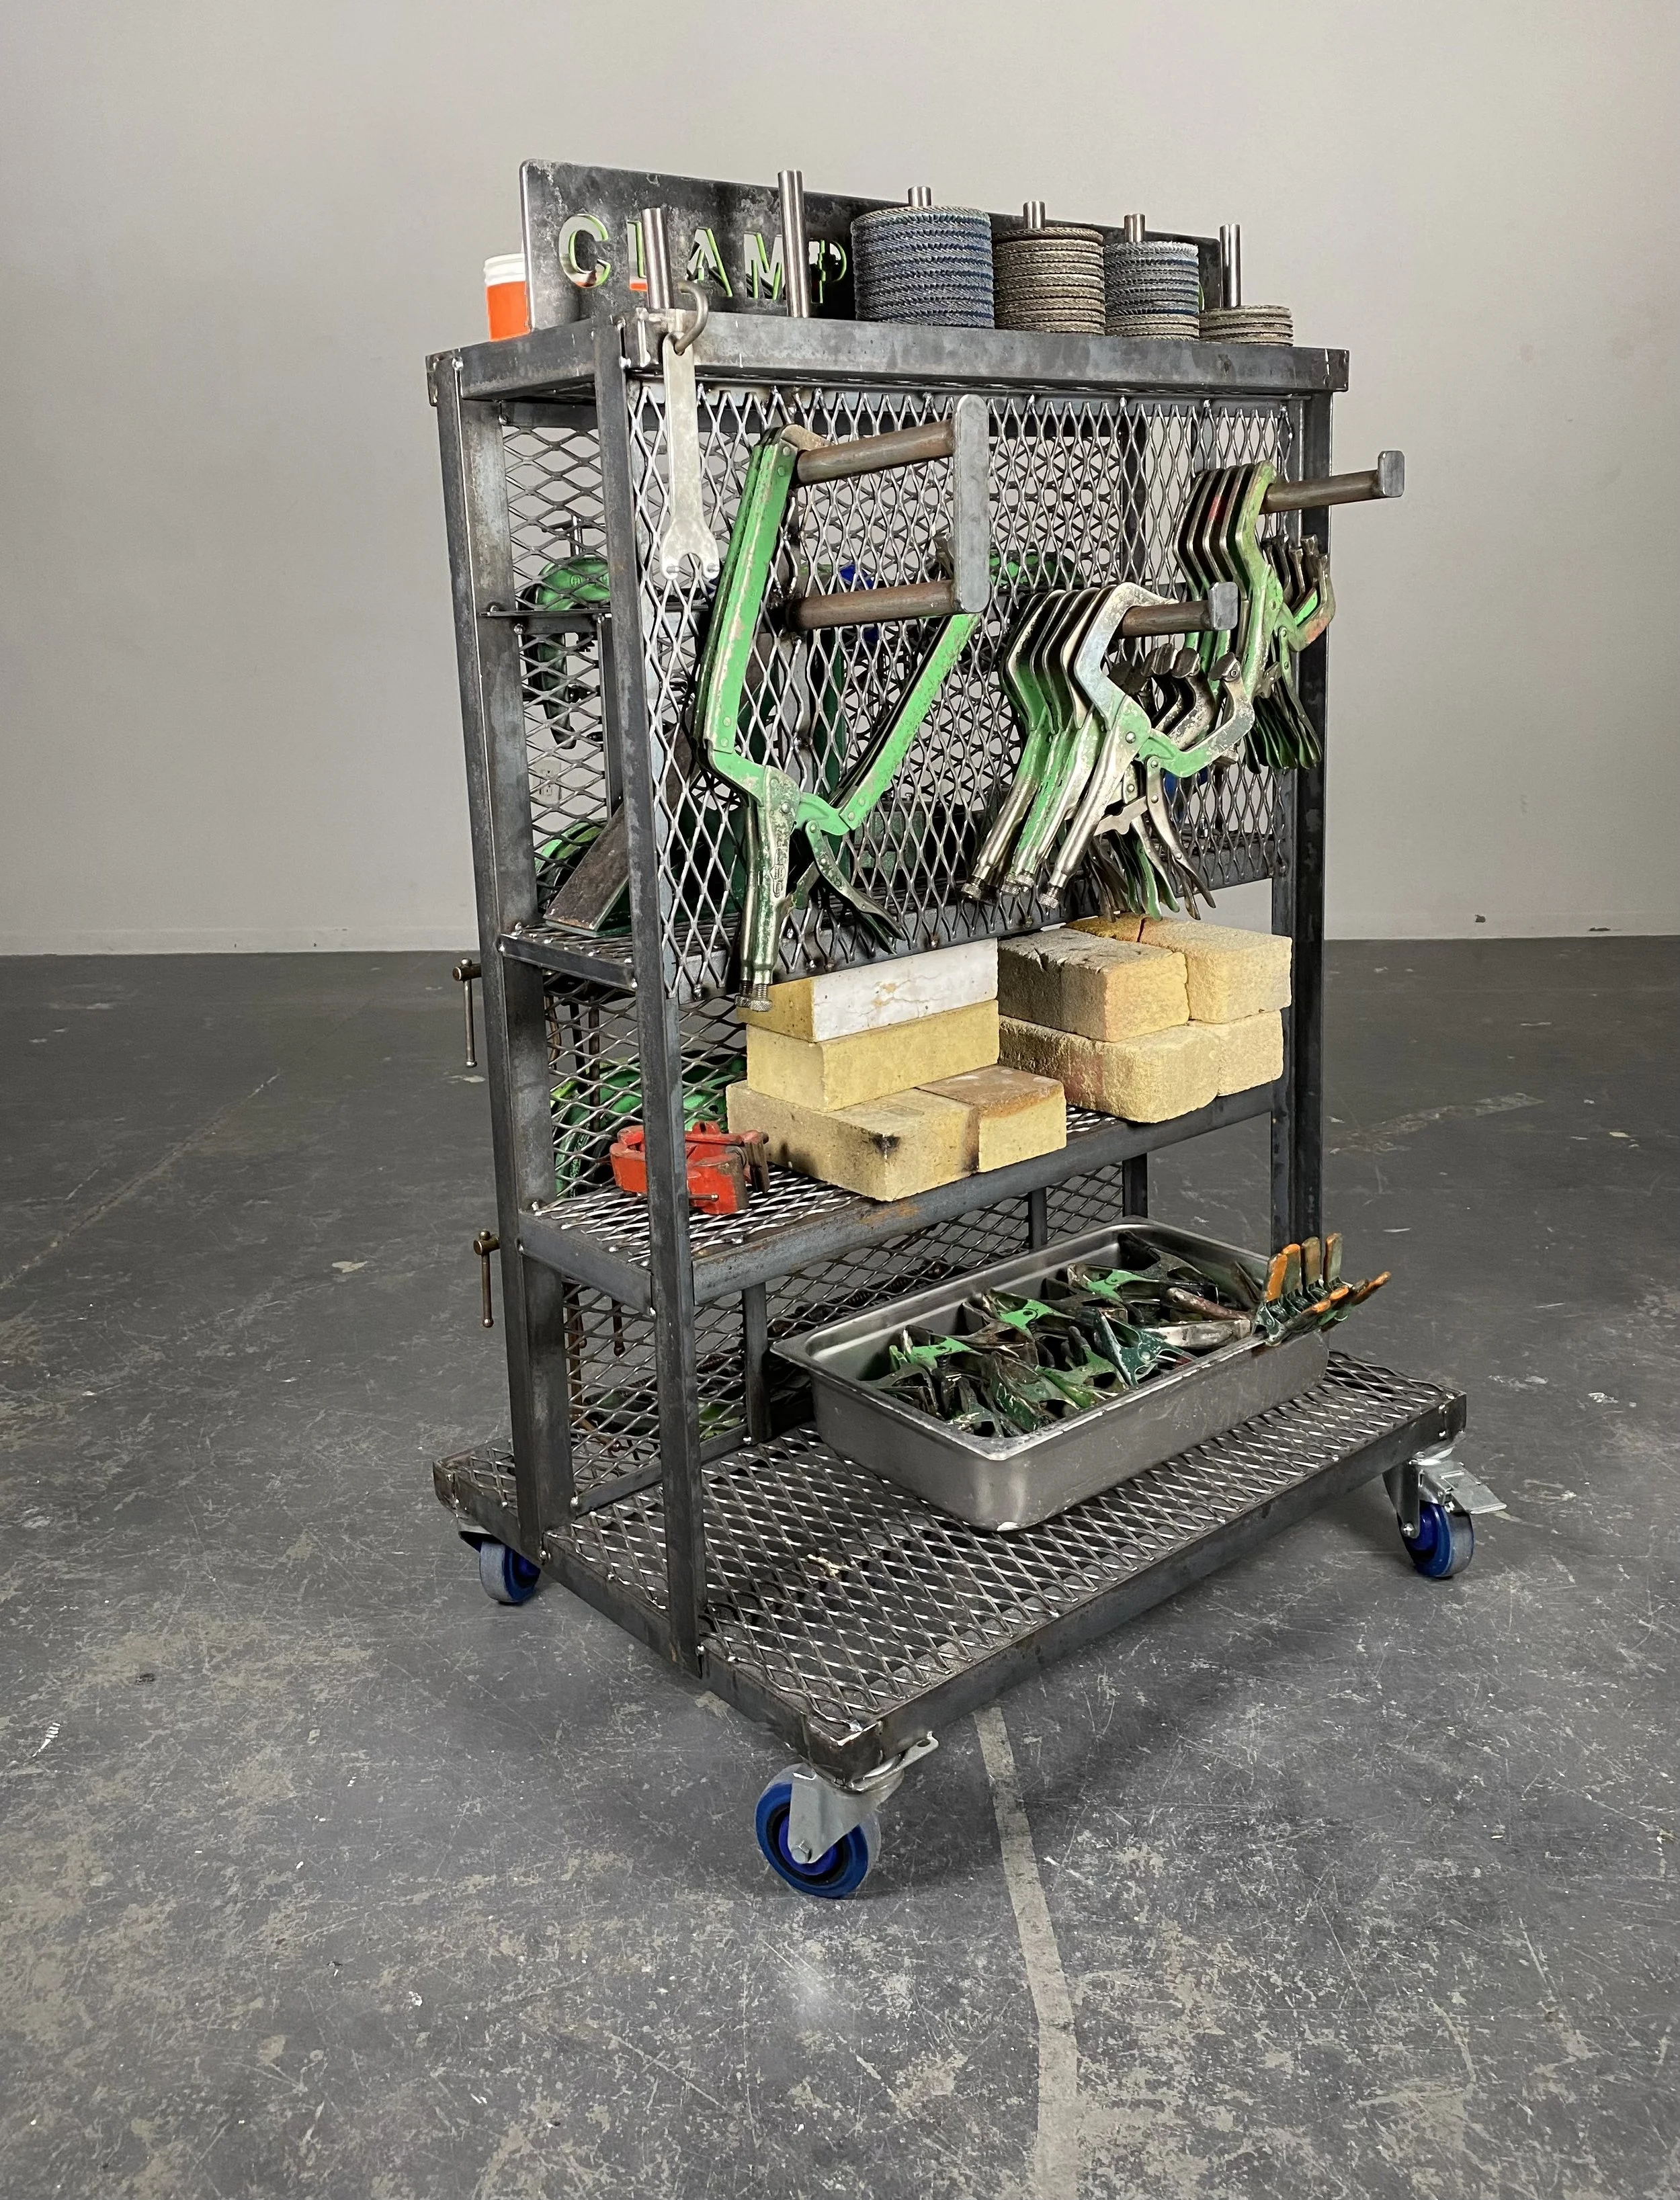
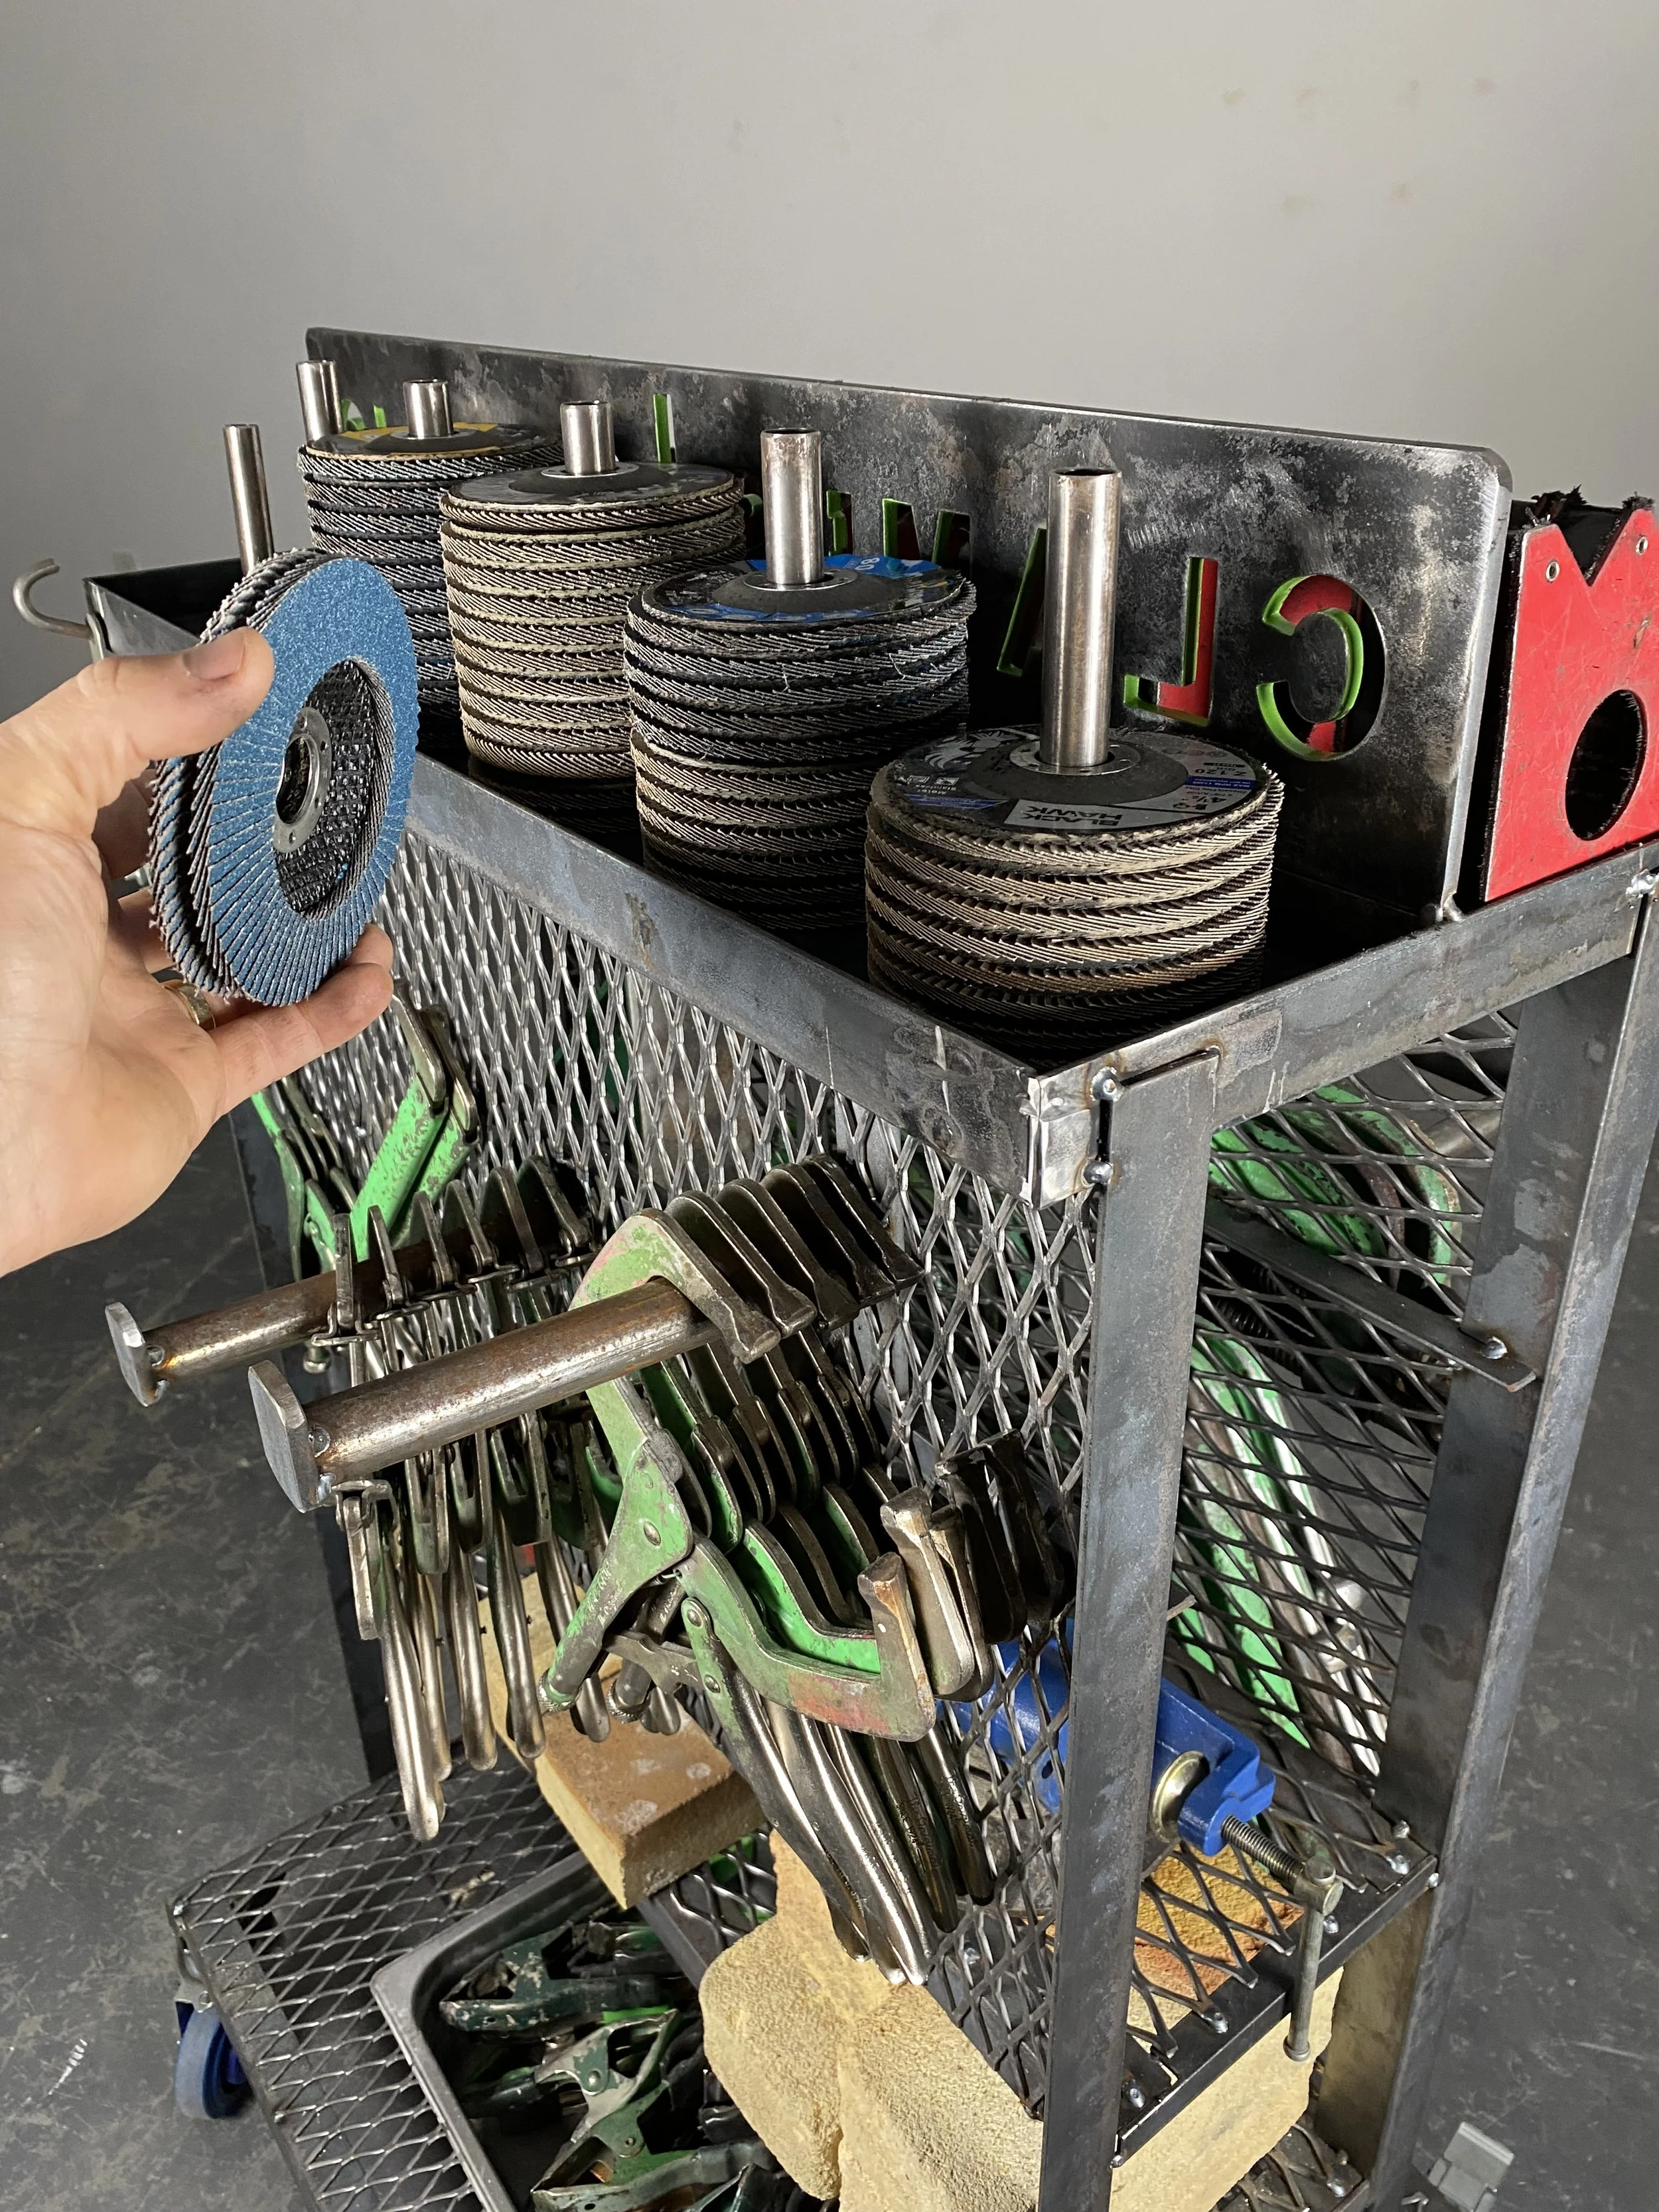
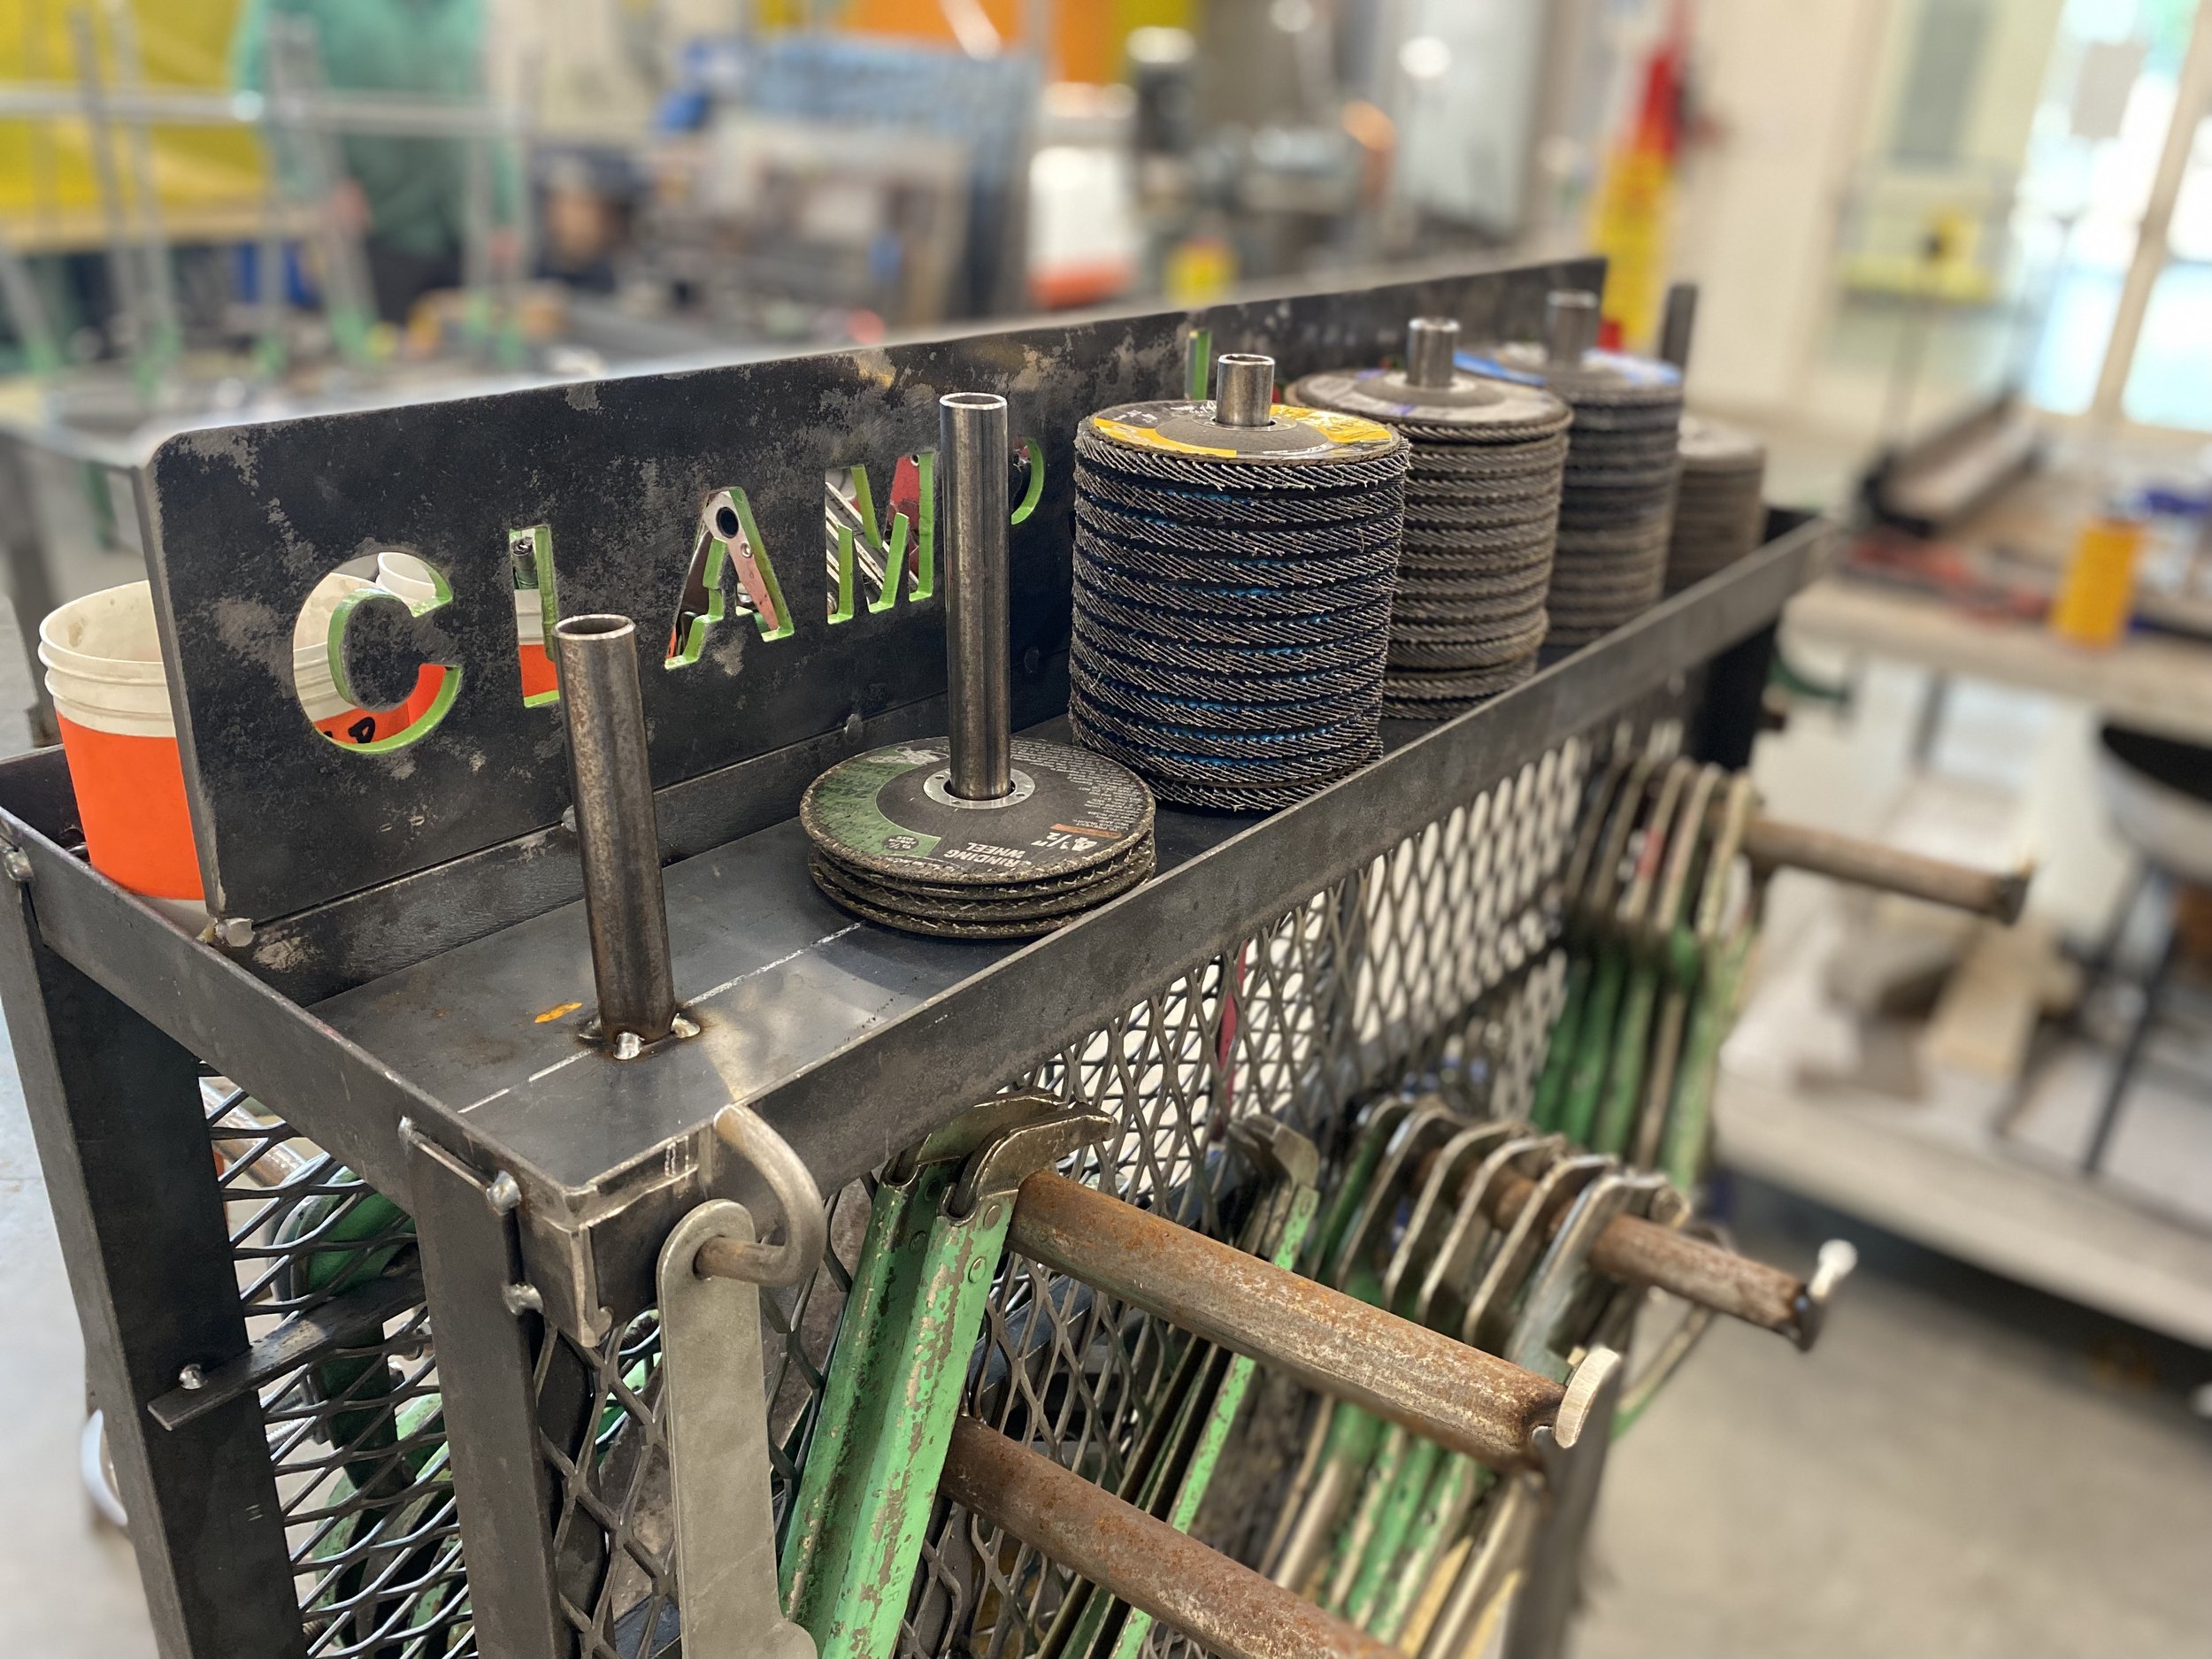
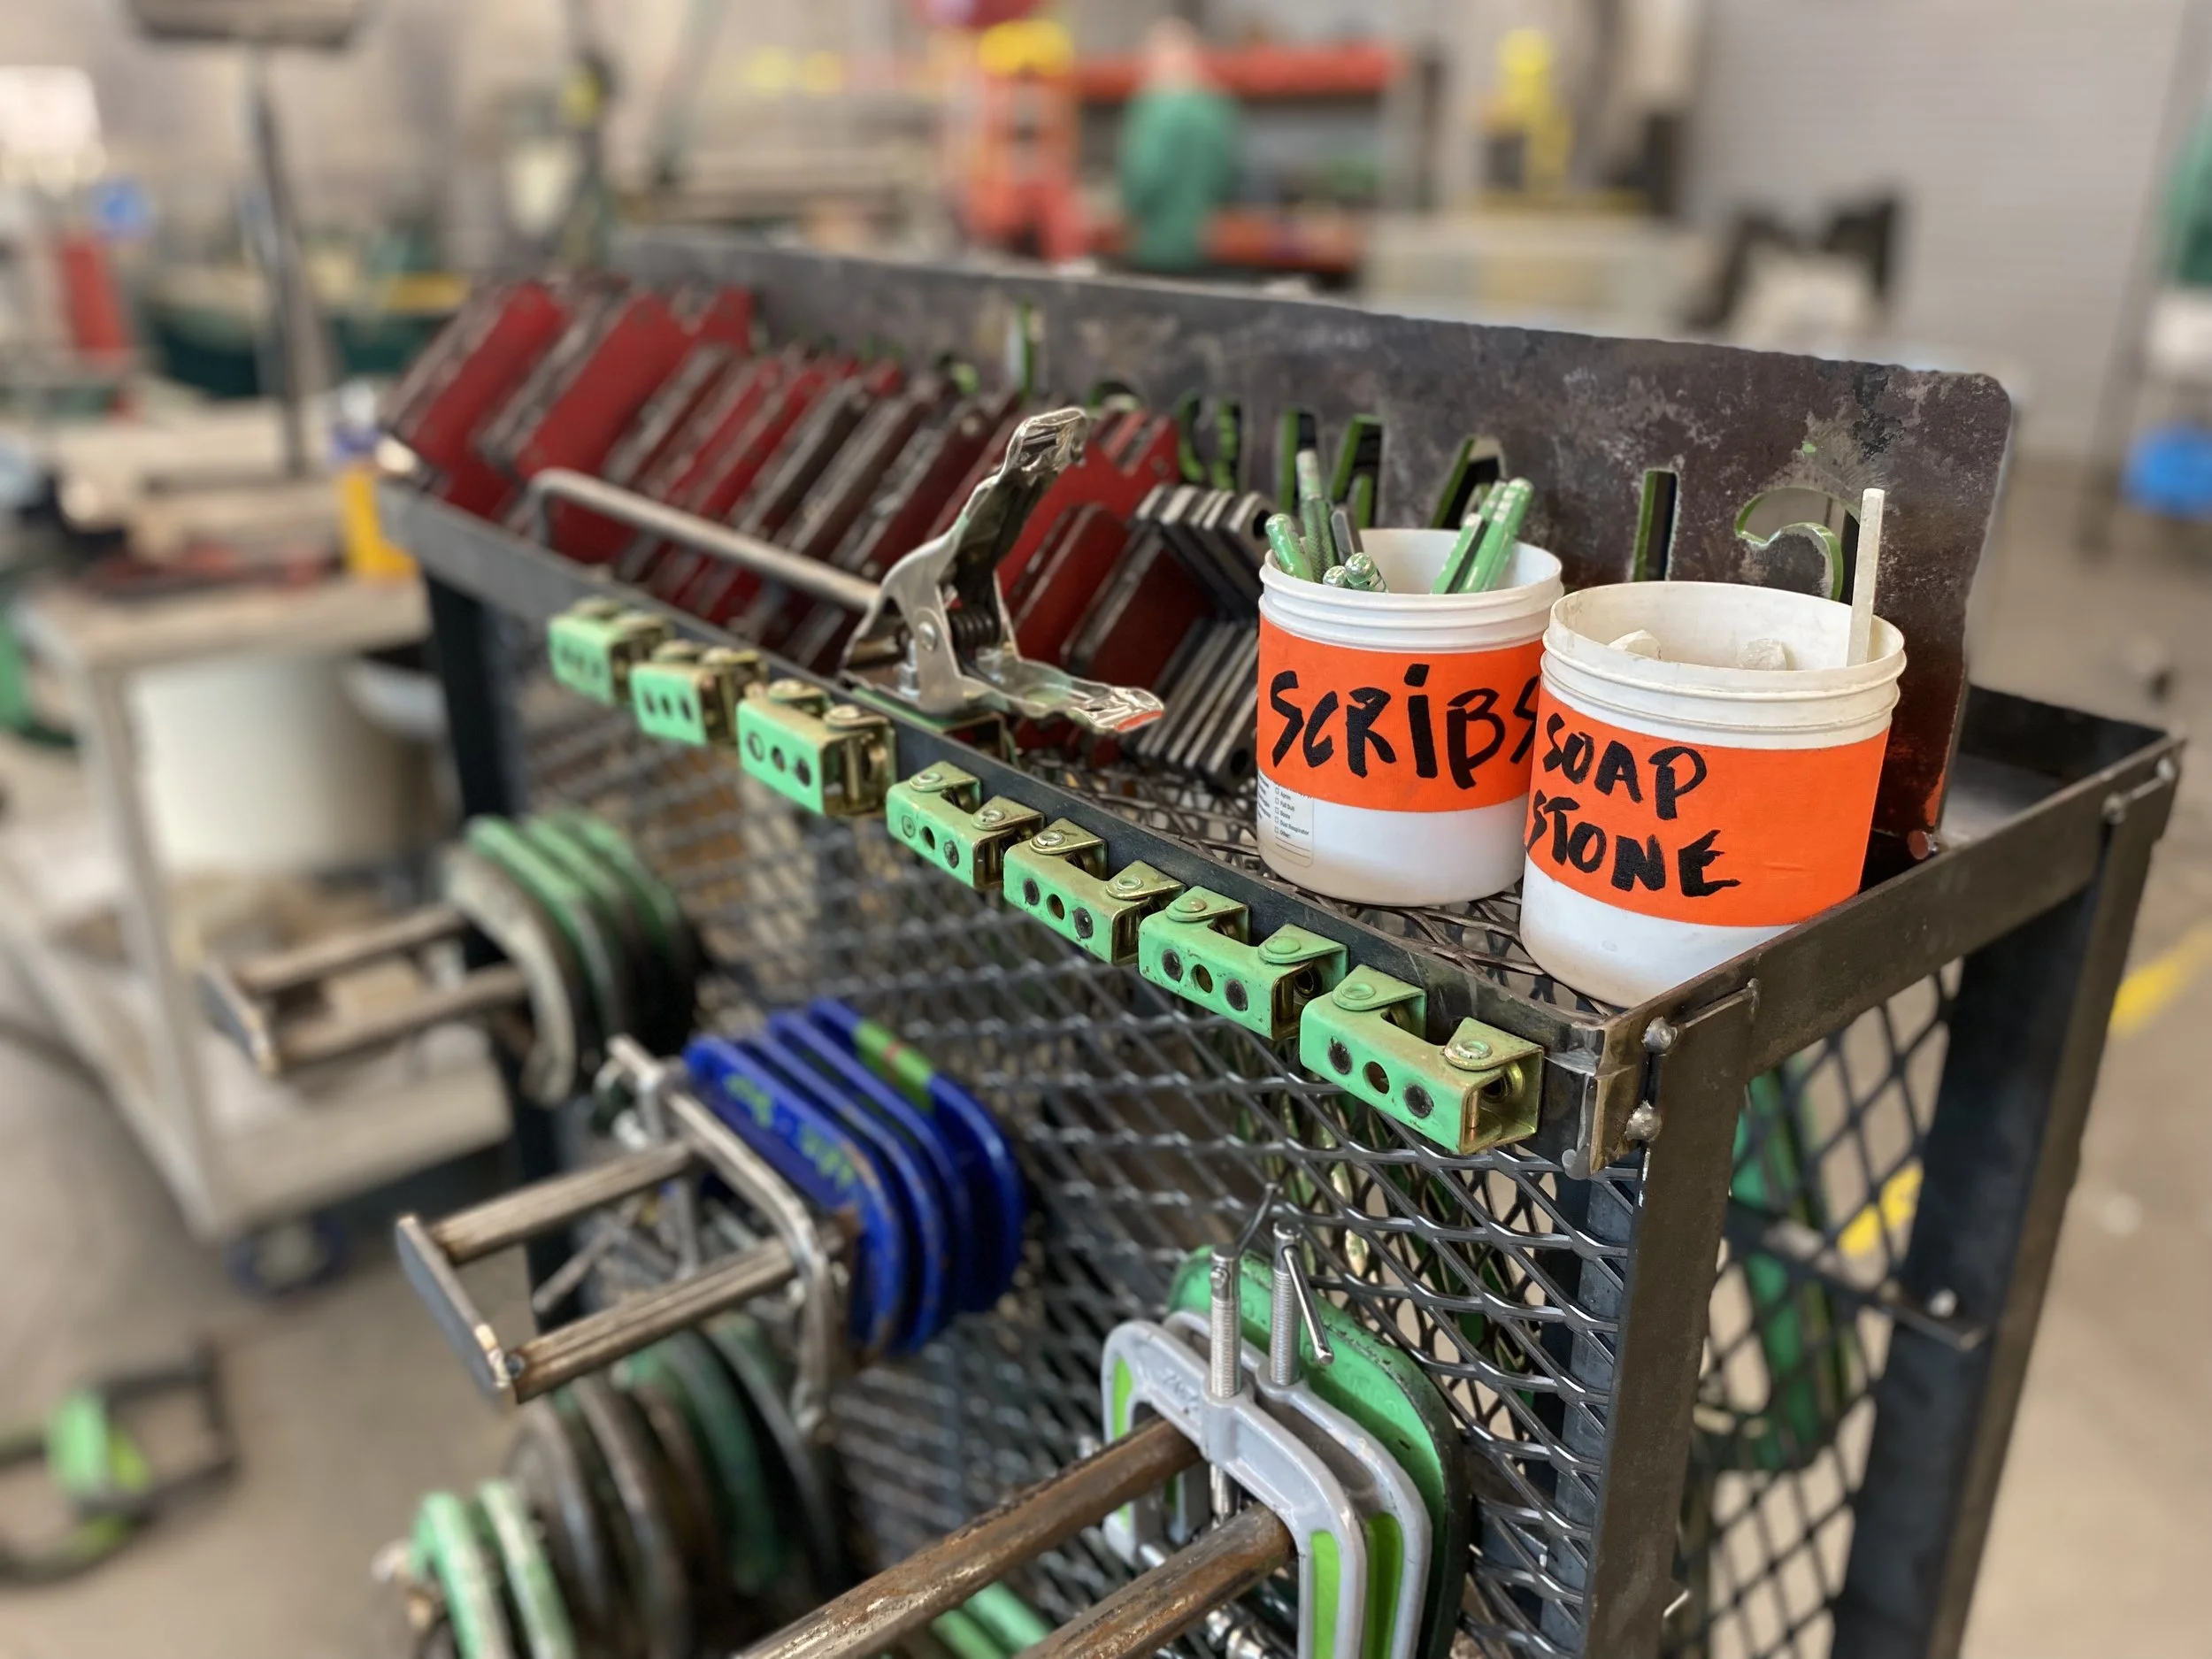
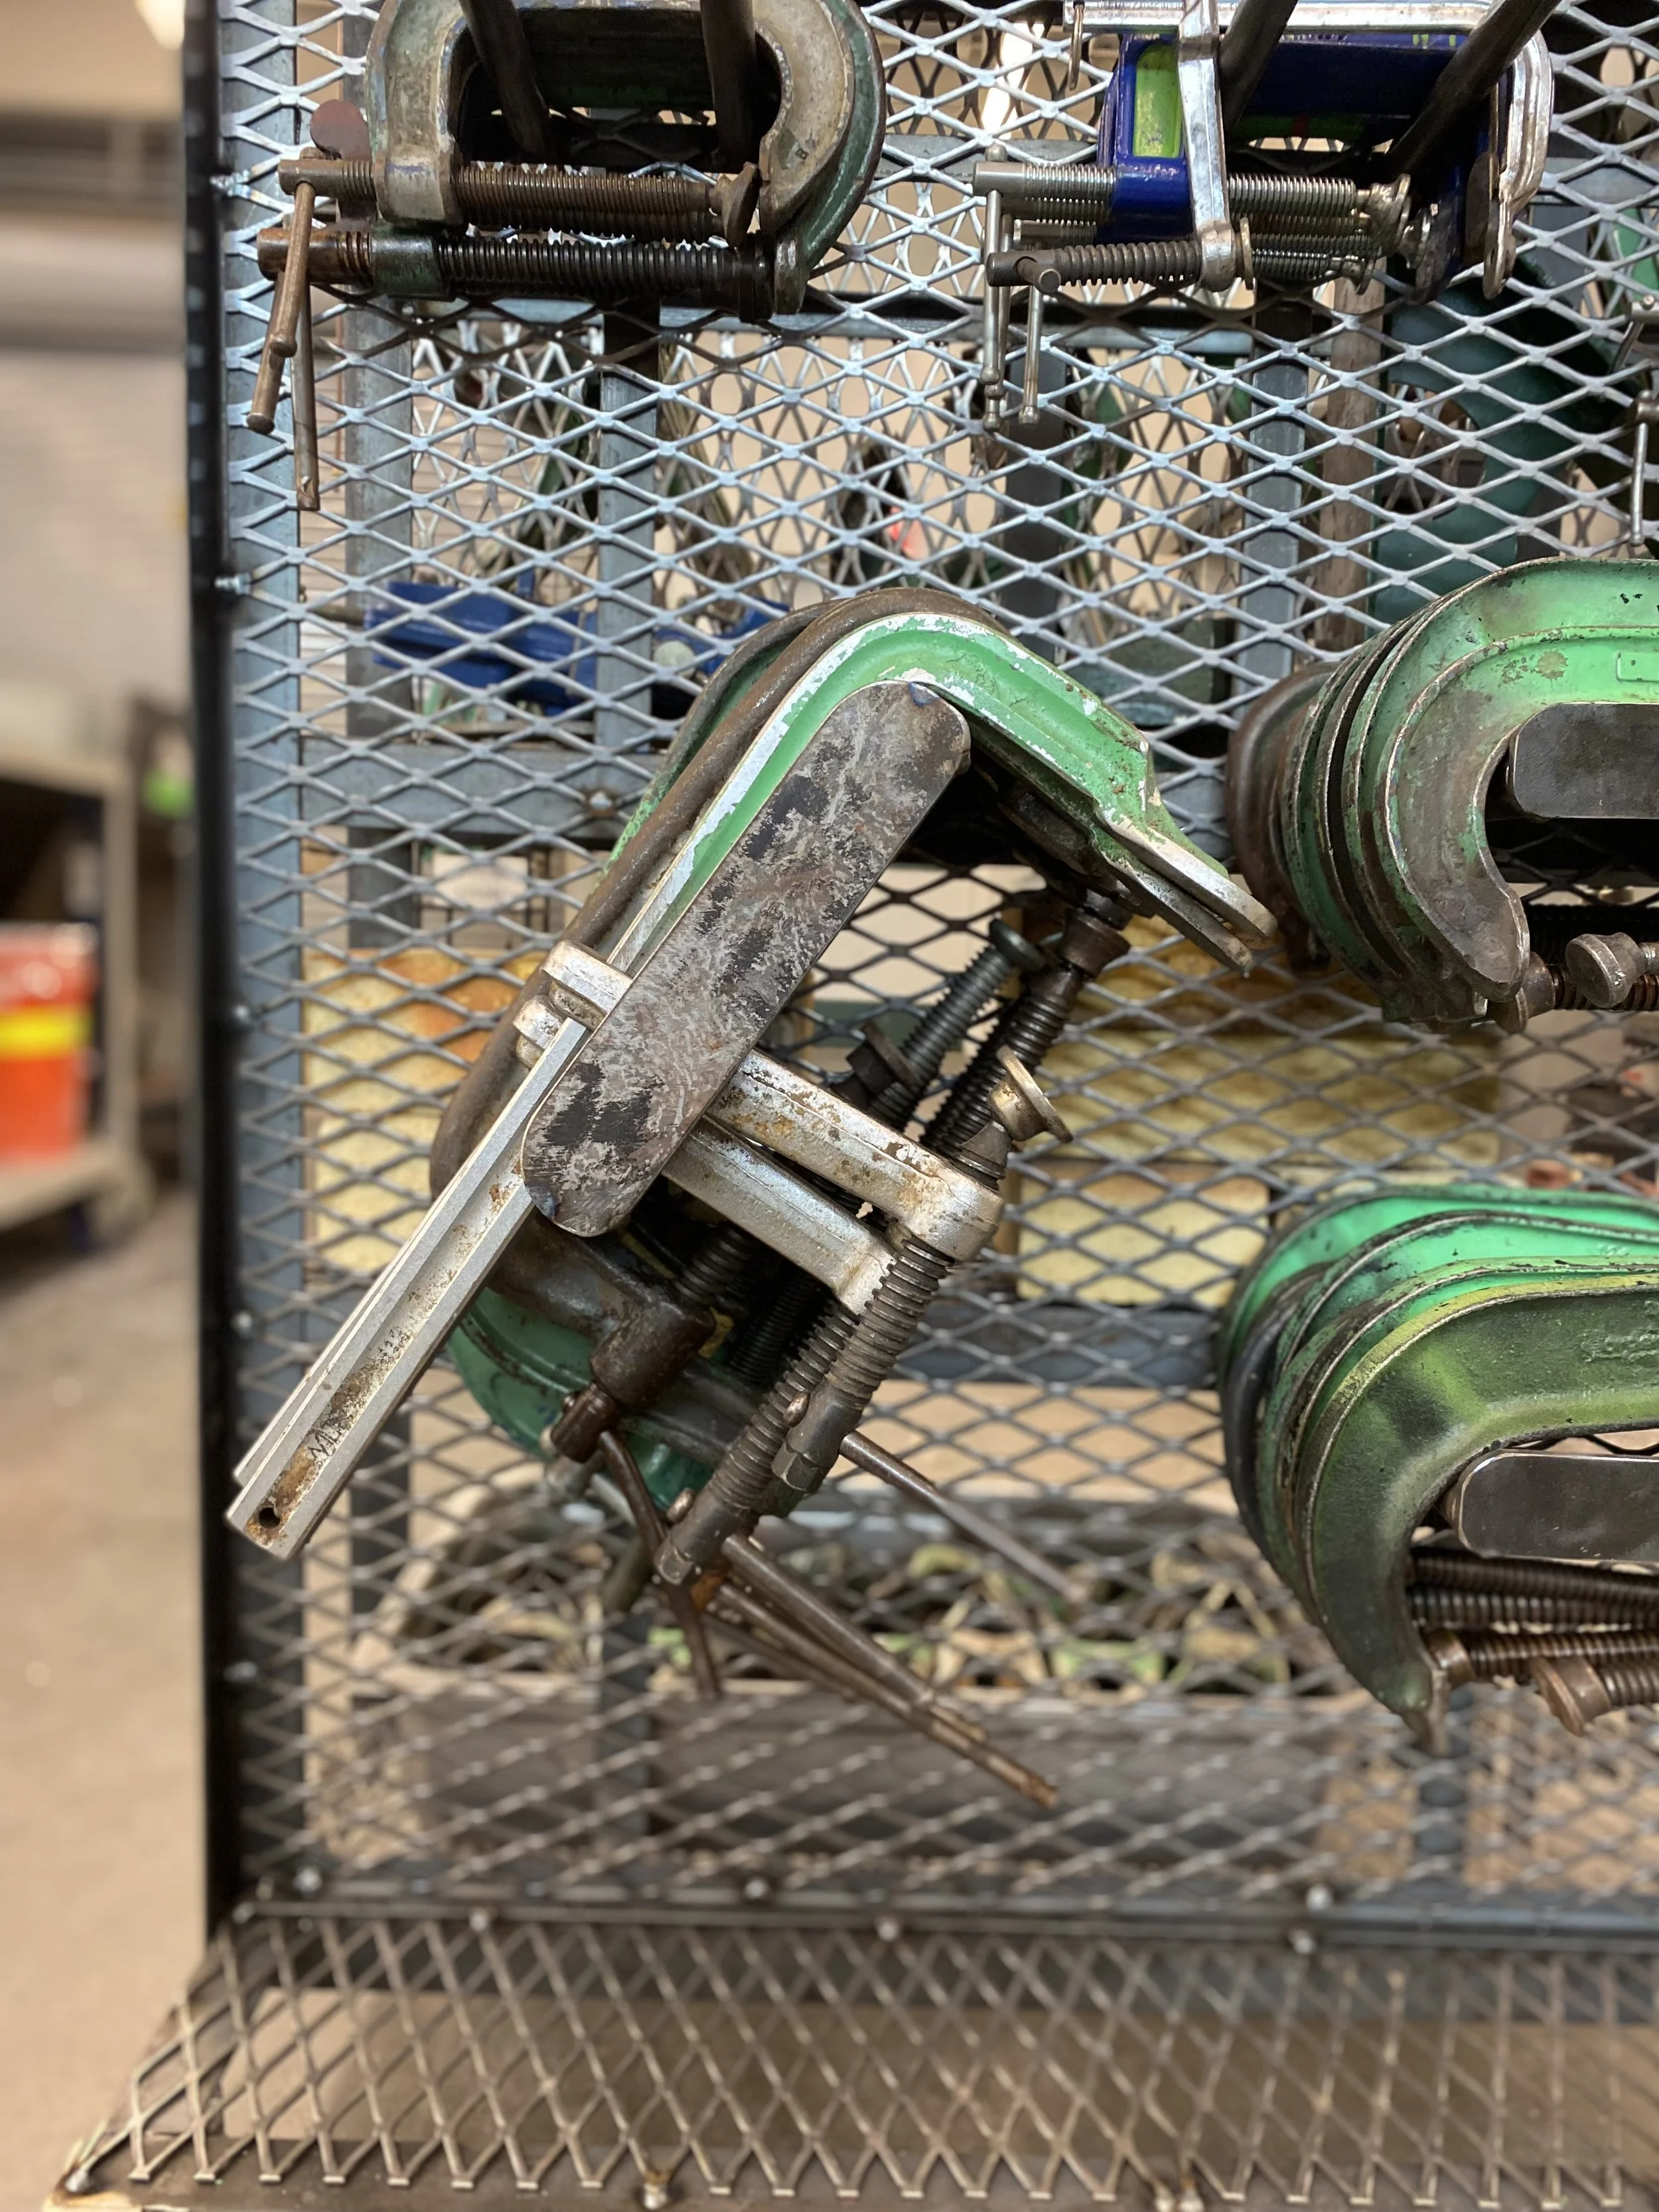
METAL SHOP - Clamp Cart & Organizer
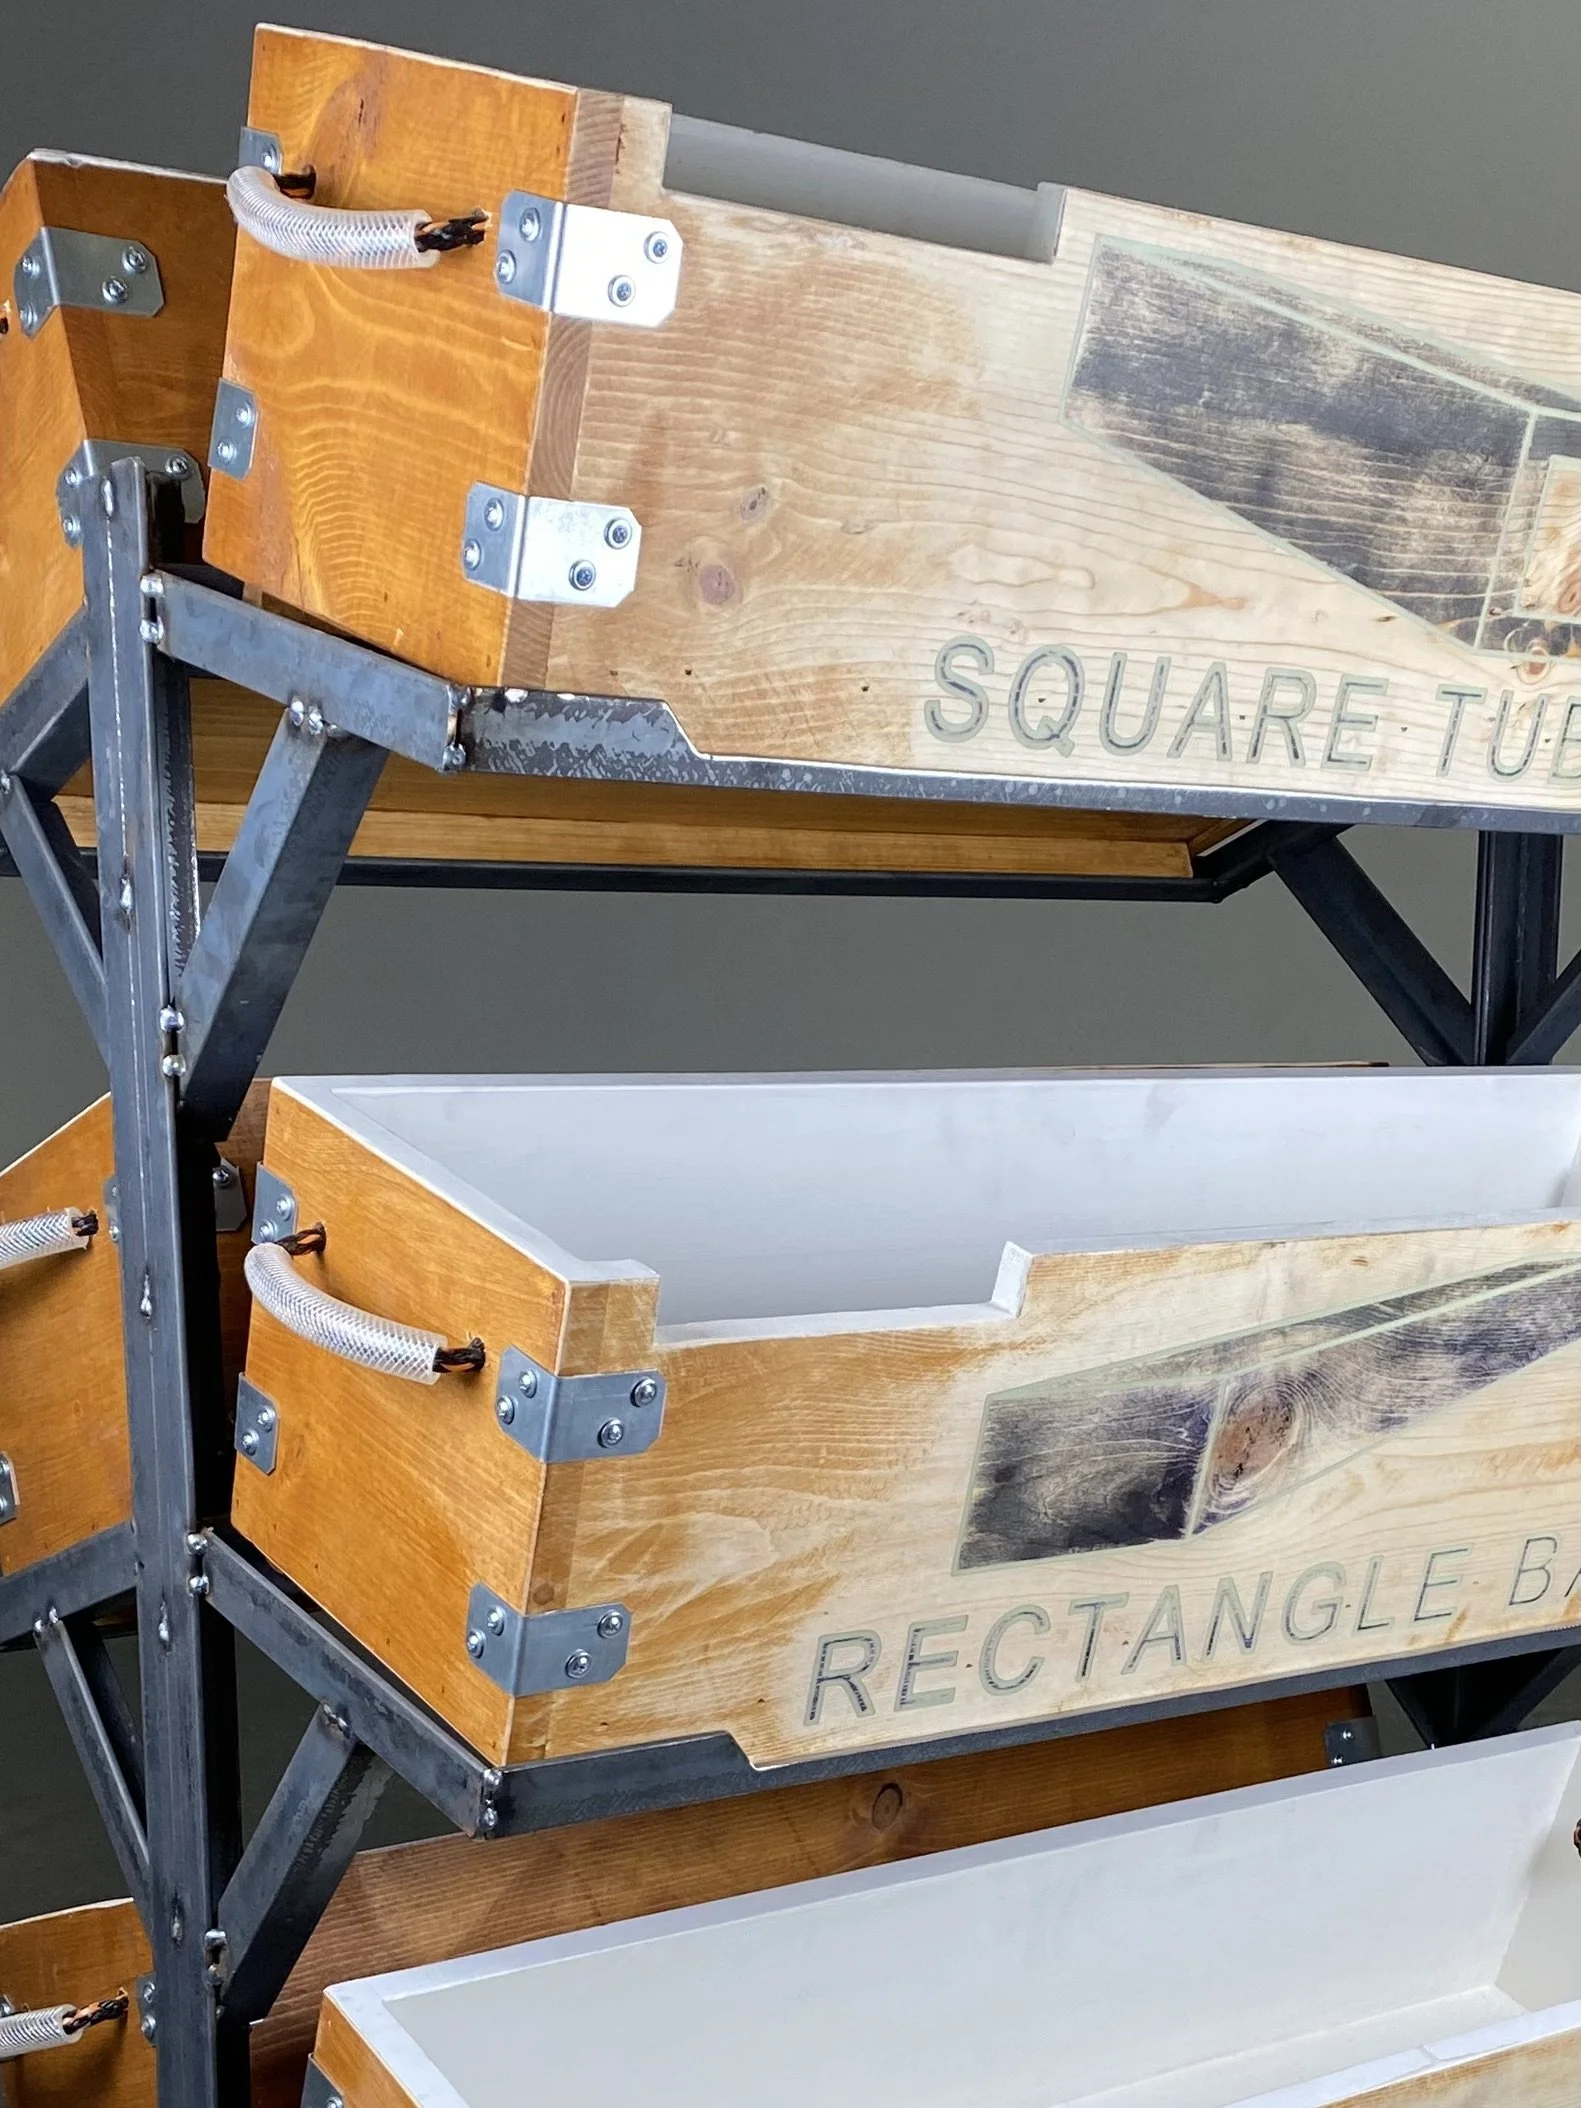
METAL SHOP - Scrap Storage & Organizing Cart
OLD STORAGE :-(
NEW STORAGE :-)
METAL SHOP - CNC Plasma Cutter Sheet Metal Storage
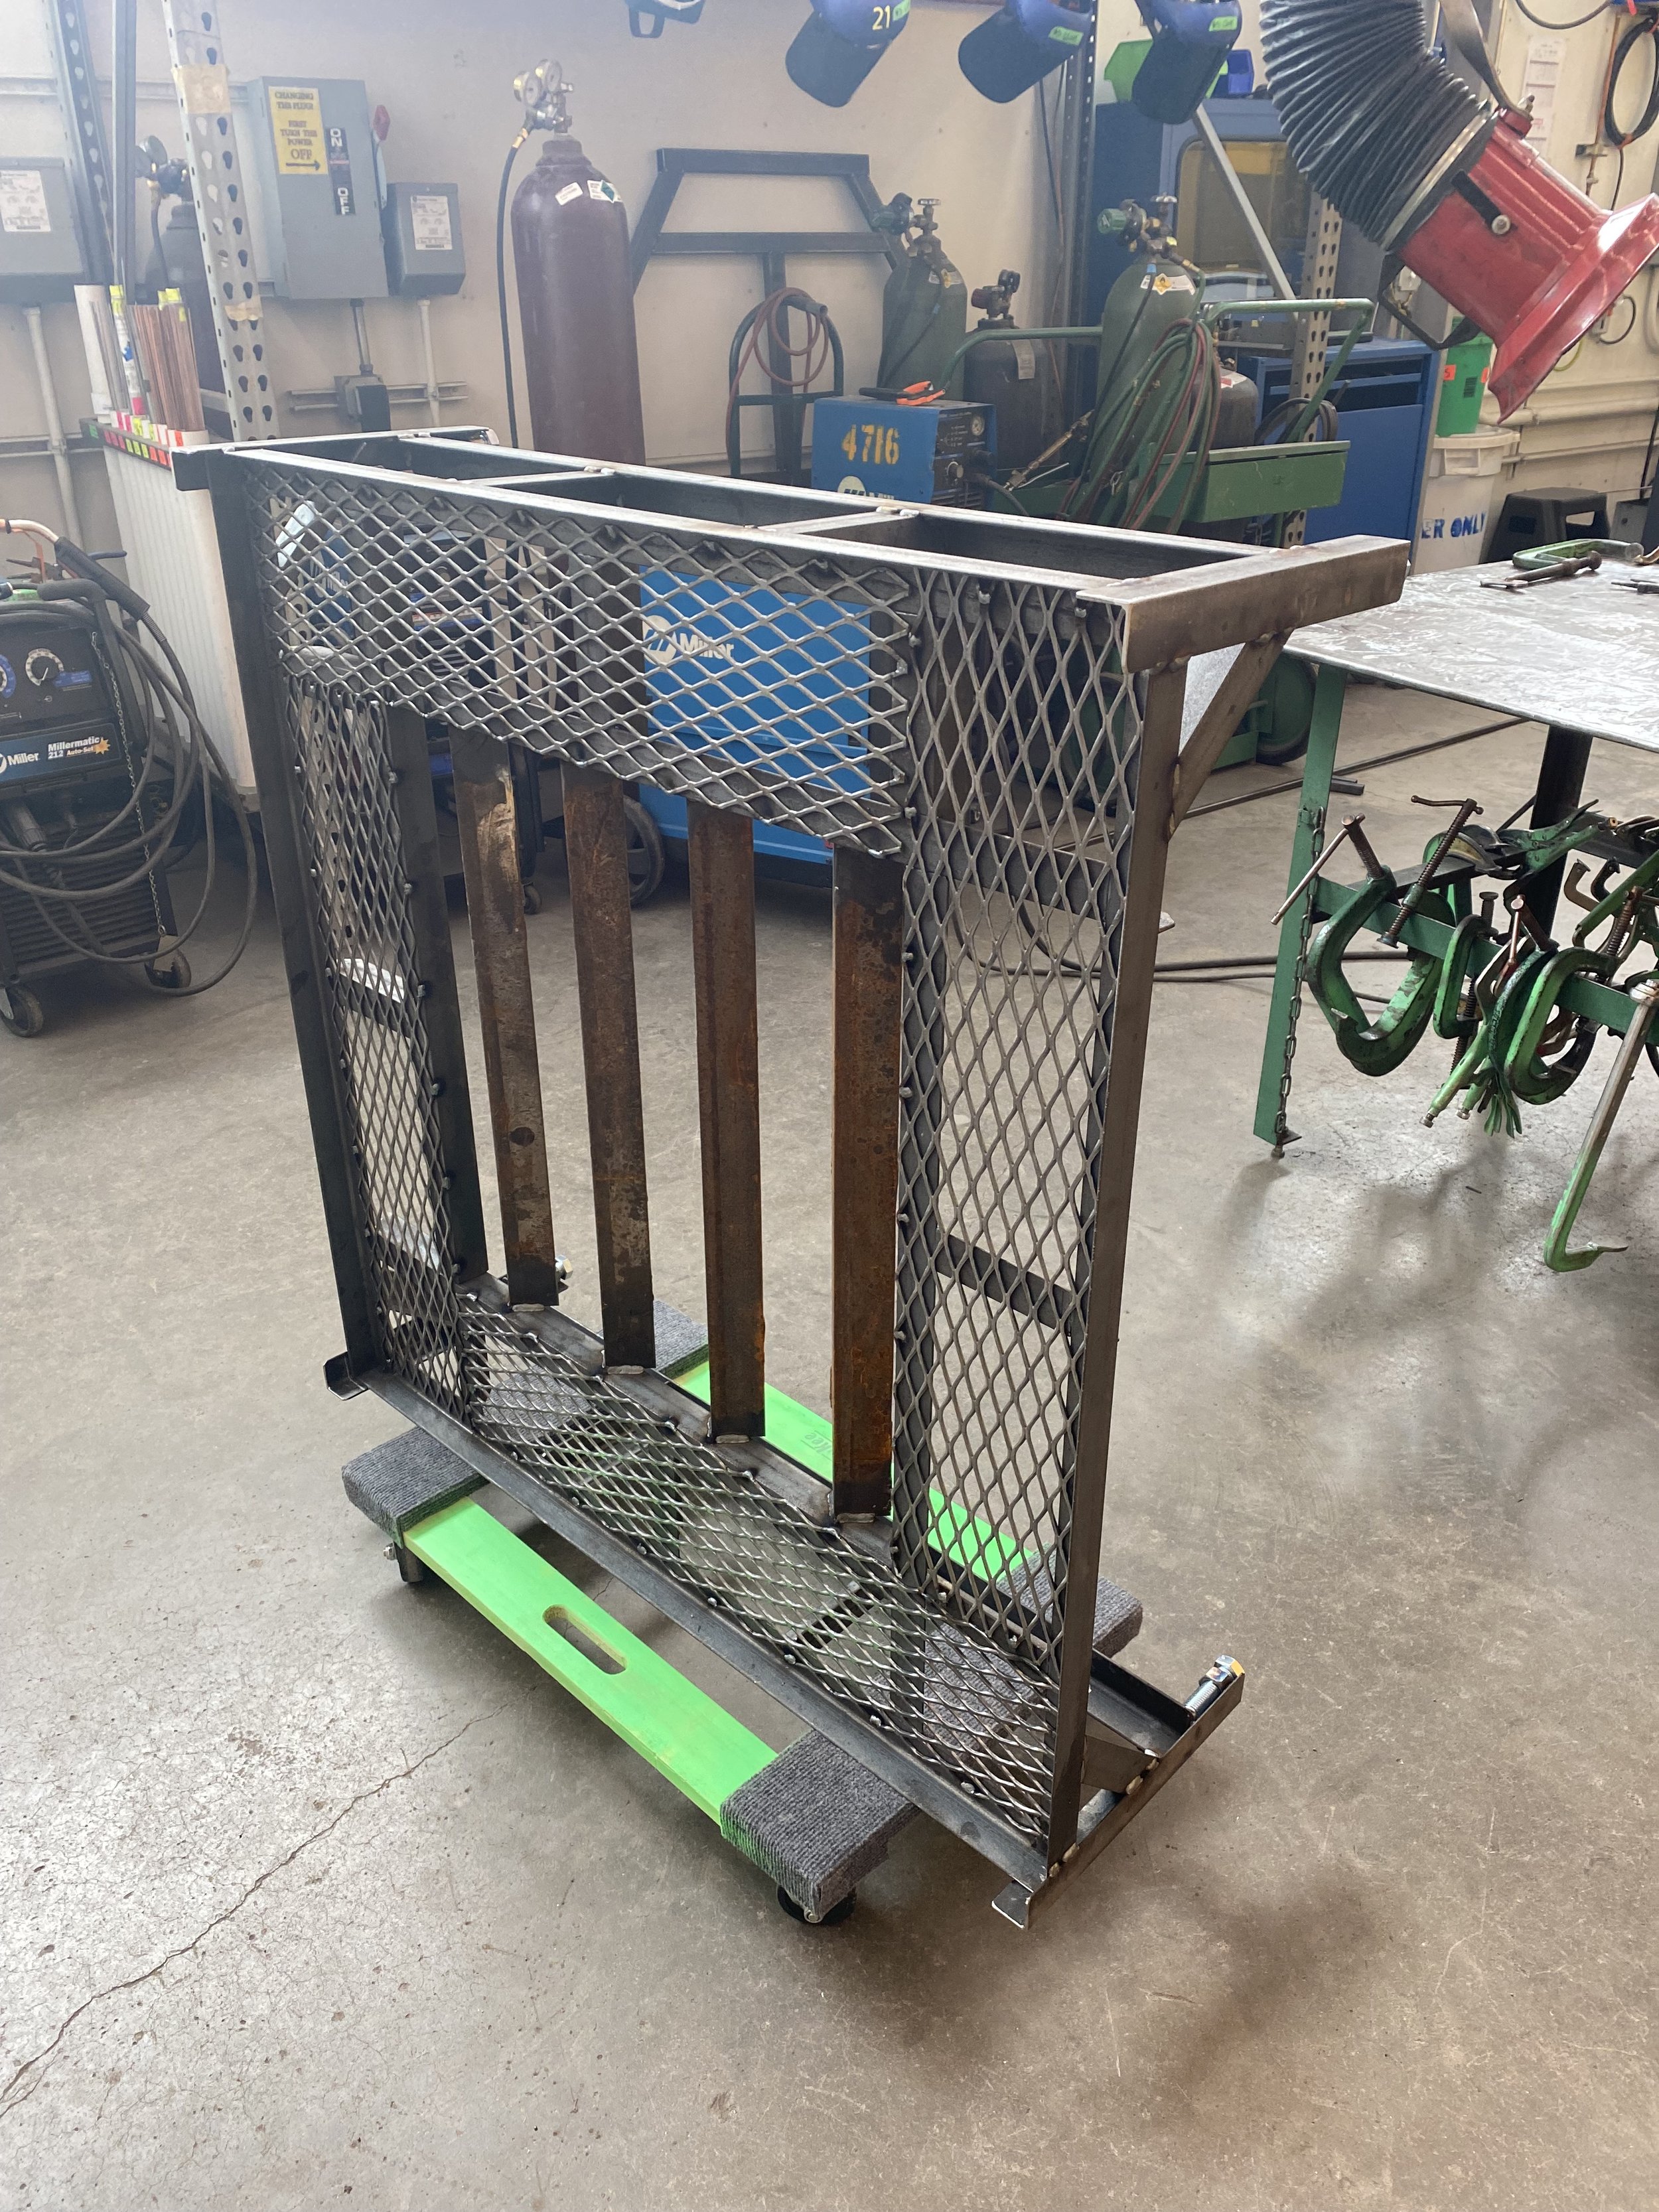
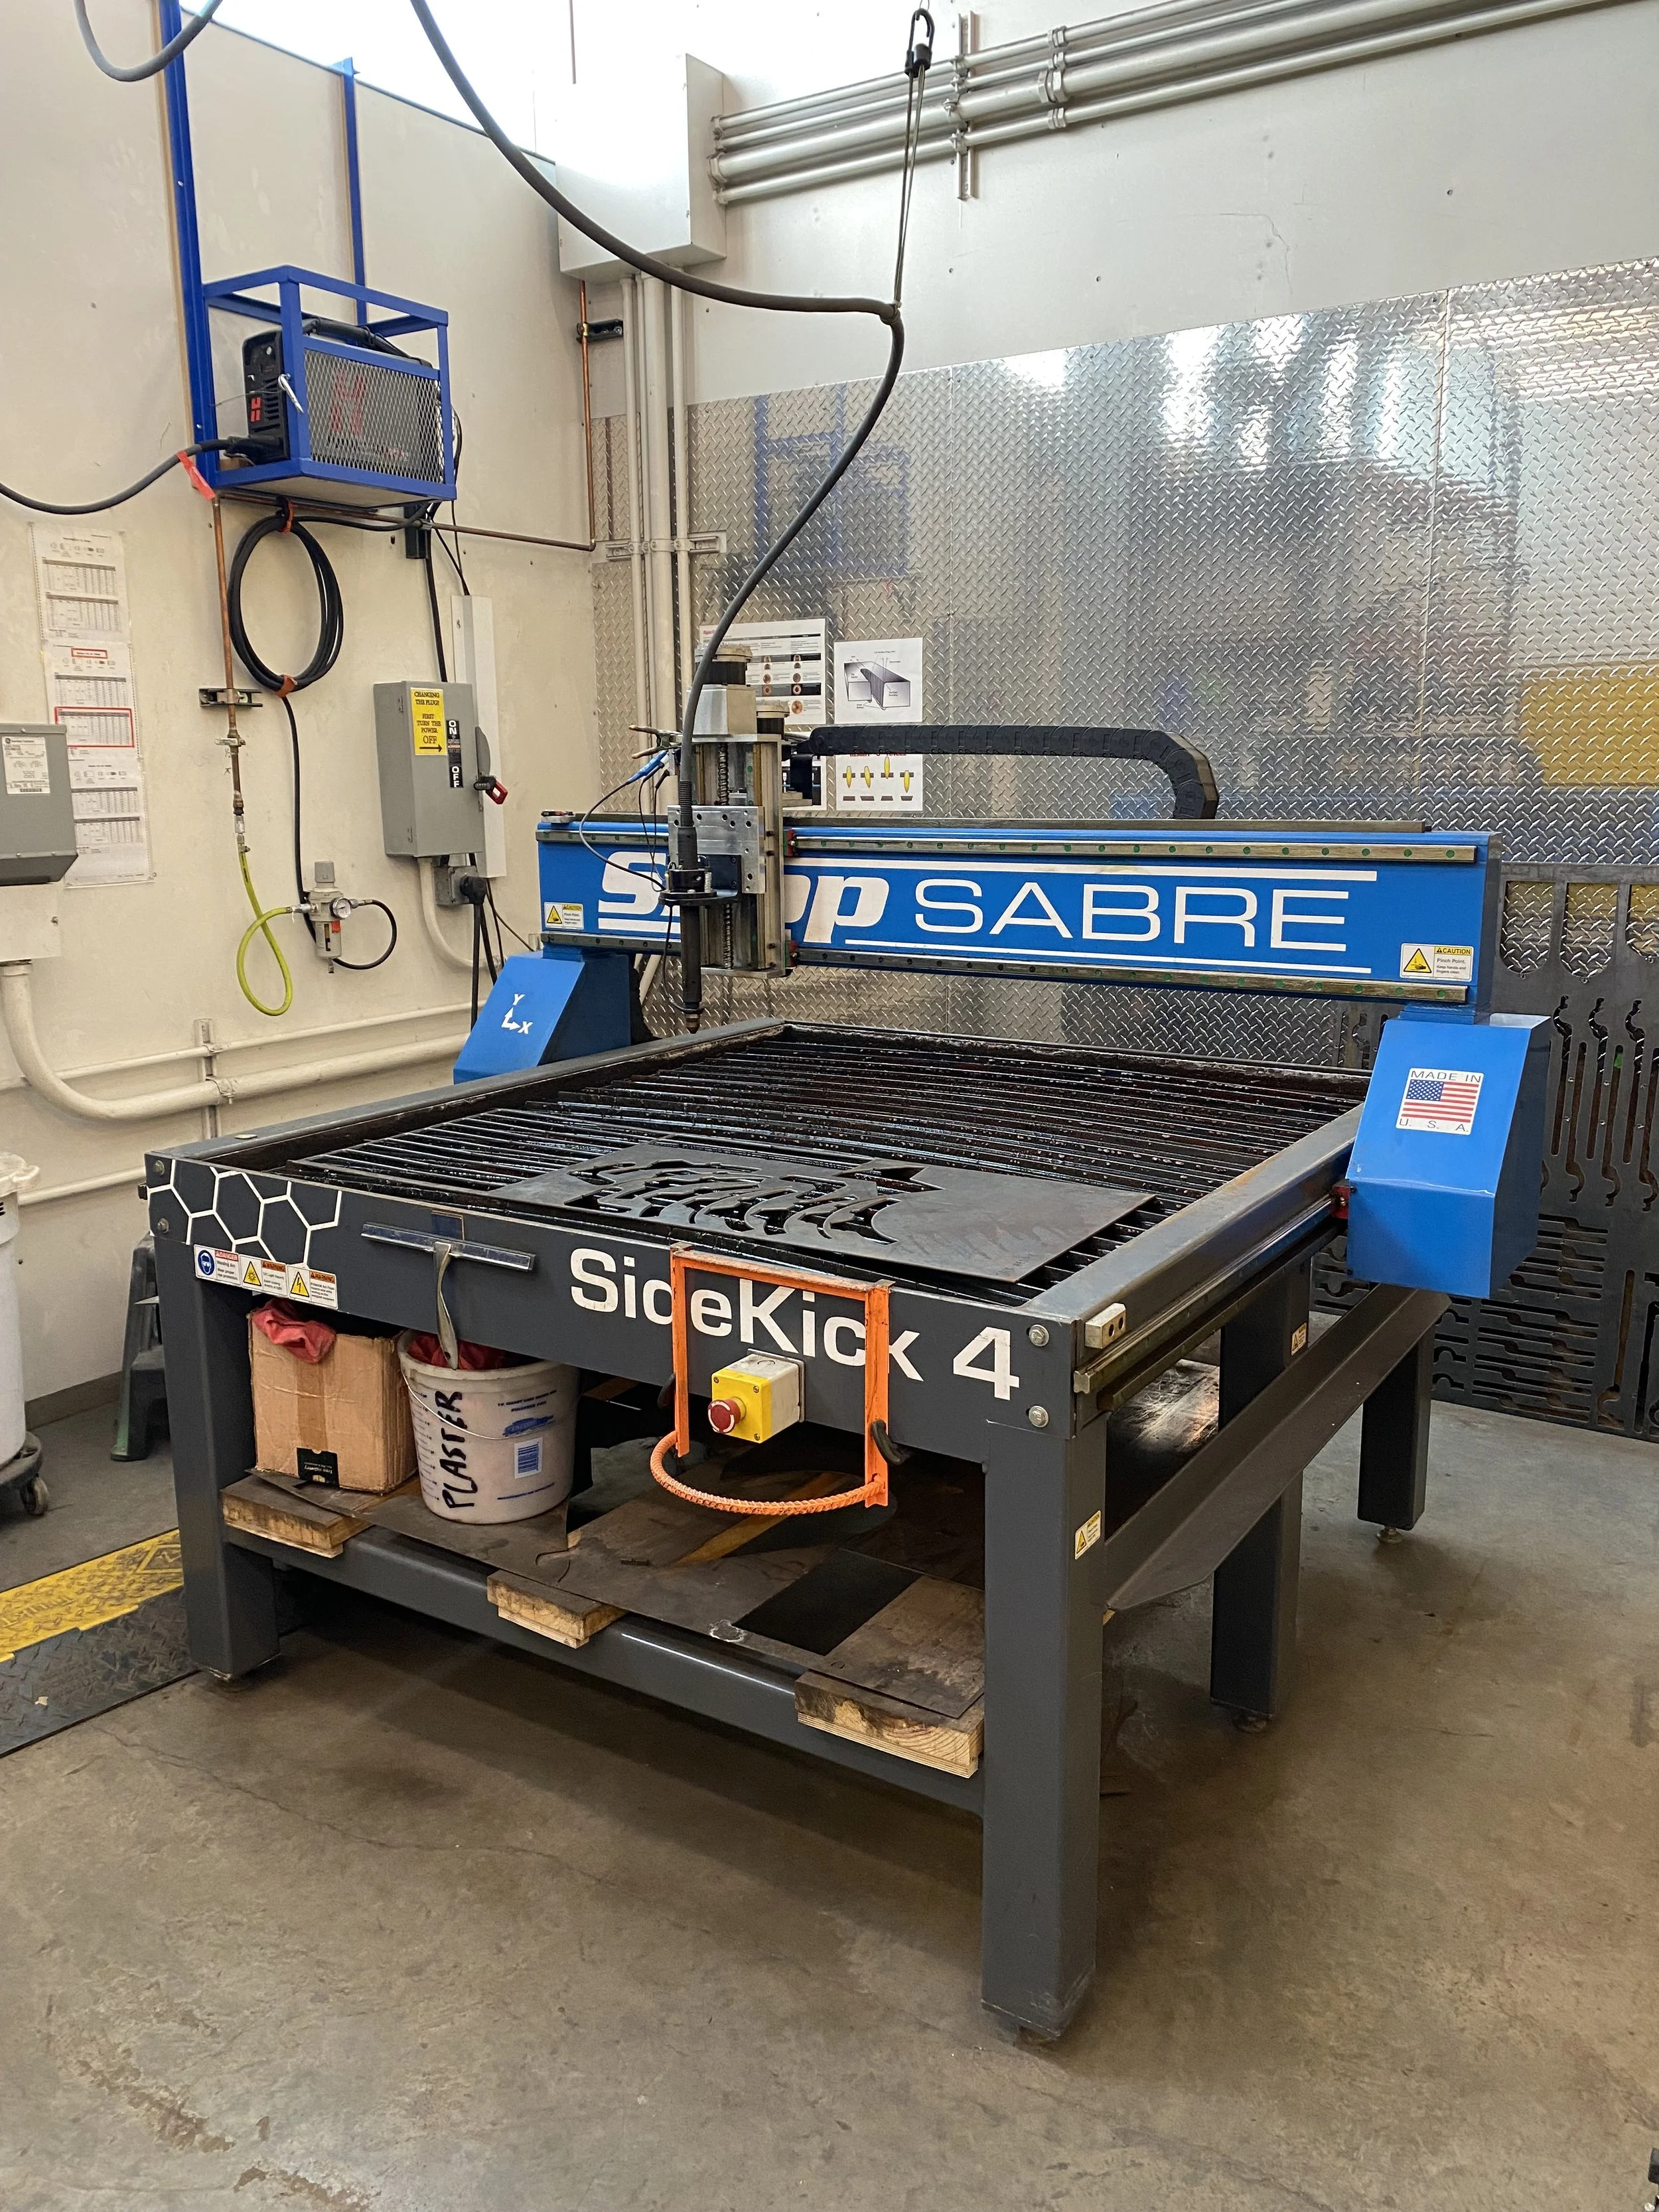
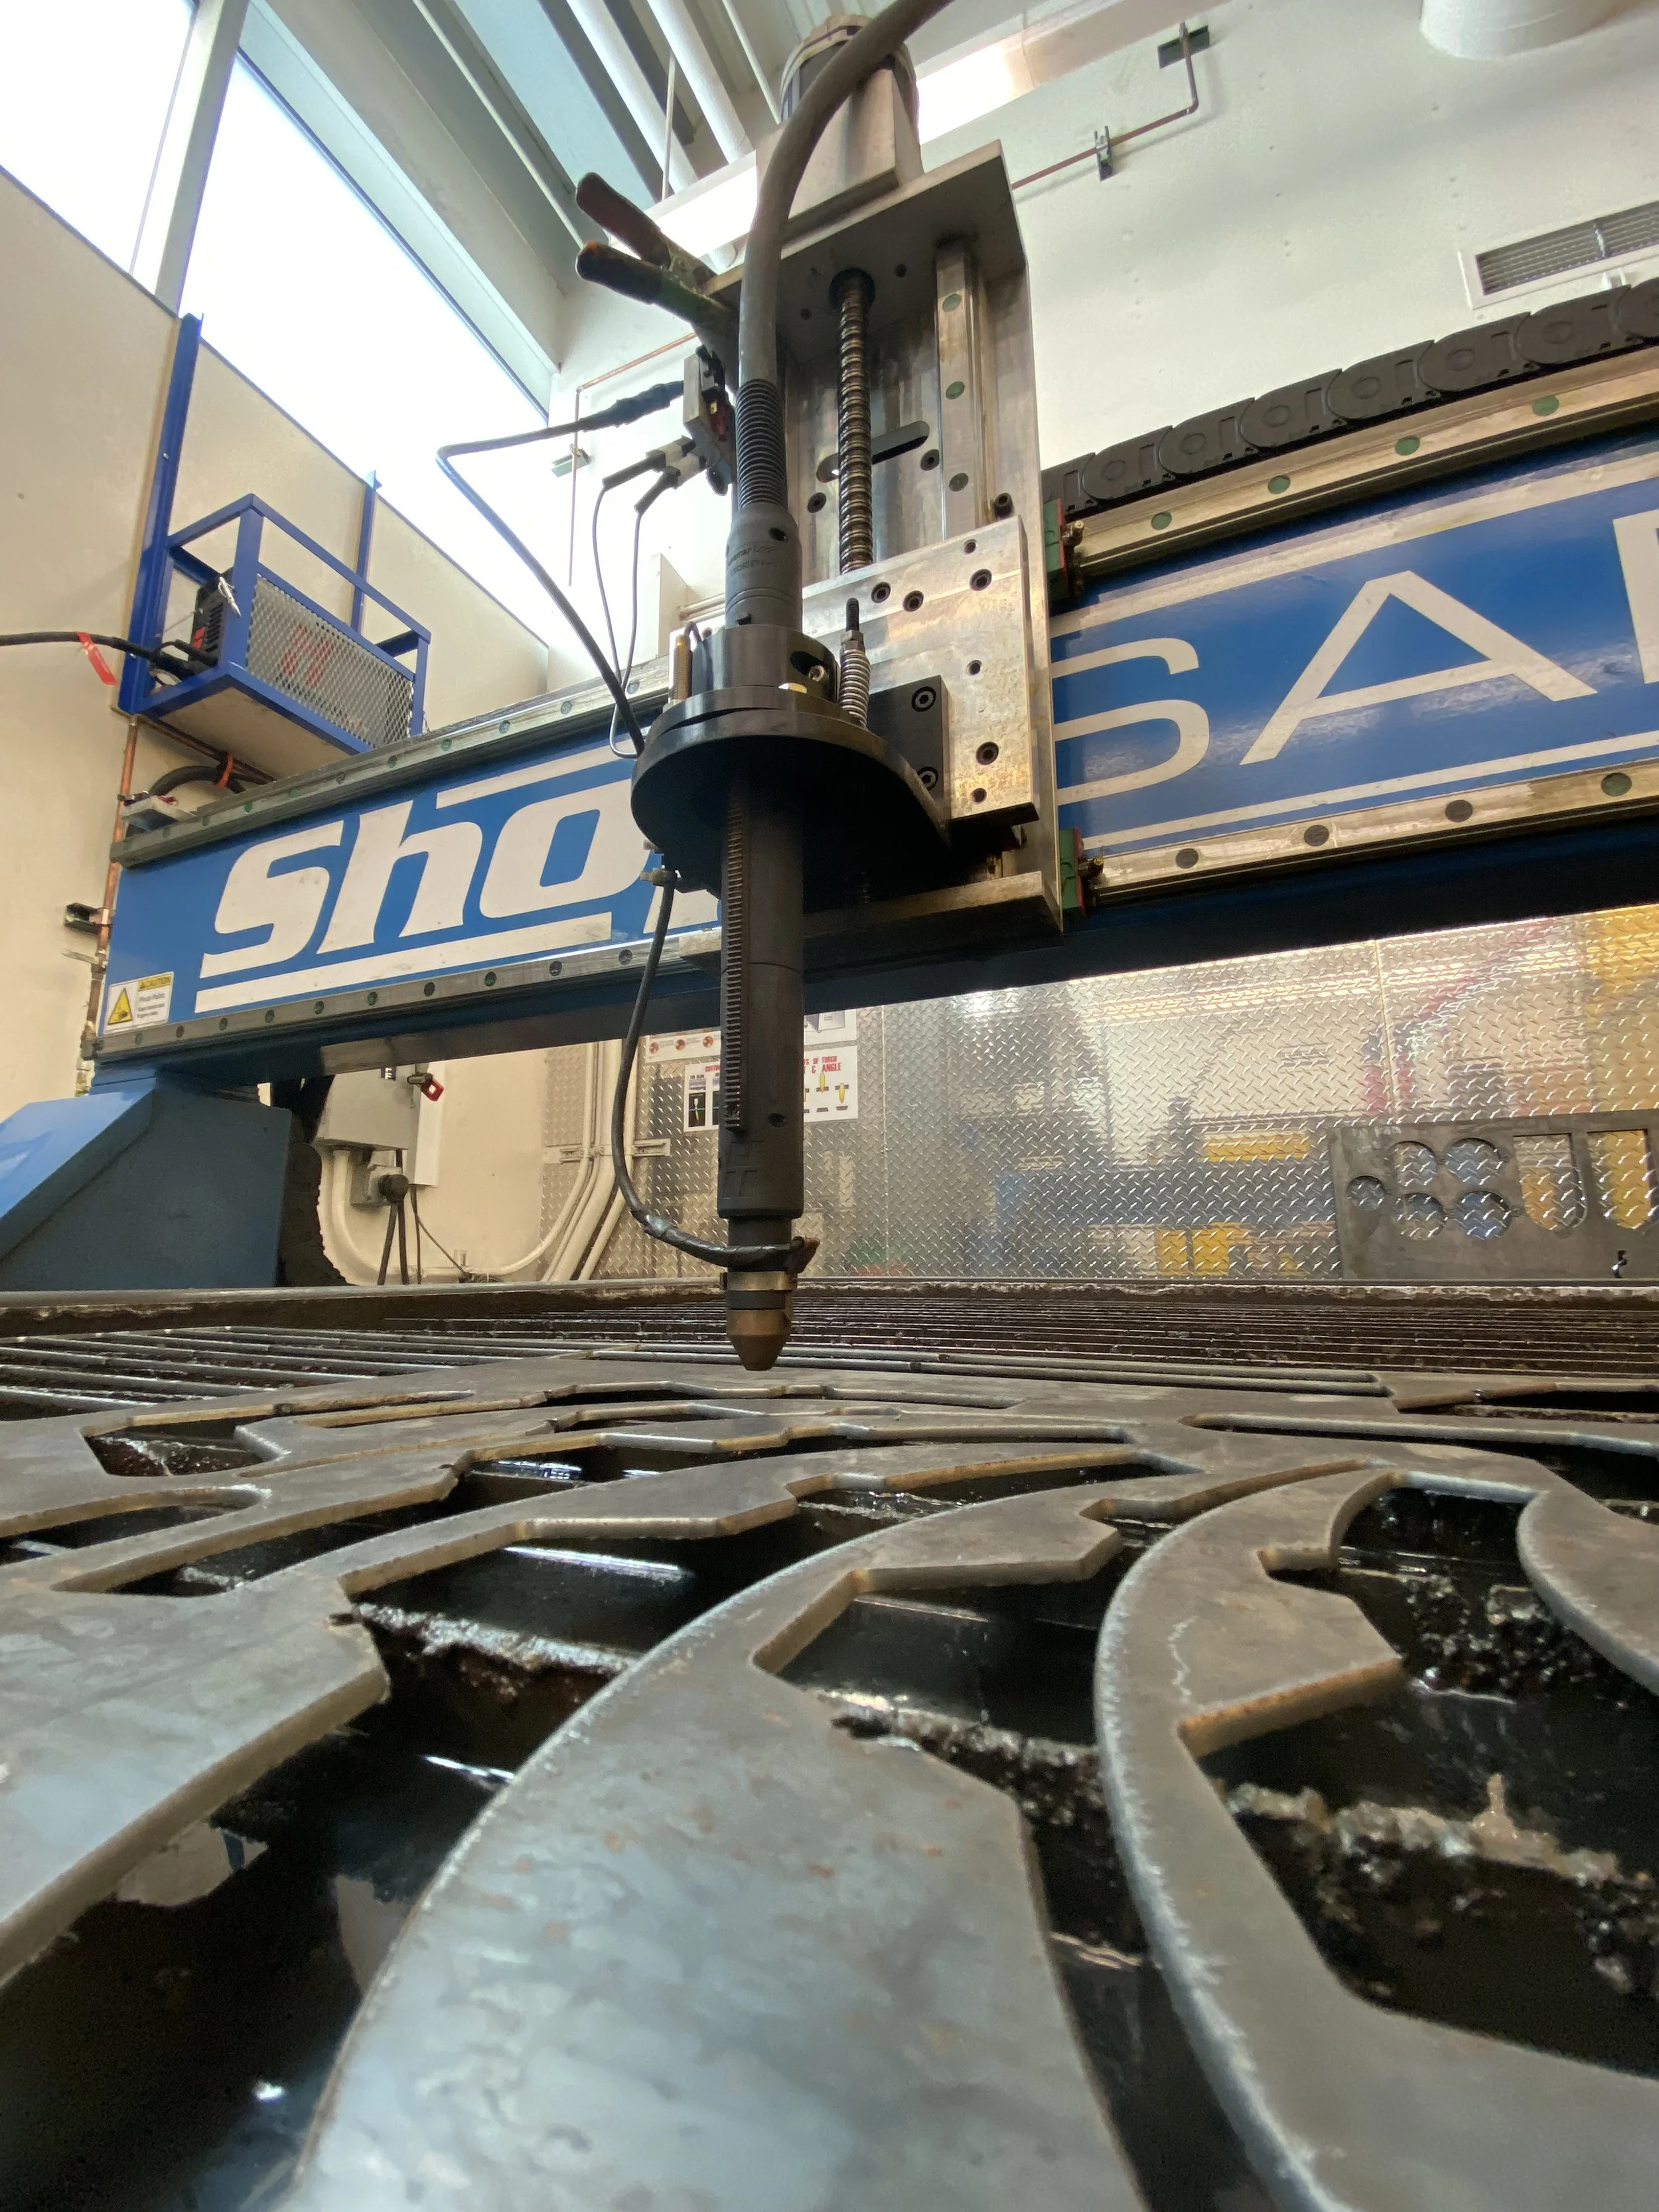
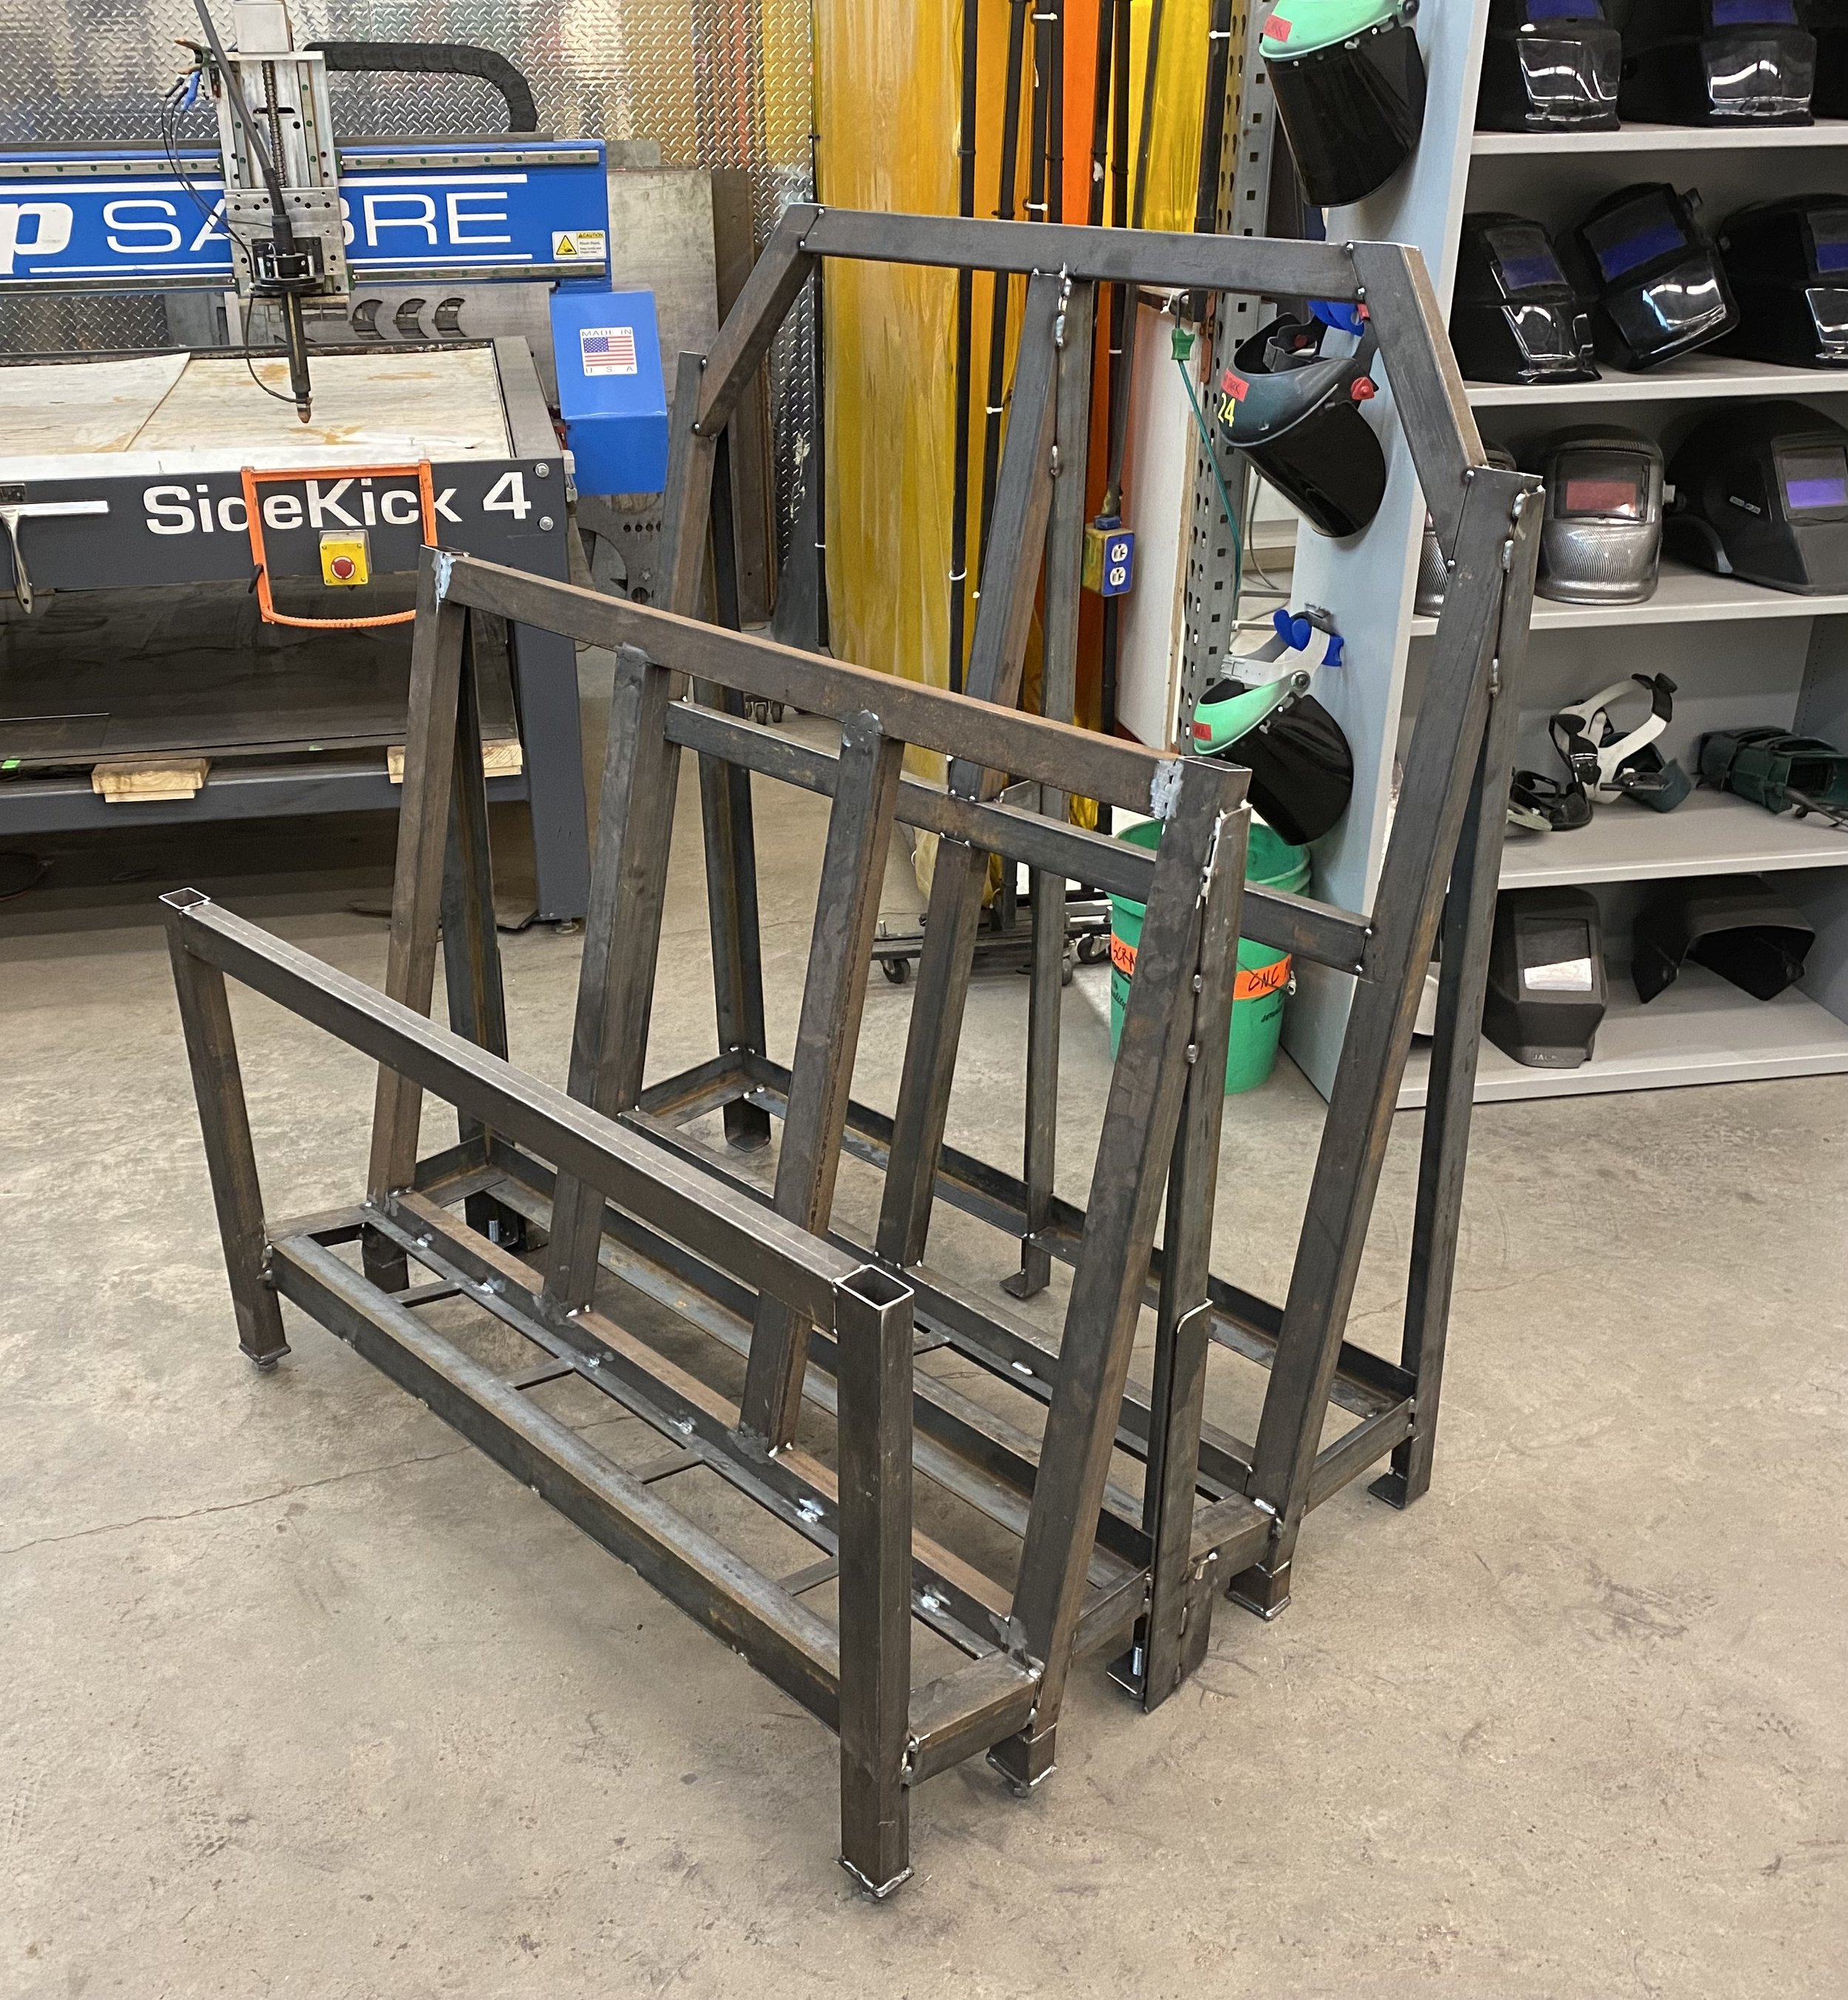
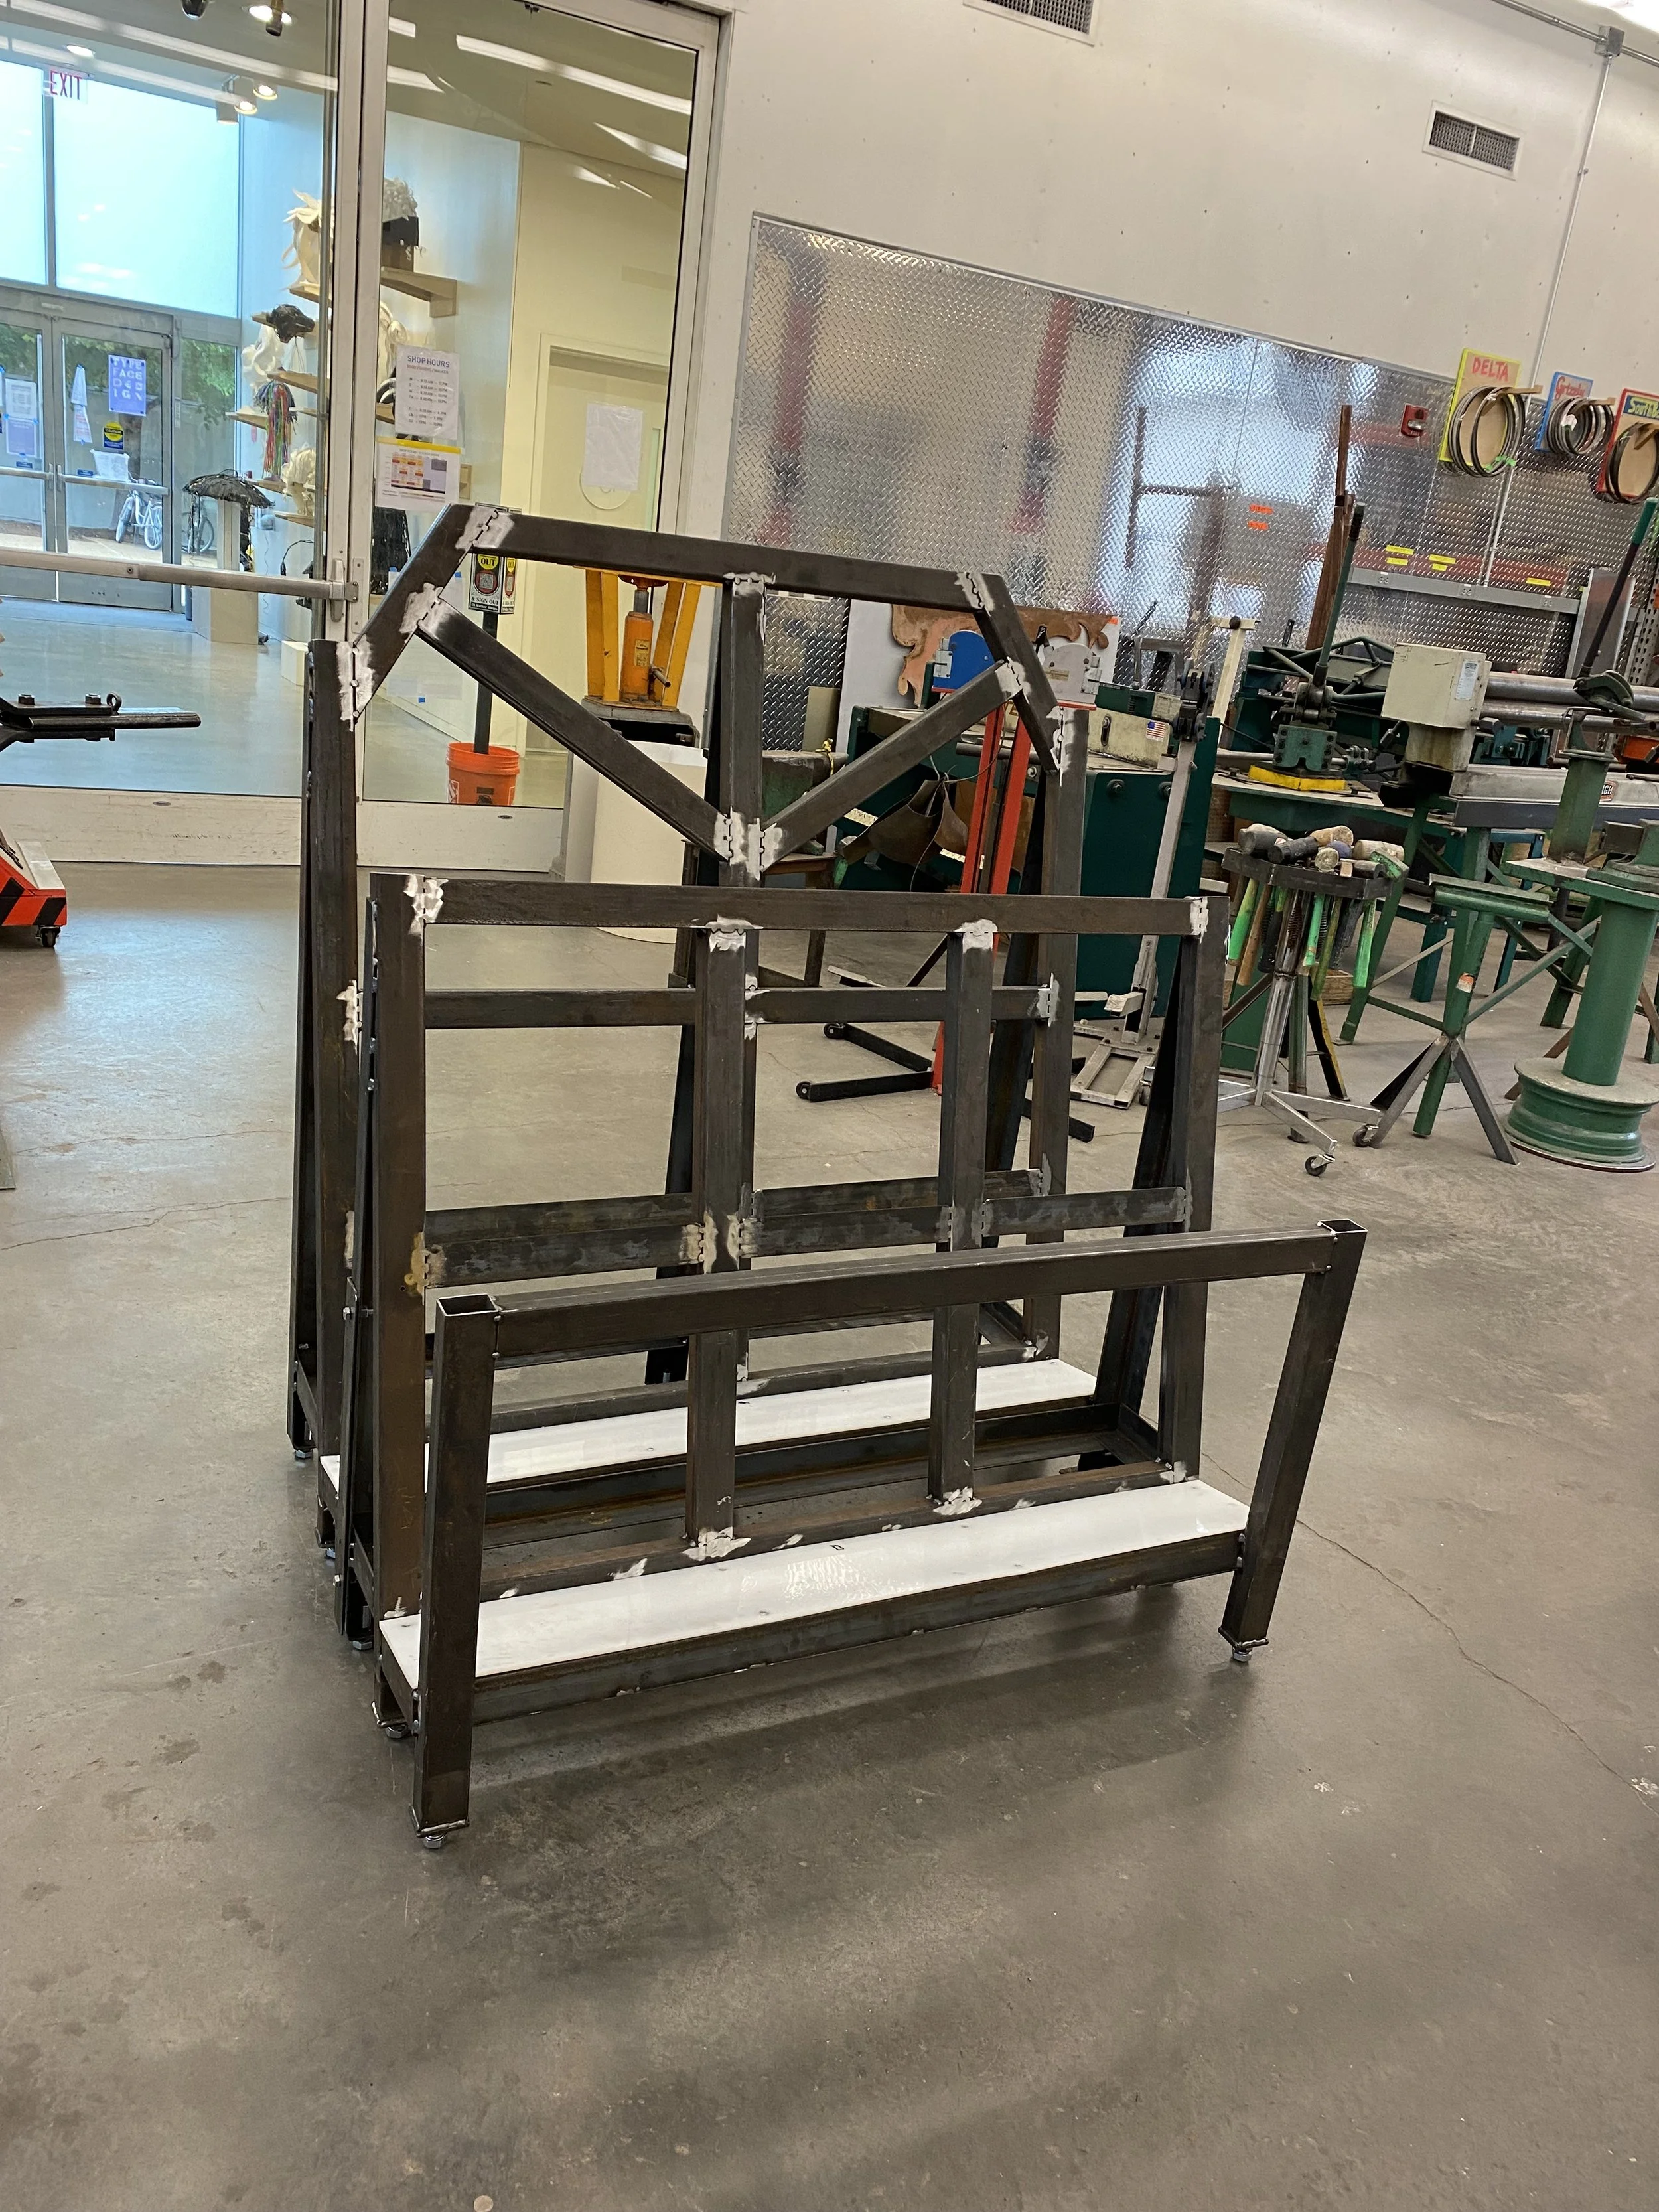
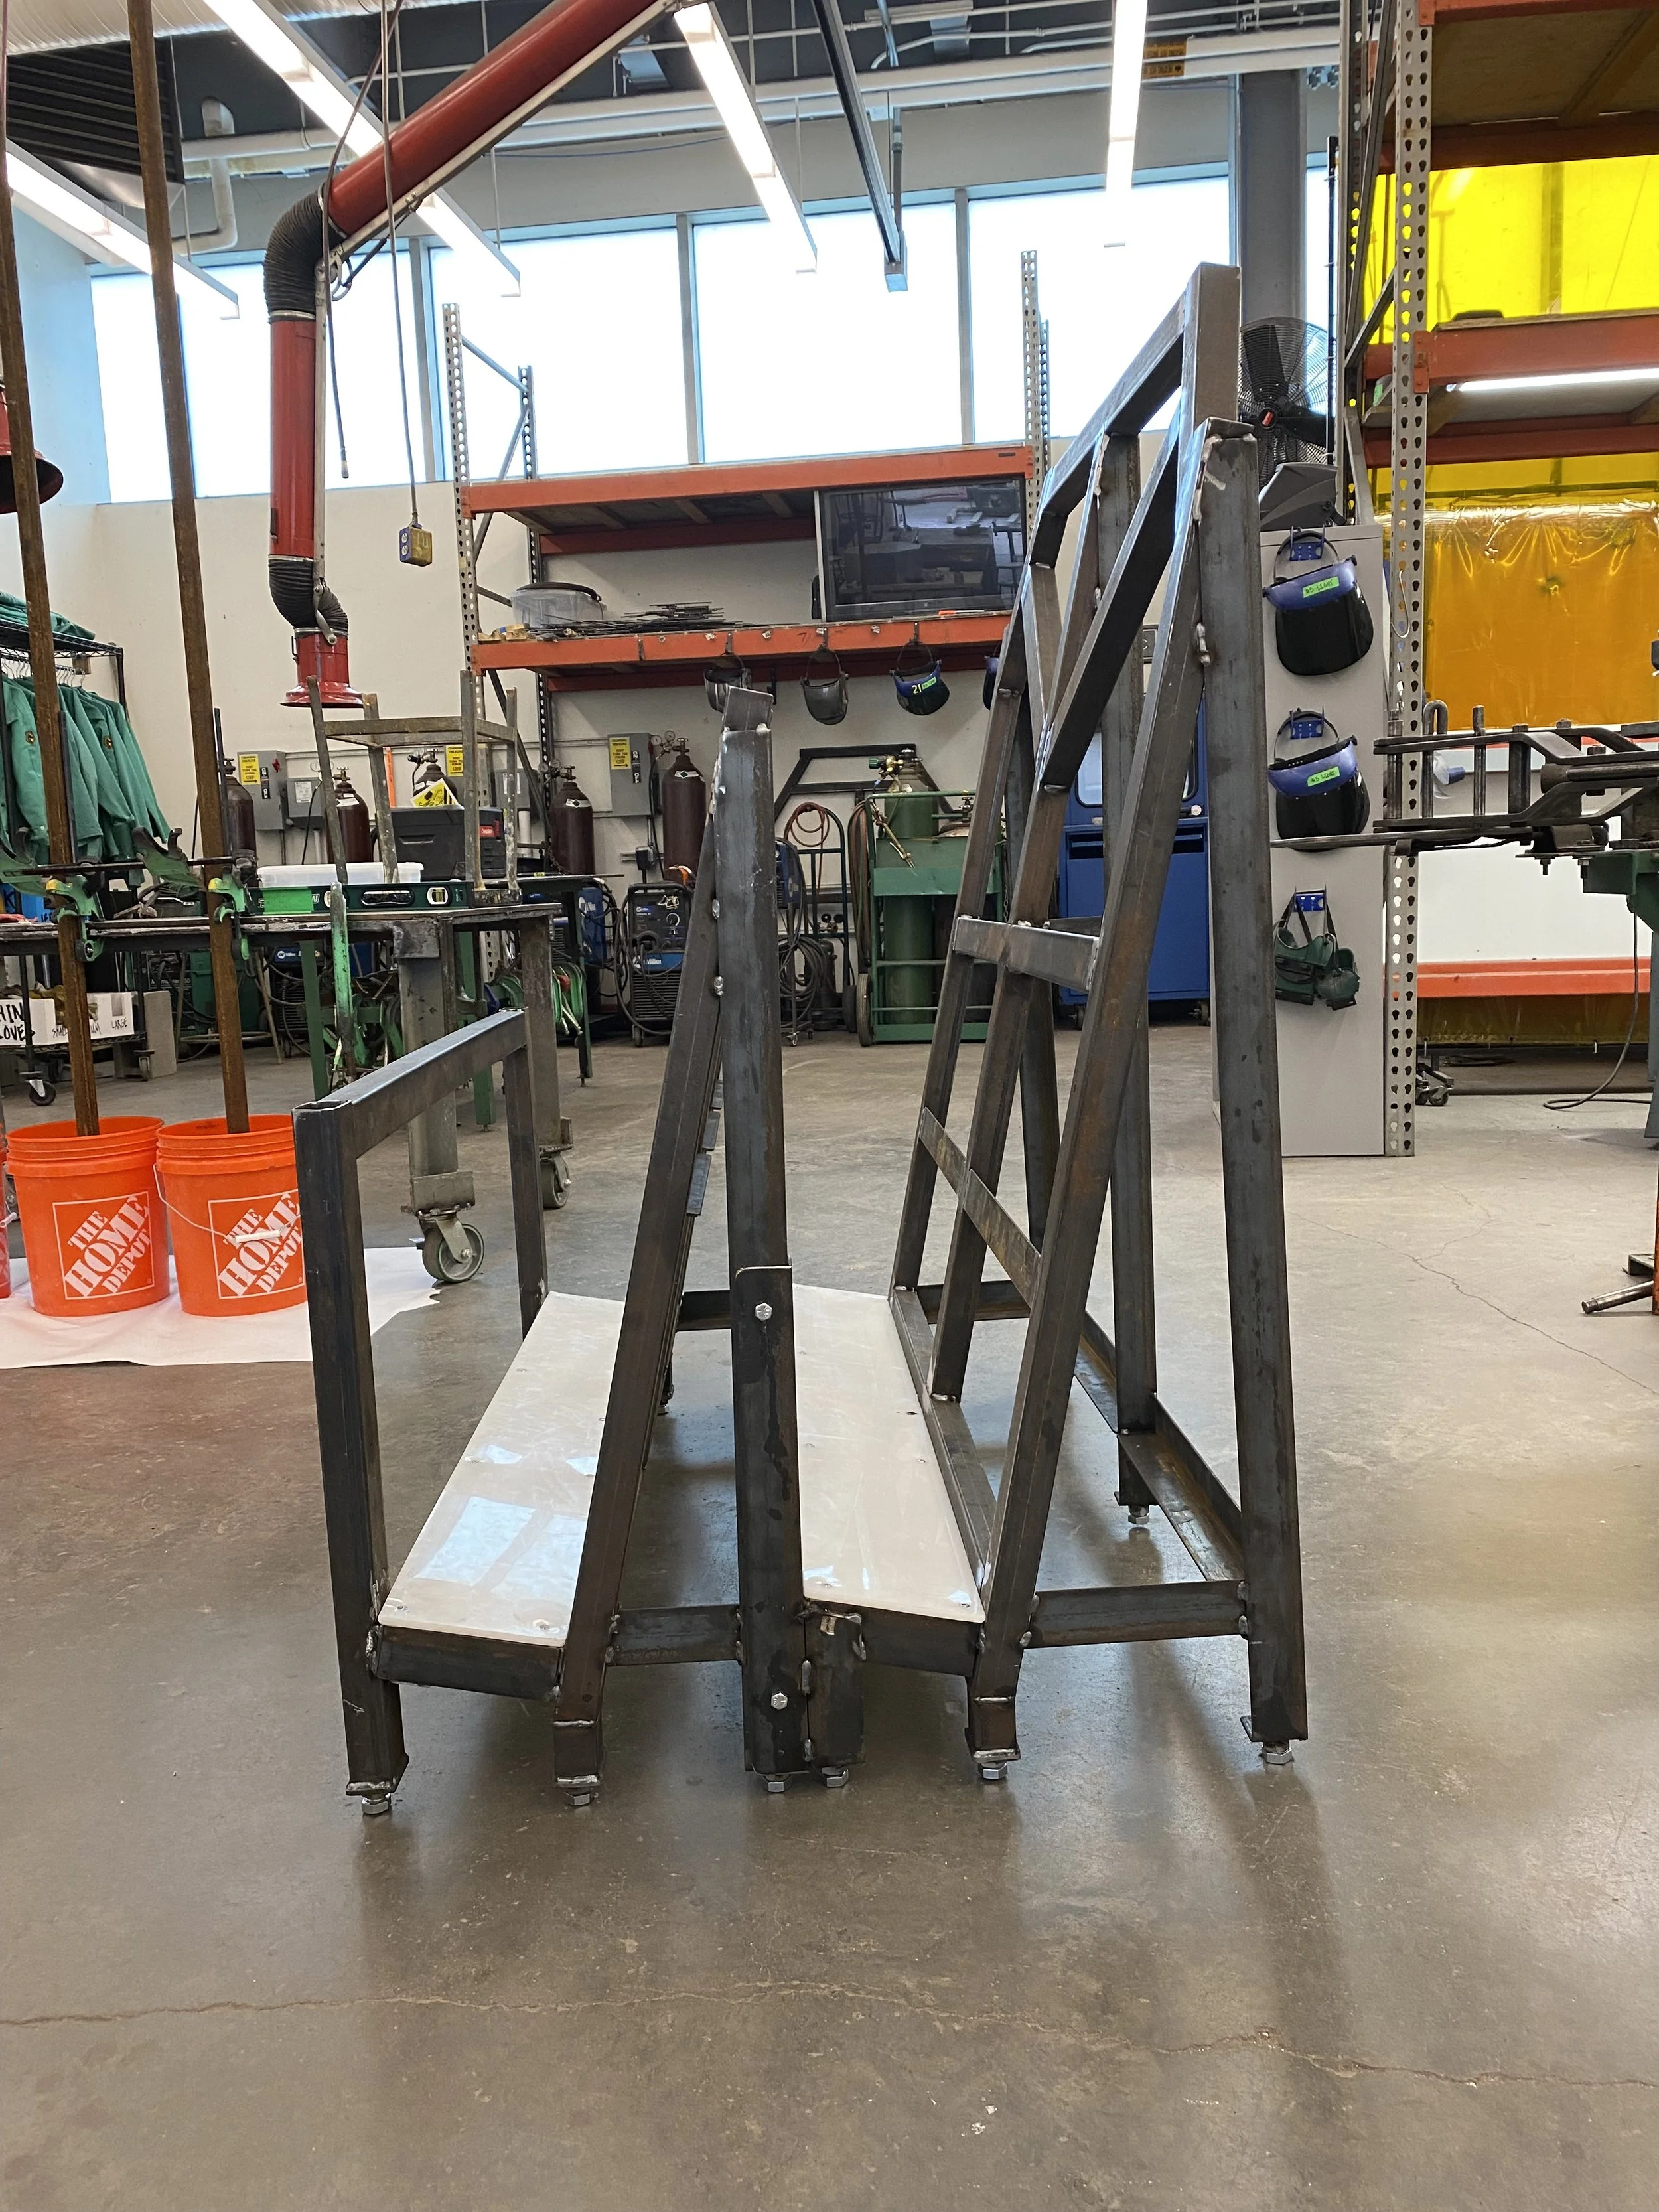
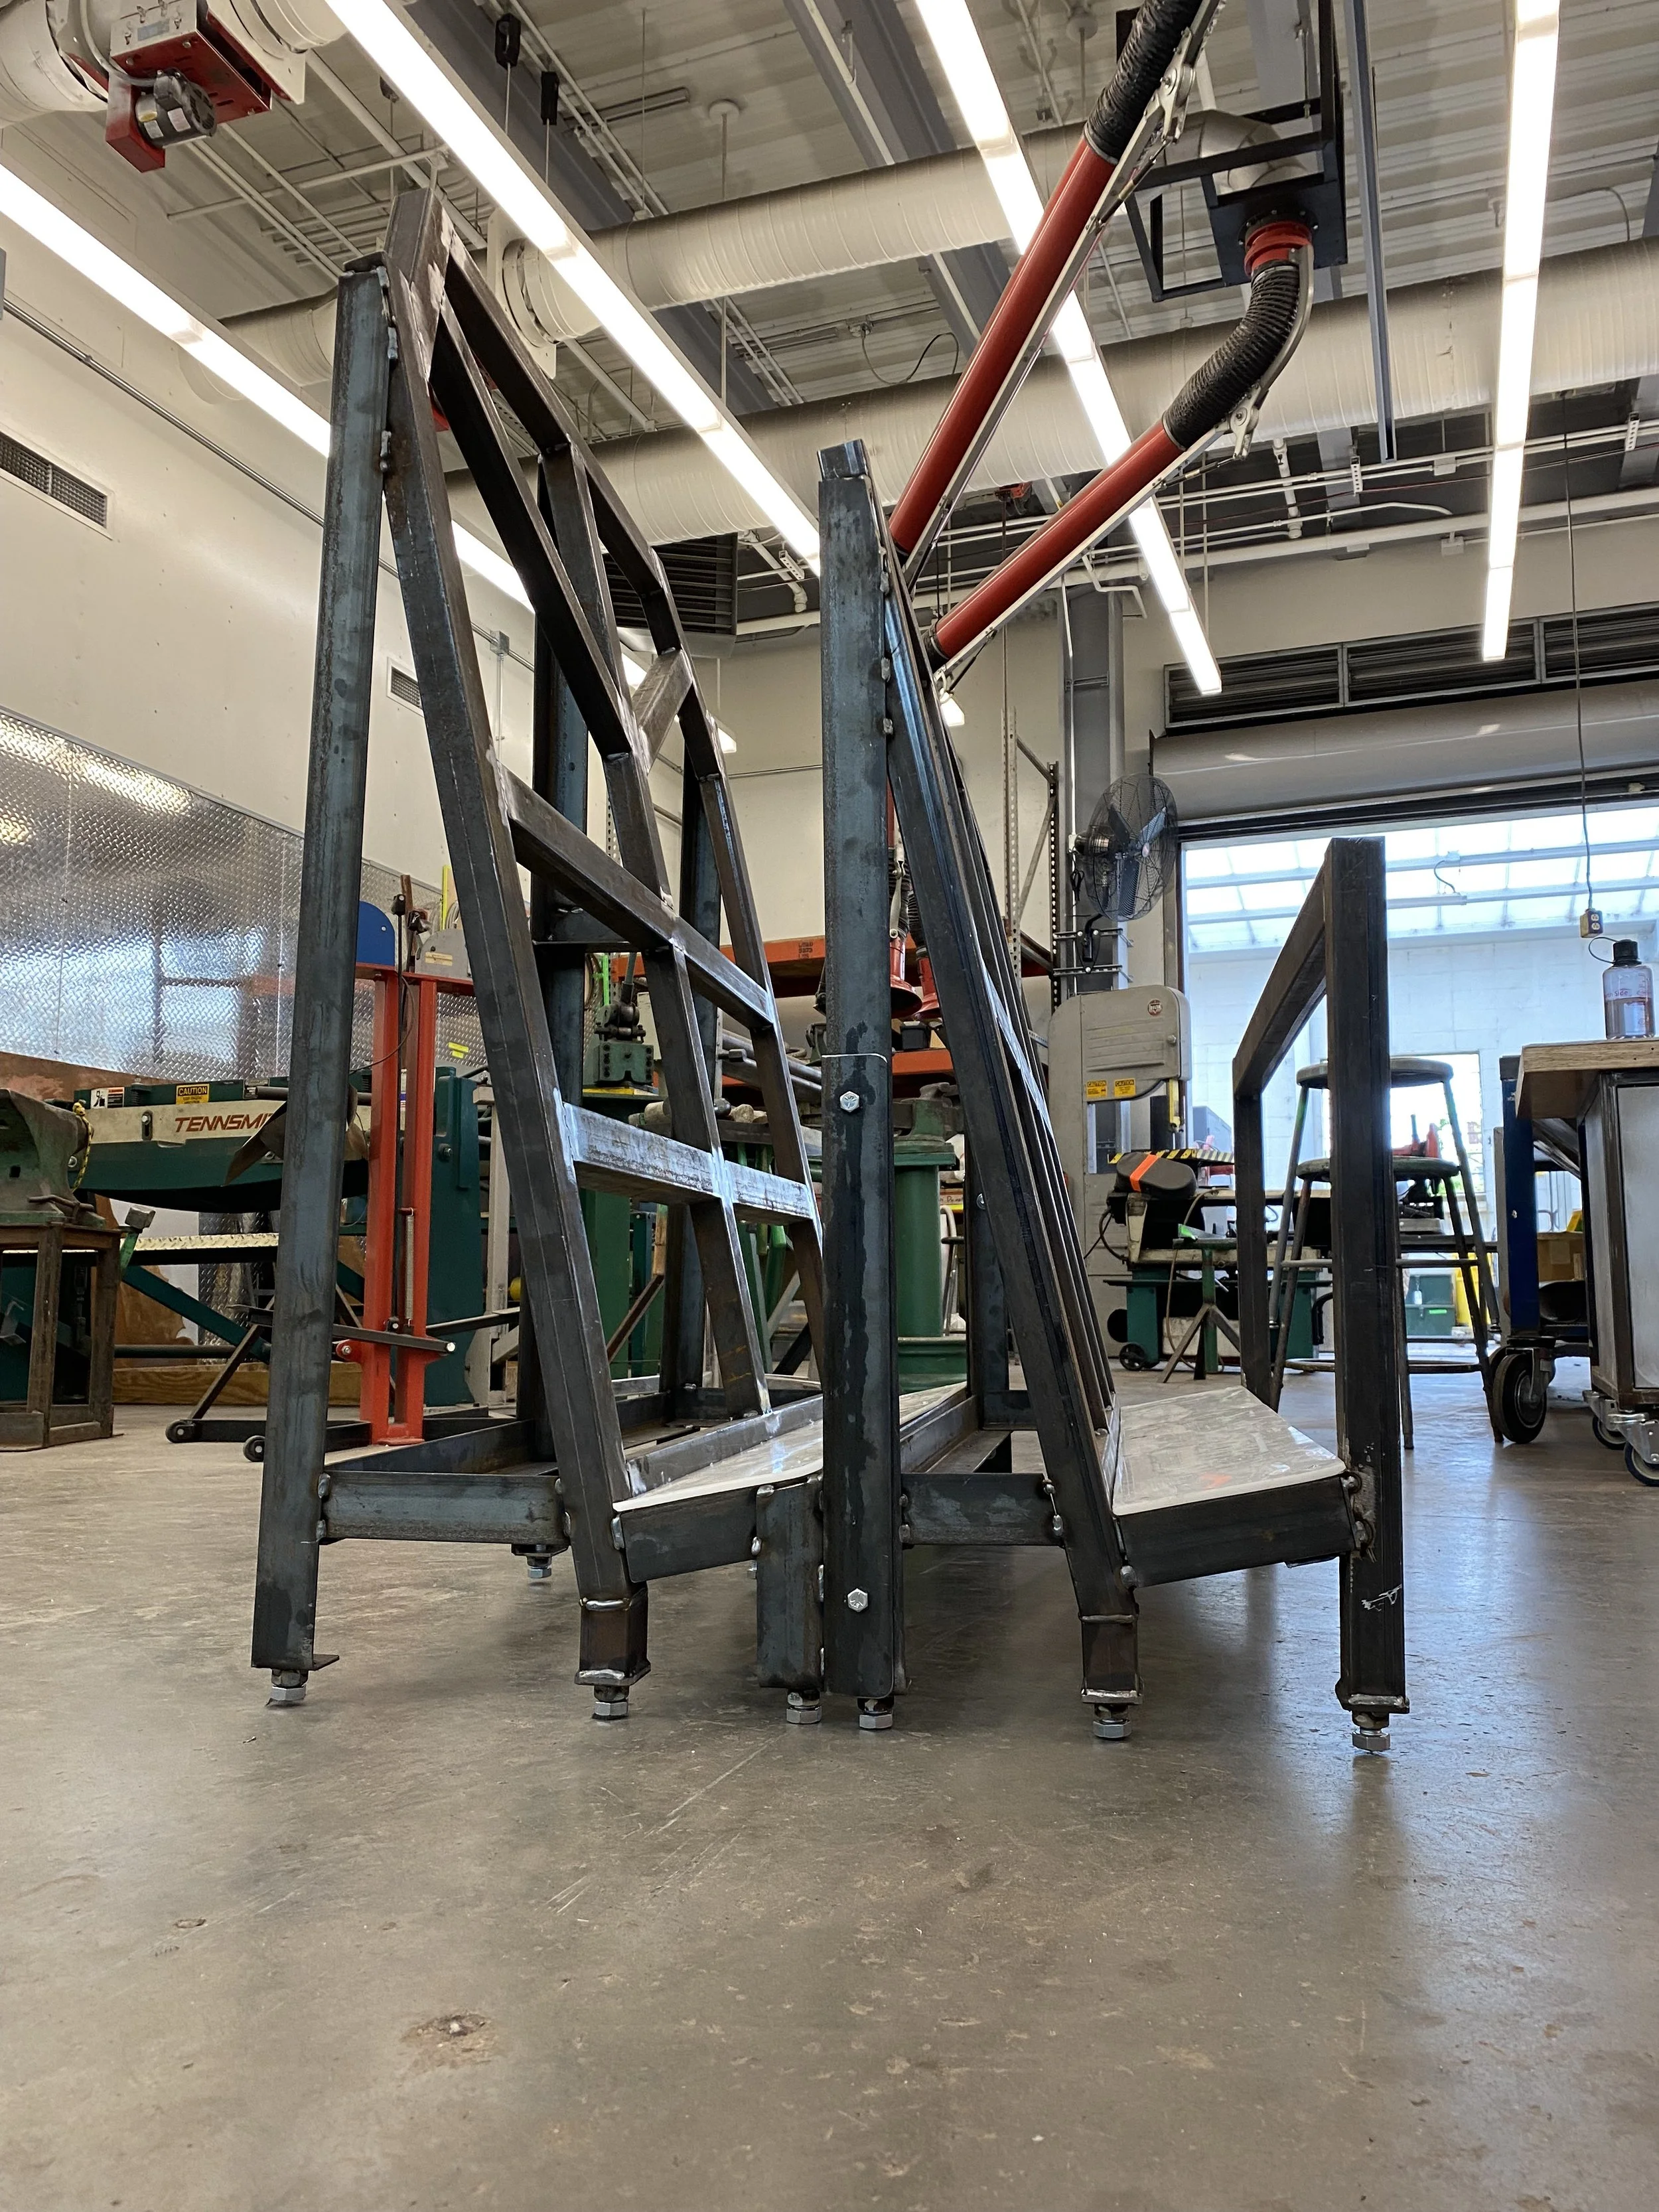
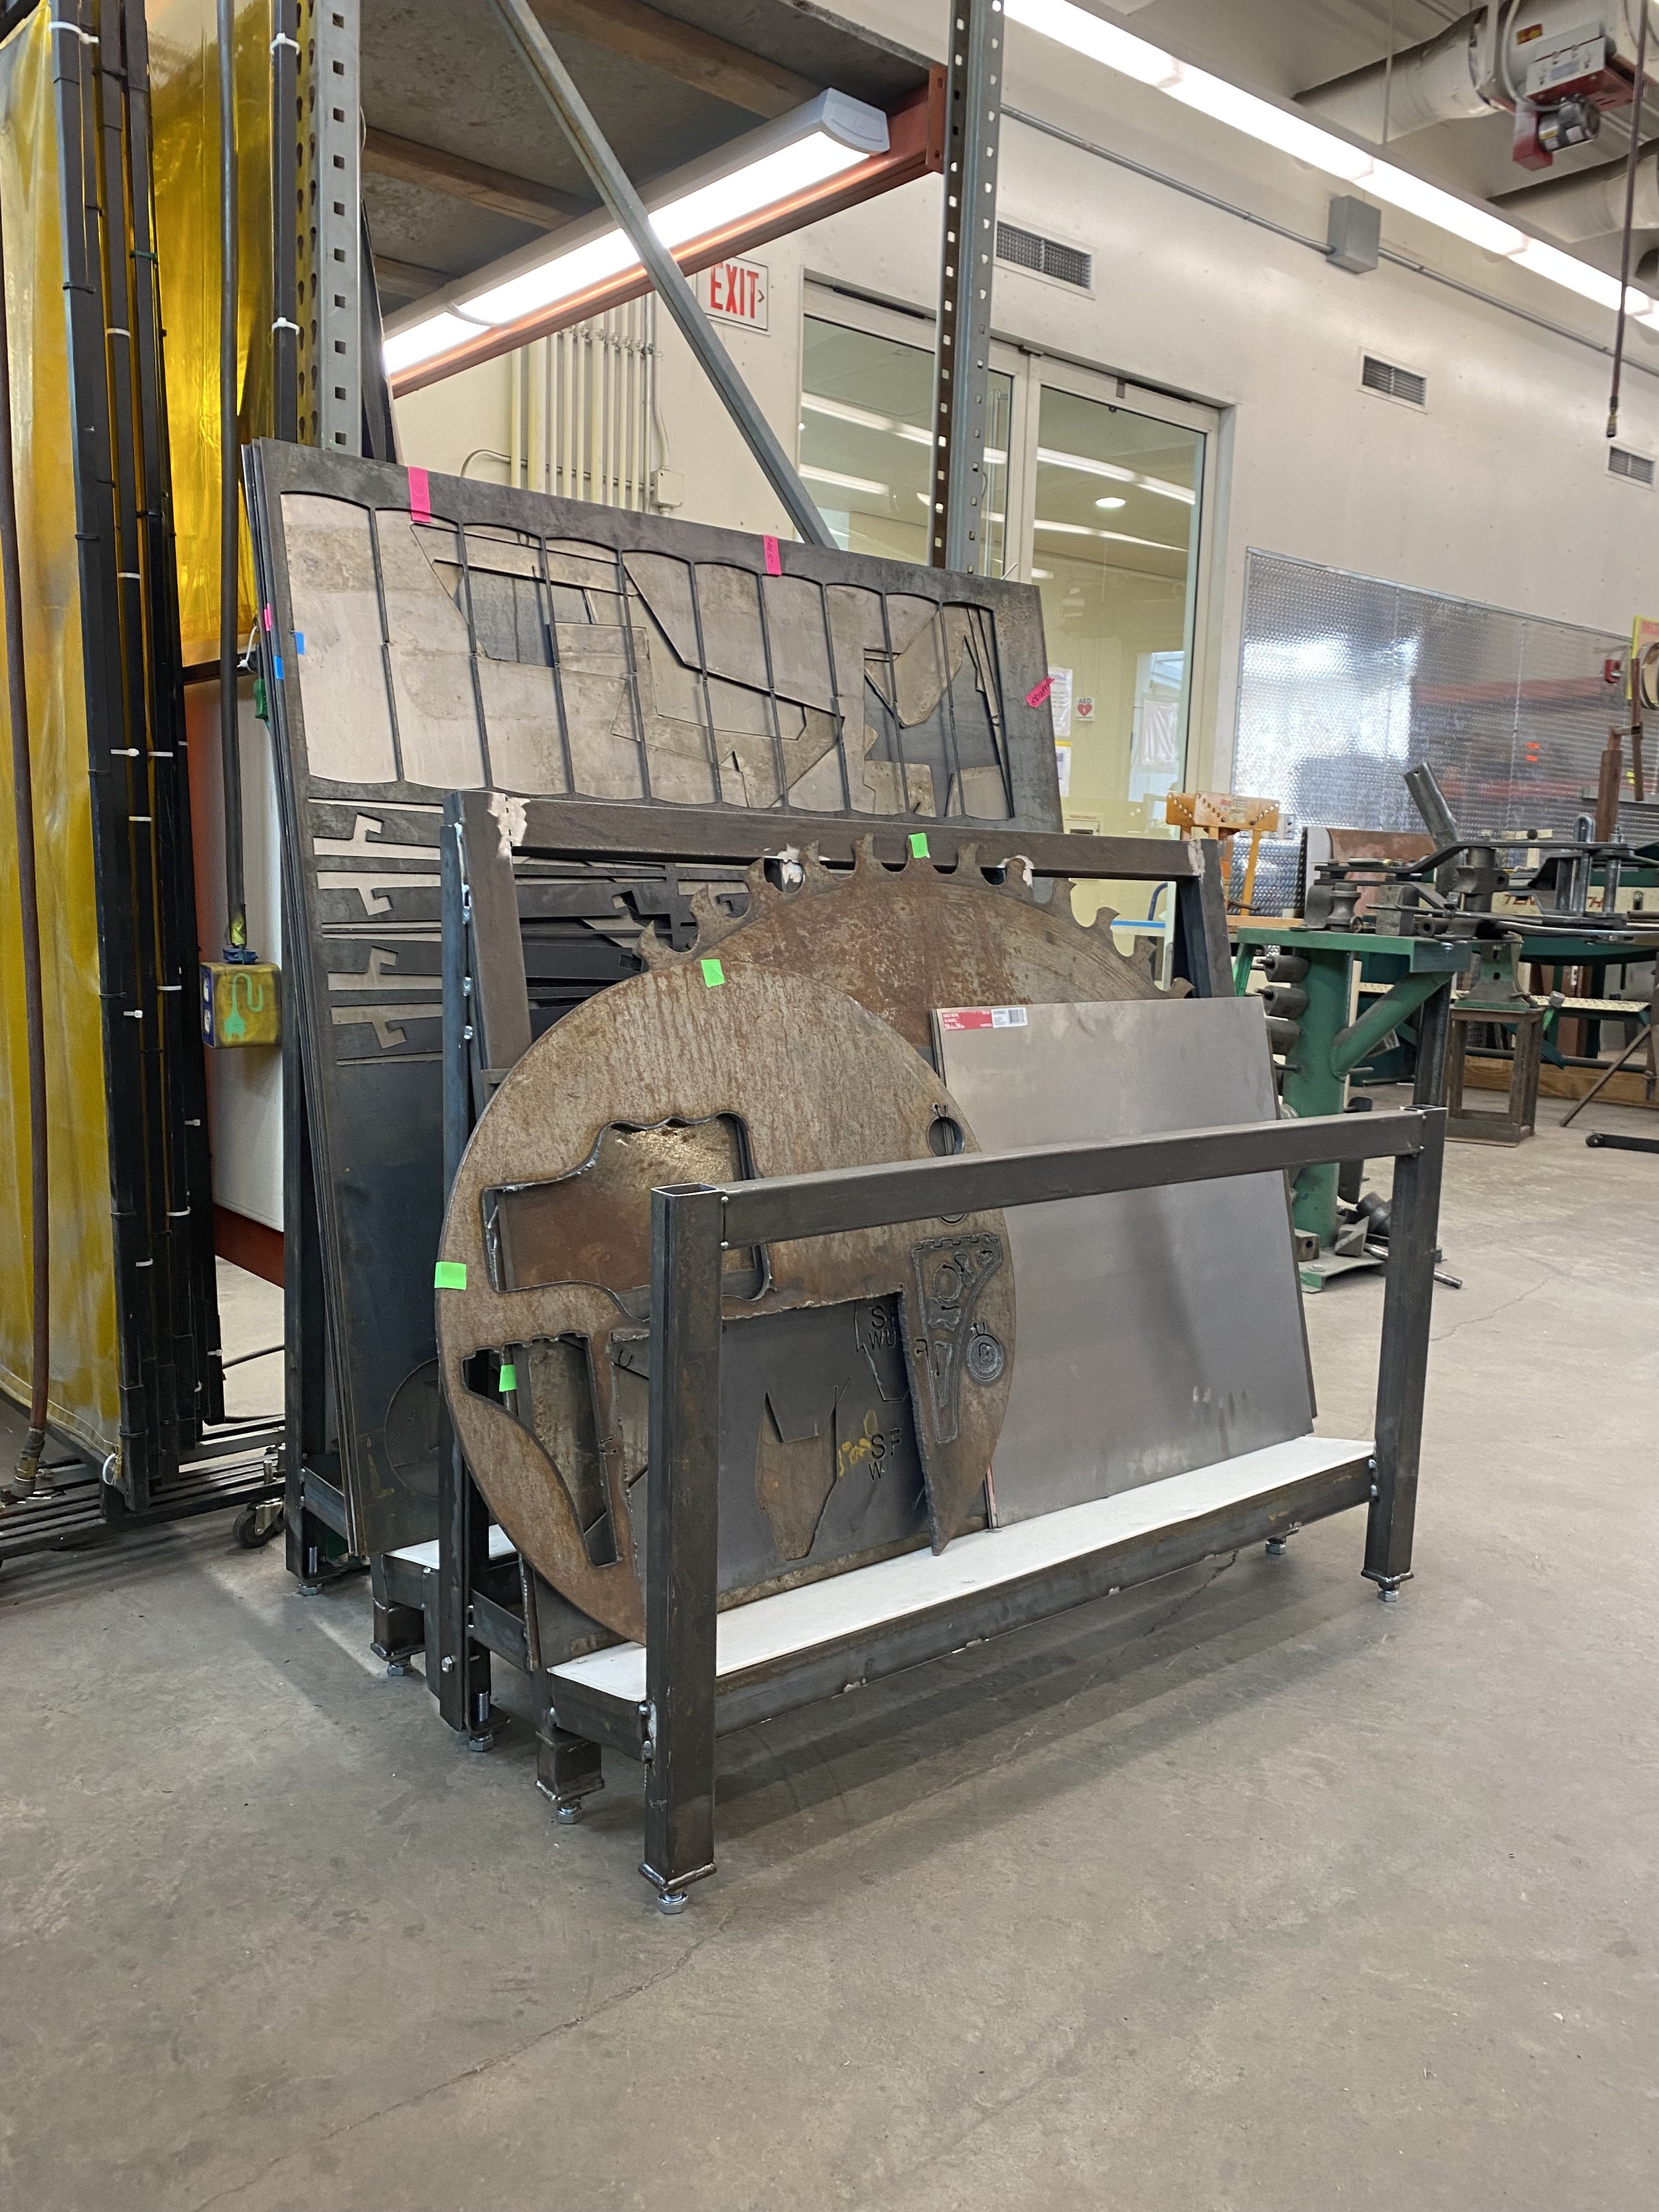
The distance between a plasma cutter torch and the metal being cut is extremely specific and critical to the success of the cut, so it is crucial that all of the sheet metal being used be as flat as possible (no cupping or distortion). Consequently, after we acquired the Shop Sabre “SideKick 4” CNC Plasma Cutter for the Walker metal shop, I quickly prioritized the need to fabricate new storage. Prior to this purchase, all sheet metal storage had been simply leaned against the wall, behind shelving. For general purposes, this was fine, however, over time, this lean would warp and cup the sheets.
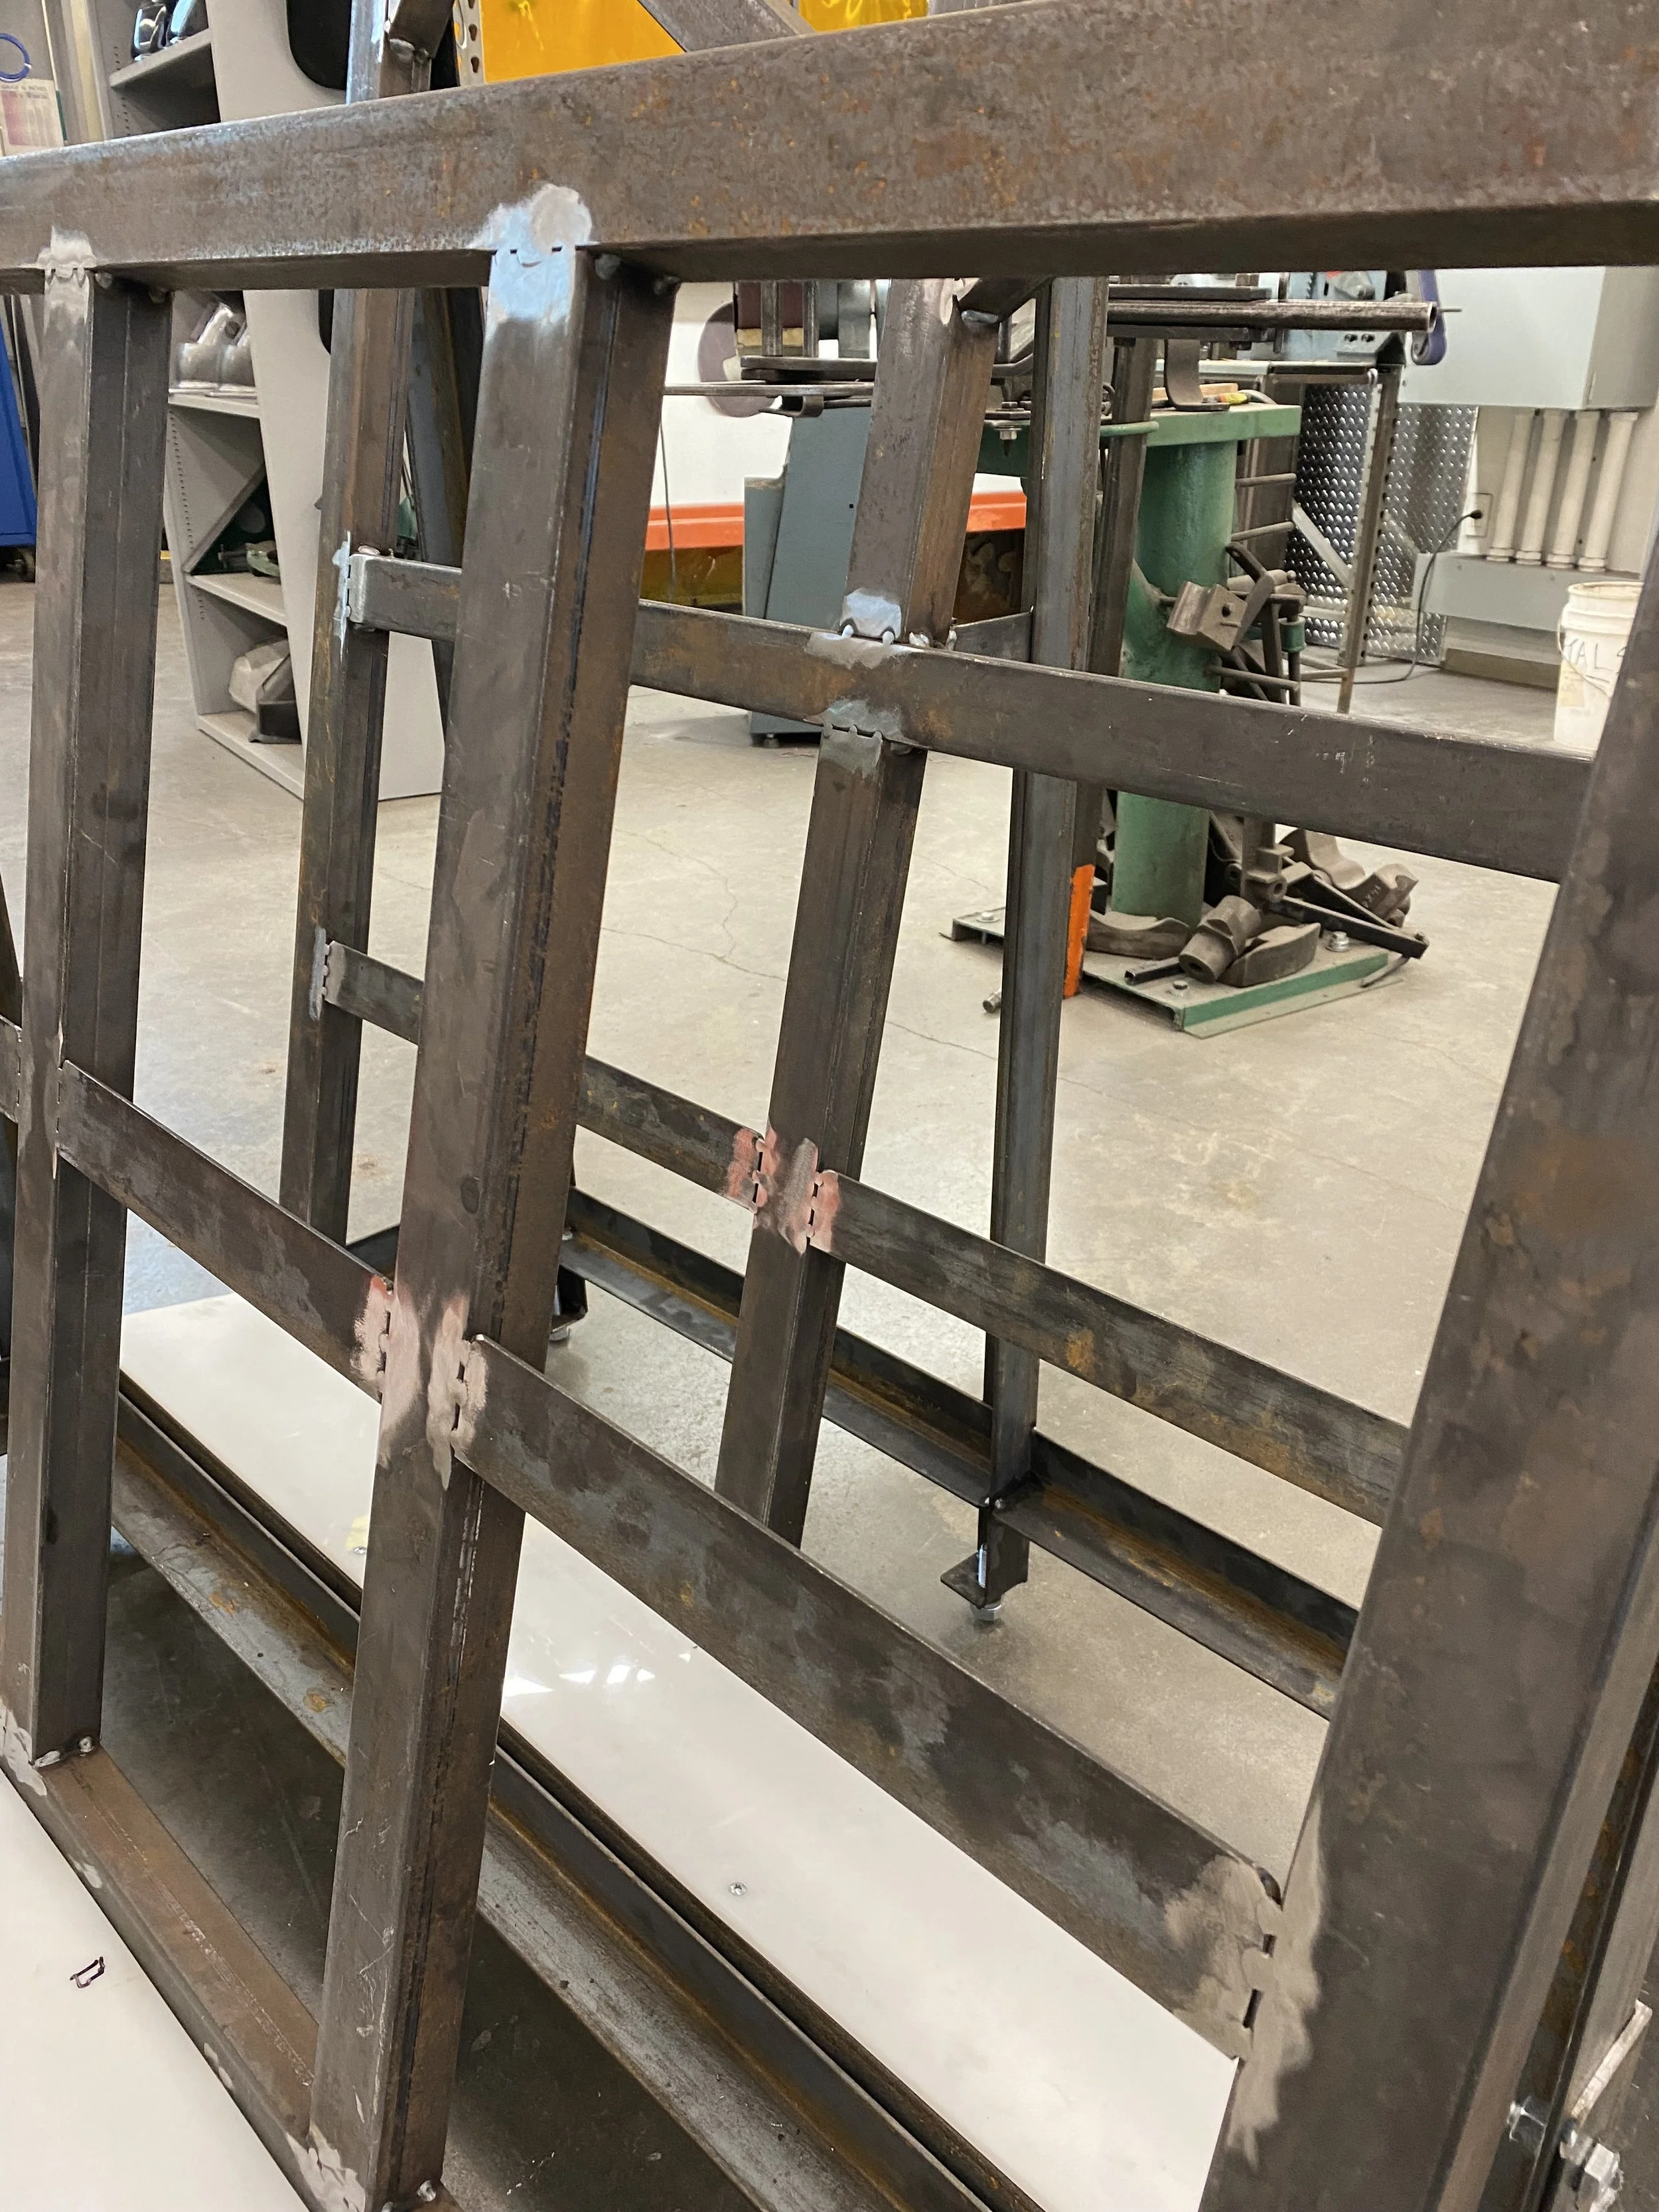
For the new storage, I built in a pitched back and floor so that the metal has a natural lean while also being supported. This leaning design allows users to store and pull sheets from the front, middle and back of the stack. The storage includes two bays, one for 4’x4’ sheets and the other for smaller pieces. So they could be separated, the two bays bolted together rather than welded. Finally, I built the storage raised high enough so that a pallet jack could get underneath for easy repositioning.
video of the shelf in use
PLASTER - Vibrating Cart designed to remove air bubbles during the mixing process
video of the cart in action
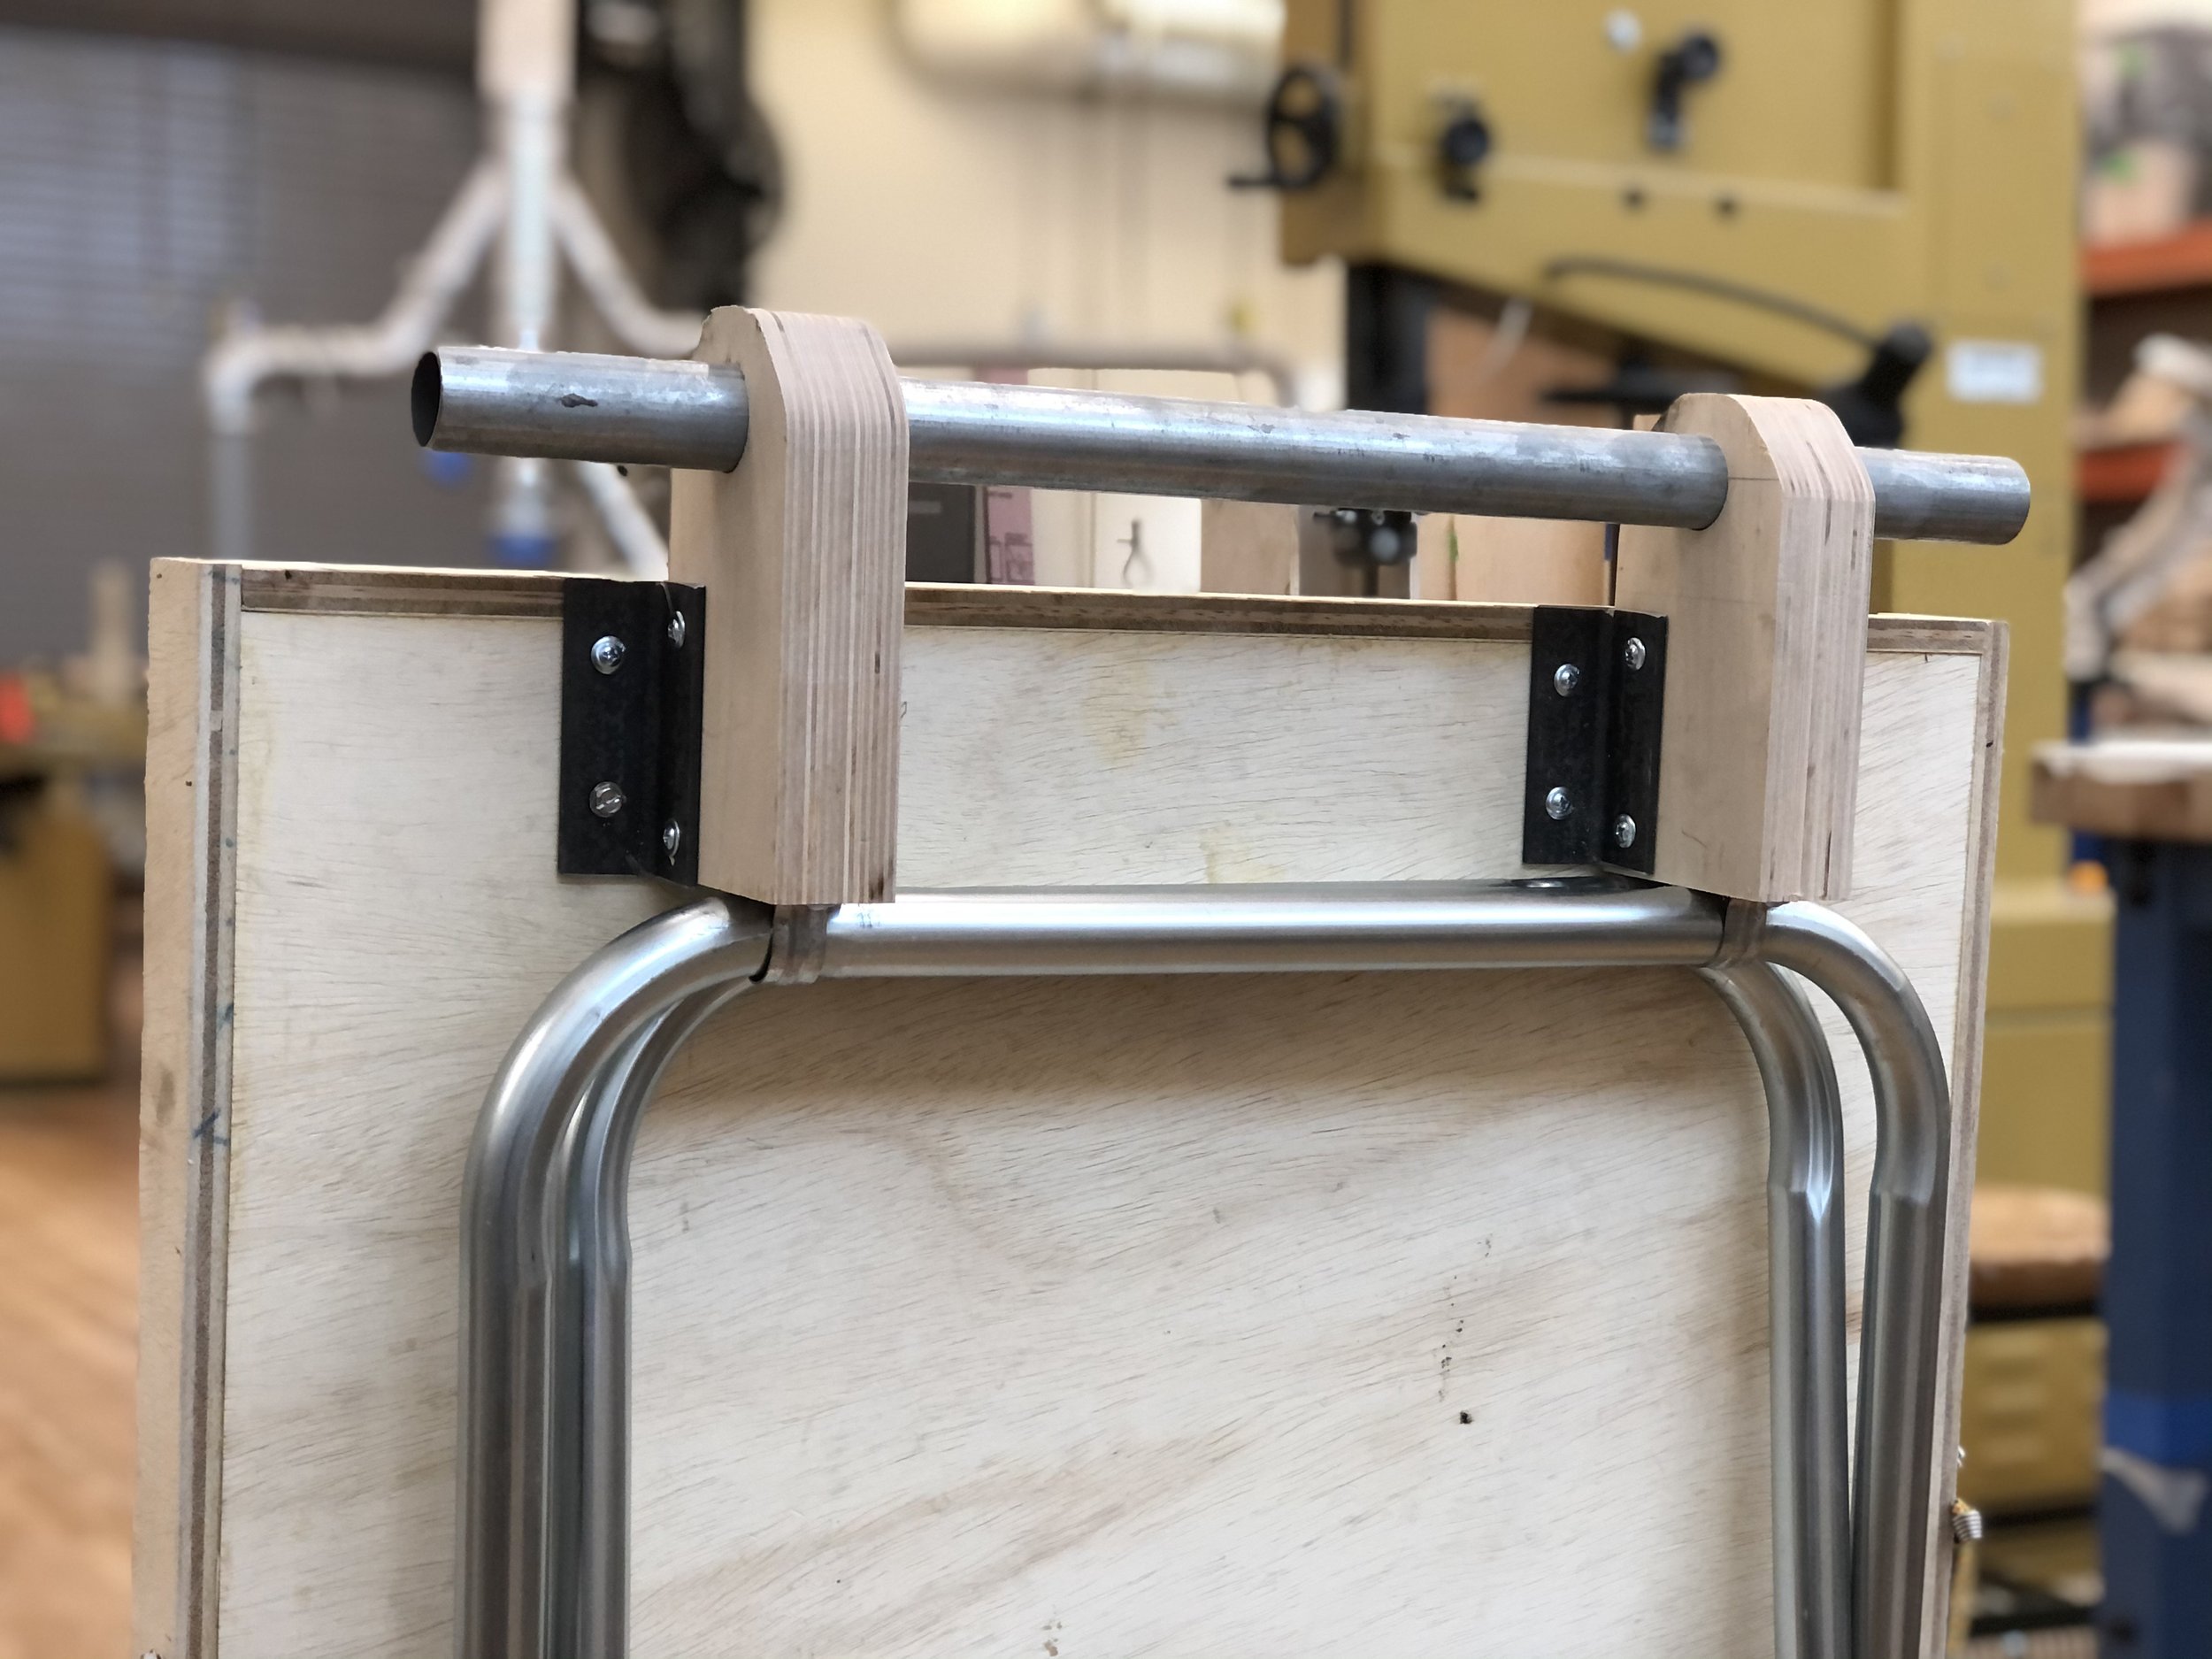
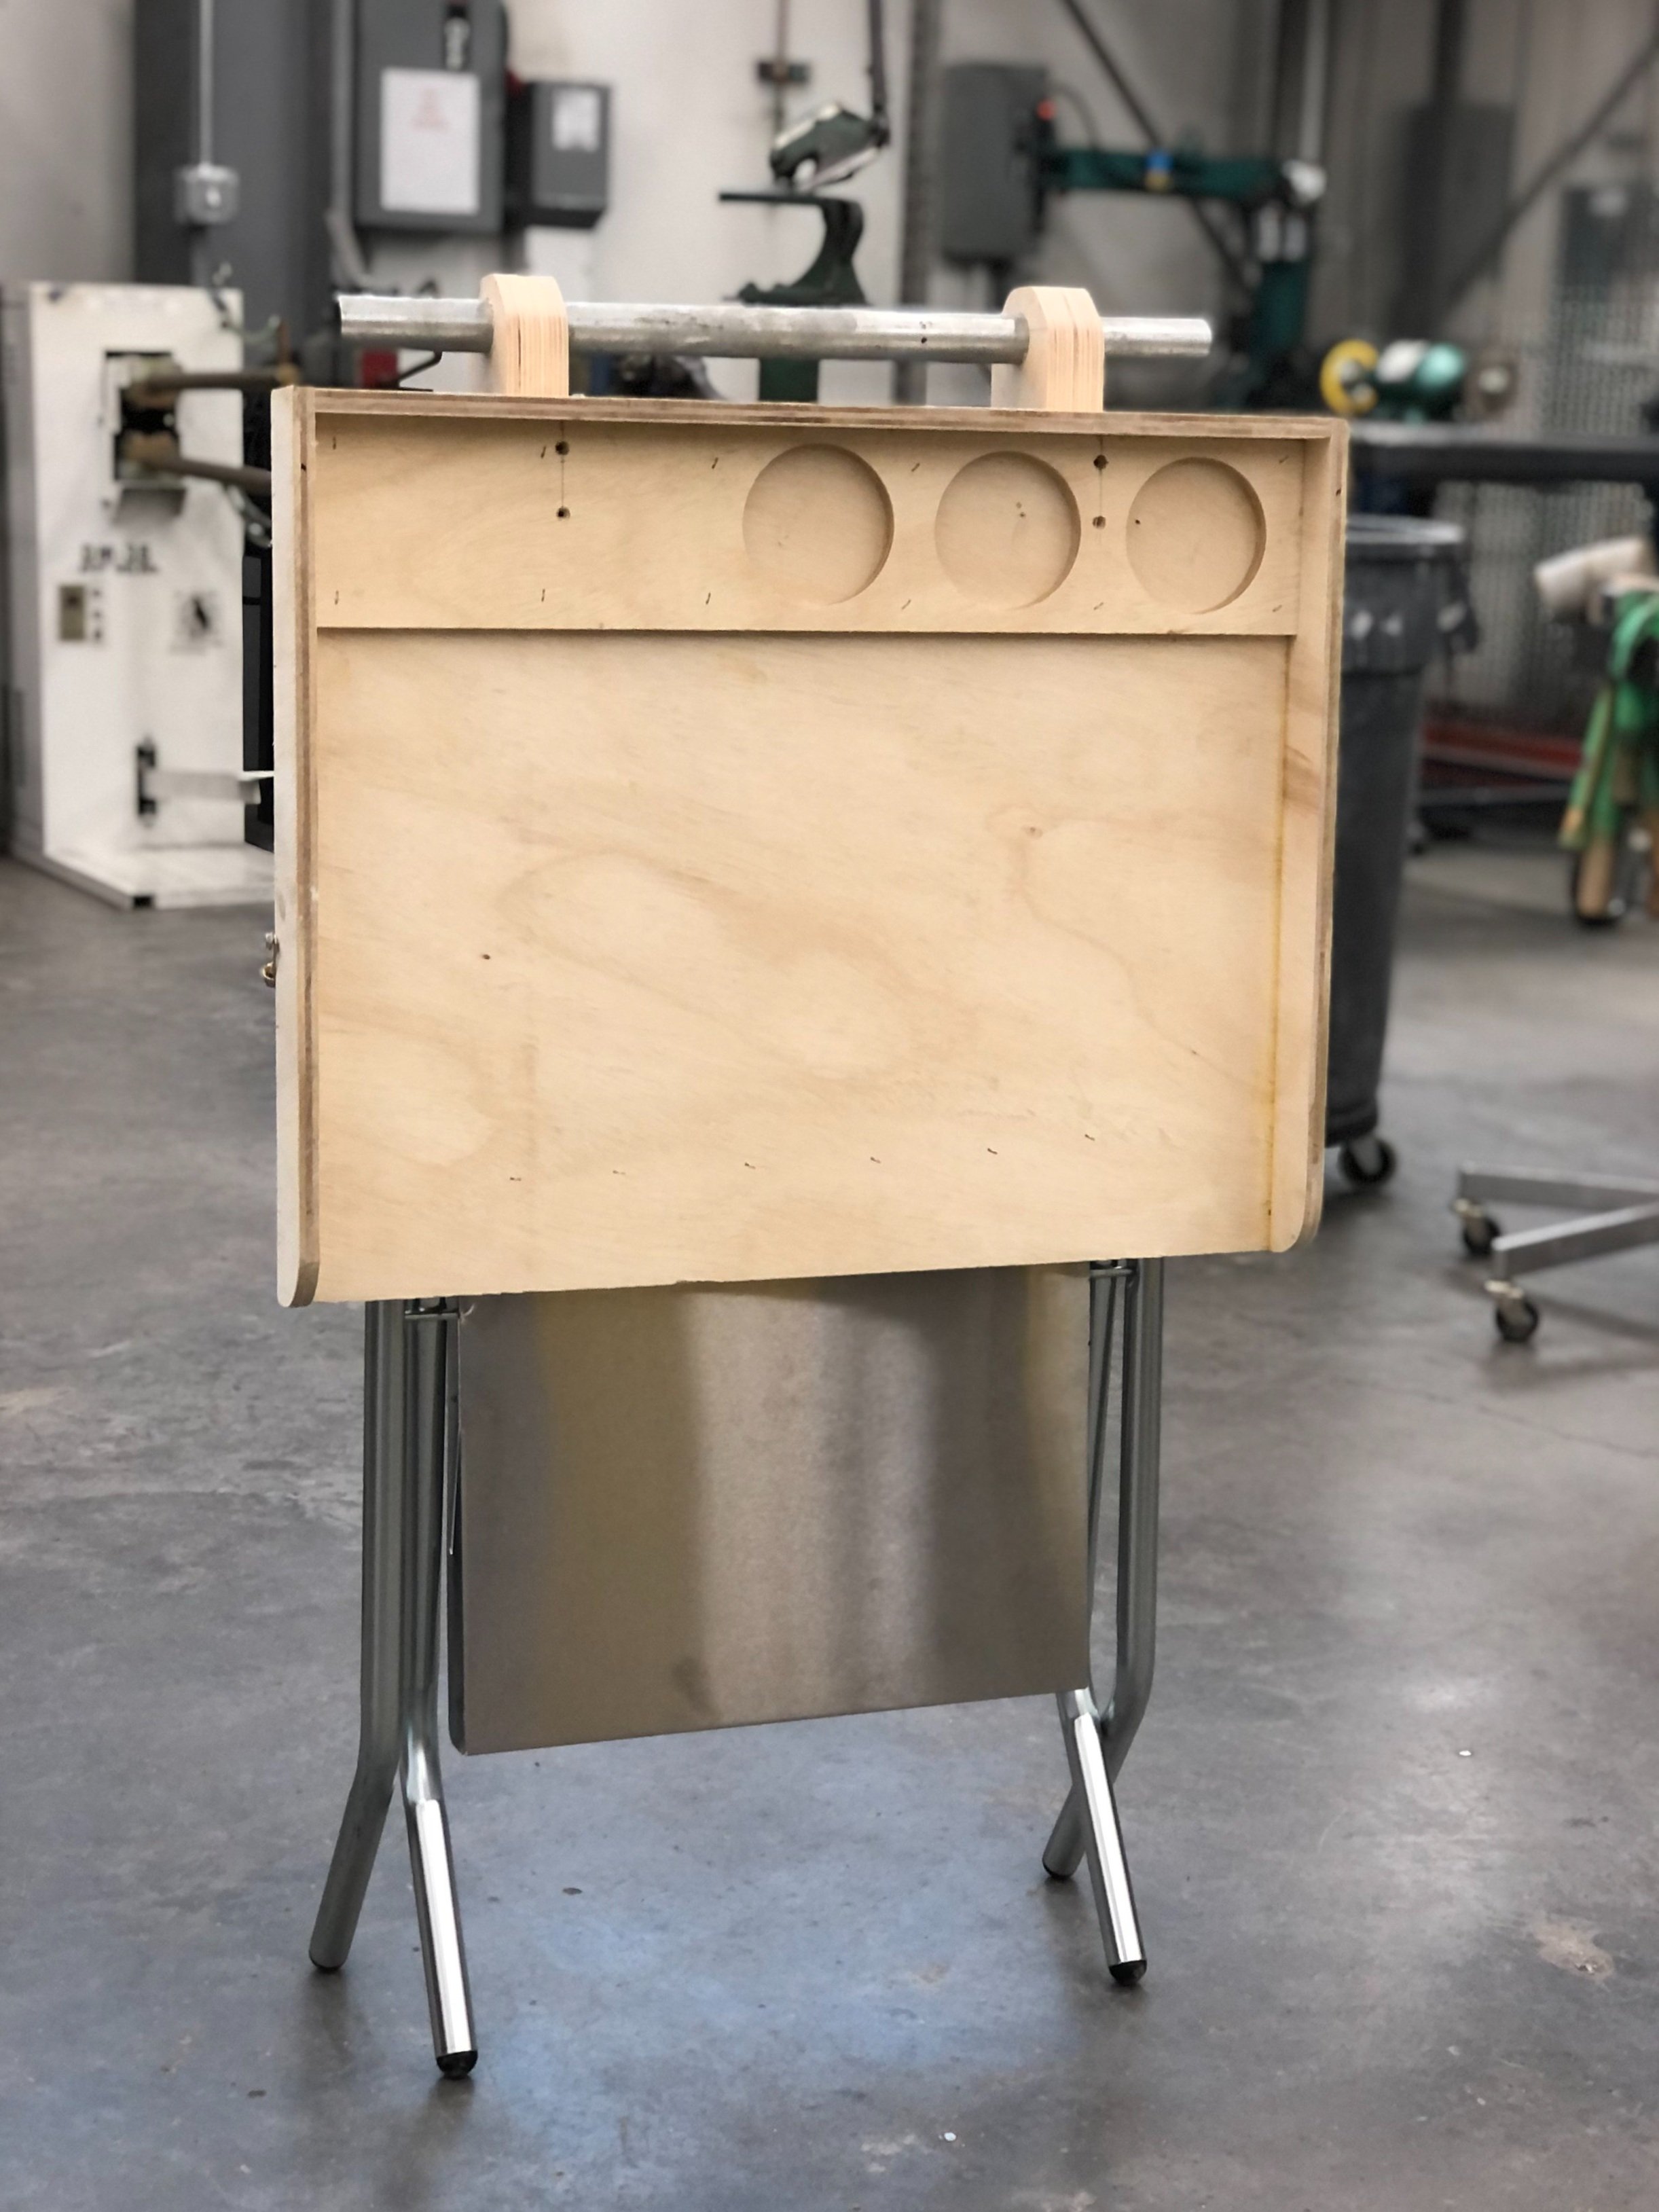
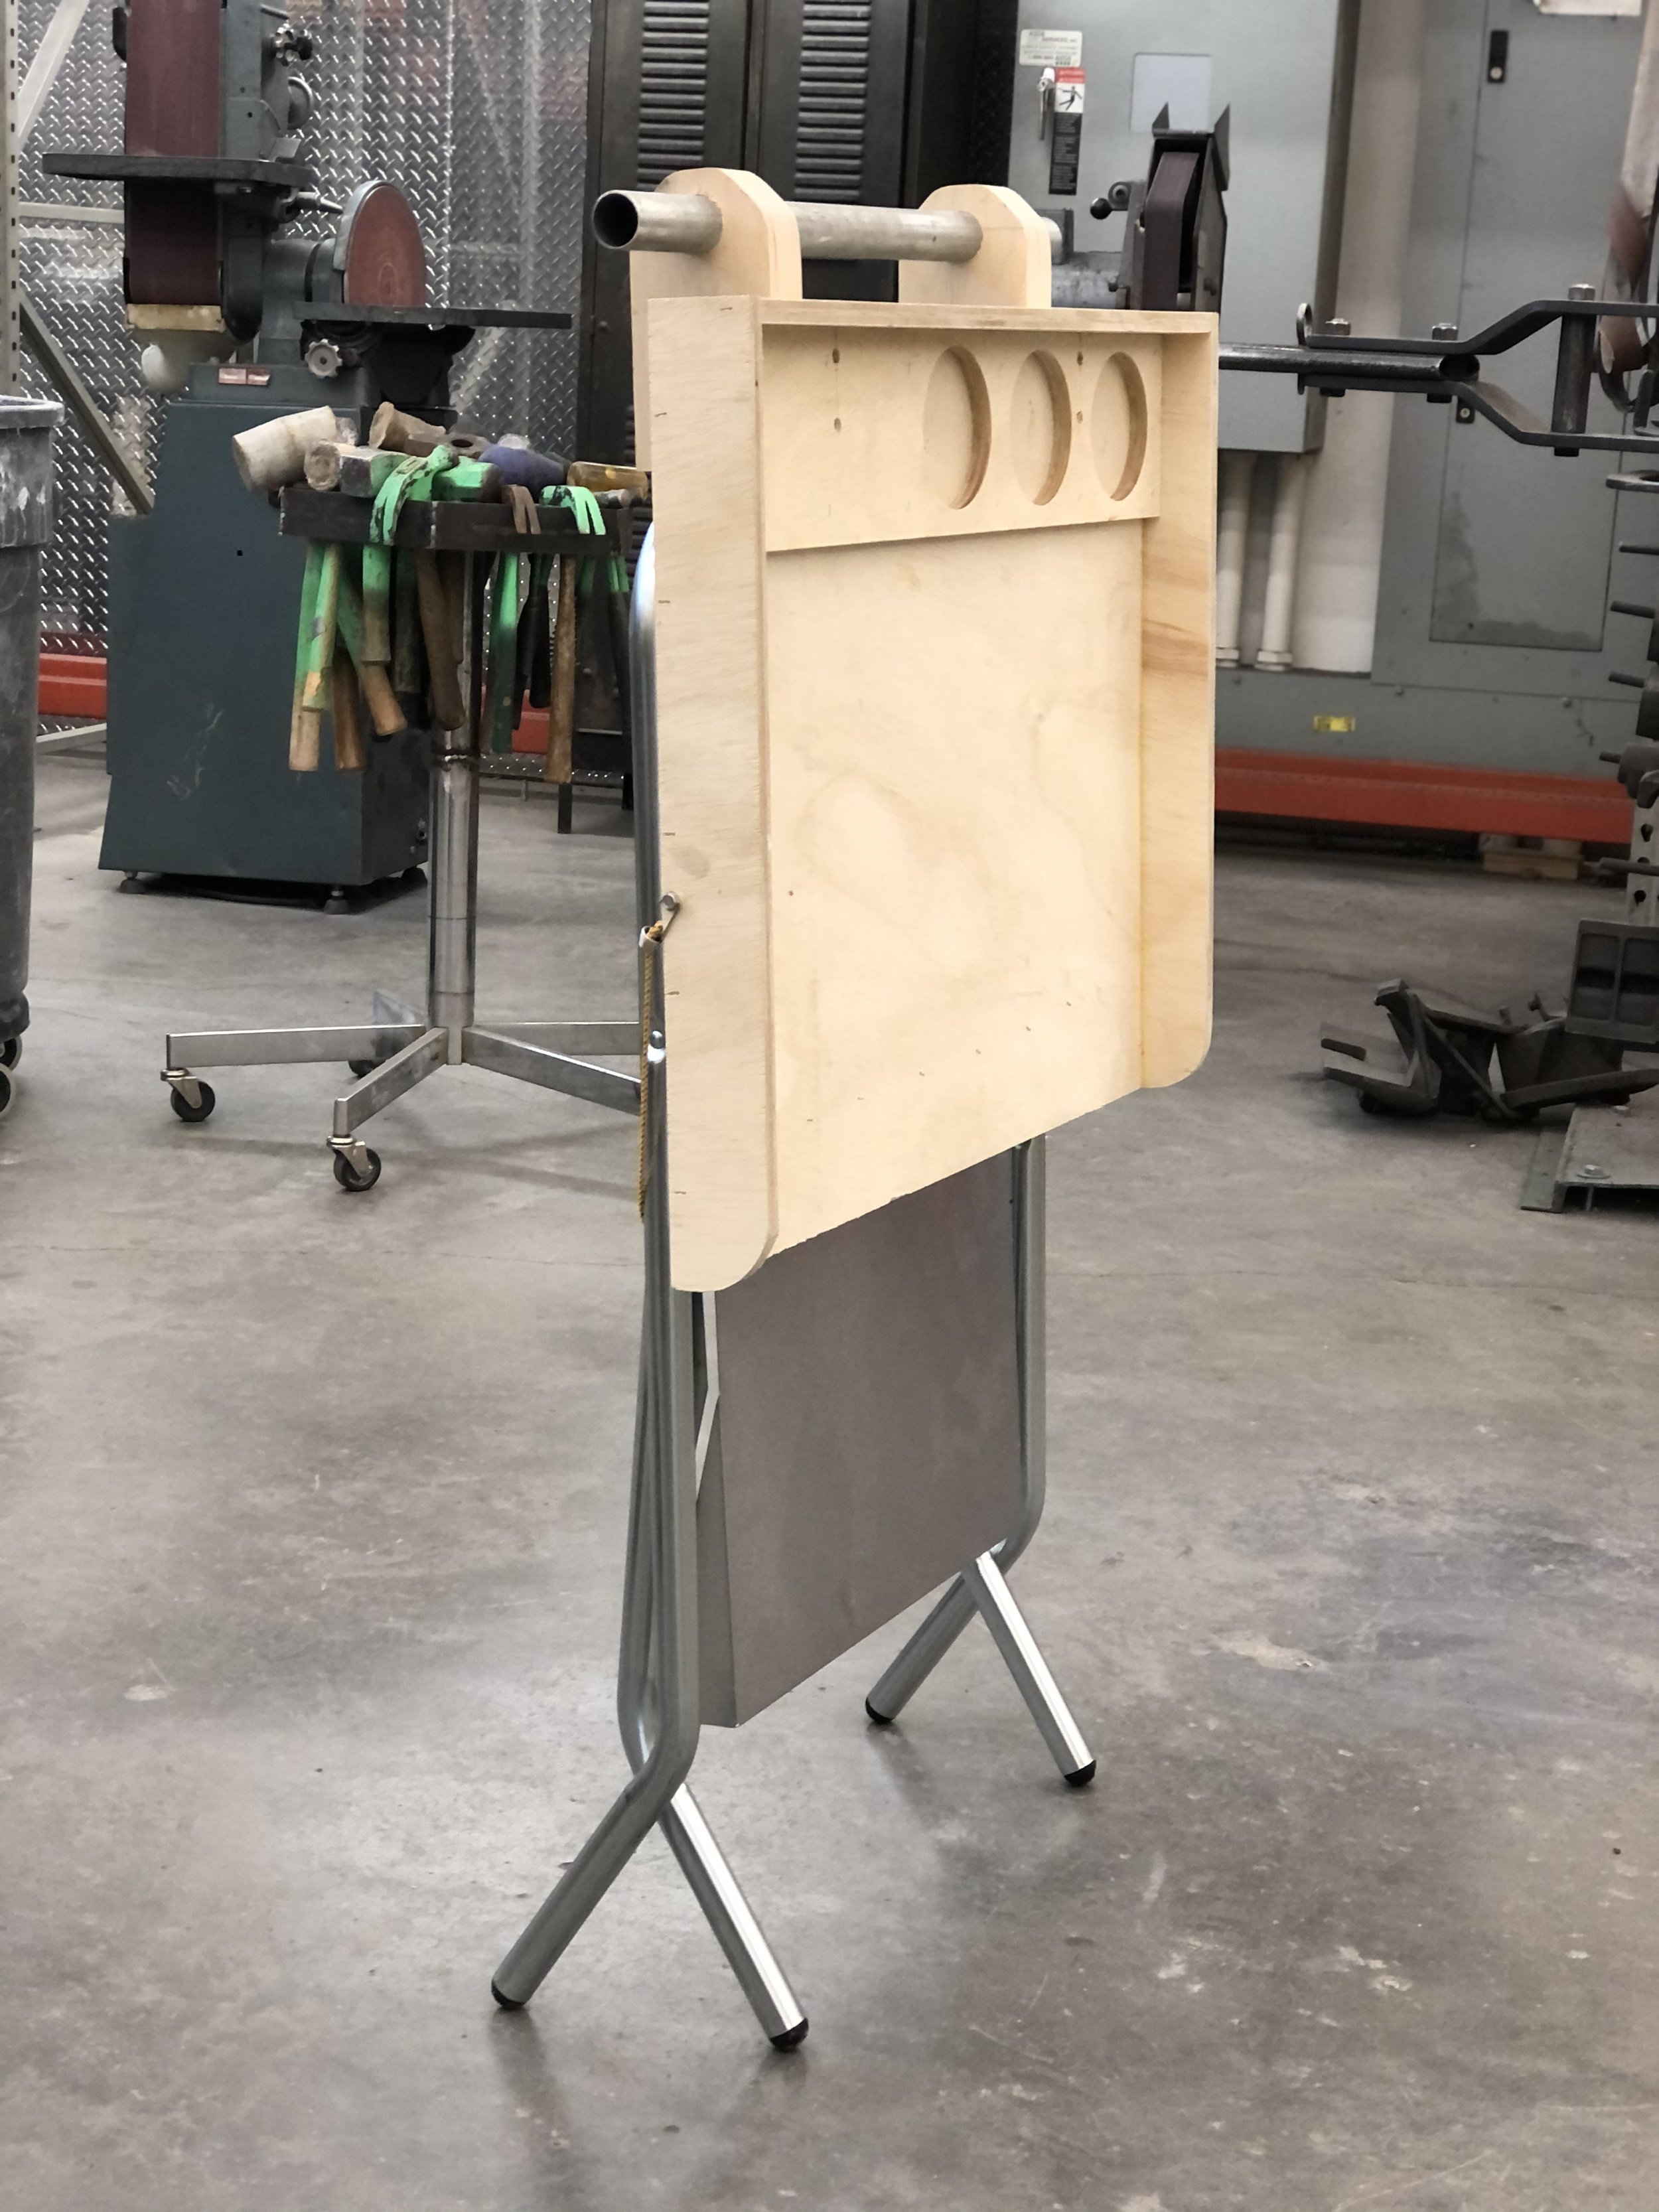
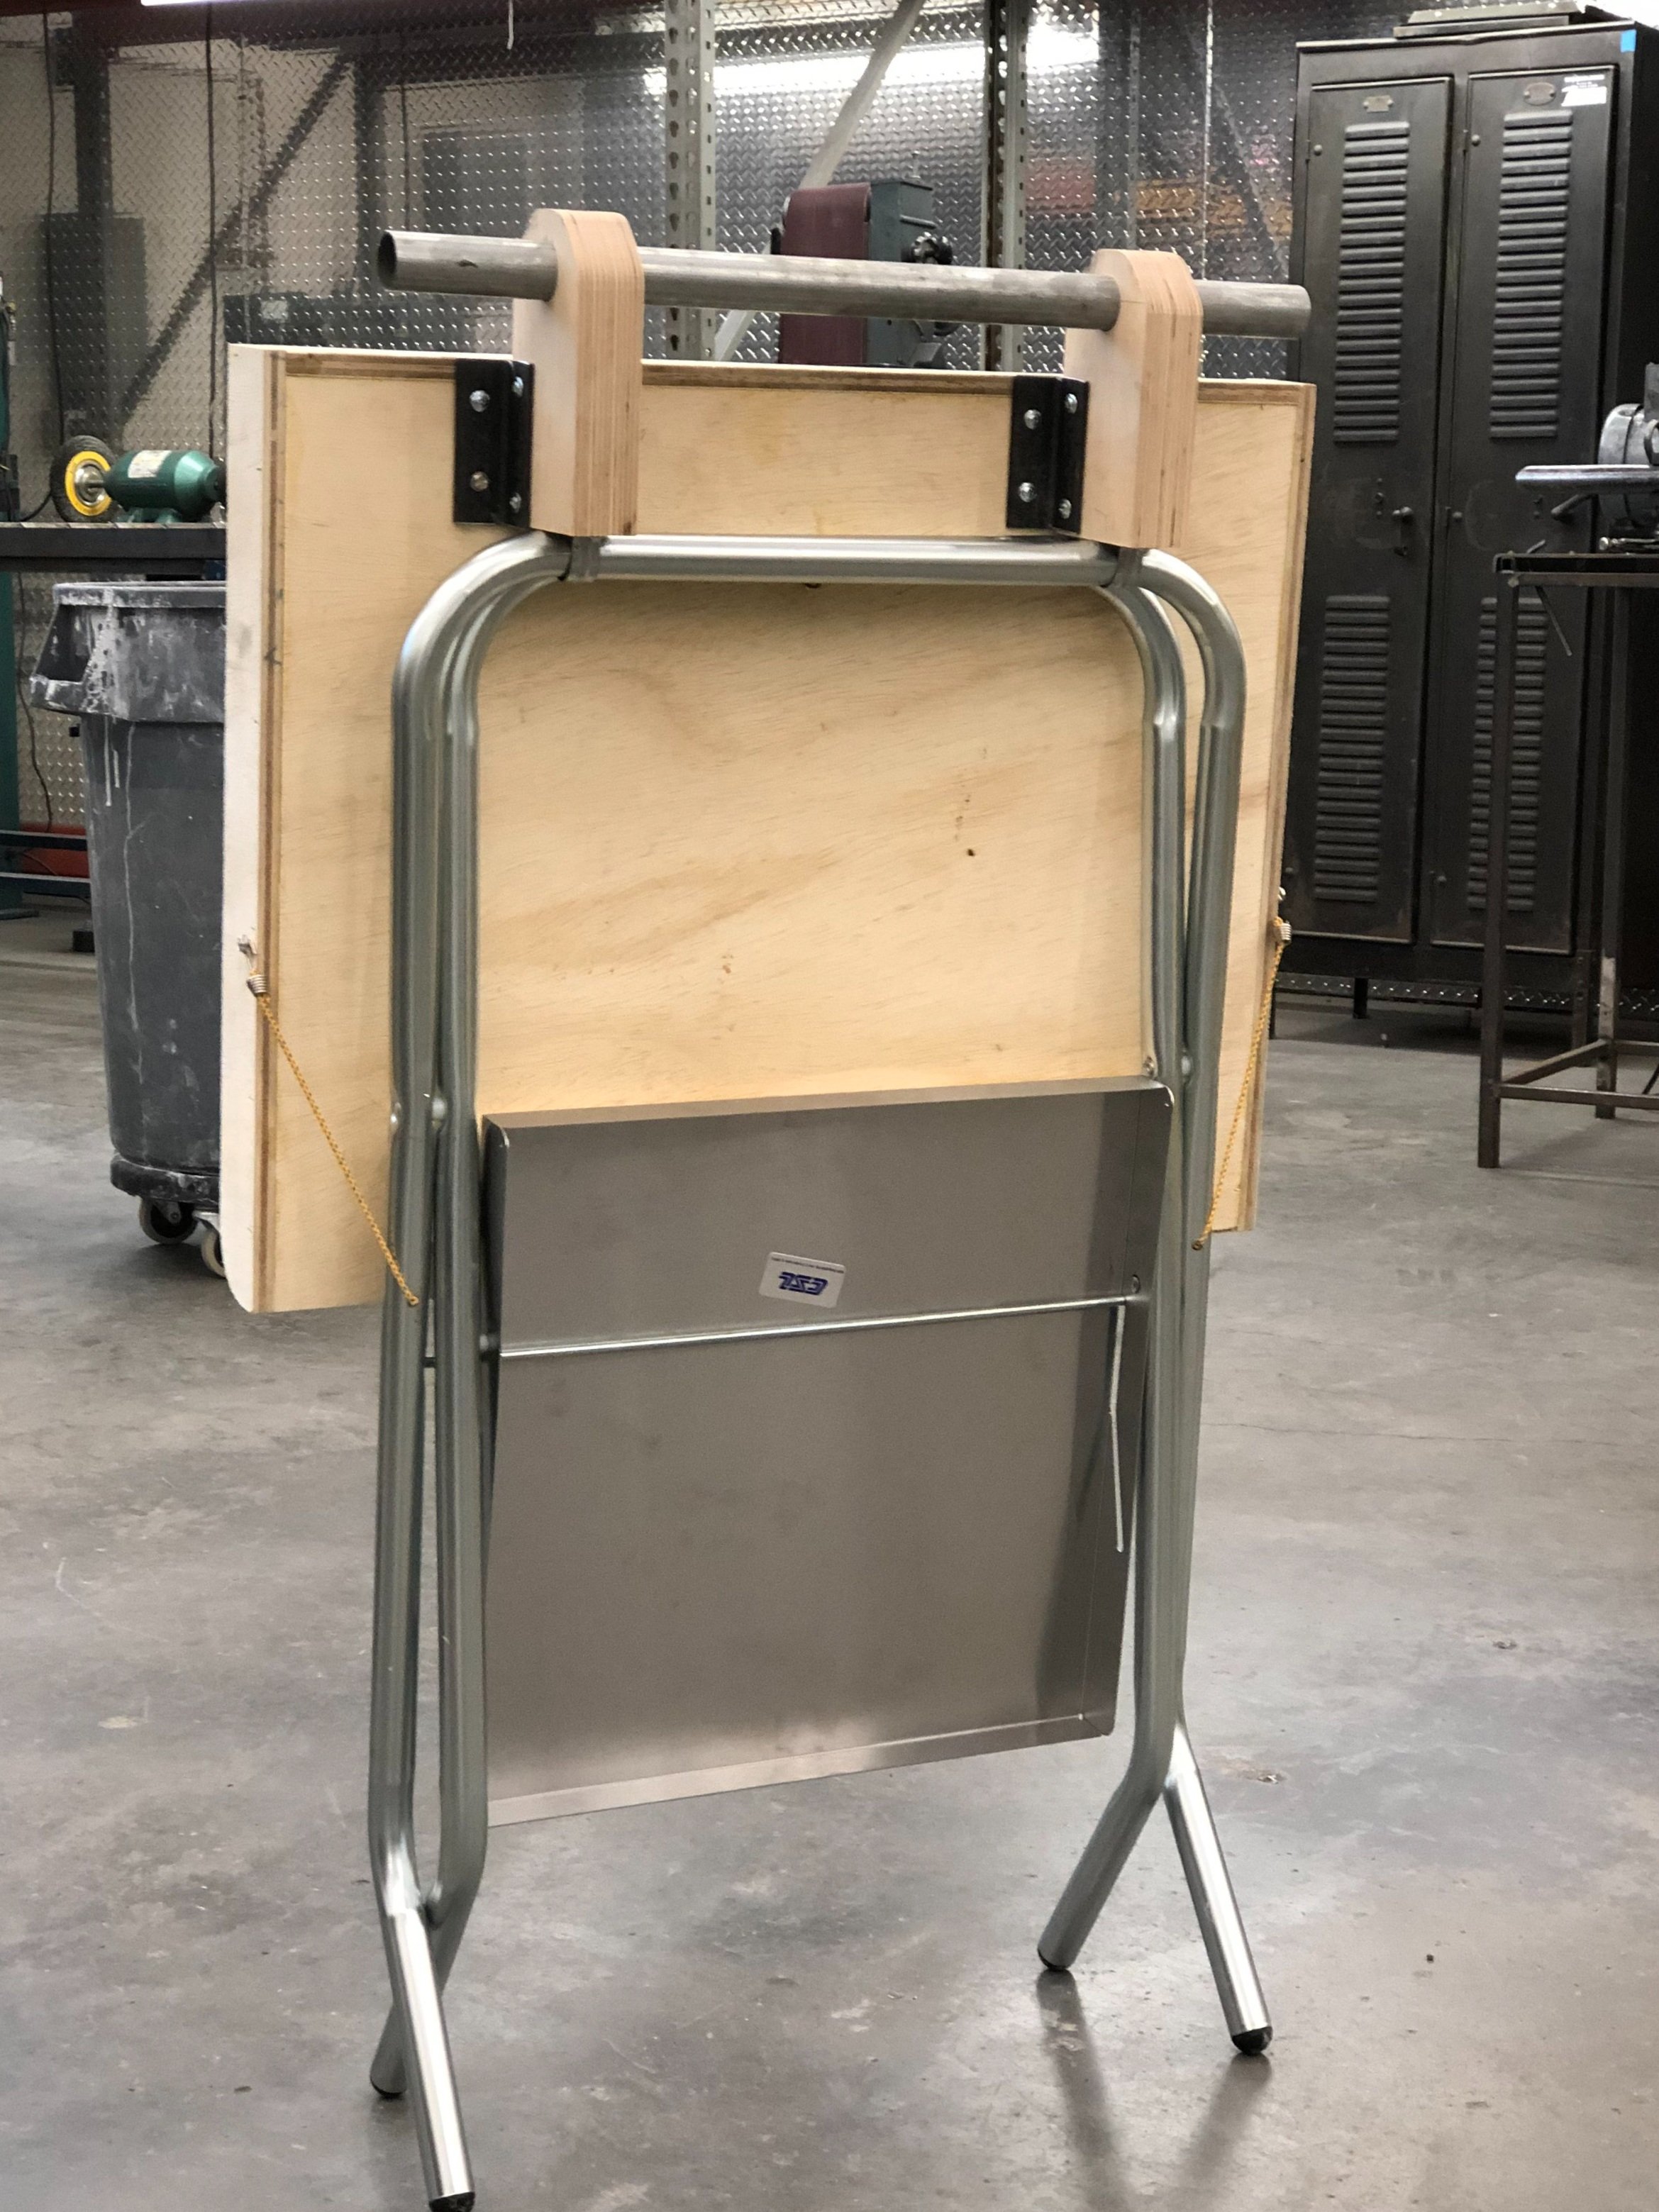
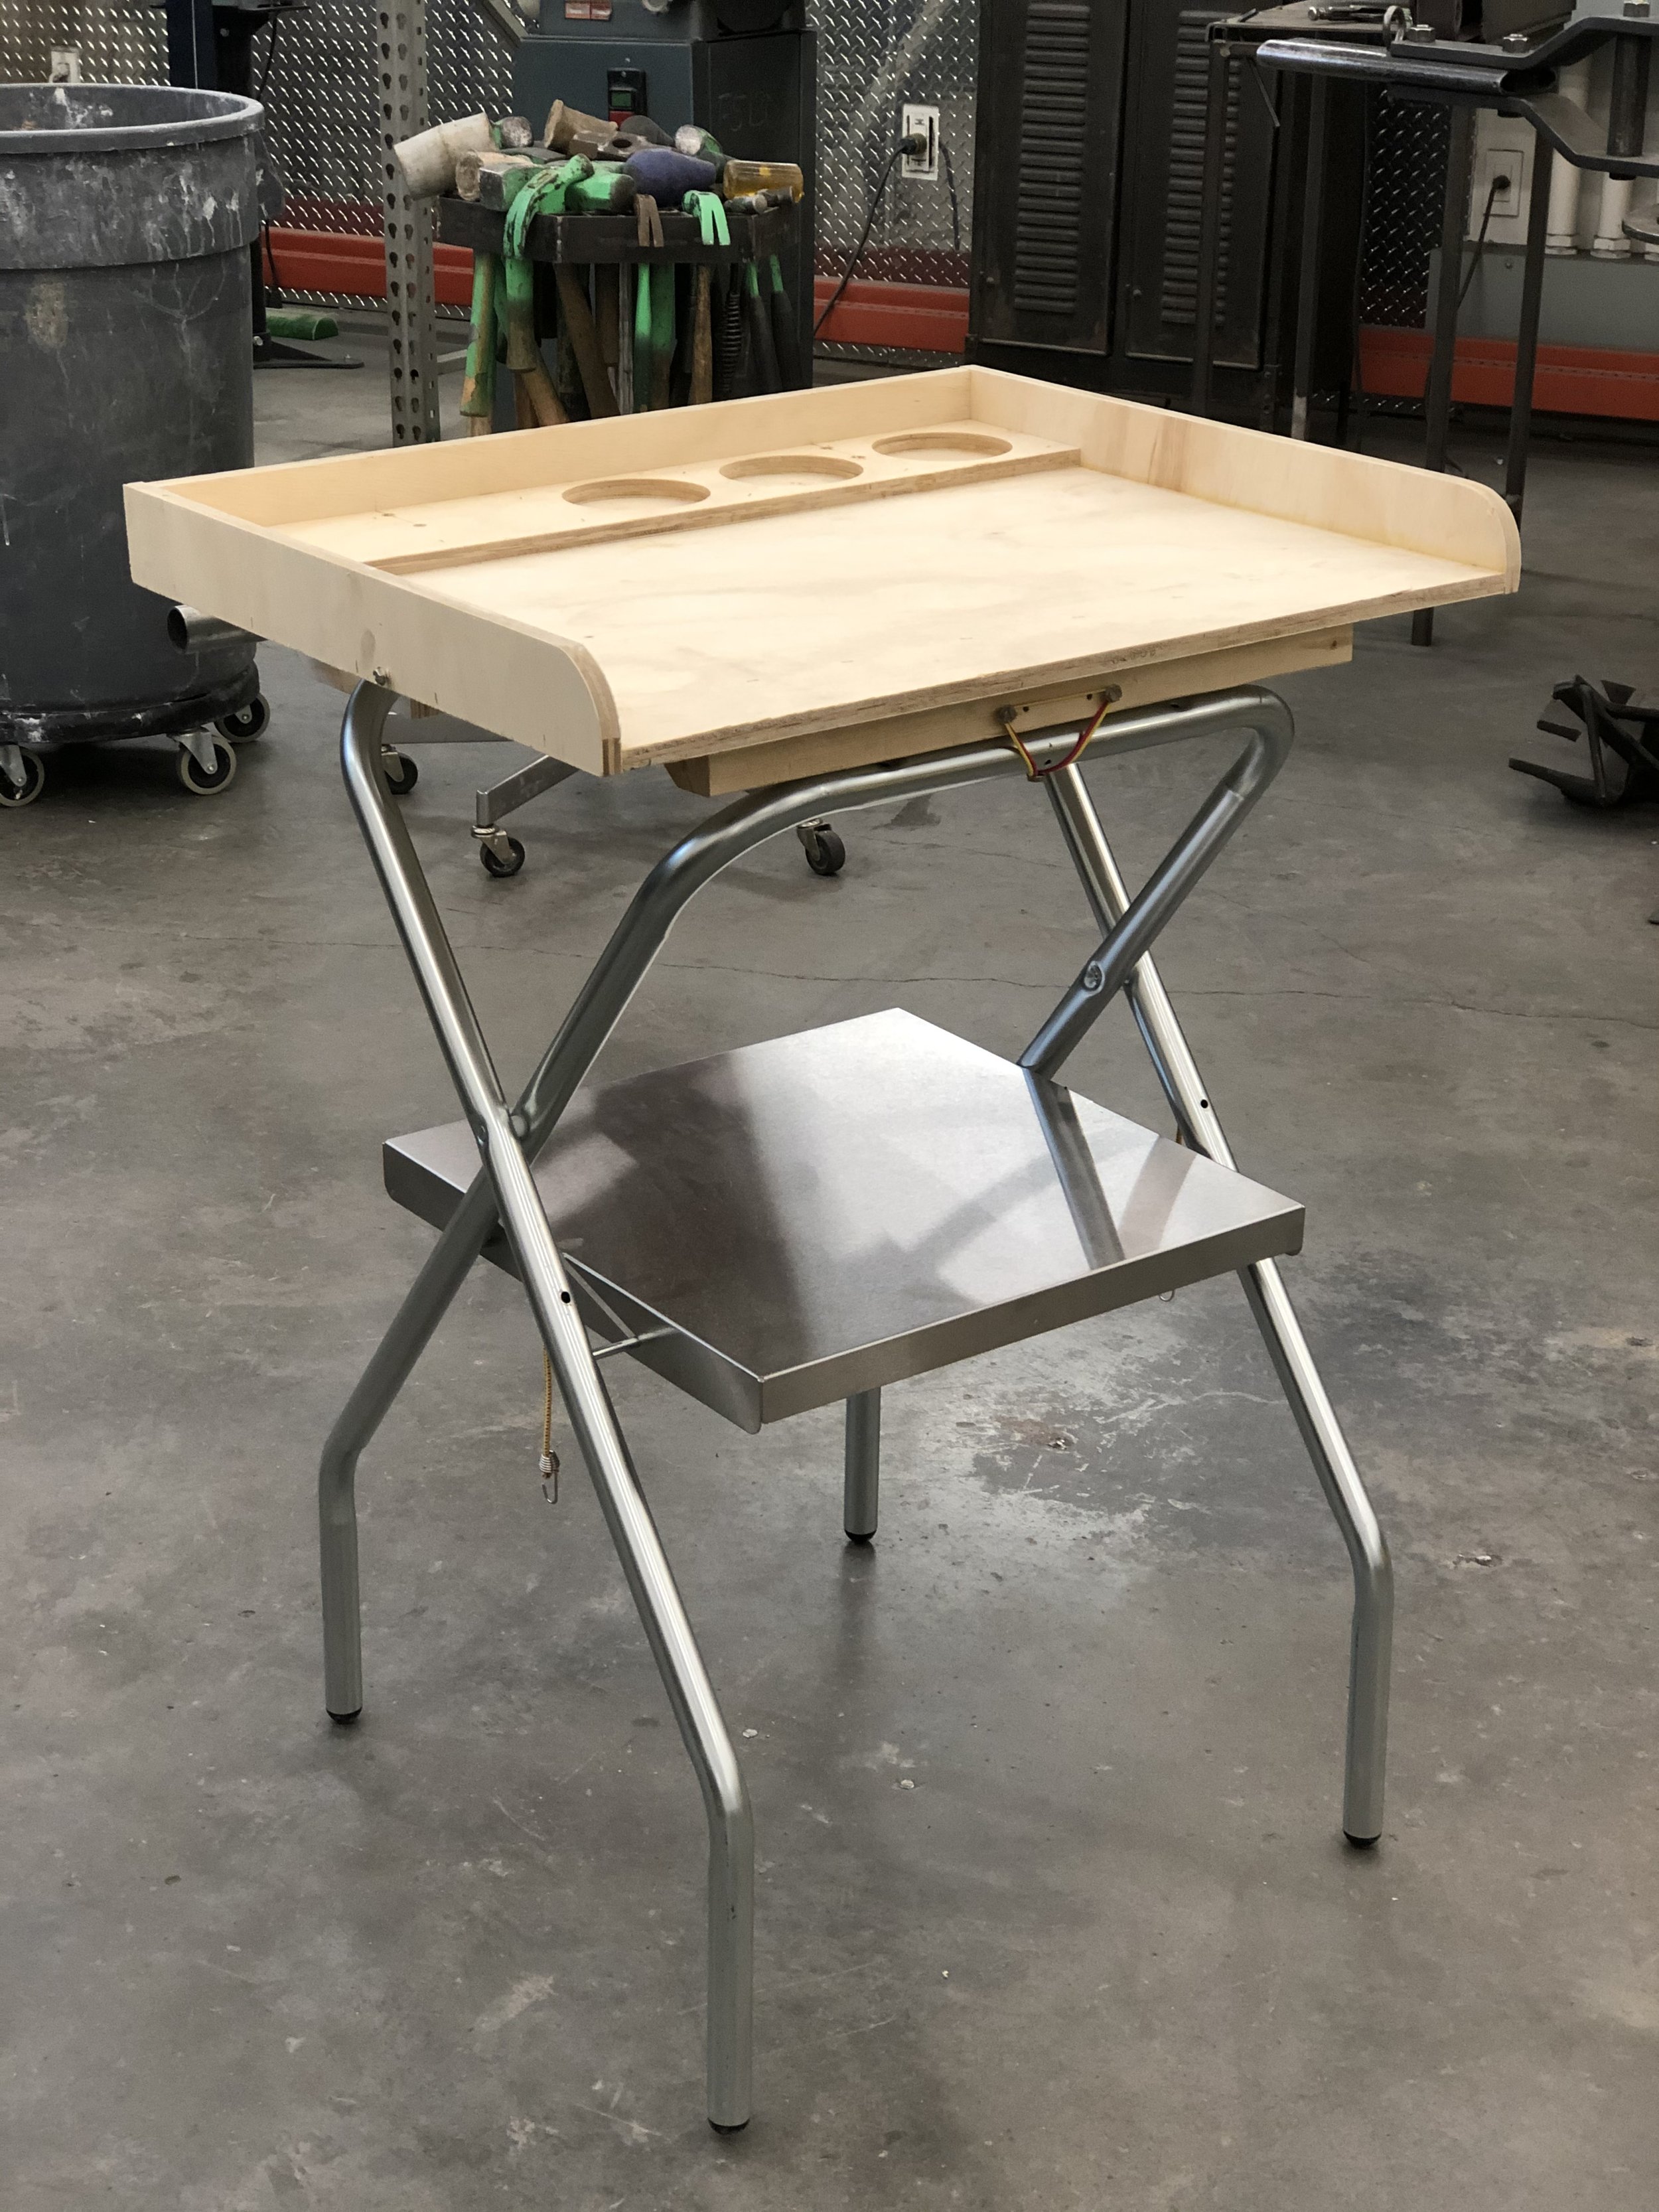
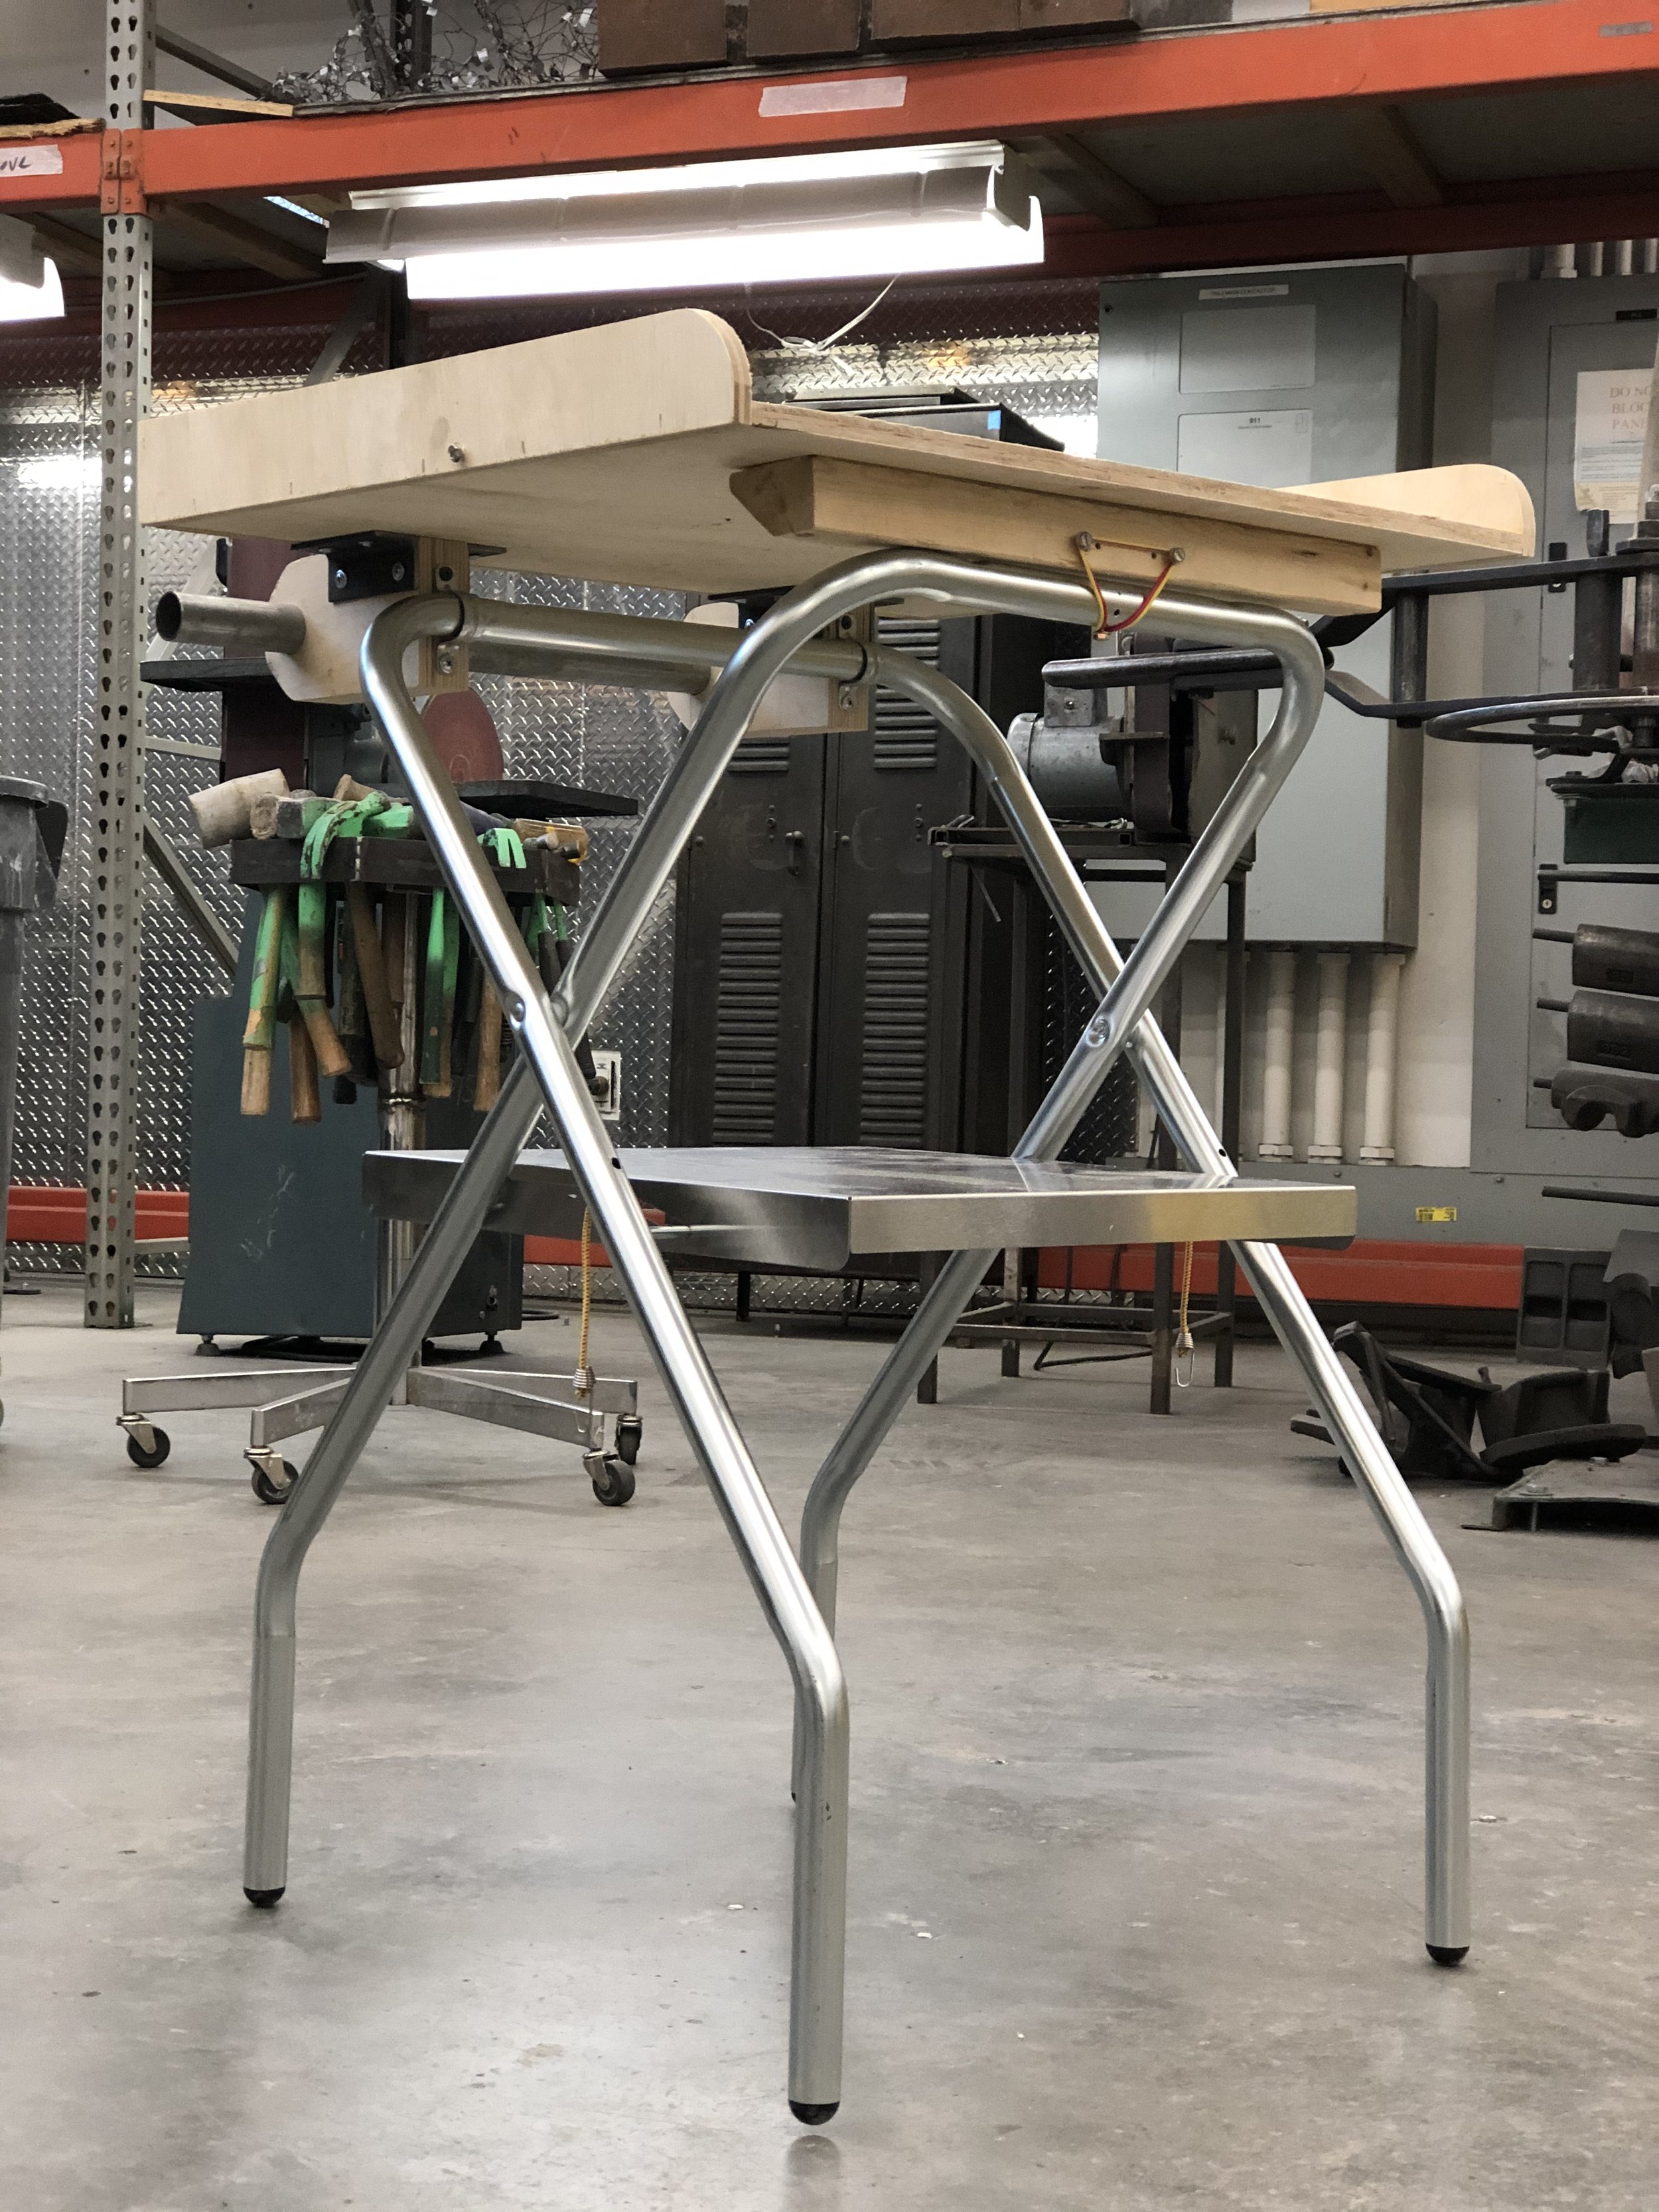
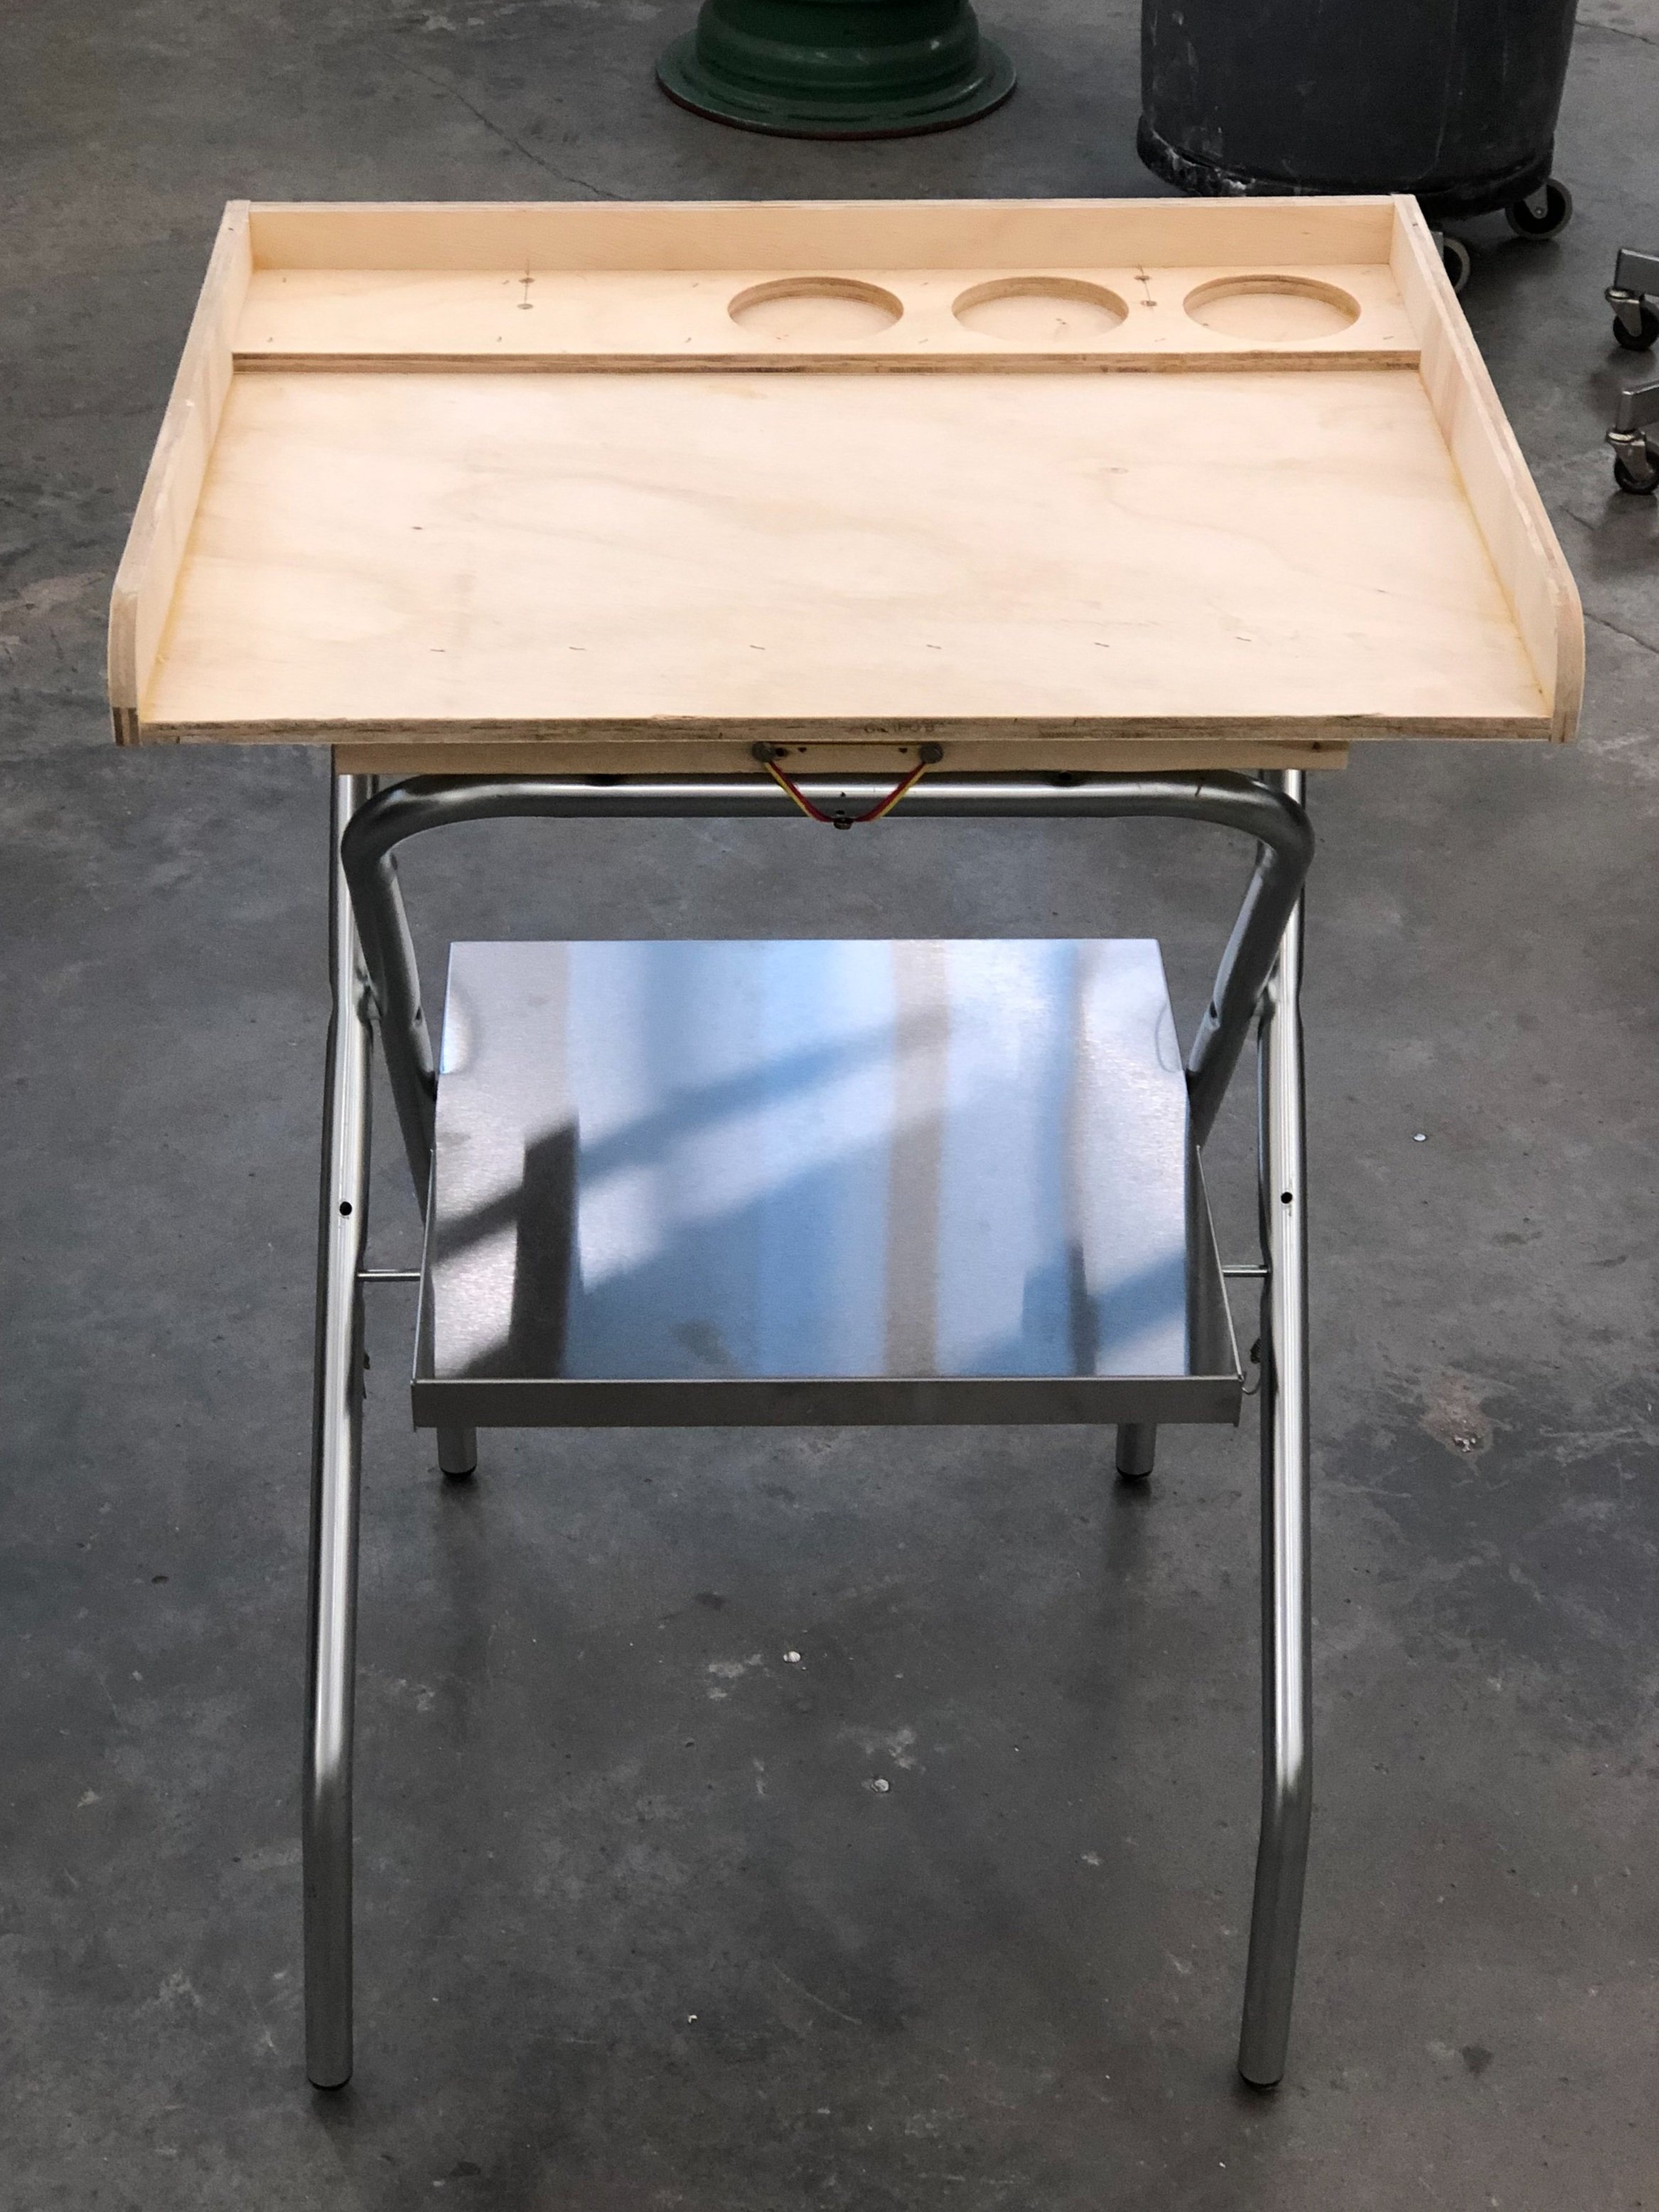
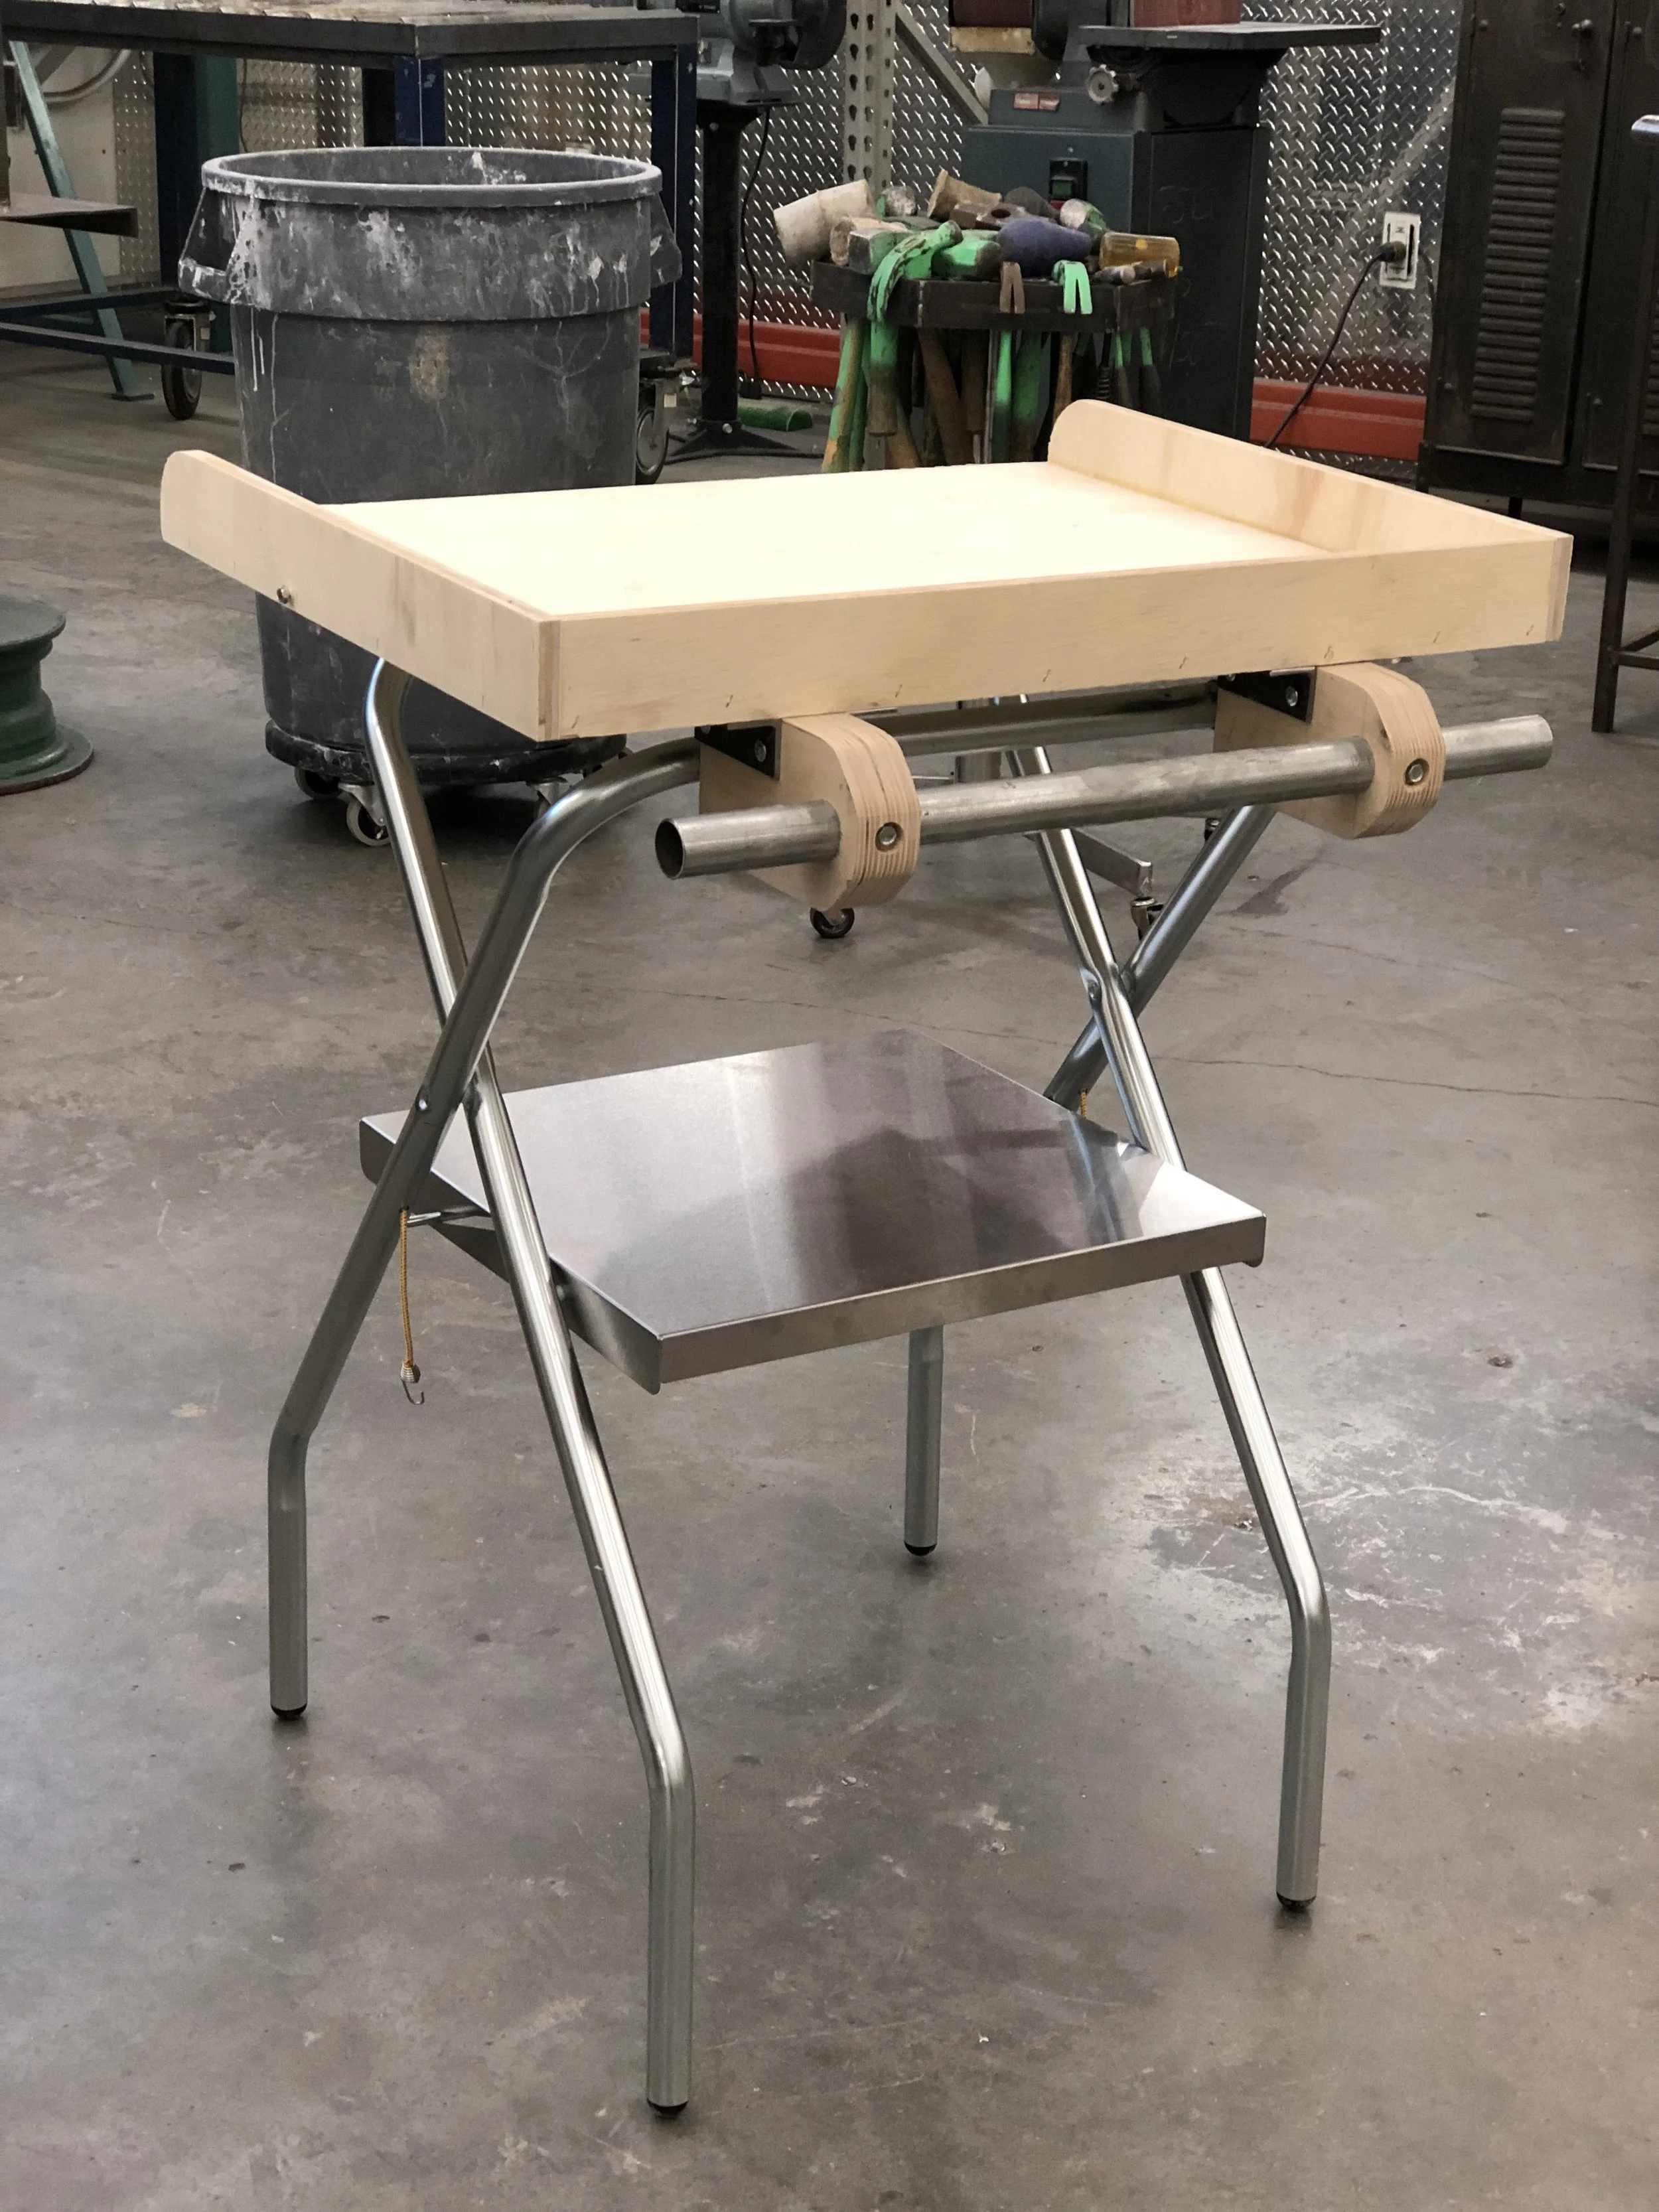
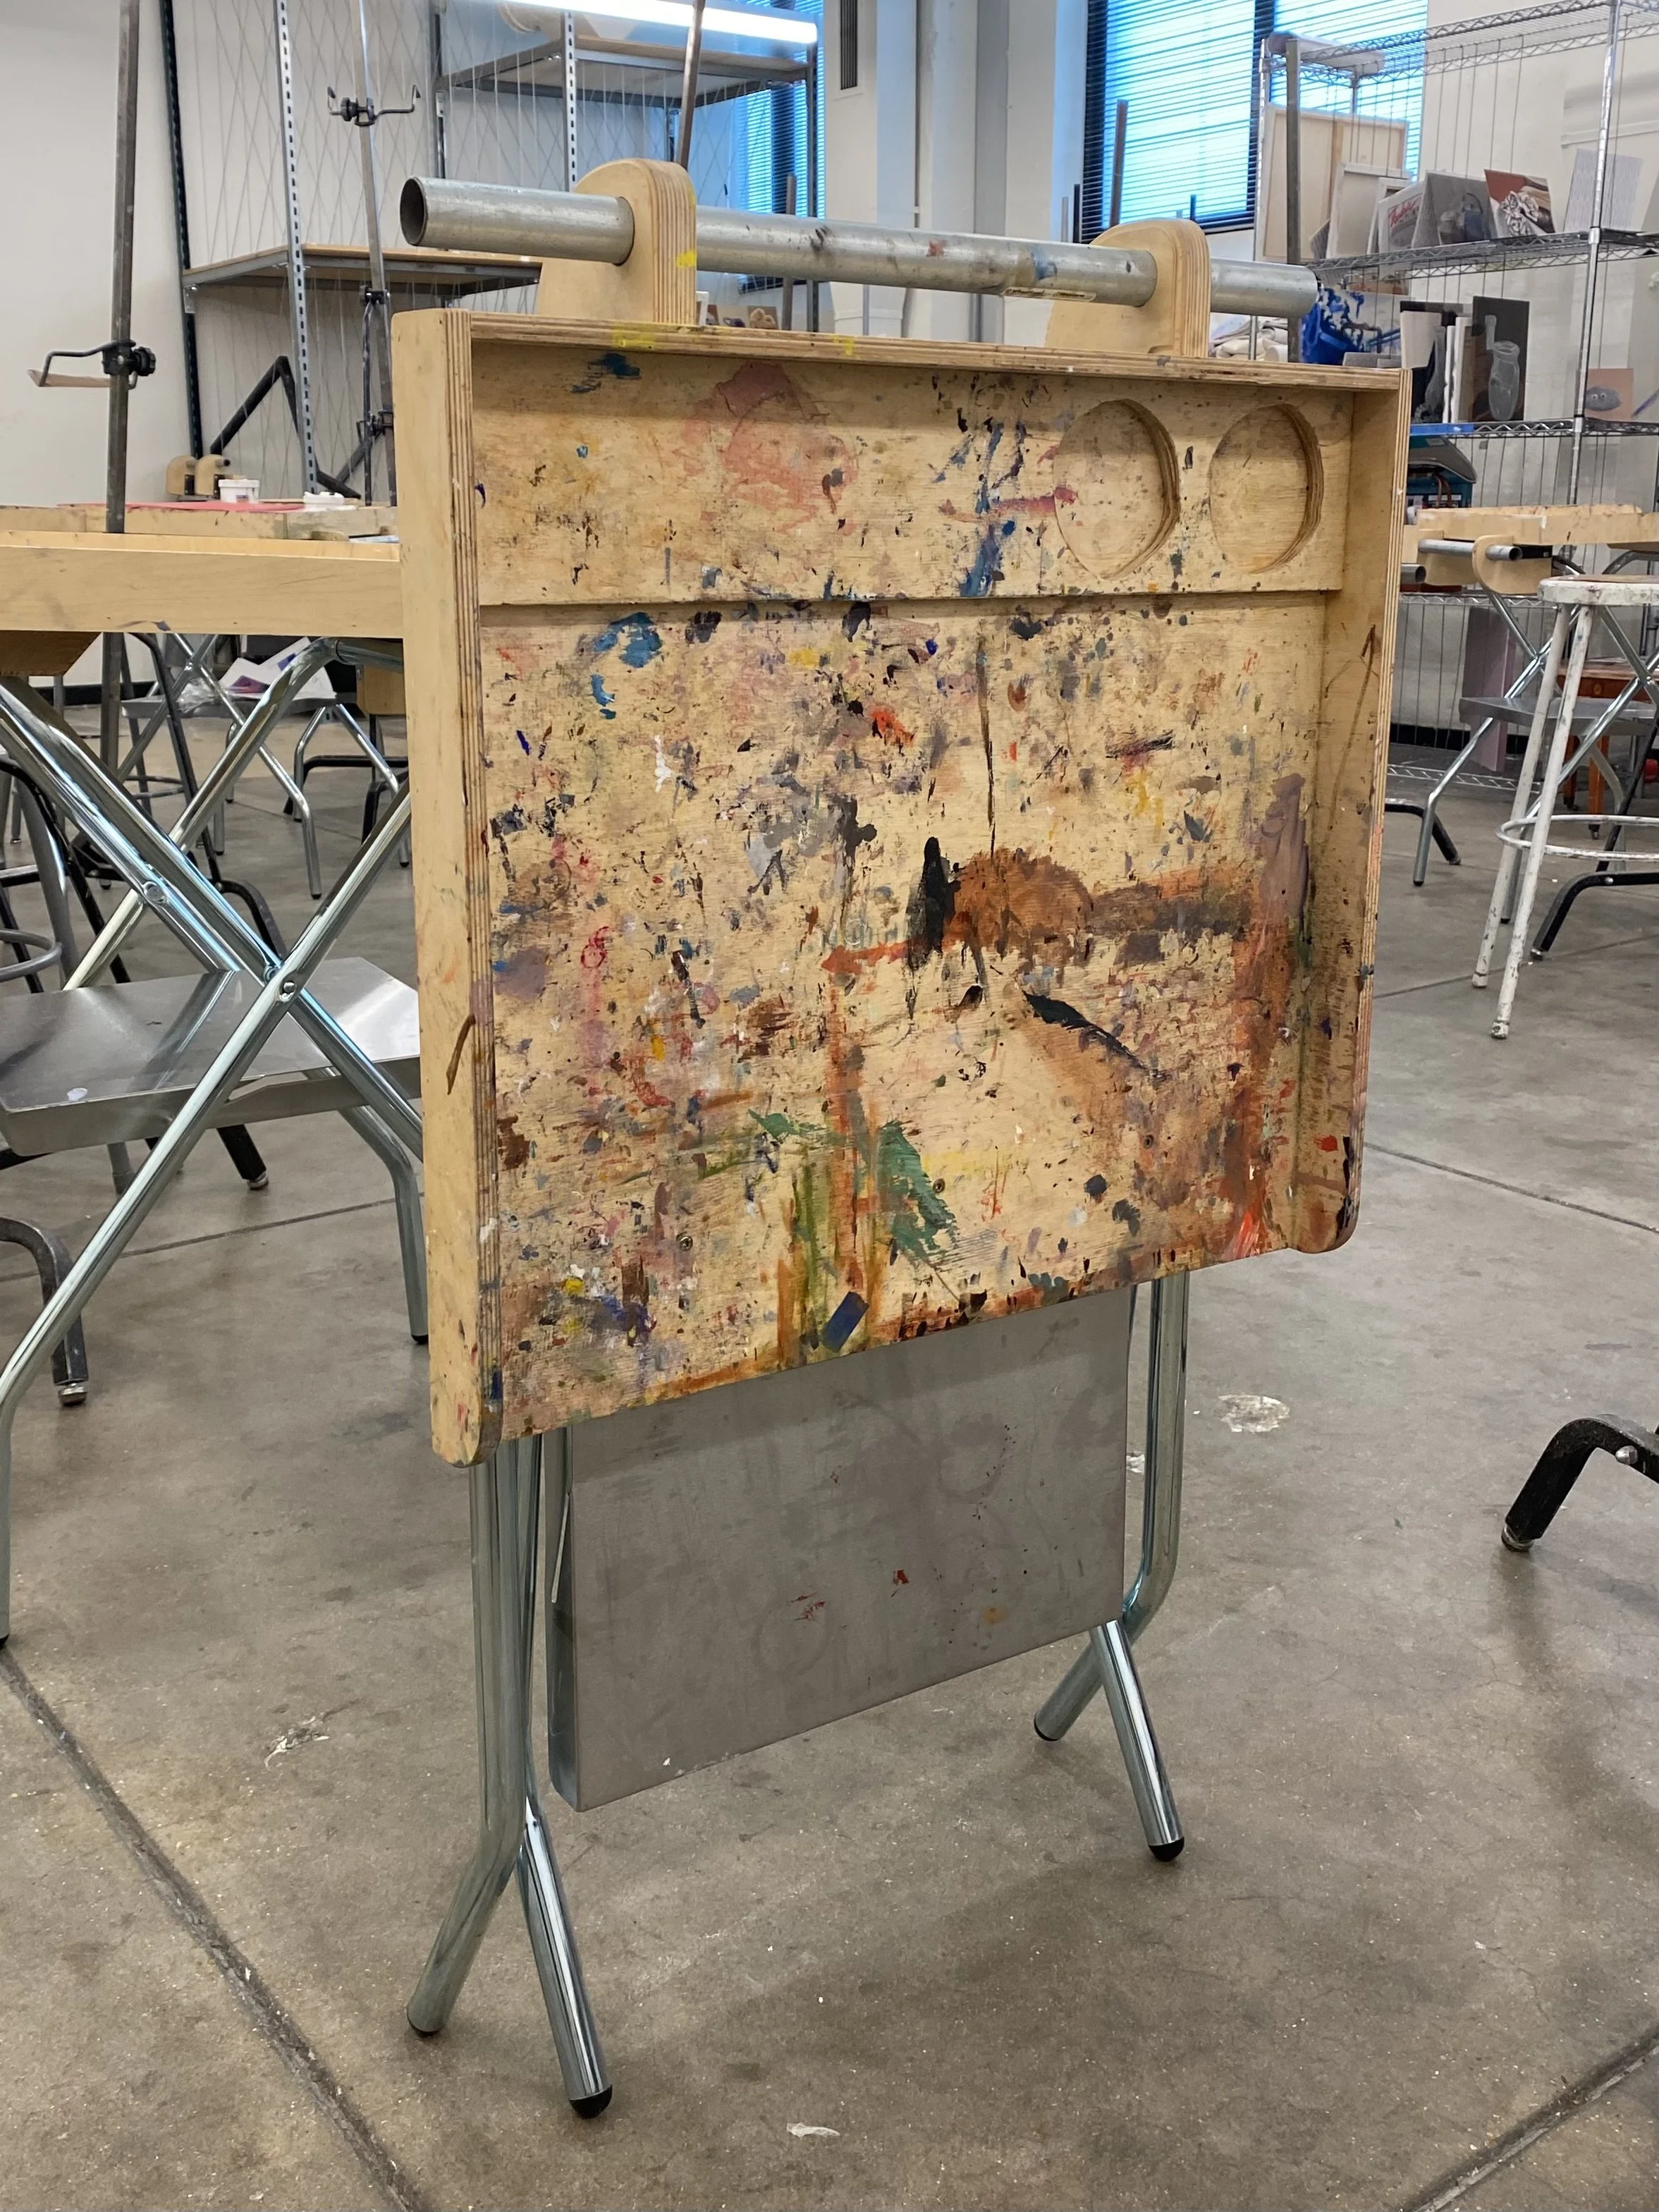
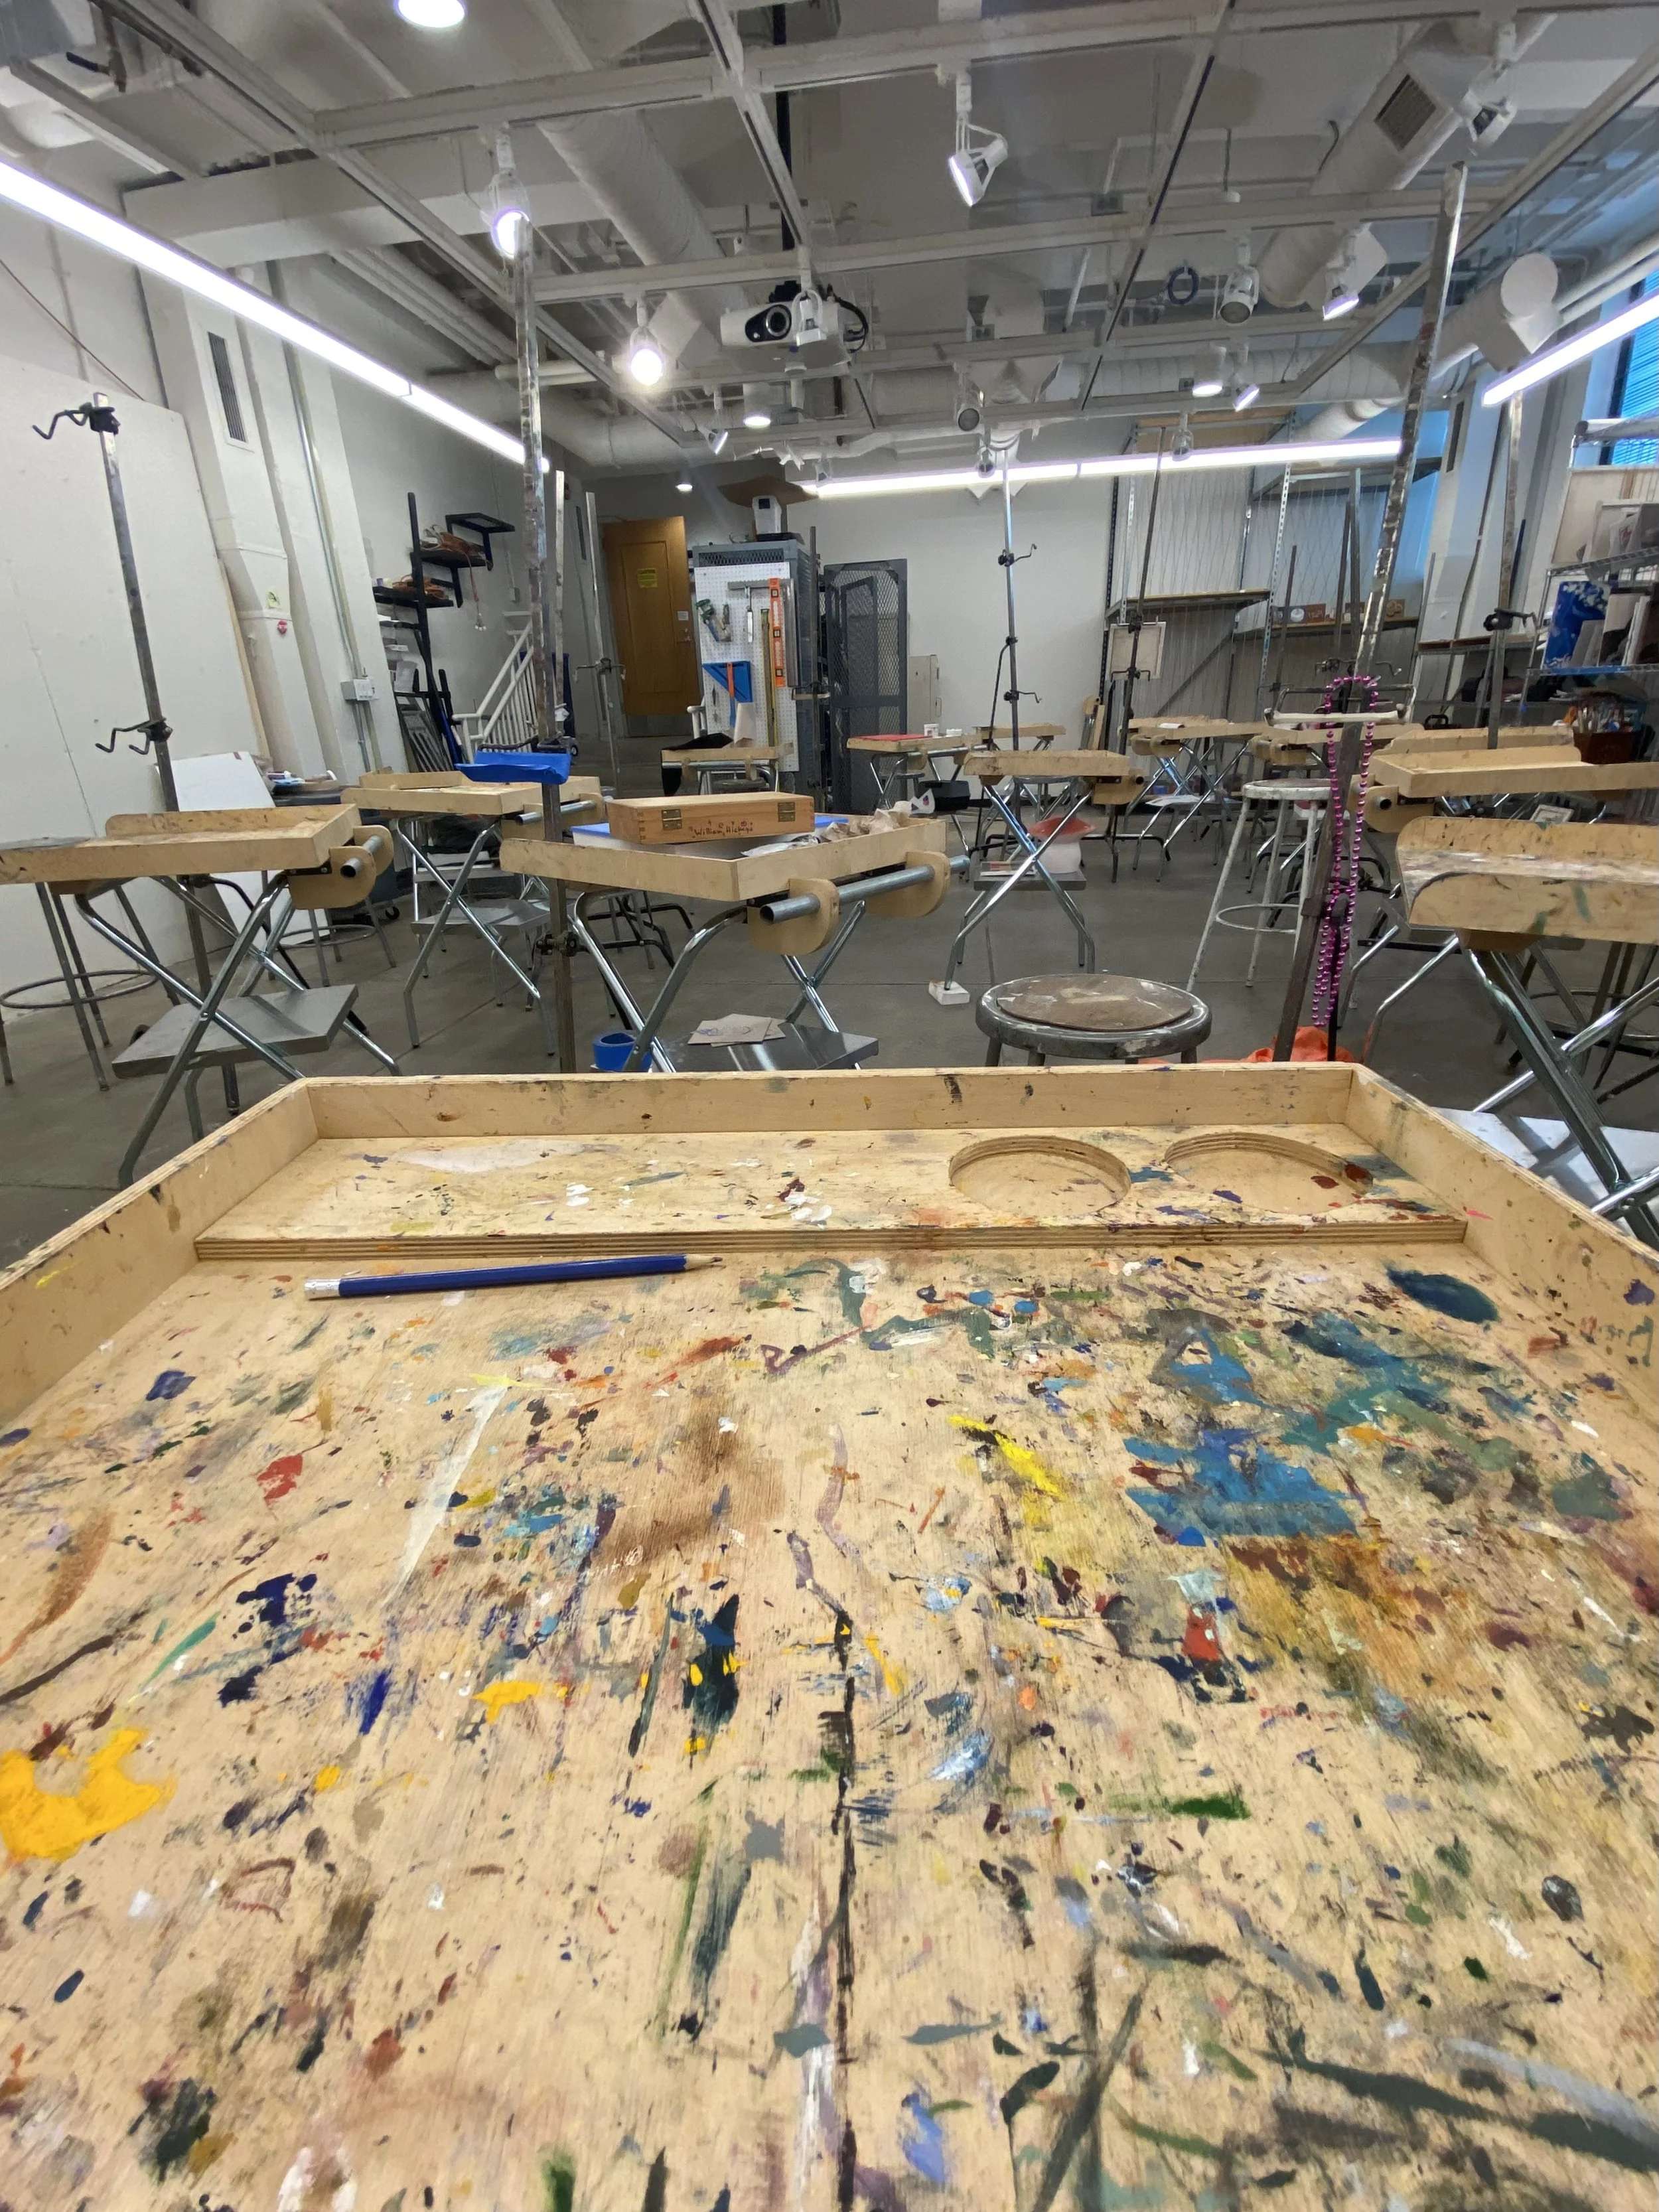
PAINTING - New Collapsable Taborets
I was able to find quality collapsable waiter stands online to alter that I could then use to design and fabricate taboret tops for. Using the CNC mill with 1/2” baltic birch plywood, I was able to create a flat-pack computer aided manufacture of approximately 15 pieces.
